Setting Up Recruiting Vendors
To set up recruiting vendors, use the Vendor Setup (HRS_VENDOR_SETUP) component.
|
Page Name |
Definition Name |
Usage |
|---|---|---|
|
HRS_VENDOR_FILE |
Load a new vendor configuration file, or view and modify details after loading a vendor configuration file. |
|
|
HRS_PREEMPL_VNDR |
Define settings for pre-employment vendors. |
|
|
HRS_VENDOR_TEST |
Test vendor integration. |
Regardless of the type of recruiting vendor you are going to set up, you must complete some common tasks:
Set up your local gateway using PeopleTools Integration Broker.
See PeopleTools: Integration Broker
Verify security and class setup.
PeopleSoft delivers the permission list HCCPRS1010 and the role RS Technical Administrator for this purpose. To have full access to all integration components, the permission list must be linked to the menu HRS_HROI.
Load the vendor-provided configuration file.
Work with the vendor to obtain this file.
(Optional) Map competencies, accomplishments, and postal codes from the vendor to PeopleSoft Recruiting Solutions.
Although data mapping is optional, it makes integration much more effective.
Use the Vendor Setup page (HRS_VENDOR_FILE) to load a new vendor configuration file, or view and modify details after loading a vendor configuration file.
Navigation:
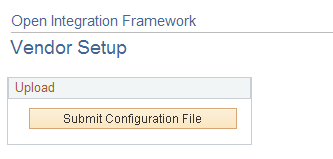
This example illustrates the Vendor Setup page in Add a New Value mode.
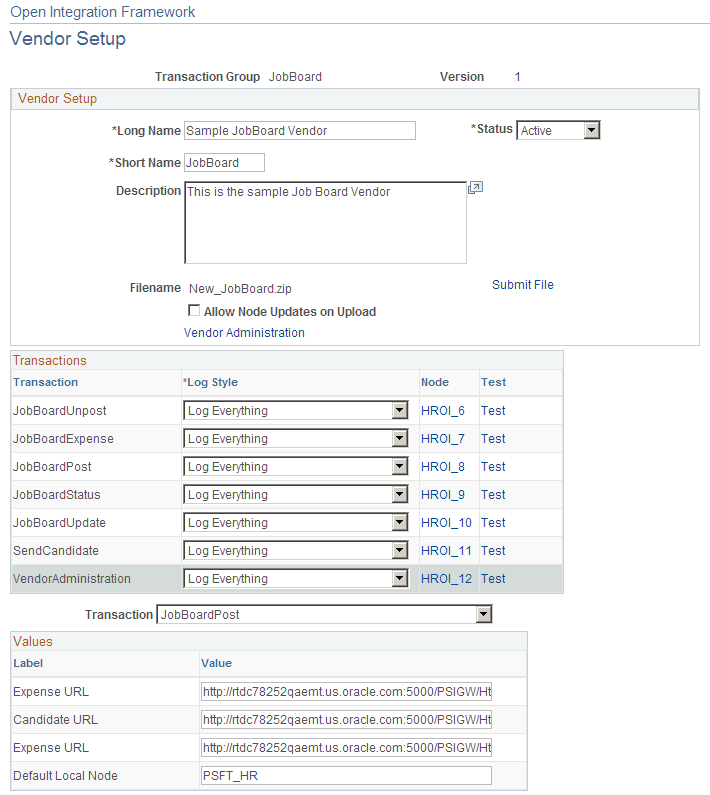
This example illustrates the Vendor Setup page after loading vendor configuration file.
Upload
When you are adding a new vendor, the Vendor Setup page initially displays a single button.
Field or Control |
Description |
|---|---|
Submit Configuration File |
Click to display a File Attachment dialog box, where you identify and upload the vendor's configuration file. After the system uploads the file, this button is hidden and the page instead displays page elements that you use to review and configure the vendor data. |
Vendor Setup Fields
When you access an existing vendor, or after you upload the configuration file for a vendor that you are adding, the page displays vendor setup fields.
The Vendor Setup and Transactions group boxes are automatically populated with the information that is provided in the configuration file. The transactions that appear in the Transactions group box are those that are defined on the Open Integration Framework - Transaction Group Setup page for the transaction group that is associated with the vendor configuration file.
Vendor Setup
Field or Control |
Description |
|---|---|
Status |
Indicate whether the vendor is Active or Inactive. |
Allow Node Updates on Upload |
The node definitions are set up by the process of loading the vendor configuration file. If subsequent loads of the file are necessary (perhaps a customer gets an updated configuration file from the vendor), the Allow Node Updates on Upload check box enables the user to update the node definition or keep allowing the nodes to be updated. |
Vendor Administration |
Click to access the vendor's administration page. Not all vendors will support this option. |
Extended Setup |
Click to access the Pre-Employment Vendor Setup page, where you can define settings for pre-employment vendors. This link appears only for vendors in the PreEmployment transaction group, based on the setup in the Extension Configuration group box on the Open Integration Framework - Transaction Group Setup page. |
Transactions
Field or Control |
Description |
|---|---|
Log Style |
Defines when to log messages on the Integration Log page. Values are: Log All: An entry is entered into the integration log every time a message is received from the vendor. Never Log: An entry is never made to the integration log. On Error: An entry is made to the integration log only when an error occurs. |
Node |
Displays the node name that is associated with the vendor's transaction. These node names are dynamically created. Click a node link to access the Connectors page in PeopleTools Integration Broker. |
Test |
Click to access the Integration Test page, where you can test the integration setup for outgoing messages. The Test links do not apply to incoming transactions. |
Use the Pre-Employment Vendor Setup page (HRS_PREEMPL_VNDR) to define settings for pre-employment vendors.
Navigation:
Click the Extended Setup link on the Vendor Setup page.
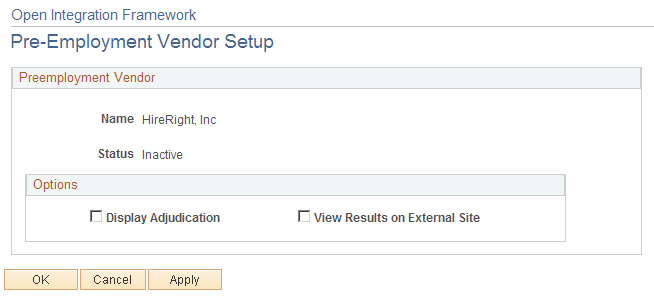
This example illustrates the Pre-Employment Vendor Setup page.
Field or Control |
Description |
|---|---|
Display Adjudication |
Select this check box to make the adjudication status visible to managers, recruiters, and recruiting administrators on the Manage Applicants - Pre-employment Check and Pre-employment Check - Pre-employment Check Details pages. If you deselect this check box, the system displays Not Displayed in the Adjudication Status fields on these pages. |
View Results on External Site |
Select this check box to make the View Results link on the Pre-employment Check - Pre-employment Check Details page visible to managers, recruiters, and recruiting administrators. Users click the View Results link to access a detailed page of the pre-employment inquiry on the vendor site. |
Use the Integration Test page (HRS_VENDOR_TEST) to test vendor integration.
Navigation:
Click theTest link for a transaction on the Vendor Setup page.
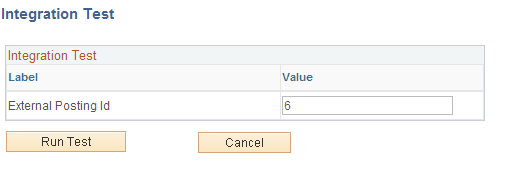
This example illustrates the Integration Test page.
Field or Control |
Description |
|---|---|
Integration Test |
This grid lists the fields that require data in order for the test to be performed. Enter values for each field. |
Run Test |
Click to test the integration. The system displays the Integration Log page, where you can review the results of the test. |