Designing a Bid Comparison Sheet for an RFB
For the Request for Bid (RFB) business process, Unifier includes a bid tabulation feature. This feature provides a default comparison sheet with which users can compare the bids they receive from vendors.
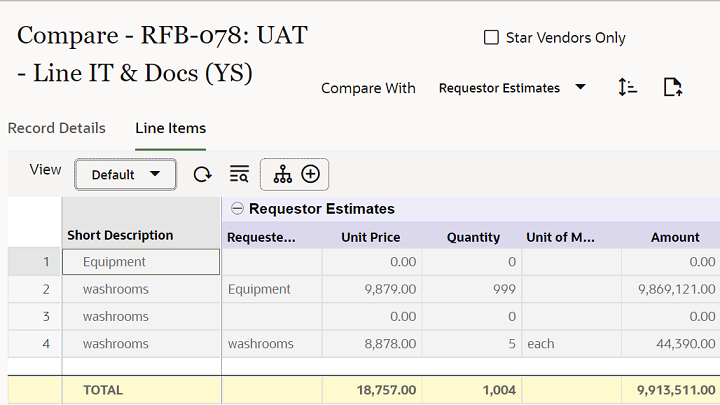
The default bid comparison sheet (shown above) shows only the bid dollar amounts for each line item for which the vendor submitted a bid.
Alternatively, you can design a custom bid tabulation sheet in uDesigner that can include more information in a layout specific to your company's needs. Using a custom bid comparison sheet, you can compare vendors on criteria besides price, such as certifications and re-negotiated line item prices. You could also add comments to the submitted bid that can be displayed on the bid tabulation. This sheet becomes part of the RFB process; users can view this sheet from the RFB when the bidding has ended.
Note: You can design only one custom bid comparison sheet for your company.
To design the bid comparison sheet, you will create upper and detail forms, as you would any business process. You must design the bidder form first, as uDesigner automatically enters the fields from this form on the sheet design. In addition, you can add other elements to the design from the Custom Data Elements list.
Note: The bid comparison sheet must match the upper and detail forms of the bidder's BP. When you create the design for the sheet, uDesigner automatically adds the data elements from these forms. If you later add or remove an element from the bidder forms, you must also add or remove it from the sheet.
The custom-designed bid comparison sheet shows the following:
- General bid information from each vendor who submitted a bid.
- Each line item from the RFB that the vendor has bid on. If the vendor adds line items of their own to the bid, these line items will appear on the sheet as well.
To design a bid comparison sheet:
Note: You cannot use the following on a Bid Comparison Sheet: Dynamic data sets, Formulas, Auto-population, and the Value reset feature.
- Go to the Company Workspace tab and switch to Admin mode.
- In the left Navigator, select uDesigner, and then select Business Processes.
- Open the RFB business process.
- In the left Navigator, select Bid Comparison Sheet.
- Click Upper, and then click New on the right pane. The Upper Design Properties window opens.
- On the General tab, enter a Name and Description for the form.
- Click the Data Elements tab. uDesigner displays a list of the data elements that were included on the upper form of the bidder form. uDesigner automatically adds these elements to the upper form of the comparison sheet. These elements will be read-only.
You can add other data elements to the Bid Comparison Sheet if you want.
- To add additional data elements to the sheet, click the Add button and choose:
- From Bidder Form to add elements from the bidder form. Fields from the bidder form will be read-only.
Note: uDesigner automatically includes the elements from the bidder form. Use the From Bidder Form option if data elements were added to the bidder form after the bid comparison sheet was designed and activated. Because the sheet must match the bidder form, if new elements were added, use this option to add them to the sheet.
- The Add Data Element window opens. In the Element Label field, select the data element you want to include on the comparison sheet and click Add.
- Custom to add elements from the list of custom data elements available for designing all business processes. Fields you choose from this list will be editable.
Select the element you want to include on the comparison sheet and click OK.
- From Bidder Form to add elements from the bidder form. Fields from the bidder form will be read-only.
- On the Upper Design Properties window, click OK.
- In the left Navigator, select Detail, and then click New on the right pane. The Detail Design Properties window opens.
- To design the detail form, repeat steps 3 through 6.
Hiding a Data Element on the Sheet
After a Bid Comparison Sheet is in use in Unifier, you cannot remove any data elements from it. You can, however, hide the custom data elements if you no longer want them visible.
Note: You cannot hide the data elements that came from bidder forms. You can hide only those data elements that have been added from the Custom data elements list.
To hide an element:
- Open the RFB business process.
- In the left Navigator, select Bid Comparison Sheet, and then select Upper or Detail, depending on where the element you want to hide is.
- Click the Data Elements tab.
- Select the data element you want to hide and click the Hide button.
To "unhide" an element:
- Open the RFB business process.
- In the left Navigator, select Bid Comparison Sheet, and then select Upper or Detail, depending on where the element you want to show is.
- Click the Data Elements tab.
- Select the data element you want to show and click the Show button.
Last Published Saturday, June 6, 2026