Managing Environment Attributes
Use the Manage Attributes page (ECL_ENV_ATTR_FL) to centrally administer the configuration of all the managed instances using Cloud Manager.
Navigation:
Click the Manage Attributes link available on the left panel of the Environment Details page. The Manage Attributes page is displayed on the right panel.
This example illustrates the fields and controls on the Manage Attributes page.
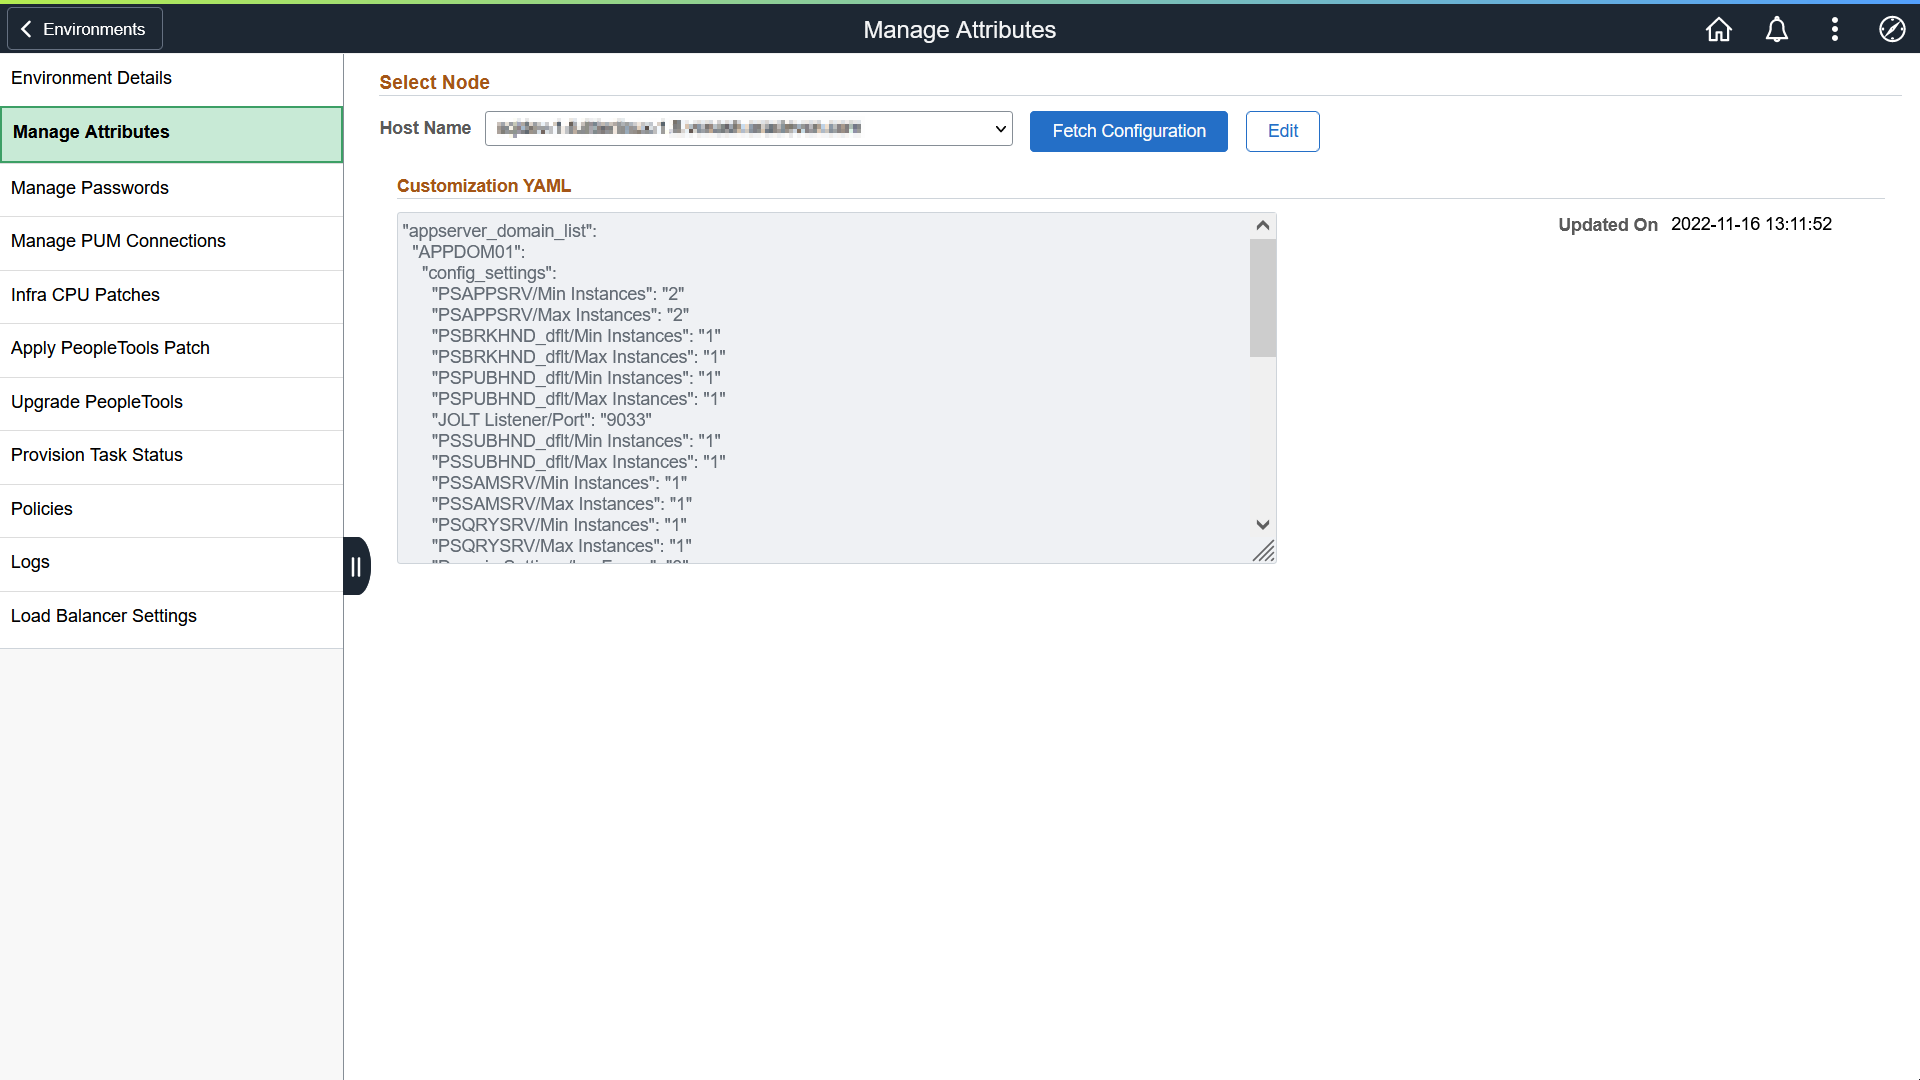
The Manage Attributes page can be used to modify the configuration parameters even after an environment is provisioned. You can select the host name and click the Fetch Configuration button to view the psft_customization.yaml file for the selected environment node. The timestamp when the fetch happened is displayed at the bottom of the page.
To modify the customization YAML:
Click the Edit button. The Customization YAML section is enabled.
This example illustrates the fields and controls on the Manage Attributes page that appear on clicking the Edit button.
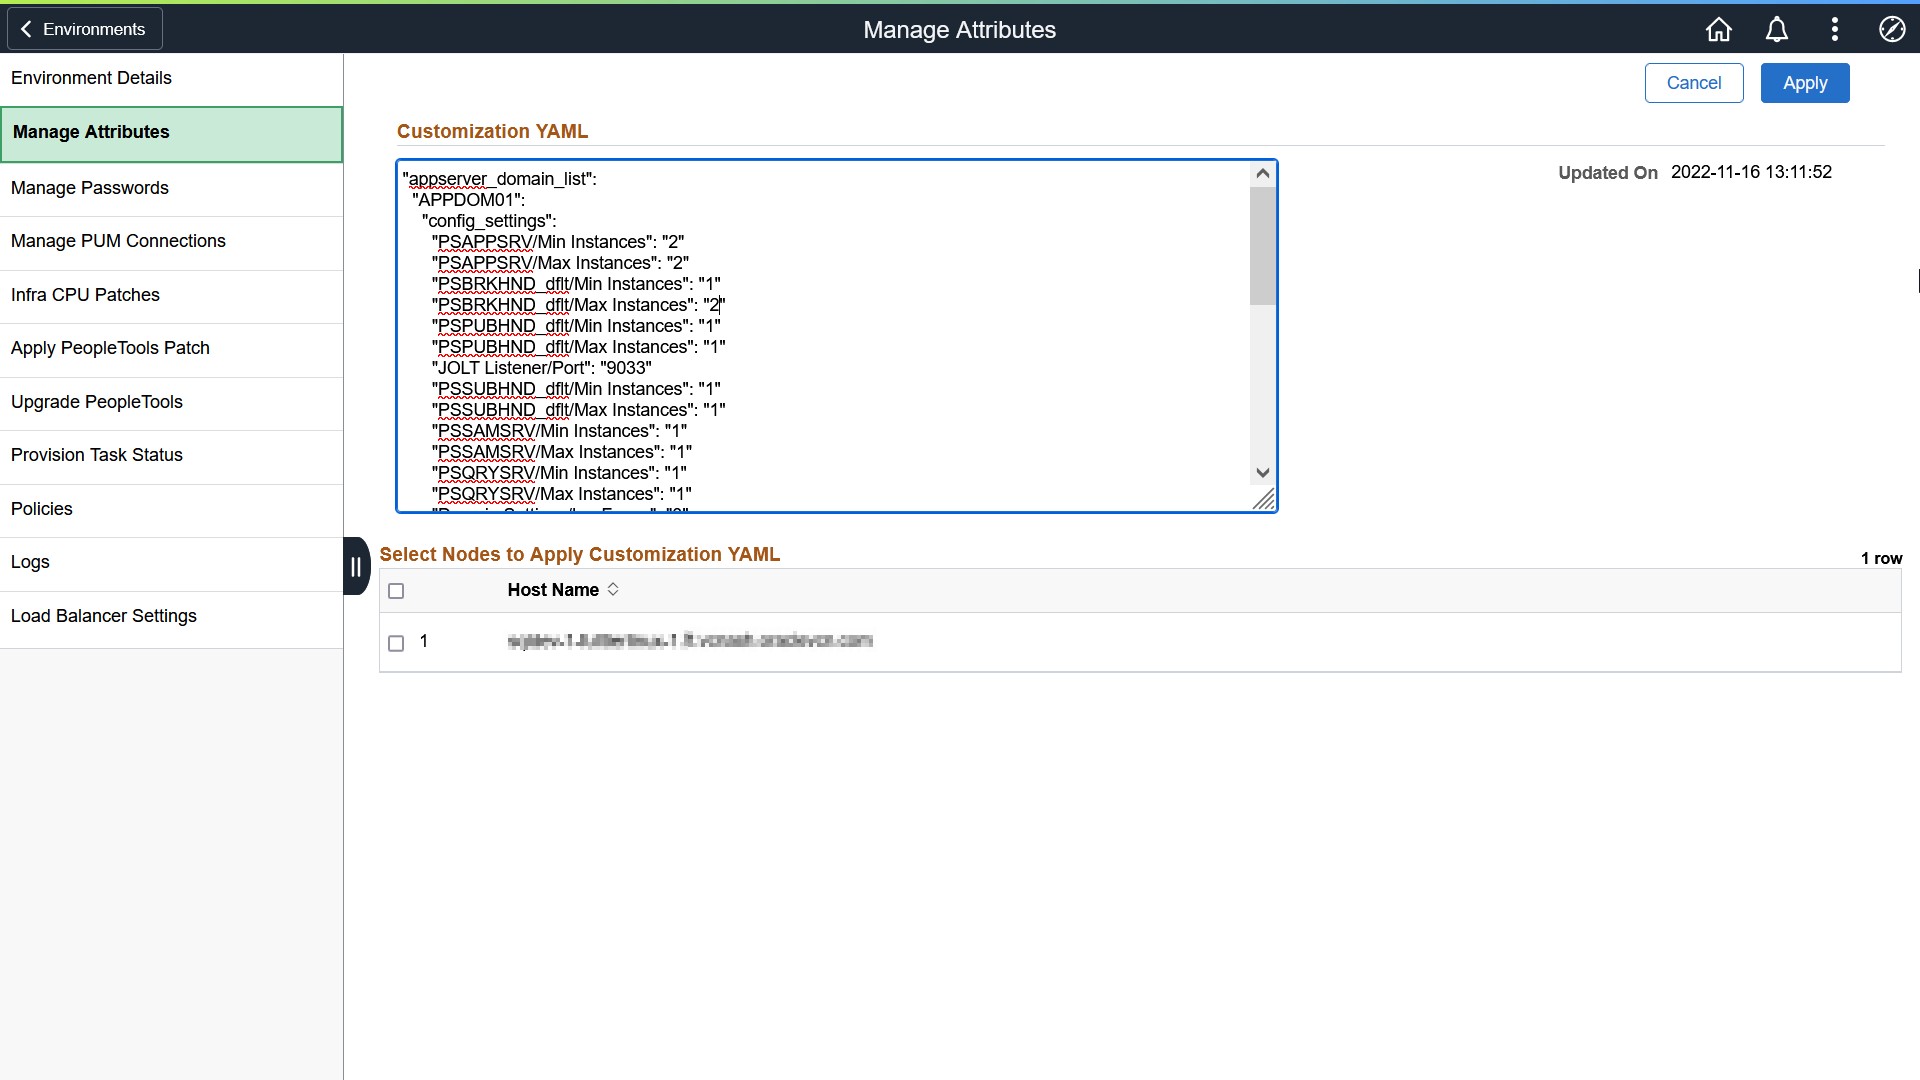
Modify the attributes in the application domain, process scheduler domain or web domain.
Domain
Attribute
Configuration File Location
Description
App Server Domain
PSAPPSRV/Min Instances
$PS_CFG_HOME/appserv/<domain_name>/psappsrv.cfg
Instances for processing functional requests, such as building and loading components.
PSAPPSRV/Max Instances
PSBRKHND_dflt/Min Instances
Instances for processing the requests from dispatcher for Integration broker queues.
PSBRKHND_dflt/Max Instances
PSPUBHND_dflt/Min Instances
Handler instances responsible for publications out bound messages from Integration Broker environment.
PSPUBHND_dflt/Max Instances
JOLT Listener/Port
Port number used by JOLT server handlers.
PSSUBHND_dflt/Min Instances
Handler instances responsible for subscriptions in bound messages from external system.
PSSUBHND_dflt/Max Instances
PSSAMSRV/Min Instances
SQL application manager process handles the conversational SQL that is mainly associated with Application Designer.
PSSAMSRV/Max Instances
PSQRYSRV/Min Instances
Handles any query run by PeopleSoft Query. This is an optional process designed to improve performance by reducing the workload of PSAPPSRV.
PSQRYSRV/Max Instances
Domain Settings/LogFence
Logging detail level
Process Scheduler Domain
PSAESRV/Max Instances
$PS_CFG_HOME/appserv/prcs/<domain_name>/psprcs.cfg
Application Engine server process is a process that handles both Application Engine and Optimization Engine requests.
PSDSTSRV/Min Instances
$PS_CFG_HOME/appserv/prcs/<domain_name>/psprcs.cfg
The distribution agent server process posts the reports and system log files to the report repository.
PSDSTSRV/Max Instances
Domain Settings/LogFence
Logging detail level
Web Domain
auth_token_domain
Not editable
Domain in which the portal runs. The single sign on token is valid across this domain.
max_threads
$PS_CFG_HOME/webserv/<domain_name>/config/config.xml
Maximum number of threads web logic can create in the default Execute queue.
java_heap_min
$PS_CFG_HOME/webserv/<domain_name>/bin/setEnv.sh
Web server JVM heap size
java_heap_max
appserver_connections
$PS_CFG_HOME/webserv/<domain_name>/applications/peoplesoft/PORTAL.war/WEB-INF/psftdocs/<site_name>/configuration.properties
List of host and port details of the JSH process in App server. Web server forwards requests to these URLs.
Select the hosts where the customization must be applied on the Select Nodes to Apply Customization YAML section.
Click Apply. The system displays errors and warnings related to the update, if any. You can choose to ignore warnings, but the errors must be resolved.
This example illustrates the errors and warnings on the Manage Attributes page that appear on clicking the Apply button.
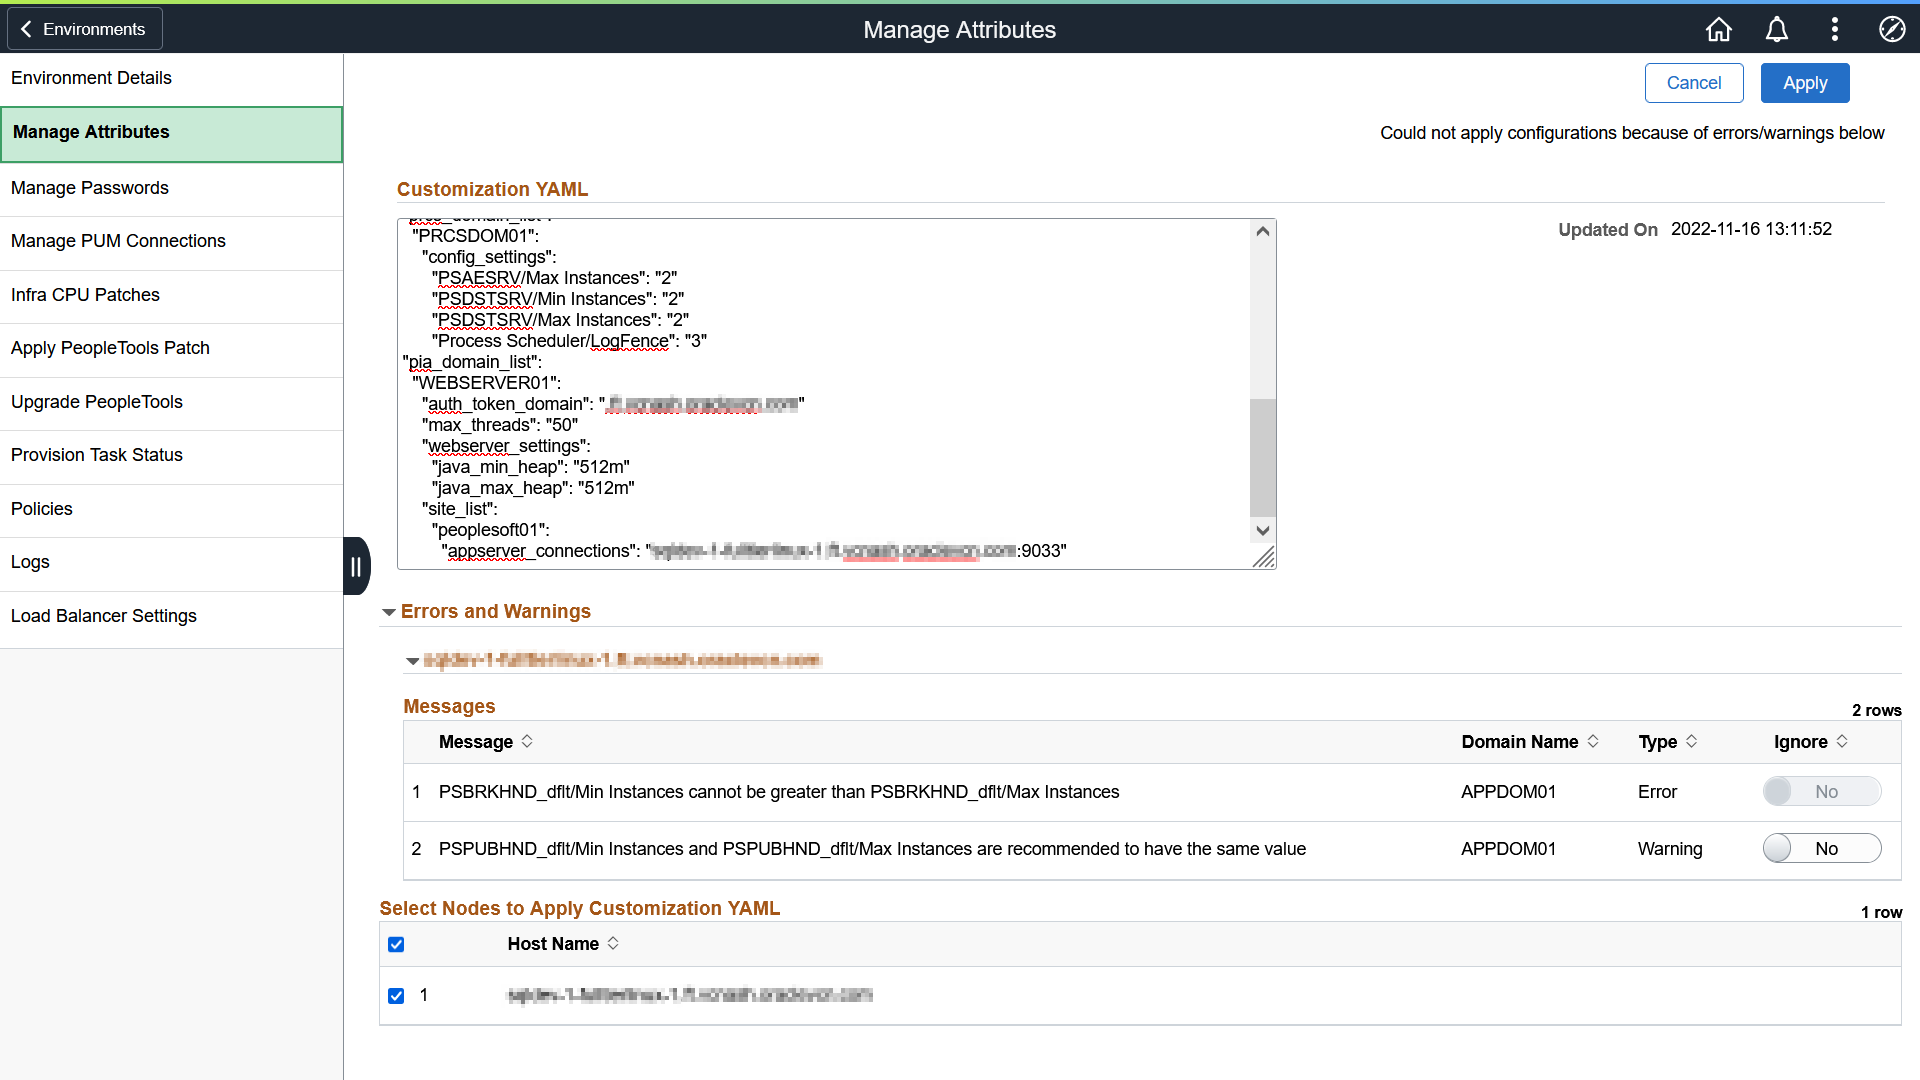
Click Apply after resolving the errors. The system displays a confirmation message.
This example illustrates the confirmation message on the Manage Attributes page that appears after all the errors are successfully resolved and warnings are resolved or ignored.
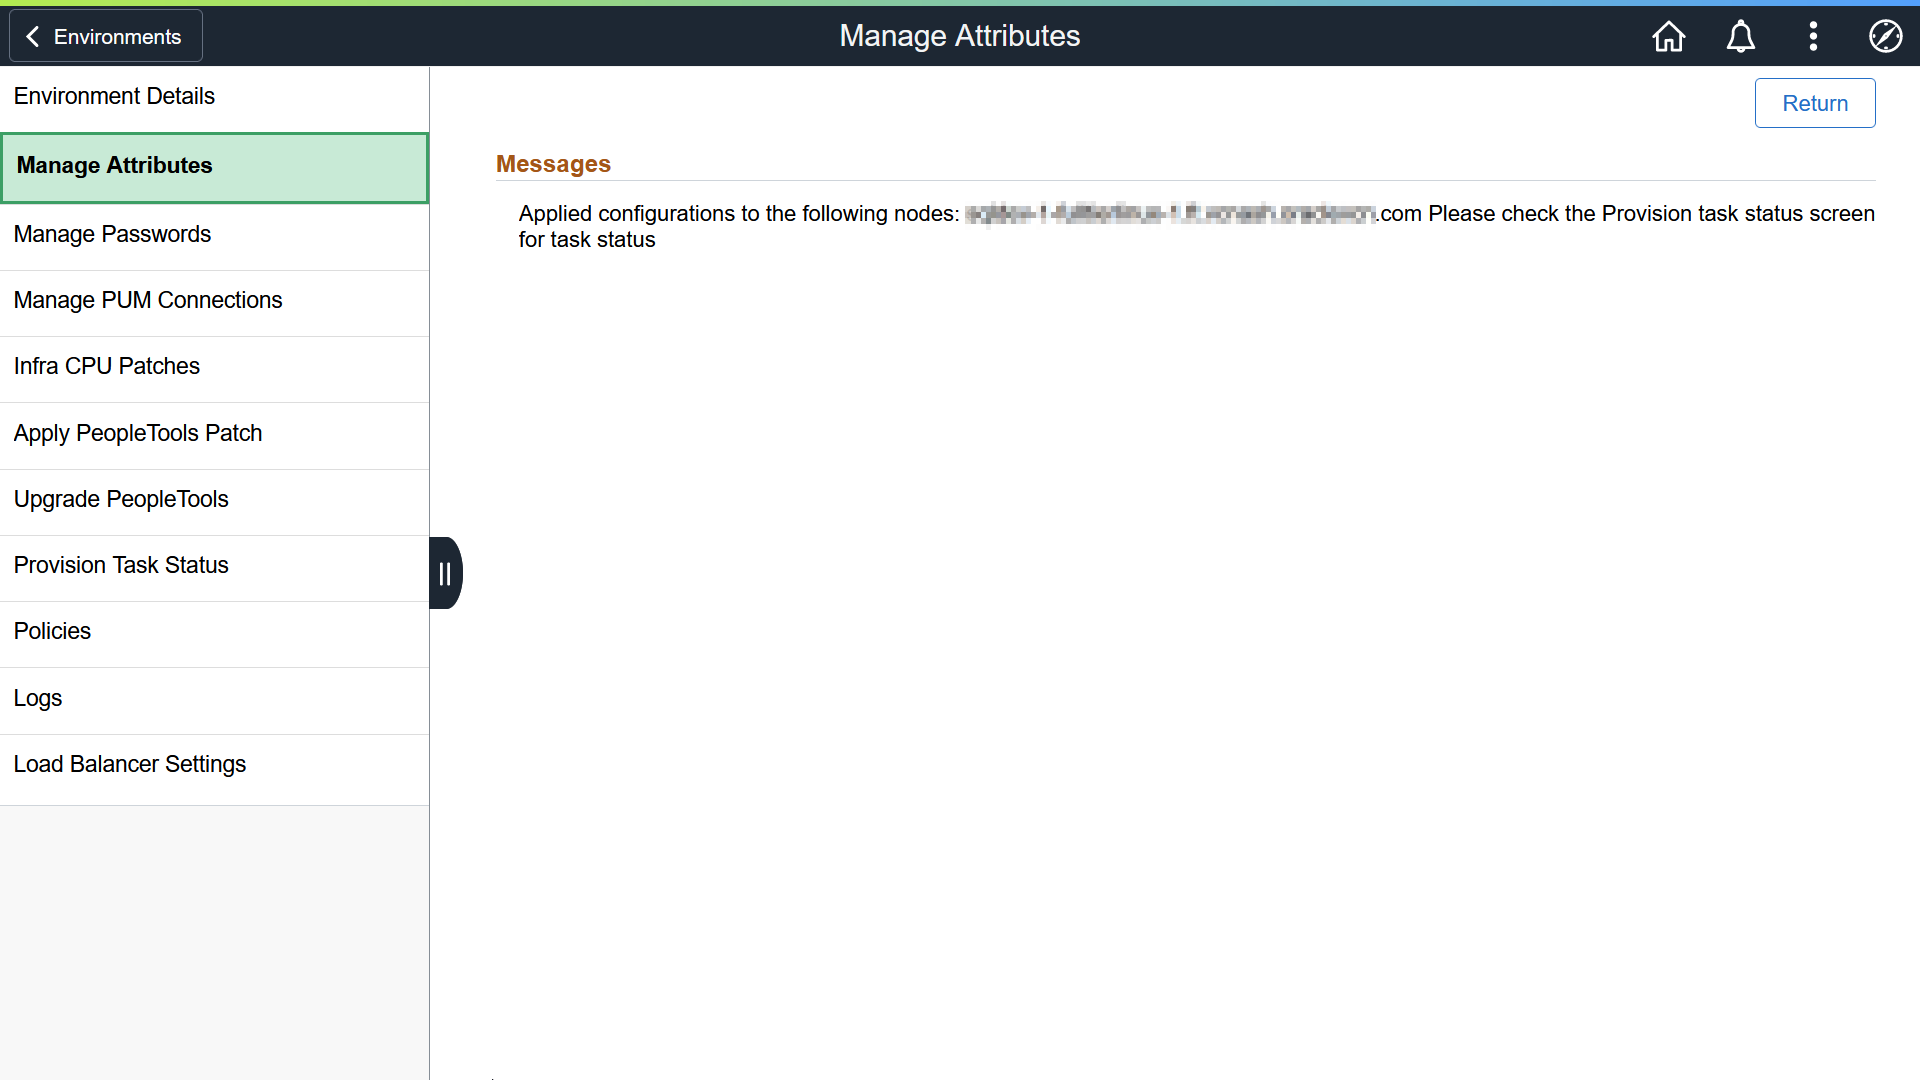
Check the Provision Task Status page for the status of application of custom configurations, where the status of deployment task activities is displayed along with their start and end times. See Viewing Provision Task Status.
You cannot modify the configuration of an instance until the tasks in progress for applying the configuration are completed.
You can find the status of applying custom configurations on the Provision Task Status page. If the task fails, a Failed icon appears in the task Status column. If an environment fails due to the presence of faulty values in the Customization YAML, you must revert the configuration files corresponding to the attributes that were modified in the YAML, followed by reconfiguring the domains where attributes are modified, so that the environment can be restarted successfully. Reverting configuration files to the latest backup file is done from PS_CFG_HOME.
Locating the Default PS_CFG_HOME
When you launch PSADMIN, if a PS_CFG_HOME does not exist, the system creates the PS_CFG_HOME directory in the “user” directory of the current user (the owner of the domain). The system assumes the presence of the following environment variables:
|
Operating System |
Required Environment Variable |
|---|---|
|
UNIX/Linux |
HOME |
|
Windows |
USERPROFILE |
For example, depending on the operating system of the server, the system creates PS_CFG_HOME in the following location on the same drive as PS_HOME.
|
Operating System |
PS_CFG_HOME Location |
|---|---|
|
UNIX/Linux |
$HOME/psft/pt/<version> |
|
Windows |
%USERPROFILE%\psft\pt\<version> |
After you create a domain, the domain exists under $PS_CFG_HOME\appserv\<domain>.
With a user of psftuser, on UNIX/Linux this would appear as:
/home/psftuser/peopletools/8.58
                     peopletools.properties
                     /appserv
                       /CRM
                       /HR
                       /PRCS
                         /CRM_PRCS
                         /HR_PCRS
                       /Search
                       /webserv
                       /ver_dom
With a user of psftuser, on Windows this would appear as:
C:\Documents and Settings\psftuser\psft\pt\8.58
				              peopletools.properties
                     \appserv
                        \CRM
                        \HR
                        \PRCS
                           \CRM_PRCS
                           \HR_PCRS
                        \Search
                        \Temp
                        \webserv
                        pswinsrv.cfg
Note: The previous examples show a situation in which CRM, HR, CRM_PRCS, HR_PRCS and ver_dom are all domain directories. They are not in PS_CFG_HOME by default, and appear only after the domains are created.
To display the default PS_CFG_HOME location, you can submit the following command to PSADMIN:
psadmin -defaultPS_CFG_HOMENote: These commands are not case sensitive.
Retrieving Configuration Files When Deployment Task Fails
To retrieve configuration files:
Locate the configuration backup file in the same folder as the corresponding configuration file. The backup file is found in the following format:
[original_configuration_file_name].cfg_[timestamp_of_backup]Rename the backup file to the original filename without timestamp. The following command can be used:
mv [filename].cfg_[timestamp] [filename].cfgNote: Ensure that you do not alter the ownership and permissions for the configuration file when you rename the file.
Select Configure this domain on the PeopleSoft Domain Administration menu to access the Quick-Configure menu.
Select Load config as shown to apply settings to the configuration files.
Click the Refresh Metadata button on Environment Details page in Cloud Manager.
Click the Fetch Configuration button on Manage Attributes page. The backup configuration file now becomes the original configuration file.