Creating Data Permission Security for Managers
To create data permission security for managers, use the Create Manager Users and Sec. component (RUN_PER510).
These topics provide an overview of data permission for managers and discuss how to create data permission for managers.
|
Page Name |
Definition Name |
Usage |
|---|---|---|
|
RUNCTL_PER510 |
Create and update manager row security permission lists. |
Use the Create Row Level Security for Dept Managers process to grant the appropriate data permission security access for department managers. The process will:
Create a user profile if the manager is new and has no user profile.
Create or update an existing row security permission list for each department manager, giving them access to the data in the departments that they manage.
Delete the row security permission list for a user if it is obsolete (for example, the employee is no longer a manager).
The system uses the MgrID value from the Department Profile page (DEPARTMENT_TBL_GBL) to determine a department's manager. Managers will be given access to every department for which their ID is listed in the MgrID field.
Since you can list only one department manager per department, you will have to manually update the profiles of additional department managers. You can do this by assigning the row security permission list the system creates for the official manager to the unofficial manager's profile. Remember that the system will remove this list every time you run the Create Row Security for Mgr process.
Note: The Create Row Security for Mgr process uses the managers' EmplID as their user ID and uses the following naming convention for row security permission lists: HCDP_DEPT_MGR_[manager's EmplID]
Before You Begin
The Create Row Security for Mgr process uses tree-based security to create row security permission lists for managers. Before you run this process, you must have set up a department security tree.
The hierarchy rules of the department security tree apply to these permission lists. If a manager's department has departments reporting up to it on the security tree, the manager will have access to the people in those departments as well as his or her own.
Refresh User Security Join Tables
The Create Row Security for Mgr process creates and modifies row security permission lists and assigns row security permission lists to, or deletes them from, user profiles. Both of these actions require that you:
Run the Refresh SJT_CLASS_ALL process to refresh SJT_CLASS_ALL with the row security permissions list data.
Run the Refresh SJT_OPR_CLS process to refresh SJT_OPR_CLS with the new user profile and row security permission list pairings from the User Profile - General page.
The system will not enforce the new data permission set up by the process until you run these refresh processes.
Use the Create Manager Users and Sec. page (RUNCTL_PER510) to create and update manager row security permission lists.
Navigation:
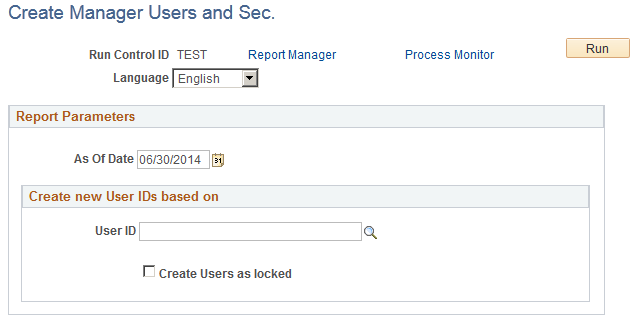
This example illustrates the fields and controls on the Create Manager Users and Sec. page. You can find definitions for the fields and controls later on this page.
Field or Control |
Description |
|---|---|
As Of Date |
Select the date as of which the row security list permission list should become effective. |
User ID |
Select a default User ID. The system will base the new user IDs on this default. |
Create User as locked |
Select to lock all the new user IDs. |
The Create Row Security for Mgr process consists of two PeopleSoft Application Engine processes and one SQR report:
HR_PER510.
Determines the changes required in order to maintain data-permission for department managers.
HR_PER510_CI
Applies to the database the changes determined by HR_PER510.
SQR report PER510
Lists the changes determined by HR_PER510 and applied by HR_PER510_CI and their status.
Note: You must select each process individually and wait for it to complete successfully before selecting and running the next process.