Maintaining Reports
This section provides an overview of the purge reports process and discusses how to view archived reports.
When PeopleSoft Process Scheduler is set to perform a periodic purge on the System Purge tab in the system settings, it triggers the Application Engine program PRCSYSPURGE. This program purges both the Process Request and Report Manager tables. As part of the Report Manager cleanup, it also purges the reports from the Report Repository and archives the data into the Report Archive table.
The application server must be running during the purge process for reports posted by an HTTP report node or a FTP report node. This is necessary because:
For reports posted by an HTTP report node, user authentication is done while deleting reports. The application server must be running to enable the purge process to delete expired reports.
For reports posted by a FTP report node, a HTTP request is made to check if the reports are present in the report repository.
Note: The purge process will not run unless the user ID that starts the Process Scheduler has TLSALL listed as a process group within the primary process profile. The PRCSYSPURGE program is delivered with the TLSALL process group.
If multiple Process Schedulers are running against the same database, and each has its own Report Repository, PRCSYSPURGE is initially responsible for the purge process. It will remove all entries from the PS_CDM_LIST table and then purge all reports that match its server name or report node from its report repository. The PRCSYSPURGE program then inserts entries to the PS_CDM_LIST_PURGE table where neither the server name nor the report node name matches. If the PRCSYSPURGE program detects that more than one Process Scheduler is active, it schedules the Application Engine PRCSRVCLN program to run on all the other active Process Scheduler servers. The PRCSRVCLN program checks whether the server uses its own Report Repository and if so, the program deletes reports from the report Repository that is used by the server.
Note: If two Process Schedulers have the same report node (report repository), then one scheduler performs the deletions for both schedulers.
For BI Publisher reports, metadata related to expired reports is archived when the process PSXPARCHATTR runs. This process runs automatically as part of the PRCSYSPURGE program. The URLs of the report files are archived along with the process information in the PSXP_FLURL_ARCH table. Search data related to BI Publisher reports is stored along with the process information in the PSXP_RATTR_ARCH table.
Expiration Date for Reports
The PeopleSoft Process Scheduler system settings feature has an option for that is used to calculate the expiration date of reports that are displayed in the Report Manager. The expiration date is determined by adding the retention days from the date on which the report was generated.
Retention days can be set at the system setting level, the process type, the process definition or the run control ID. In order for reports to be purged the same day, the retention days on the system setting must be 0 (zero). A value of 0 at the system setting level will be overridden by a non-zero value for retention days in the run control ID, process type or process definition.
This example illustrates how the system calculates the expiration date.

To access the Report Manager - Administration page, select Reporting Tools, Report Manager, Administration.
This example illustrates the fields and controls on the Report Manager - Administration page. You can find definitions for the fields and controls later on this page.

To view the report results in another browser window, click the description of the required report. To view the report results or any associated log or message file, click the Details link. Click the name of the required report or message to display the output in another browser window.
Note: The reports that are listed on the Report Manager - Administration page are from only the database to which you are signed in.
This section discusses how to:
Delete reports.
Add users to the distribution list.
Deleting Reports
Field or Control |
Description |
|---|---|
Select |
Use the check box to the left of each report to select individual reports |
Select All and Deselect All |
Click Select All to select all the reports that you are authorized to delete. When they are selected, click the Delete button to delete all the selected reports. Click Deselect All to deselect all reports. |
Adding Users to the Distribution List
To add users to the distribution list:
Click the Details link for the required report.
The Report Detail page appears. If you do not have authorization to add users, the page is display-only.
Click the Add button to add user or role IDs to the distribution list.
Note: You can save a report to your local workstation by right-clicking the appropriate Detail link and selecting Save Target As.
Access the Report Manager - Archives page.
This example illustrates the fields and controls on the Report Manager - Archives page. You can find definitions for the fields and controls later on this page.
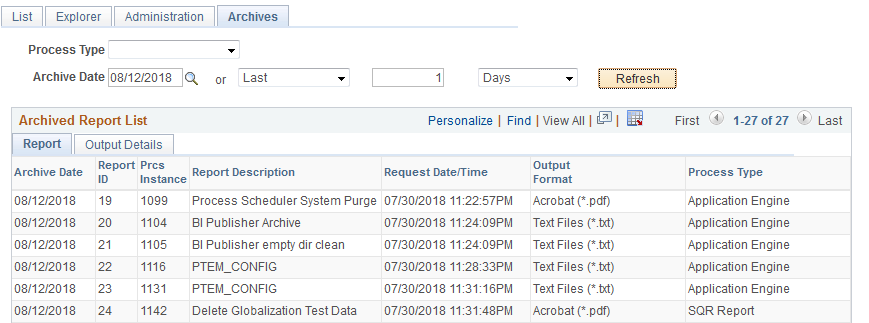
Use the Report Manager - Archives page to view reports that have been purged from the report list after they have passed their expiration date. You cannot retrieve a purged report from the list, but the list displays the information that you need to retrieve a report from the backup or history copies of reports.