Creating Change Package
Use the Create Change Package action to create the change package in Change Assistant. The Change Package definition must have a status of complete in order for it to be available in Change Assistant.
To create a change package:
In Change Assistant, select the Update Manager action.
The Update Manager action is available from:
The menu by selecting Tools, Change Actions.
Clicking Next on the Welcome page.
Select Create Change Package and click Finish.
Select the change package to create and click Finish.
The Change Package Wizard will generate the change package. When the package is created you will receive a message indicating the change package was successfully created.
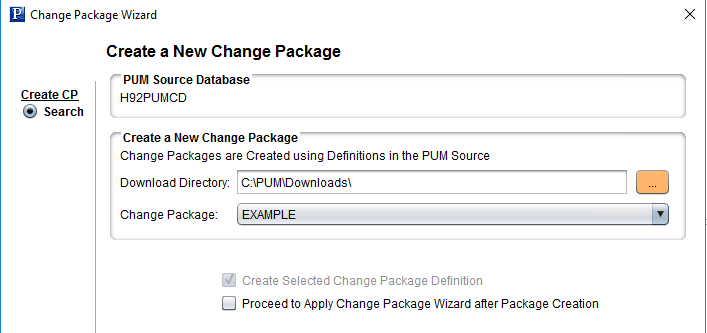
This example illustrates the fields and controls on the Create a New Change Package page. You can find definitions for the fields and controls later on this page.
Field or Control |
Description |
|---|---|
Download Directory |
Select the download directory to use for this change package. The default is the download directory defined on the Options page. |
Change Package |
Select the change package from the drop down of available change package definitions. |
Proceed to Apply Change Package Wizard after Package Creation |
Select this check box to proceed to the Apply Change Package Wizard when the package is created. |
From PeopleTools 8.60, Change Assistant exports minimal Managed Object (MO) project that is sufficient for the change package create process. The entire MO project is exported during the change package apply process as the source apply step. This is applicable to the package types RFU, PUM, DLT, TDP, and UPG available in the Update Manager mode.
Note: This minimal MO project should not be used to run any compares with the Target database since it is a minimal package.