5. Cross Border Inbound Transaction
5.1.1 Inbound Cross Border Payments Transaction Input
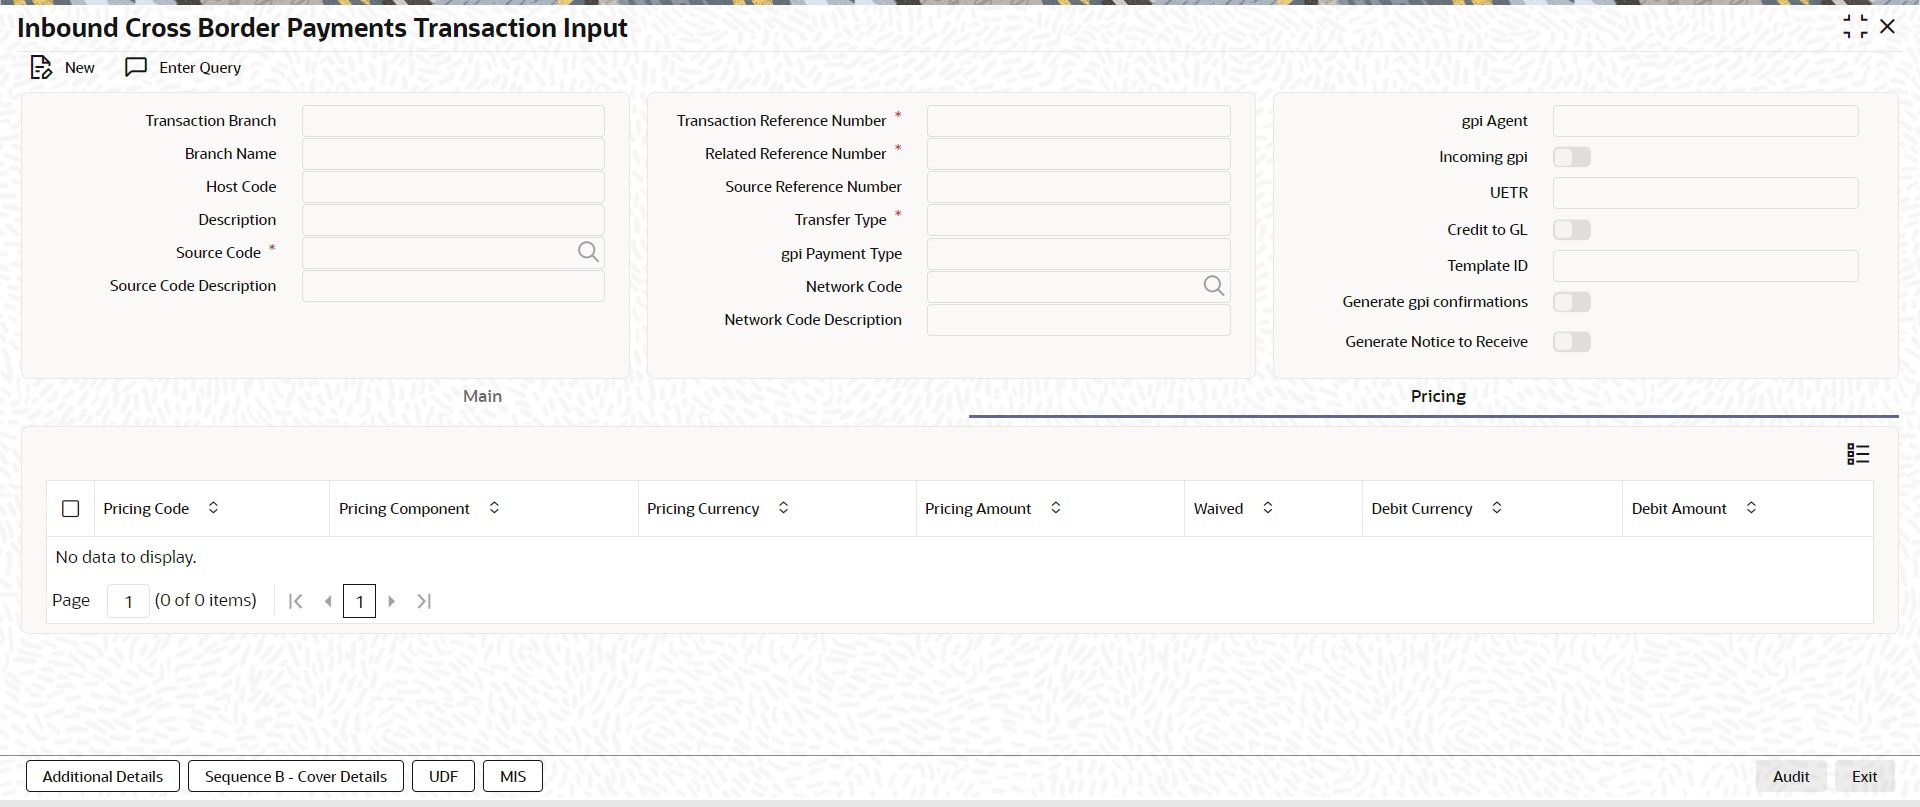
You can book an Inbound SWIFT payment by providing input for the payment transaction in this screen.
You can invoke the ‘Inbound Cross Border Payments Transaction Input’ screen by typing ‘PXDITONL’ in the field at the top right corner of the application toolbar and clicking the adjoining arrow button. Click ‘New’ button on the Application toolbar.
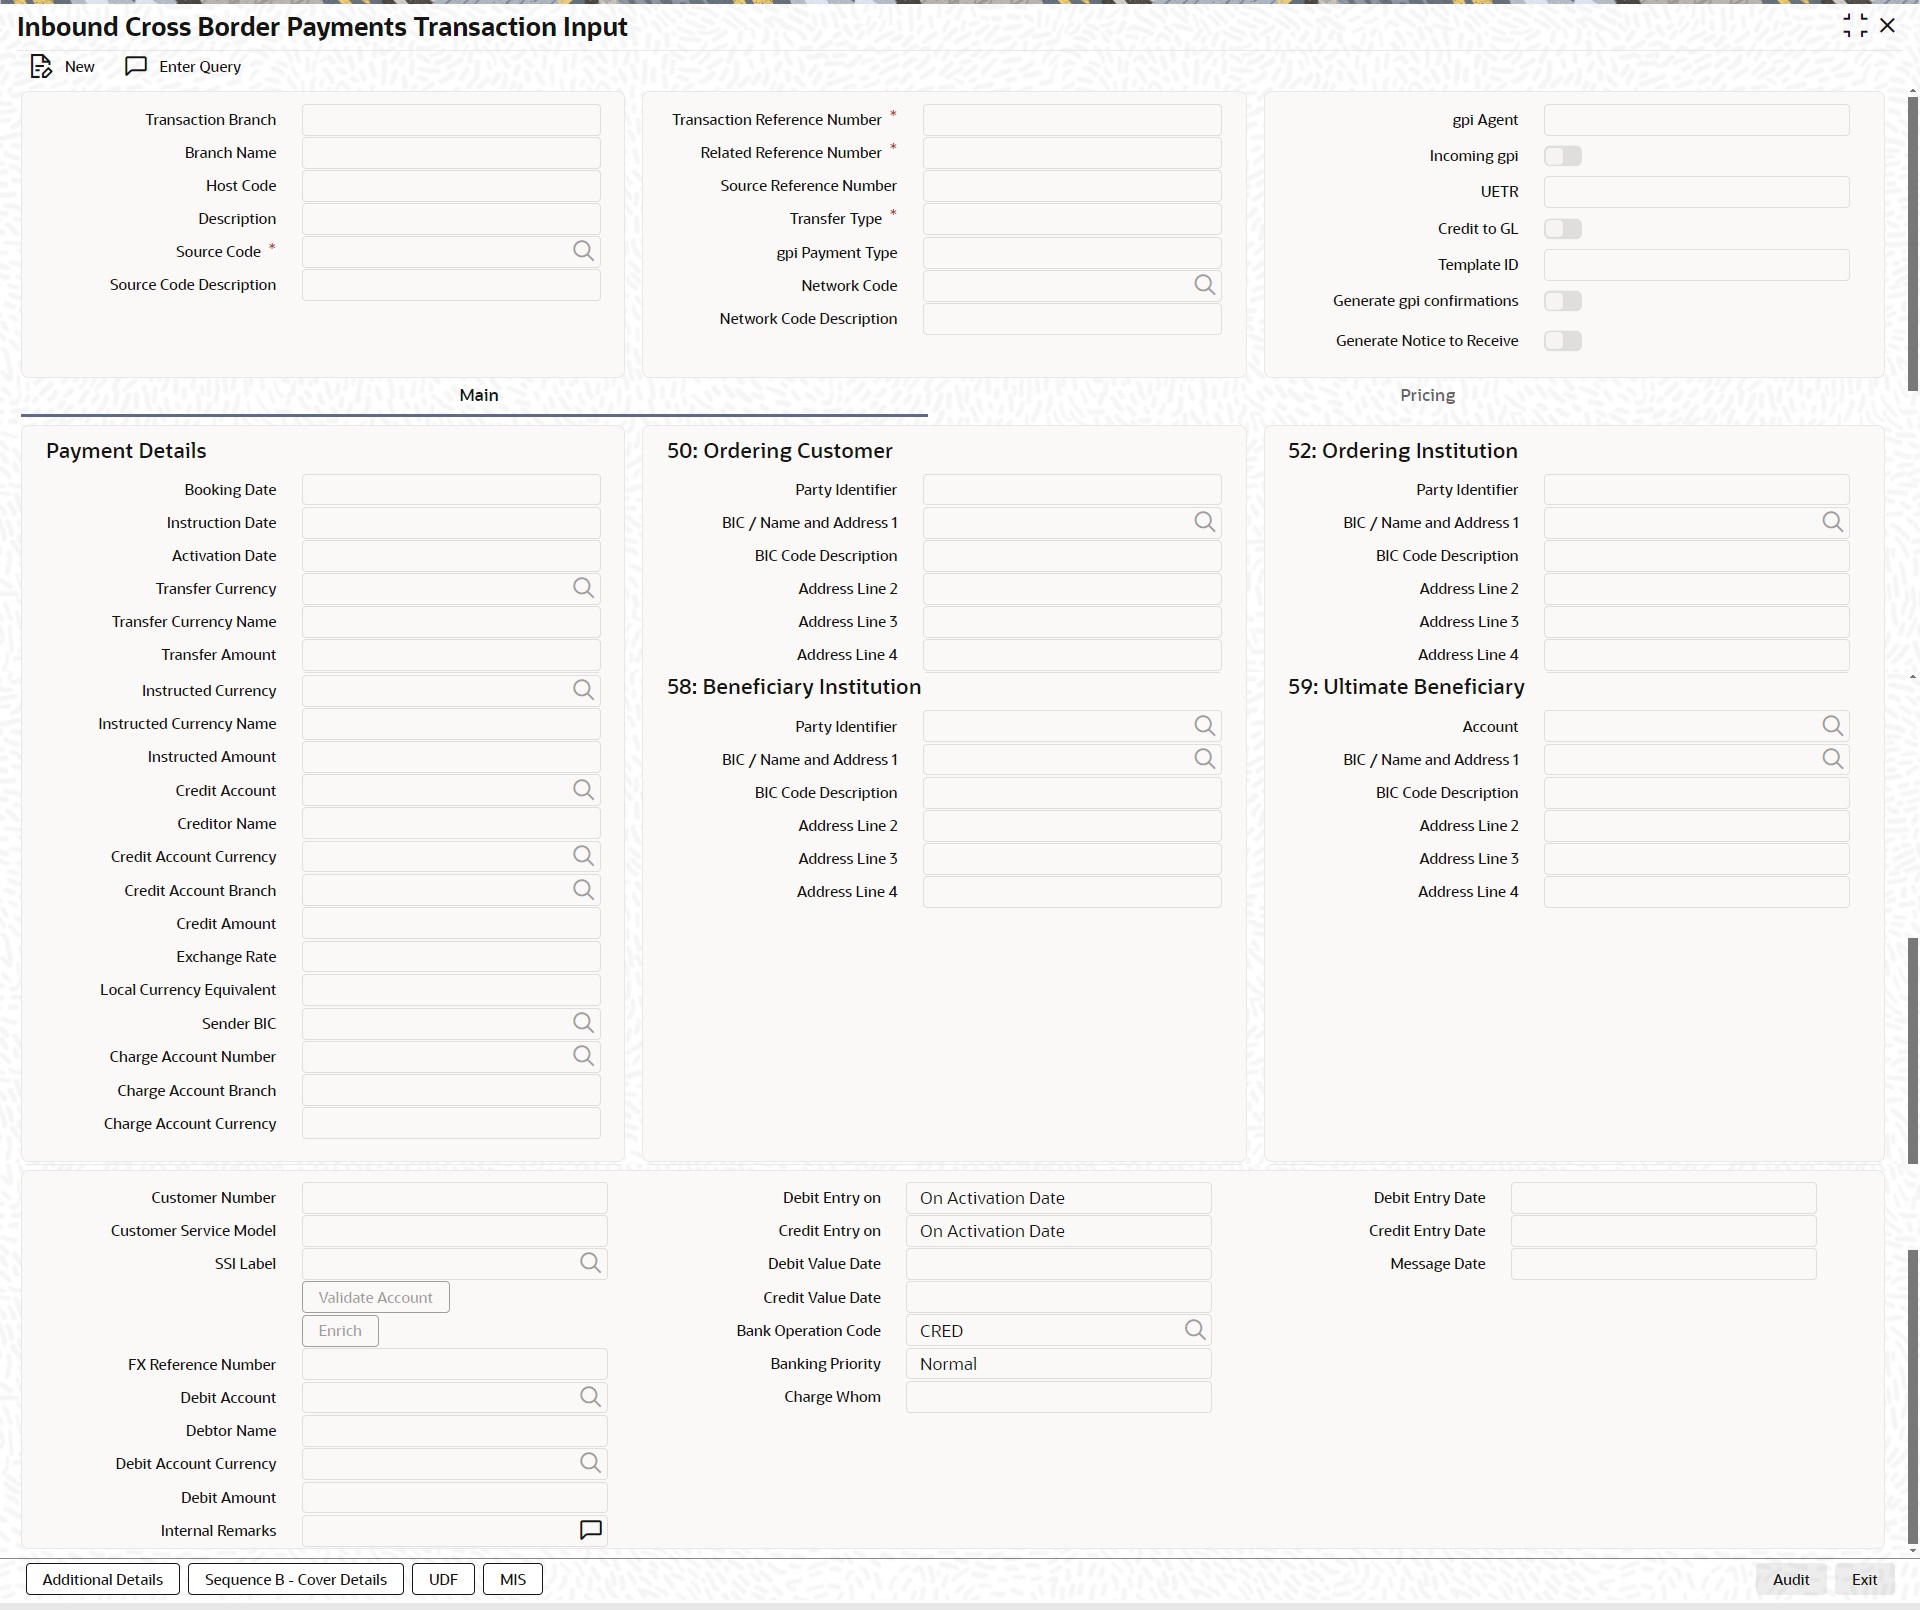
Specify the following details:
Transaction Branch Code
Defaults and displays the current user’s logged in branch.
Branch Name
Displays the Branch Name
Host Code
Displays the host code of the logged in user.
Host Code Description
Displays the description of the Host code displayed
Source Code
Specify the Source Code, via which the transaction is to be booked.
Source Code Description
System displays the description of the Source code selected.
Transaction Reference Number
System displays auto-generated Transaction reference number. For more details on the format, refer the Payments Core User Guide.
Related Reference Number
On clicking ‘New’ this field will be blank. You can specify the Related Reference Number manually, if required.
Source Reference Number
Specify the Source Reference Number.
Transfer Type
Select the Transfer Type from the following drop-down list:
l Customer Transfer
l Bank Transfer
l Customer Transfer with Cover
gpi Payment Type
Select the gpi Payment Type from the following drop-down list:
l gCCT
l gCOV
l gFIT
l gLowValue
Only if incoming gpi is checked, gpi Payment Type field is enabled.
Network Code
You can select the Cross border network. All valid Cross border and RTGS networks are listed.
Network Code Description
System displays the description of the Network code selected.
gpi Agent
This field is not editable and is disabled. This field has the values as - Yes/ No/Confirm.
Incoming gpi
Check this box to indicate the transparency between all the parties involved in payment chain, when the settlement is completed. This is an editable field.
UETR
UETR is Unique End to End Transaction Reference number. This is a reference number specific to the transaction which is used to track the transaction through the life cycle.
Credit to GL
Check this flag to receive inbound payments from other systems internal to the Bank, for which actual credit is processed by that system itself.
Note
It is not mandatory to have a credit account /customer for the transaction if credit to GL flag is checked. On enrich or save the system populates the credit account as the ‘Intermediary Credit GL’ maintained at the source.
Template ID
This field is read only always.
Generate gpi confirmations
Check this field to generate gpi confirmations. By Default, this flag is un-checked.
Note
On click of 'Enrich' button, system performs additional validation on the UETR
l If 'Generate gpi confirmations' flag is checked (Y), you can input the UETR field.
l System checks if the UETR, as input by the user, is as per the standard format as defined by SWIFT.
UETR Format specification (36!x):
l The format of this field is xxxxxxxx-xxxx-4xxx-yxxx-xxxxxxxxxxxx where x is any hexadecimal character (lower case only) and y is one of 8, 9, a, or b.
l The UETR field is using the UUID specification (IETF's RFC 4122 https://www.ietf.org/rfc/rfc4122.txt - using version 4 of the generation algorithm), in lower case.
If any of the above validation fails for UETR, system gives an error message
l UETR input is available, if 'Generate gpi confirmations' flag is checked (Y).
l UETR input by the user is not as per the standard format. Please correct the same to proceed further.
Generate Notice to Receive
This field indicates if Notice to Receive (MT 210) message generation is required. By Default, this flag is un-checked.
Notice to Receive (MT 210) message is auto generated in the application in below scenarios:
l When the 'Generate Notice to Receive' flag is checked.
l Debit account is a Nostro Account defined in External Customer Account Input (STDCRACC) screen.
l Debit account is a currency correspondent account defined in Currency Correspondent Detailed (PMDCYCOR) screen.
Generated Notice to Receive (i.e. MT 210) message is sent to the Nostro Account BIC.
Note
Generate Notice to Receive and 56 Intermediary bank field details are available in Web Services and ReST Services
5.1.1.1 Main Tab
Click the Main tab in the ‘Cross Border Inbound Transaction Input’ screen.
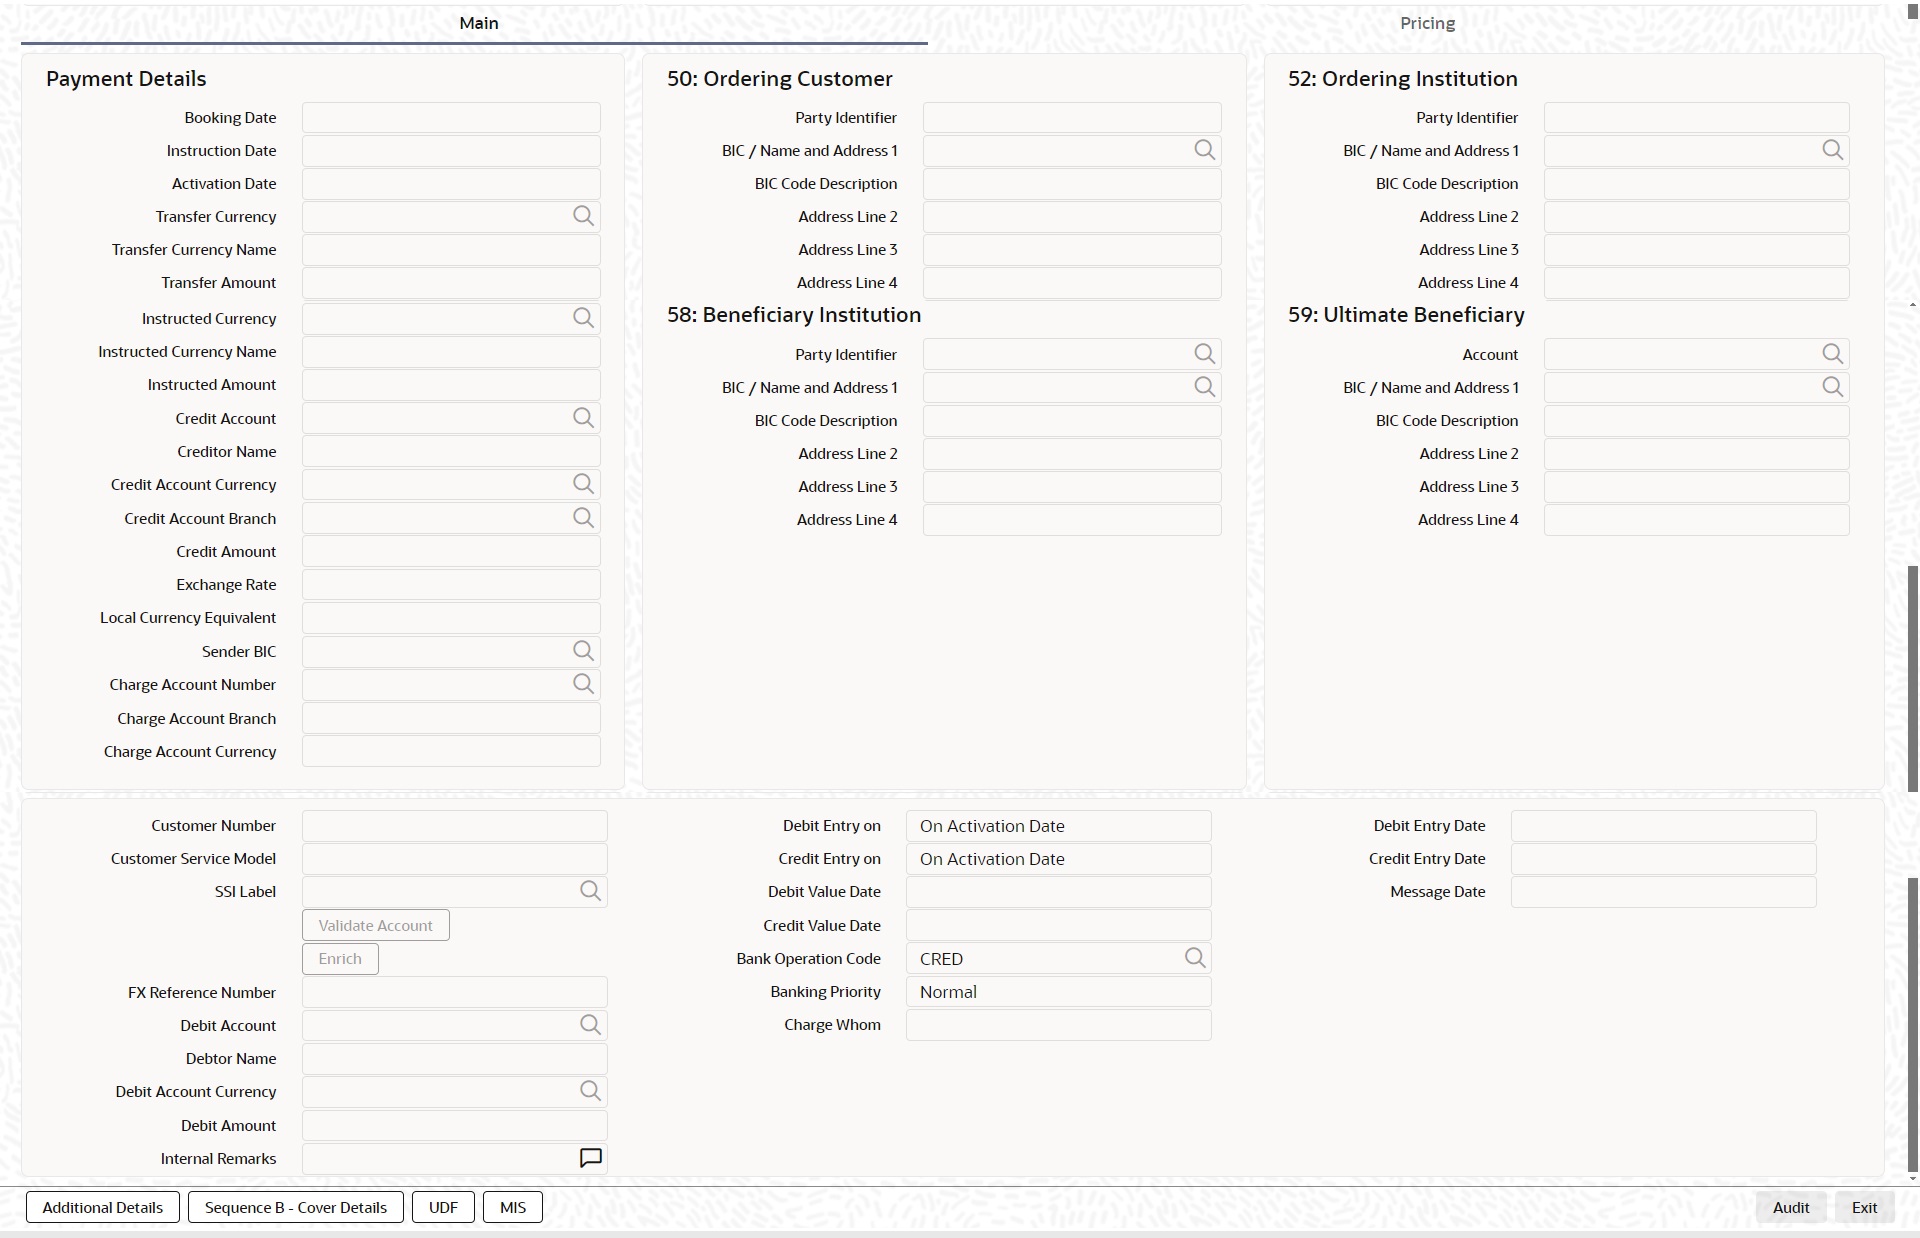
Specify the following details:
Payment Details
Booking Date
Booking date is selected as the current branch date.
Instruction Date
Select the customer advised Value Date of the transaction using the adjoining calendar widget.
Activation Date
Activation Date is a read only field. System derives the Activation date, based on the Instruction Date given and the Settlement Days maintained.
Transfer Currency
Specify the currency in which the payment needs to be made. Alternatively, you can select the currency from the option list. The list displays all valid currencies maintained in the system.
Transfer Currency Name
System defaults the name of the Transfer currency displayed.
Transfer Amount
Specify the Transfer amount.
Instructed Currency
Specify the currency instructed by the customer. Alternatively, you can select the currency from the option list. The list displays all valid currencies maintained in the system. This is optional field.
Instructed Currency Name
System defaults the description of the Instructed currency opted.
Instructed Amount
Specify the Instructed amount by the originator.
Credit Account
Specify the credit account, to which the amount is to be credited. Alternatively, you can select the Credit account from the list of values. You can select, both DDA and loan accounts from the list of values, as the Credit Account.
All open and authorized accounts maintained in External Customer Account (STDCRACC) and External Consumer Loan Account (STDCRCLN) are listed here. The LOV values for also display the trade contract numbers from External Trade Contract Input (STDCRTRD) and loan account numbers from External Consumer Loan Account Input (STDCRCLN).
Note
– Customer Status Validations and preferences are applied based on the Customer ID linked to Loan/ DDA Account
– EAC check is skipped, if the Credit account is a Loan account
– During initial validations, loan account check is done before account re-direction
– Credit Account also gets populated on providing Account number in 59:Ultimate Beneficiary section. On clicking Enrich details gets populated
Creditor Name
System defaults the account name of the Credit account selected.
Credit Account Currency
The system displays the credit account currency based on the credit account selected in the 59: Ultimate Beneficiary section. In case if Credit Account selected is a GL account, you can specify it from the list of values.
Credit Amount
It is populated as the credit amount expressed in credit currency.
Exchange Rate
The exchange rate is applicable for cross-currency transactions. The transaction is considered as cross-currency transaction if for an inbound payment the debit account currency is different from the transfer currency.
Local Currency Equivalent
Local Currency Equivalent amount is populated on clicking of Enrich button while defaulting Debit / Credit Amount.
Transactions that are received through services the Local Currency Equivalent amount is derived along with Debit / Credit amount values.
Transactions that are moved to Internal/External Exchange rate queue, the Local Currency Equivalent amount is rederived along with Debit / Credit amount values when user provides exchange rate manually to process the transaction further from Exchange Rate Queue.
Note
Local Currency Equivalent Amount is derived as below:
l If Debit Account Currency is same as Branch LCY, then Debit Amount is defaulted as Local Currency Equivalent amount.
l If Credit Account Currency is same as Branch LCY, then Credit Amount is defaulted as Local Currency Equivalent amount.
l If Debit Account Currency, Credit Account Currency and Branch LCY are all different, then the Local Currency Equivalent amount is derived by applying STANDARD-MID rate on the Credit Account Currency.
Sender BIC
Specify the Sender Bank details, from where the payment is sent. Select the BIC of the Sender Bank from the list of values displayed.
Charge Account Number
Specify the Charge Account Number from the list of values. System lists all accounts (open & authorized) of the selected customer.
Charge Account Branch
The Account Branch of the selected charge account is displayed.
Charge Account Currency
The Account Currency of the selected charge account is displayed.
Customer Number
System defaults the value of Customer Number on clicking Enrich, based on the Account selected in Ultimate Beneficiary section
SSI Label
Select the required SSI label from the list of values.
Note
This list will be populated with valid SSI Labels, applicable for the customer and the Network. If Customer or Network details are not available, the fetch action of the list of values displays the information message to this effect. The list of values is queried based on the fields SSI Label, Beneficiary Bank ID, Beneficiary Account & Account IBAN.
FX Reference
Specify the foreign exchange reference.
Debit Account
Specify the debit account of the transaction. Alternatively, you can select the debit account from the option list. The list displays all valid accounts maintained in the system.
Debtor Name
System defaults the name of the Debit account selected.
Debit Account Currency
The system displays the debit account currency based on the debit account selected.
Debit Amount
System defaults the Transfer Amount specified. On clicking Enrich, system calculates the Debit Amount based on the Exchange Rate specified and the Currency specified.
Debit Entry on
Select the Debit Entry posting date preference from the following values:
l On Activation Date (Default)
l On Value Date
Credit Entry on
Select the Credit Entry posting date preference from the following values:
l On Activation Date (Default)
l On Value Date
Note
l This defaulting is done if the values are not inputted or not given in the REST/SOAP service request.
Debit Value Date
The system displays the Debit Value Date.
Credit Value Date
The system displays the Credit Value Date.
Message Date
For inbound transactions, the system computes the message date based on the credit value date.
Bank Operation Code
Select the bank operation code from the option list. Options available are as follows:
l CRED – Credit Transfer with No SWIFT Service Level
l CRTS – Credit Transfer for Test Purposes
l SPAY – Credit Transfer for SWIFT Pay Service Level
l SPRI – Credit Transfer for Priority Service Level
l SSTD – Credit Transfer for Standard Service Level
If no value is selected then system defaults this field value to “CRED”.
Note
This is applicable only for customer transfers.
Banking Priority
Specify the priority of banking. Choose between Normal, Urgent and High.
Charge Whom
Specify the charge bearer for the transaction. The list displays the following values:
l OUR
l BEN
l SHA
Validate Account
When the incoming transaction is received through channels / upload, the system sends ECA request to OBVAM as part of account validations if:
l The Host allows Virtual Identifiers AND
l Transaction is not Credit to GL AND
l Credit account is not valid based on core accounts available,
If the validation is returned with the response as Account Invalid, the transaction is moved to Repair Queue.
Debit Entry Date
The system computes the Debit Entry Date as the activation date.
Credit Entry Date
The system computes the Credit Entry Date as the activation date.
Message Date
For inbound transactions, the system computes the message date based on the credit value date and displays it here along with the cut-off time.
50:Ordering Customer
Specify the details of the Customer who has ordered for the payment to be initiated.
This is applicable only for 'Customer Transfer' type of transaction.
52:Ordering Institution
Specify the details of the financial institution that has ordered for the payment to be initiated.
58: Beneficiary Institution
Specify the financial institution which is the ultimate recipient of the funds being transferred.
This is applicable only to Bank Transfers.
You can capture below mentioned details of the Beneficiary Institution here.
l Specify the account number in the first line starting with “/”
l Specify the BIC code in the second line. You can also select the appropriate BIC code from the adjoining option list that displays all valid BICs maintained in the system.
l You can also specify the Name and Address of the Beneficiary Institution instead of the BIC Code, in lines 3 to 5.
59: Ultimate Beneficiary
Specify the details of the Ultimate Beneficiary of the payment. This field is available only for ‘Customer Transfer’ type of transactions.
You can capture below mentioned details of the Beneficiary here.
l In Line 1, specify the customer beneficiary account number to which the transaction amount should be credited. You can specify the IBAN of the account. Alternatively, you may search and select the account number using LOV if the beneficiary account is maintained with the bank, which is the case in inbound payments. This field is available only for ‘Customer Transfer’ type of transactions.
l Specify the Name and Address of the Beneficiary in lines 2 to 5.
l Instead of the Name and Address, you can also specify the BIC code of the Beneficiary in line 2.
Debit Value Date
System displays the activation date as Debit Value Date
Credit Value Date
System displays the instruction date as Credit Value Date
Message Date
The system computes the message date based on the credit value date and displays it here along with the cut-off time.
Internal Remarks
Specify any Operations remark or additional info pertaining to this transaction
Note
On Incoming Cross Border Transaction liquidation, Credit Advice is generated as per current advice framework, to the creditor, Advice tag '_REMARKS_' for Remark is available in the generated mail advice.
5.1.1.2 Additional Details Button
You can capture additional information and view field values set by the system for the transaction.
You can invoke the ‘Additional Details’ sub-screen in Transaction Input by clicking the “Additional Details” link present at the bottom of the screen.
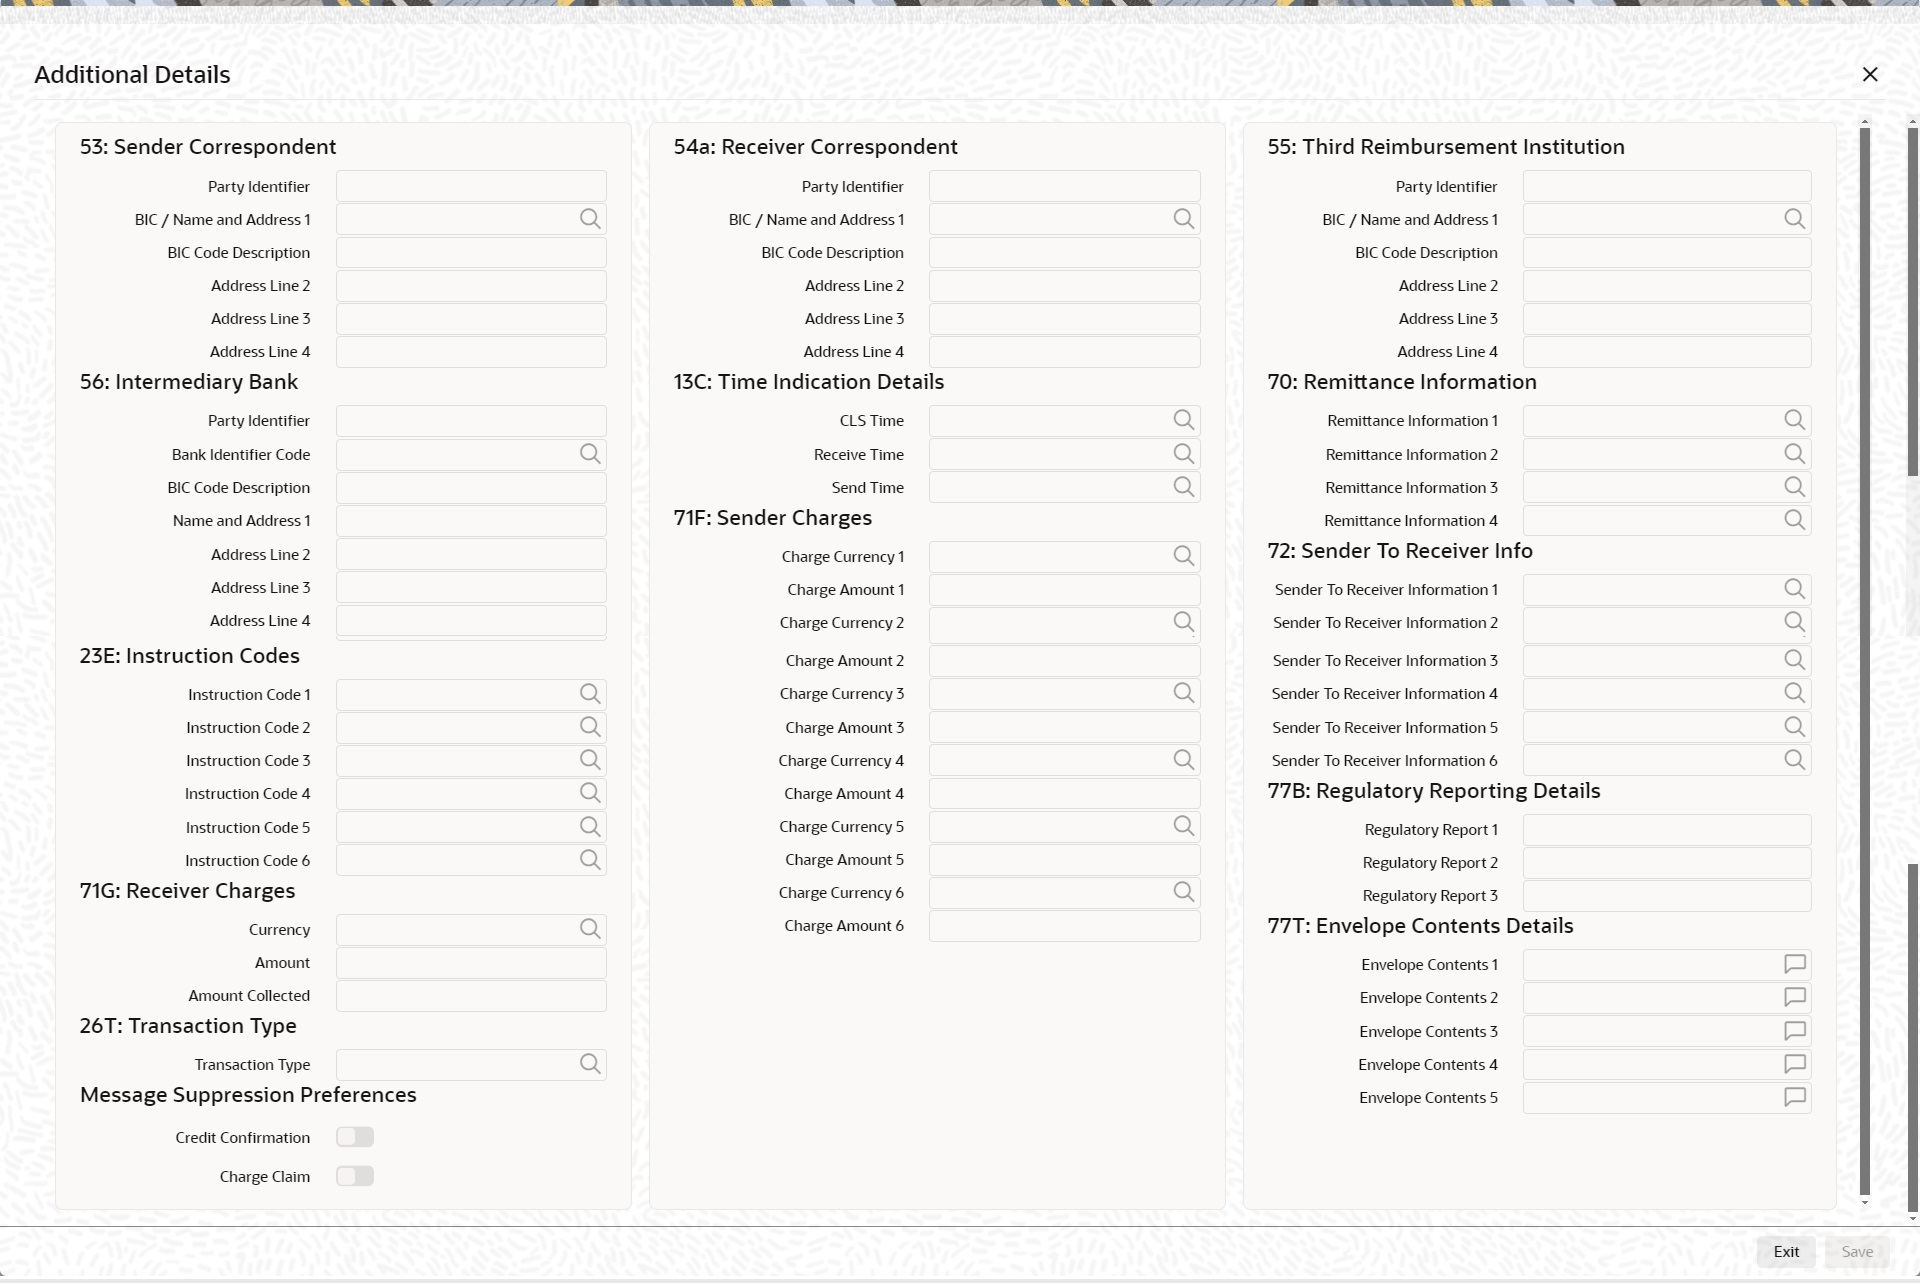
Specify the following details:
53: Sender Correspondent
The system displays the Party Identifier, BIC code or details like Name and Address of the sender’s correspondent through which the payment transaction should be routed. This value is populated after deriving the Payment chain as part of the processing. This BIC would be present in the Currency Correspondent maintenance for the Transfer currency.
54a: Receiver Correspondent
The system displays the Party Identifier, BIC code or details like Name and Address of the branch of the receiver or another financial institution in which the funds are made available to the receiver. This value is populated after deriving the Payment chain as part of the processing. This BIC would be present in the Global Correspondent maintenance for the Transfer currency.
55: Third Reimbursement Institution
The system displays the BIC code or details like Name and Address of the receiver's branch, when the funds are made available to this branch through a financial institution other than that indicated in Field 53. This value is populated after deriving the Payment chain as part of the processing. This BIC would be present in the Global Correspondent maintenance for the Transfer currency.
56: Intermediary Bank
The system displays the Party Identifier, BIC code or details like Name and Address of the branch of the Intermediary Institution or another financial institution in which the funds are made available to the Intermediary Institution.
13C: Time Indication Details
Specify the standard time indication related to the processing of the payment instruction. You should input the standard Time indication code (placed between ‘/’) followed by Time, a sign (+ or -) and the Offset from UTC. Alternatively, you can select the time indication code from the option list. The list displays all valid time indications maintained in the system, which are CLSTIME, RNCTIME and SNDTIME.
70: Remittance Information
Specify the Remittance Information details from fields 1 to 4.
72:Sender to Receiver Information
Displays the details of Sender to Receiver information comprising BIC or Name and Address
23E: Instruction Codes
Instruction Code 1 through to Instruction Code 6
Specify a standard Instruction code in each field and then input additional information. Alternatively you can select the standard Instruction code type from the option list. The list displays all valid instruction codes maintained in the system.
71F: Sender Charges
Sender Charge Ccy 1 through to Sender Charge Ccy 6
The system displays the charge currency of Sender’s charges that are deducted from the Transfer amount by this bank (Sender) or by any of the previous banks in the payment chain. These charges are applicable in case of Customer Transfers and the Charge Whom field value selected is SHA or BEN.
Sender charge Amount 1 through to Sender Charge Amount 6
The system displays the amount of Sender’s charges.
In case of an Inbound Customer transfer message, each of the previous banks in the payment chain would have deducted charges from the Transfer amount and details of the same would be present in the message. The Charge currency and Charge amount of each of these charges would be populated in up to 6 sets of these fields in addition to the charges deducted by this bank
77B: Regulatory Reporting Details
Specify the statutory and/or regulatory information required by the authorities in the country of receiver or sender. You should specify this information by specifying a regulatory code (placed between ‘/’) followed by 2 character country code and followed by regulatory details. This information should be specified in up to 3 lines each containing 35 characters.
71G: Receiver charges
If Charge Whom field in the Preferences section of the Main tab has a value of “OUR” then you can specify the Receiver’s charges in case of ‘Customer Transfer’ if they are required to be included in the Settlement amount.
Currency
Specify the charge currency.
Amount
Specify the charge amount due to the receiver.
Amount Collected
The system populates this field based on the Receiver charges specified.
26 T: Transaction Type
Transaction Type
You can specify the transaction type code for the transaction or you can select from the list of values. The list of value contains the allowed Transaction Type codes/Purpose Codes maintained for the given network code.
77T: Envelope Contents Details
Specify the contents of the Envelope in the lines from 1 to 5.
Note
System supports processing of Inbound MT 103 Remit message. MT 103 Remit message would be generated if the below mentioned conditions are satisfied:
– ‘Remit Member’ flag is checked for both sender and receiver BIC
Processing of MT 103 Remit message is same as MT 103 message. You can view the contents of an Inbound MT 103 Remit message received on the Inbound Message Browser screen and on the Messages sub-screen of the Cross Border Inbound Payment Transaction view screen.
Message Suppression Preferences
The generation of messages can be suppressed at transaction level by selecting the appropriate preference flag:
Credit Confirmation
Select this flag to suppress MT 910. The message that gets suppressed is MT 910.
Charge Claim
Select this flag, is message to suppress is MT 191.
5.1.1.3 Sequence B - Cover Details Tab
You can invoke this screen by clicking Sequence B - Cover Details tab in the PXDOTONL screen. This screen is applicable only for Transfer Type 'Cover Transfer'.
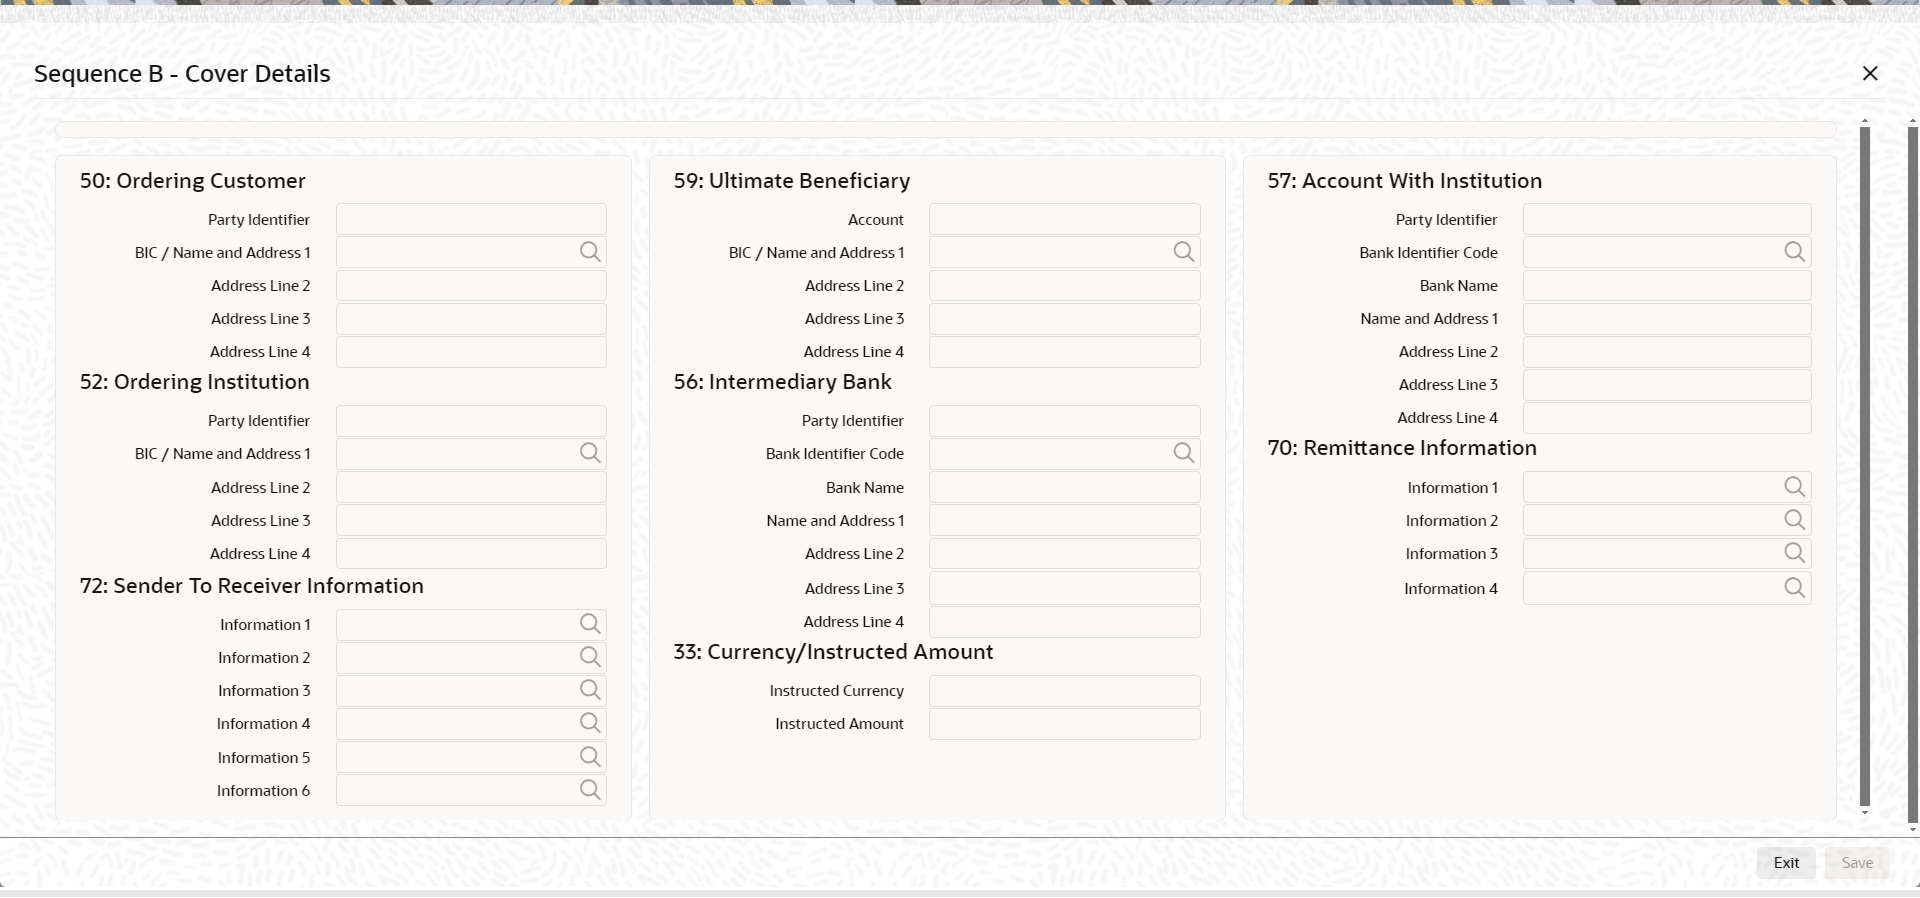
After clicking this button you can input/modify the details of underlying Transaction when transfer type is selected as Cover Transfer.
Note.
The fields shown above contains underlying MT 103 transaction details hence field Description, Data Type, Field length of the fields remain same as present currently for MT 103 transaction.
Values which are entered by user on cover detail screen will be sent in sequence B of an incoming MT 202/205 COV message.
5.1.1.4 UDF Tab
Click the ‘UDF’ Section in the Transaction View screen to invoke this sub screen.
This sub-screen defaults values of UDF fields that are part of the UDF group specified for the ‘Manual’ source.
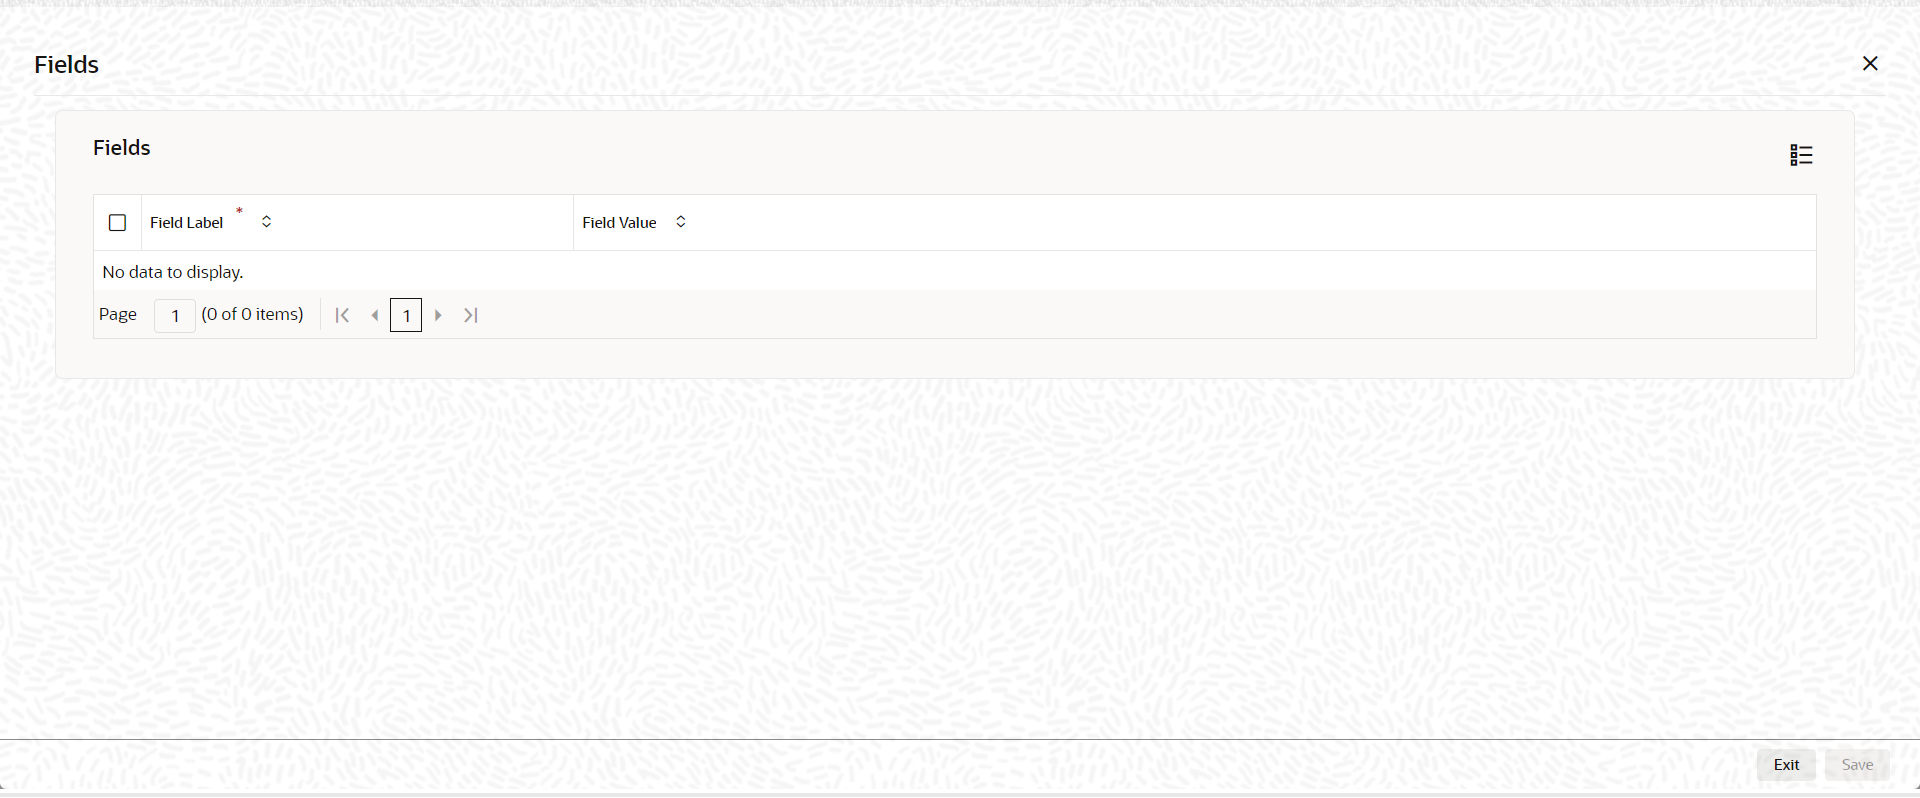
Specify the following details.
Fields
Field Label
The system displays all fields that are part of the associated UDF group.
Value
The system displays the default value, where exists for the UDF fields. You can change the default value or specify value for other fields (where default value does not exist).
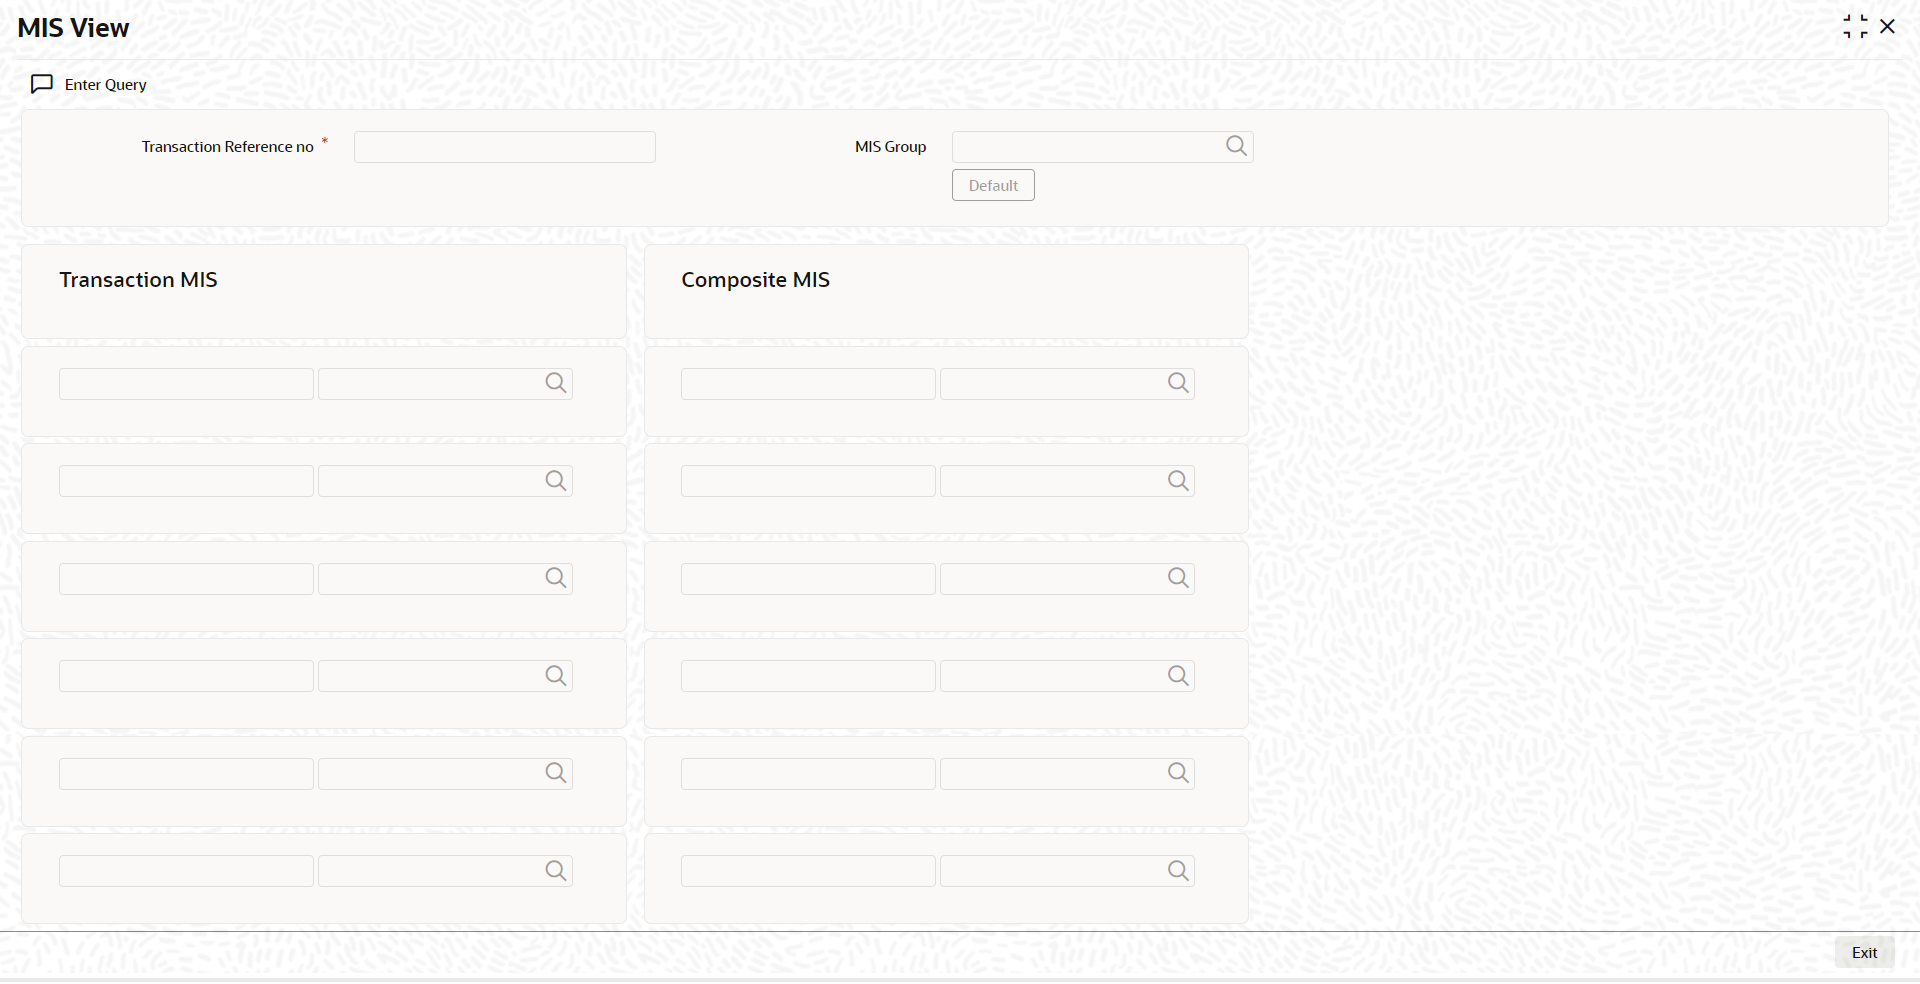
5.1.1.5 MIS Tab
You can maintain the MIS information for the Transaction. If the MIS details are not entered for the Transaction the same is defaulted from the product maintenance. Click the ‘MIS’ link to invoke the ‘MIS’ sub-screen
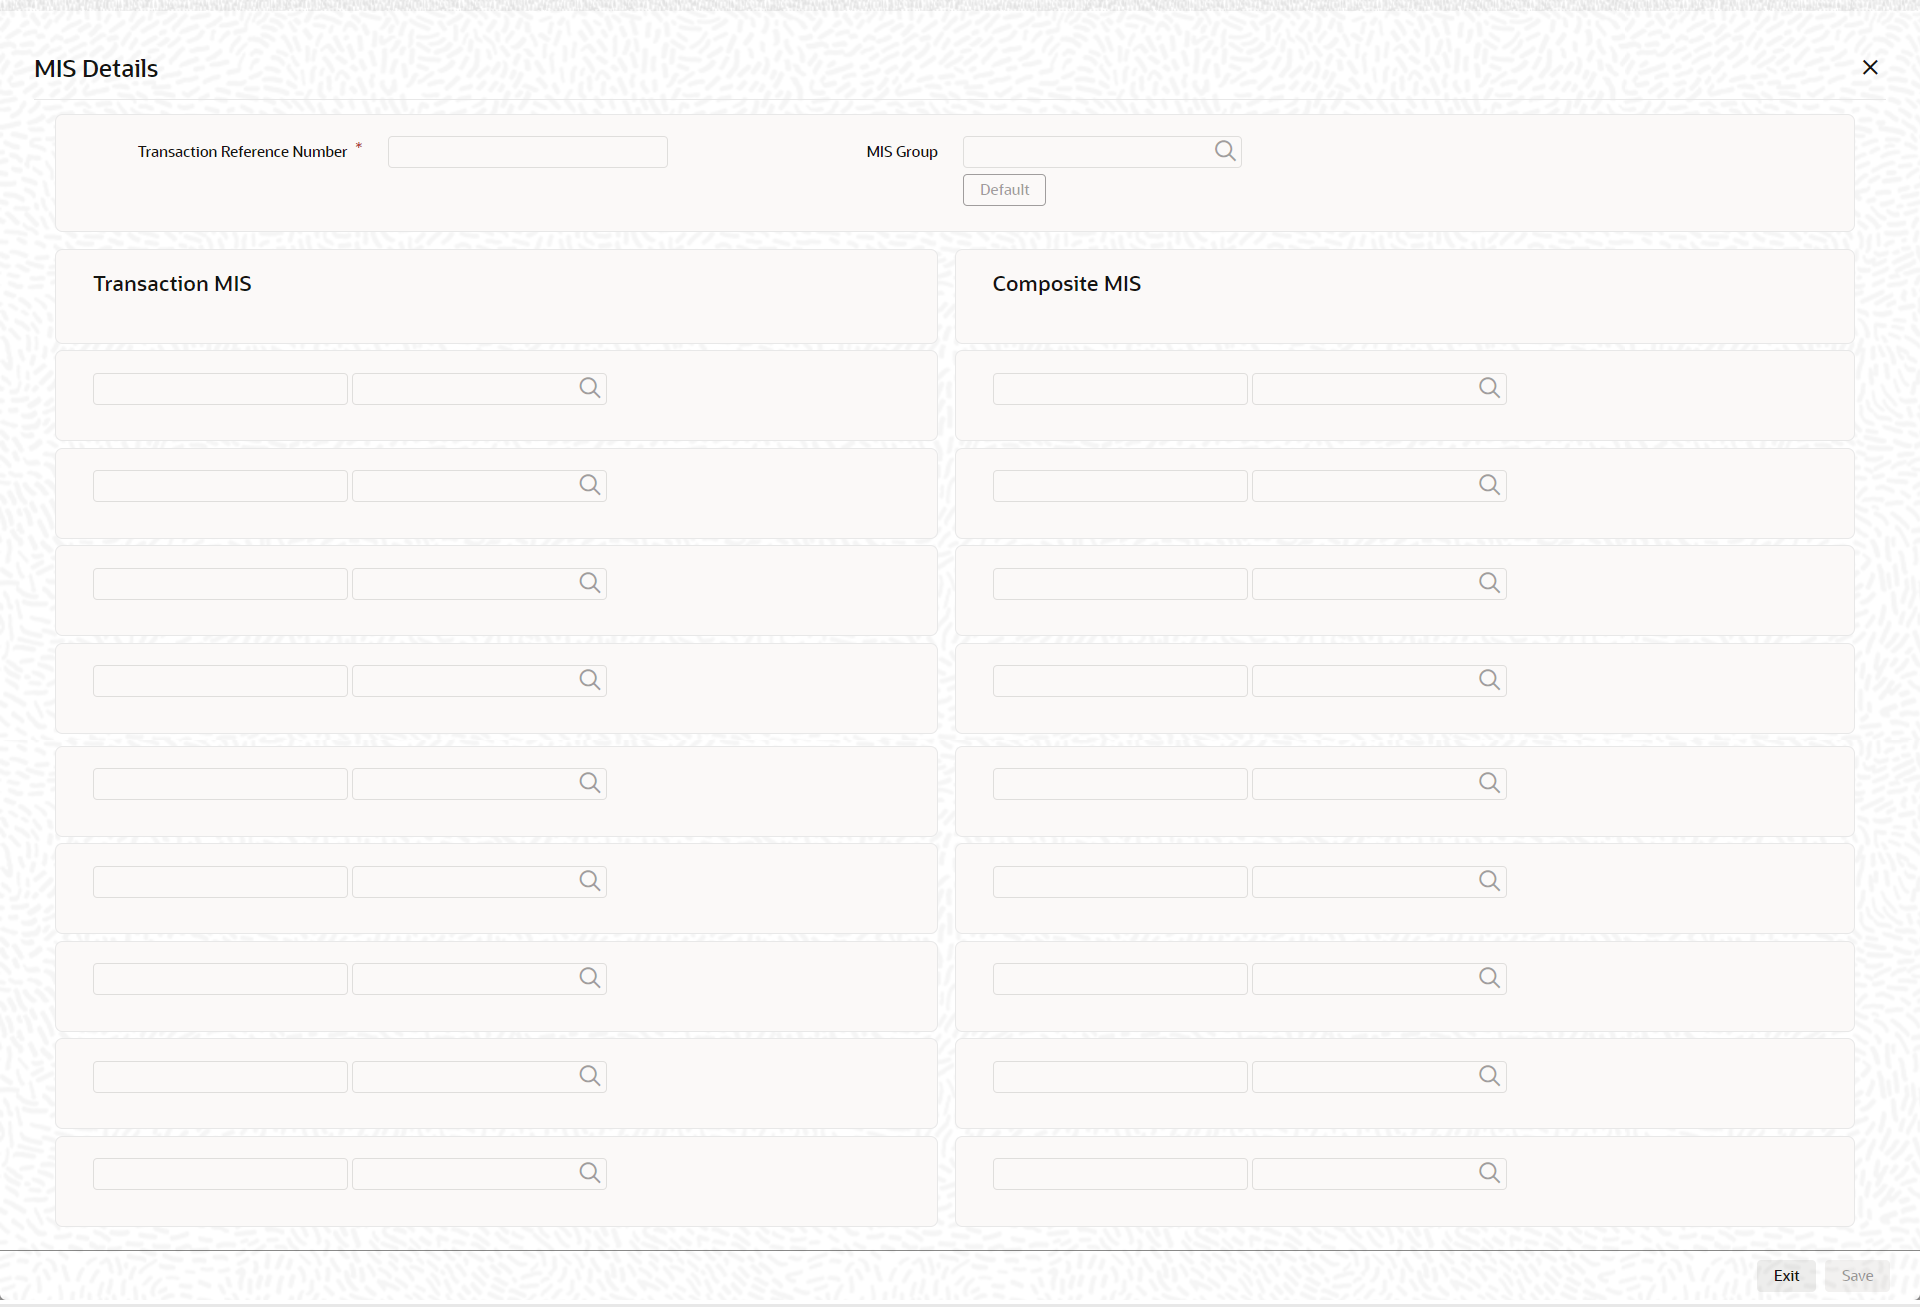
Specify the following details
Transaction Reference
The system displays the transaction reference number of the transaction.
MIS Group
Specify the MIS group code. Alternatively, you can select the MIS group code from the option list. The list MIS group displays all valid MIS groups maintained in the system for different sources in the Source maintenance. By default, the MIS group linked to the ‘Manual’ source is populated while booking a transaction from this screen.
Default button
Click this button after selecting a MIS group different from the default MIS Group (which was populated) so that any default MIS values can be populated from to link to the Transaction MIS and Composite MIS classes.
Transaction MIS
The default MIS values for Transaction MIS classes are populated for the MIS group. You can change one or more default MIS values or specify more MIS values. Alternatively, you can select MIS values from the option list.
Composite MIS
The default MIS values for Composite MIS classes are populated for the MIS group. You can change one or more default MIS values or specify more MIS values. Alternatively, you can select MIS values from the option list.
5.1.1.6 Pricing Tab
You can view the charge amount computed by the system for each of the Pricing components of the Pricing code linked to the network code of the transaction. Click the ‘Pricing’ tab.
Specify the following details:
Pricing Component
The system displays each Pricing component of the Pricing code from the Pricing Code maintenance.
Pricing Currency
The system displays the Pricing currency of each Pricing component of the Pricing code.
Pricing Amount
The system displays the calculated Charge amount for each Pricing component of the Pricing code.
Waived
The system displays if charges for any Pricing component are waived in the Pricing maintenance.
Debit Currency
The system displays the currency of the Charge account to be debited for the charges.
Debit Amount
The system displays the Charge amount for each Pricing component debited to the charge account in Debit currency. If the Pricing currency is different from the Debit currency the calculated charges are converted to the Debit currency and populated in this field.
5.1.1.7 Sanction Scanning of Cover Messages
l Cover messages (MT 202COV) is scanned irrespective of match found or not.
l Sanction request has separate fields to capture the original transaction (103) information received as part of the cover message
l Matching is performed only after the successful scanning of cover messages
5.1.1.8 Viewing Inbound Transaction Summary
You can view all the Inbound SWIFT transactions created in the Host of the selected branch of the logged in user. You can also view transactions that are present in various Operations (Exception) queues. However, you cannot perform any operations.
You can invoke “Inbound Cross Border Payments Transaction Summary” screen by typing ‘PXSITONL’ in the field at the top right corner of the Application tool bar and clicking on the adjoining arrow button.
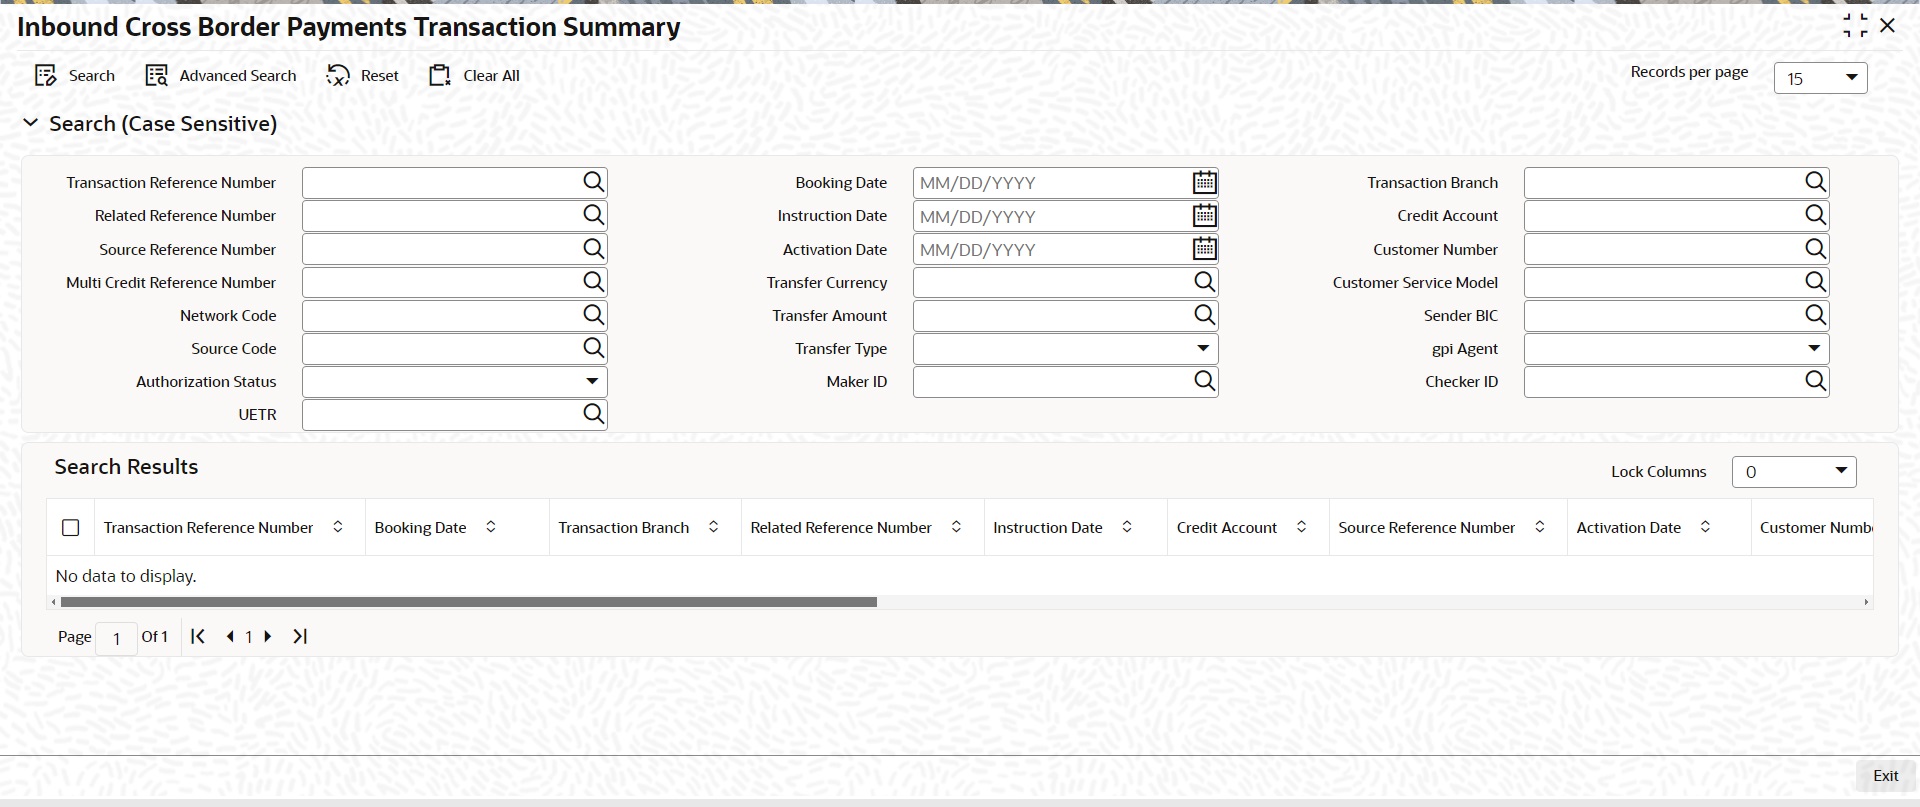
You can search using one or more of the following parameters.
l Transaction Reference Number
l Related Reference Number
l Source Reference Number
l Multi Credit Reference Number
l Network Code
l Source Code
l Authorization Status
l Booking Date
l Instruction Date
l Activation Date
l Transfer Currency
l Transfer Amount
l Transfer Type
l Maker ID
l Transaction Branch
l Credit Account
l Customer Number
l Customer Service Model
l Sender BIC
l gpi Enabled
l Checker ID
Once you have specified the search parameters. Click ‘Search’ button. The system displays the records that match the search criteria.
Double click a record or click the ‘Details’ button after selecting a record to view the detailed screen.
5.1.2 Inbound Cross Border Payments View
You can invoke “Cross Border Inbound Transaction View” screen by typing ‘PXDIVIEW’ in the field at the top right corner of the Application tool bar and clicking on the adjoining arrow button.
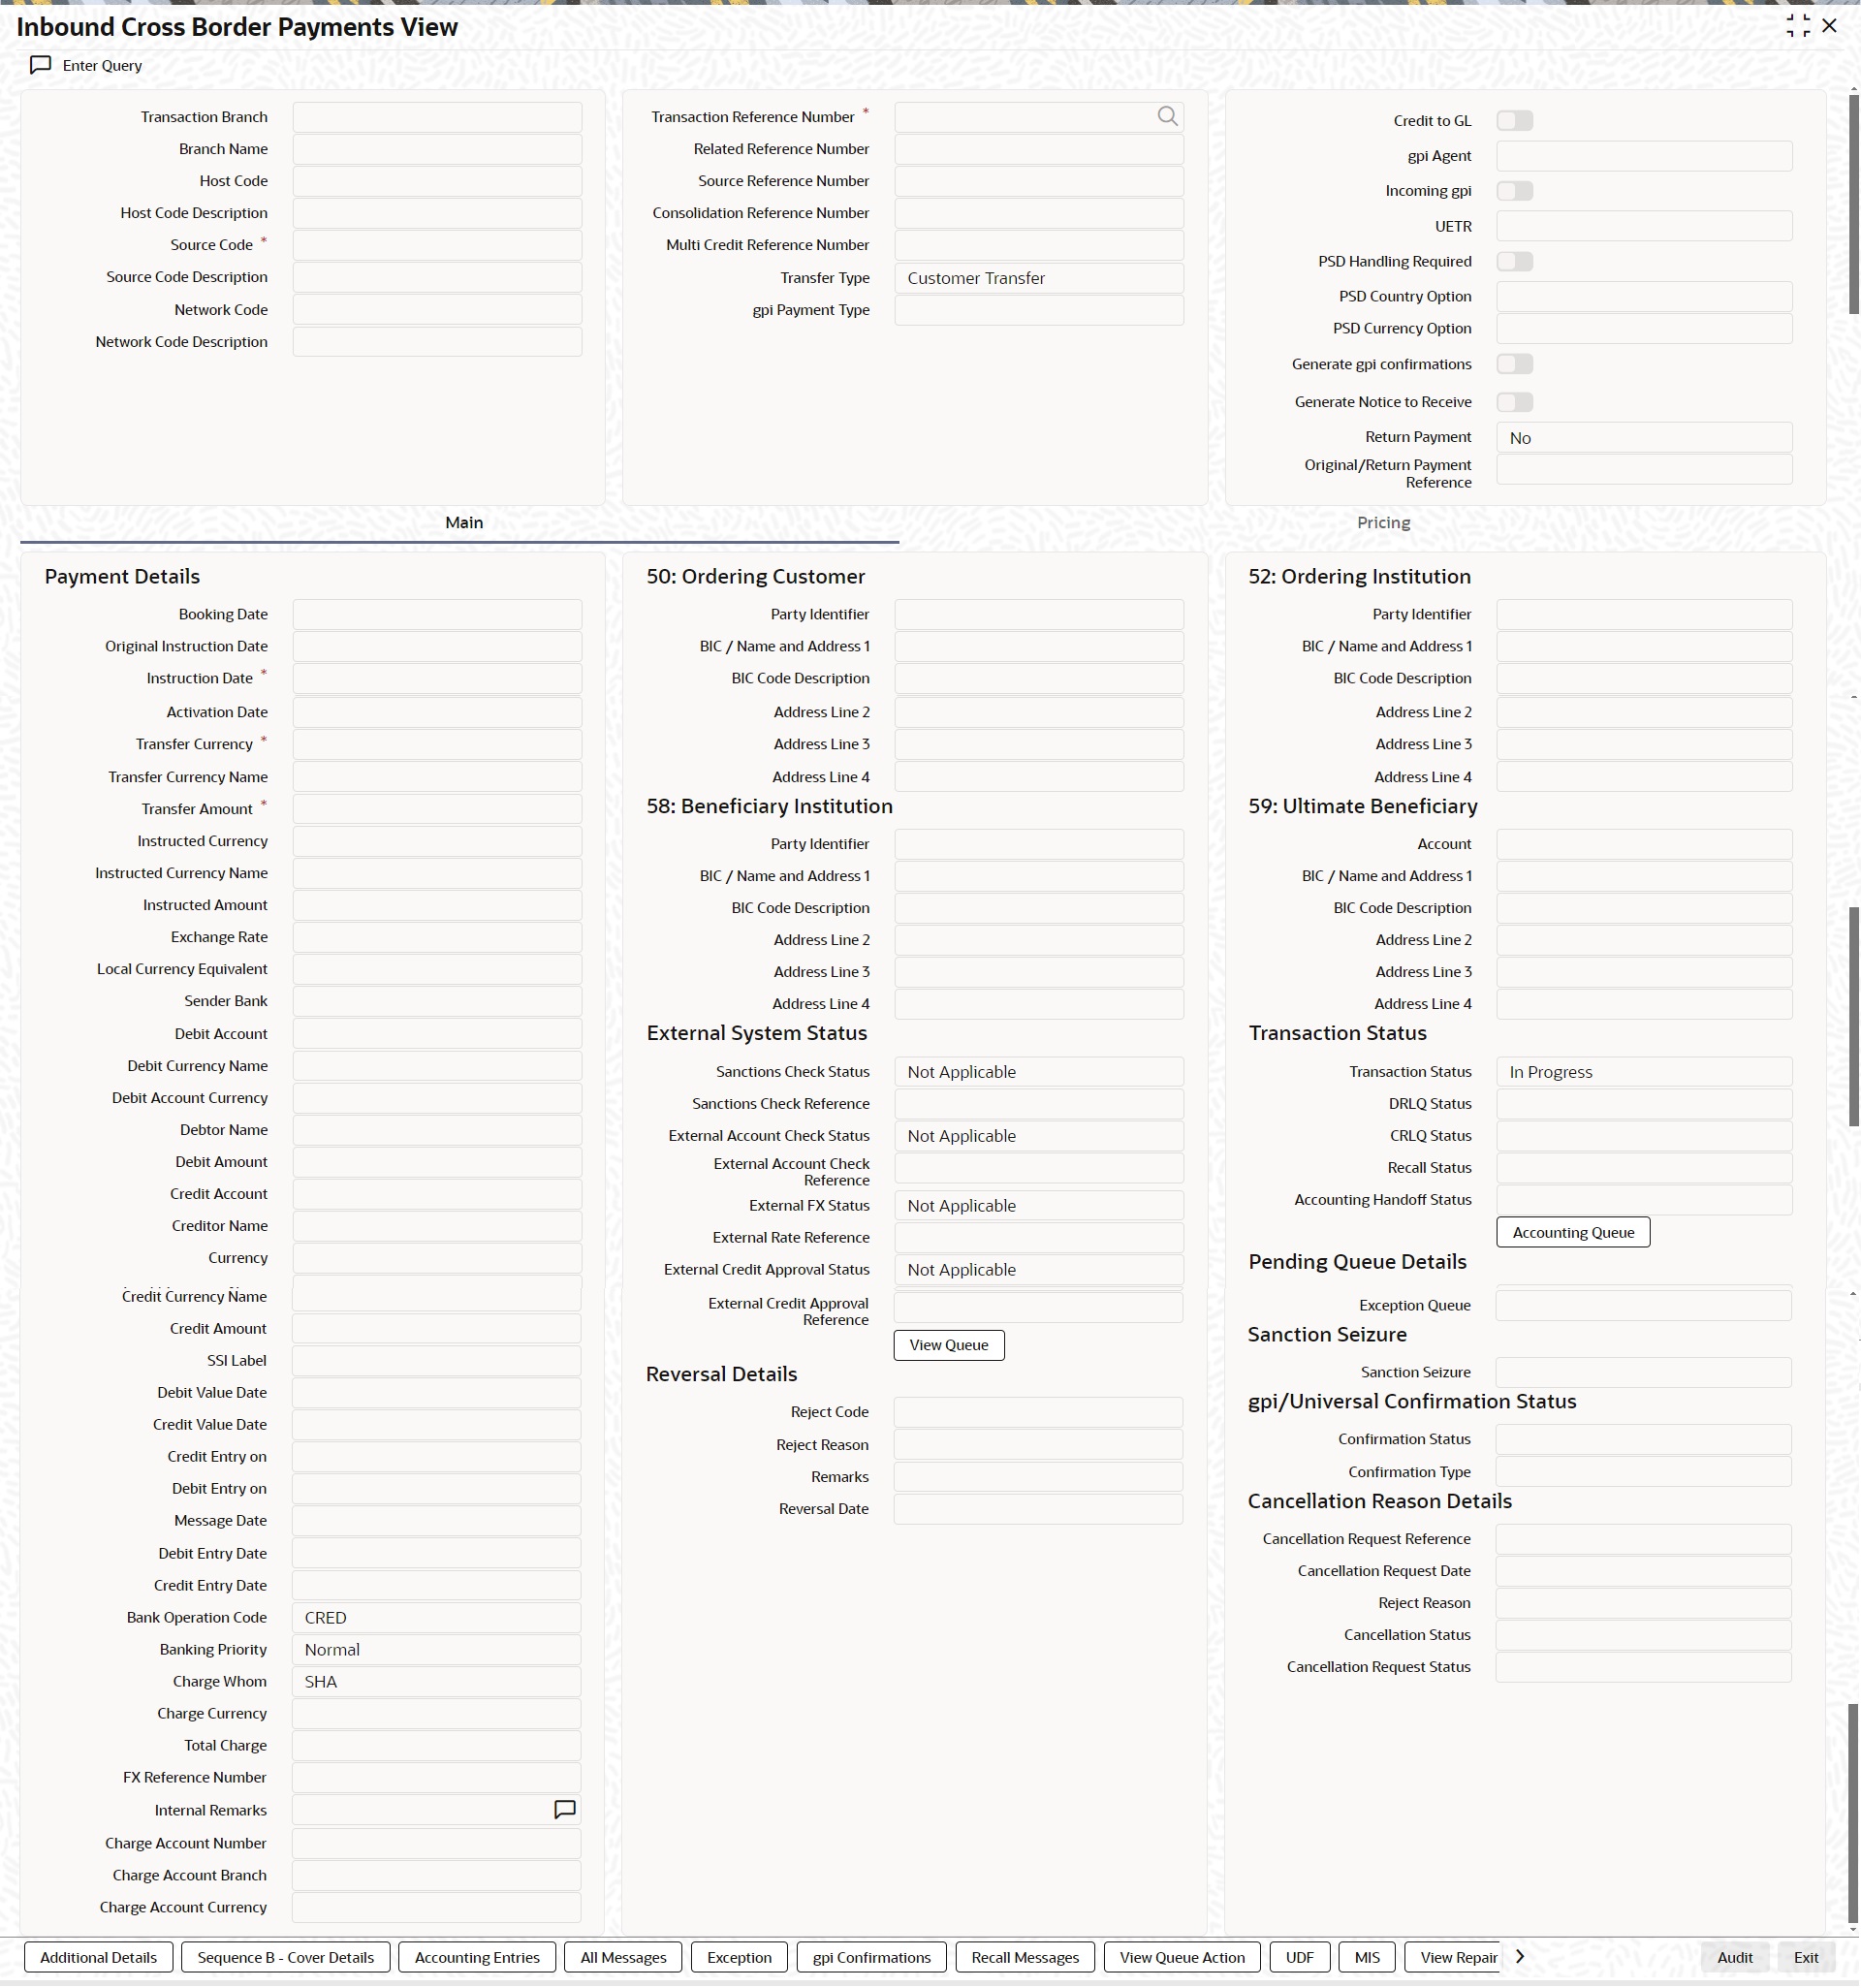
l From this screen, click Enter Query. The Transaction Reference field to be queried/specified in this field.
l Click the Fetch button and select the required value.
l Along with the transaction details, you can also view the Status details for the following:
– External System Status
– Transaction Status
– Pending Queue Details
– Sanction Seizure
l Click Execute Query to populate the details of the transaction in the Cross Border Inbound Transaction View screen.
View Queue
This button launches the corresponding Queue screen, where the transaction is currently held. The Queue screen will be launched in query mode, listing this transaction alone.
Note
Based on the beneficiary account branch, payments are routed / booked in the respective transaction branch
Branch code is derived based on the beneficiary account number and is always belonging to the same host.
Accounting Handoff Status
Accounting Handoff status for a transaction is set considering the accounting status of all accounting entries for the transaction and assigning the priority for the status as below:
l Rejected
l In Progress (if any entry has status as Pending/Deferred/Requested)
l Success
l Cancelled
l Suppressed
l Not Applicable
Accounting Queue
You can get to Accounting Queue by pressing Accounting Queue Button. All accounting entries of the transactions in the Accounting Queue are listed. If no entry is available for the transaction error is displayed.
Reversal Details
Reject Code
This field displays the Reject Code provided by you on Cross Border Transaction Reversal Request (PXDTRNRV) screen.
Reject Reason
This field displays the Reject Reason from Cross Border Transaction Reversal Request (PXDTRNRV) screen.
Remarks
This field displays the Remarks provided by you on Cross Border Transaction Reversal Request (PXDTRNRV) screen.
Reversal Date
This field displays the Reversal Date from Cross Border Transaction Reversal Request (PXDTRNRV) screen.
gpi/Universal Confirmation Status
Confirmation Status
Displays the following values:
l Ungenerated
l Generated
Confirmation Type
Displays the following values:
l Interim
l Credit
l Reject
For more details on Reversal, refer Section 3.4, "Cross Border Reversal"
For more details on other fields, Main and Pricing tabs, refer to ‘PXDITONL’ screen details above.
5.1.2.1 Additional Details Tab
You can invoke this screen by clicking Additional Details tab in the PXDIVIEW screen. For more details on the fields refer to section 3.2.1.2
5.1.2.2 Sequence B - Cover Details Tab
You can invoke this screen by clicking Sequence B - Cover Details tab in the PXDIVIEW screen. This is applicable for Customer Transfer with Cover transfer type. The details are updated to this screen based on uploaded Inbound Cover message.
5.1.2.3 Accounting Entries Tab
You can invoke this screen by clicking Accounting Entries tab in the PXDIVIEW screen. For more details on the fields refer to section 3.1.2.5

Note
In the Inbound Cross Border Transaction Processing, posting the Debit Liquidation (DRLQ) entry immediately after resolving Processing Dates [After Repair field validations and after resolving Accounts & Dates] for Cross Border type payments, irrespective of whether the transaction is future dated or current dated.
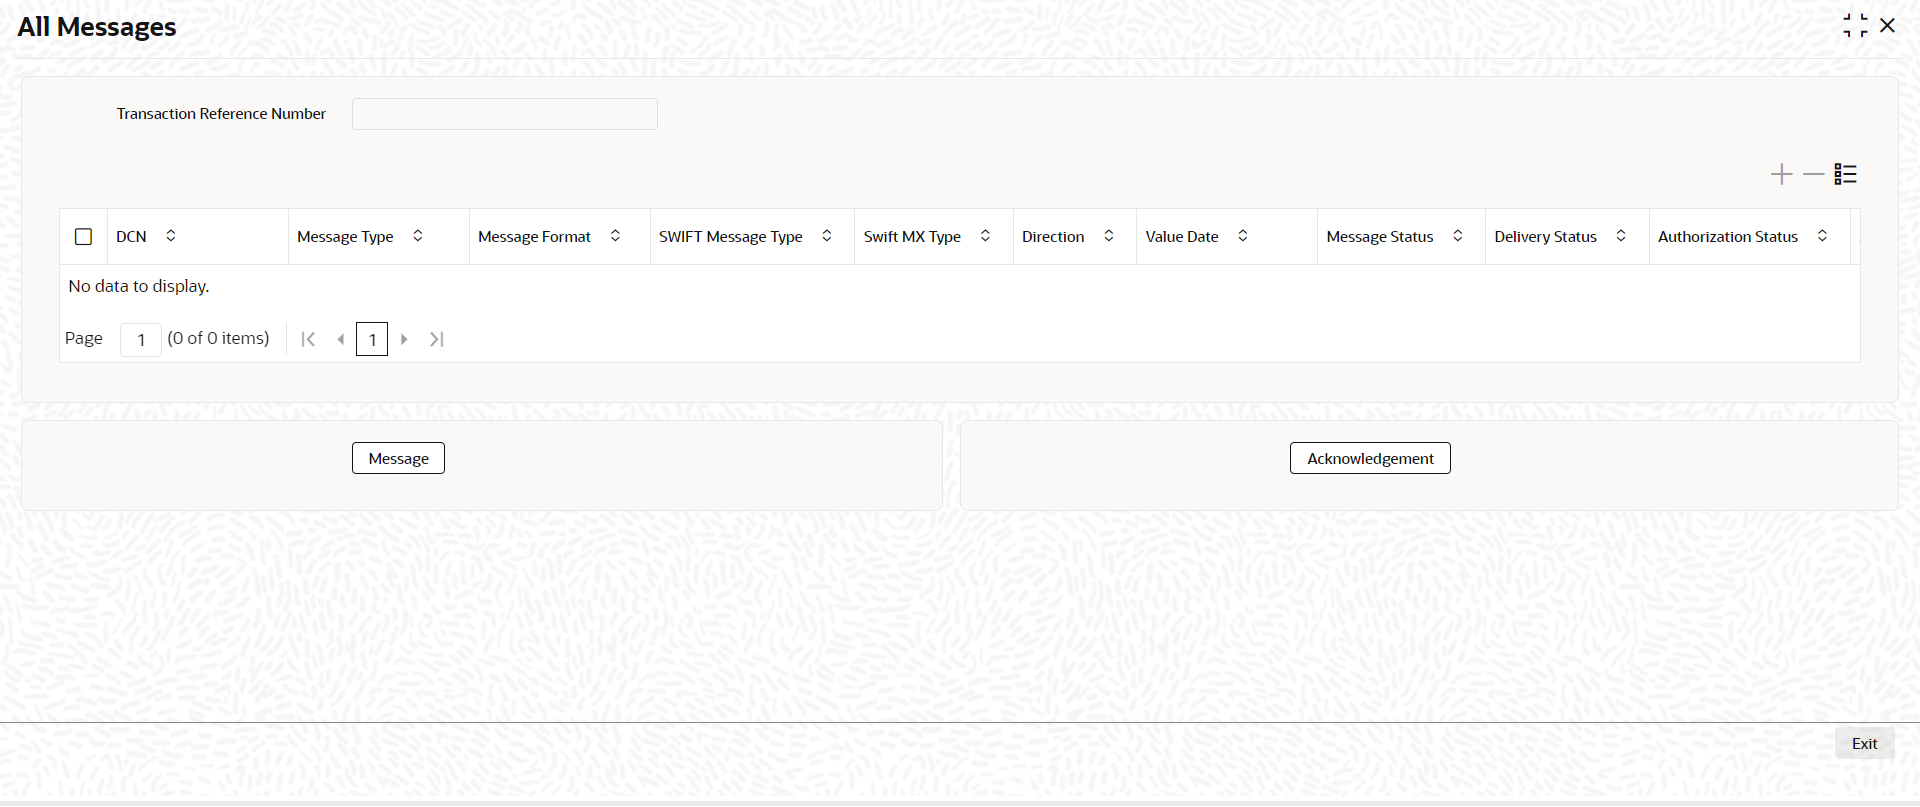
5.1.2.4 All Messages Tab
You can invoke this screen by clicking All Messages tab in the PXDIVIEW screen. For more details on the fields refer to section 3.1.2.4
5.1.2.5 Exceptions Tab
You can invoke this screen by clicking the ‘Exception’ tab in PXDIVIEW screen.
You can view the details of recall requests sent out and recall responses received for a Cross Border / RTGS transactions in the Exceptions tab.
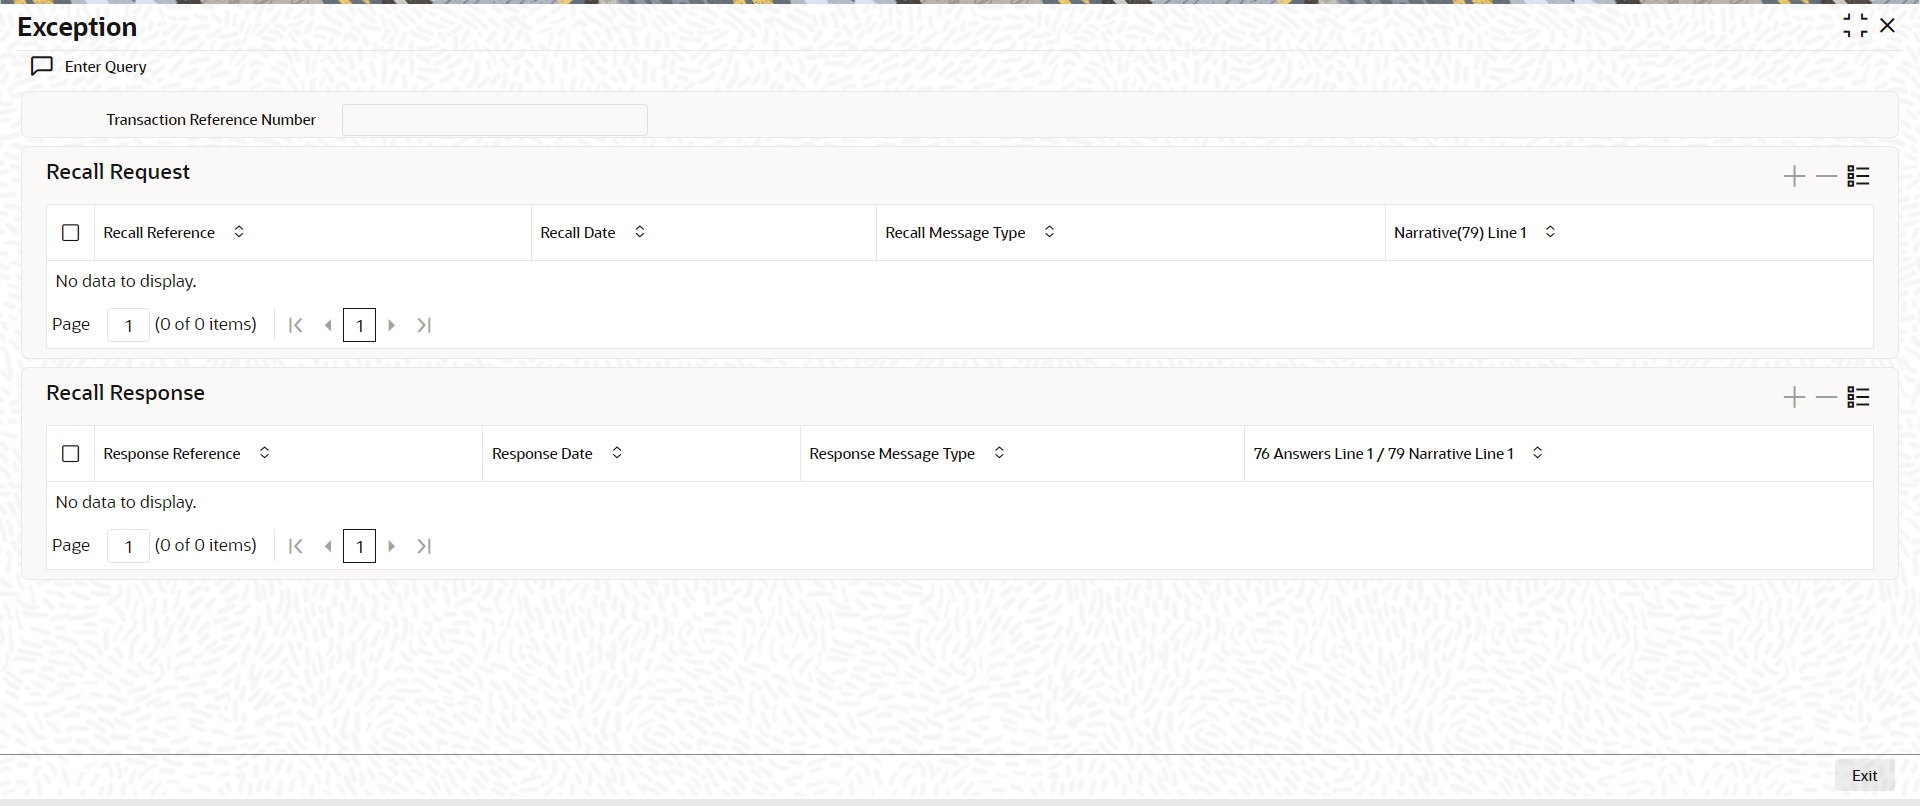
Recall Request and Recall Response grids are displayed in this screen. Following details are displayed in these grids:
Transaction Reference Number
System displays the Transaction Reference Number by default on clicking ‘Exception’ tab.
Recall Request
Recall Reference
System displays the Field 20 of inbound n92/gSRP request message.
Recall Received Date
System displays the date on which inbound n92/gSRP request message was received.
Recall Message Type
System displays the MT Message type of inbound request message - MT 192/ MT 292/ MT 199.
Recall Reason Code
System displays the Recall request Reason Code received in the inbound n92/gSRP request message.
Recall Reason
System displays the Value sent along with Recall Reason Code.
Recall Response
Response Reference
System displays the Field 20 of n96/gSRP response message sent.
Response Date
System displays the date on which n96/gSRP response message was sent
Response Message Type
System displays the MT Message type of response message - MT 196/ MT 296/ MT 199/ API.
Response Reason Code
System displays the Response reason Code sent in n96/gSRP response message.
Response Status Code
System displays the Response Status Code sent in n96/gSRP response message.
5.1.2.6 gpi Confirmations
gCCT confirmation messages generated for an Inbound gCCT payment can be viewed from Inbound Cross Border Payments view screen (PXDIVIEW).
This screen has ‘Tracker Confirmations’, ‘Our Confirmations’ Tabs displaying gCCT/gCOV confirmations received from the tracker and gCCT/gCOV confirmations sent out by the bank branch (in case of pass through transactions).
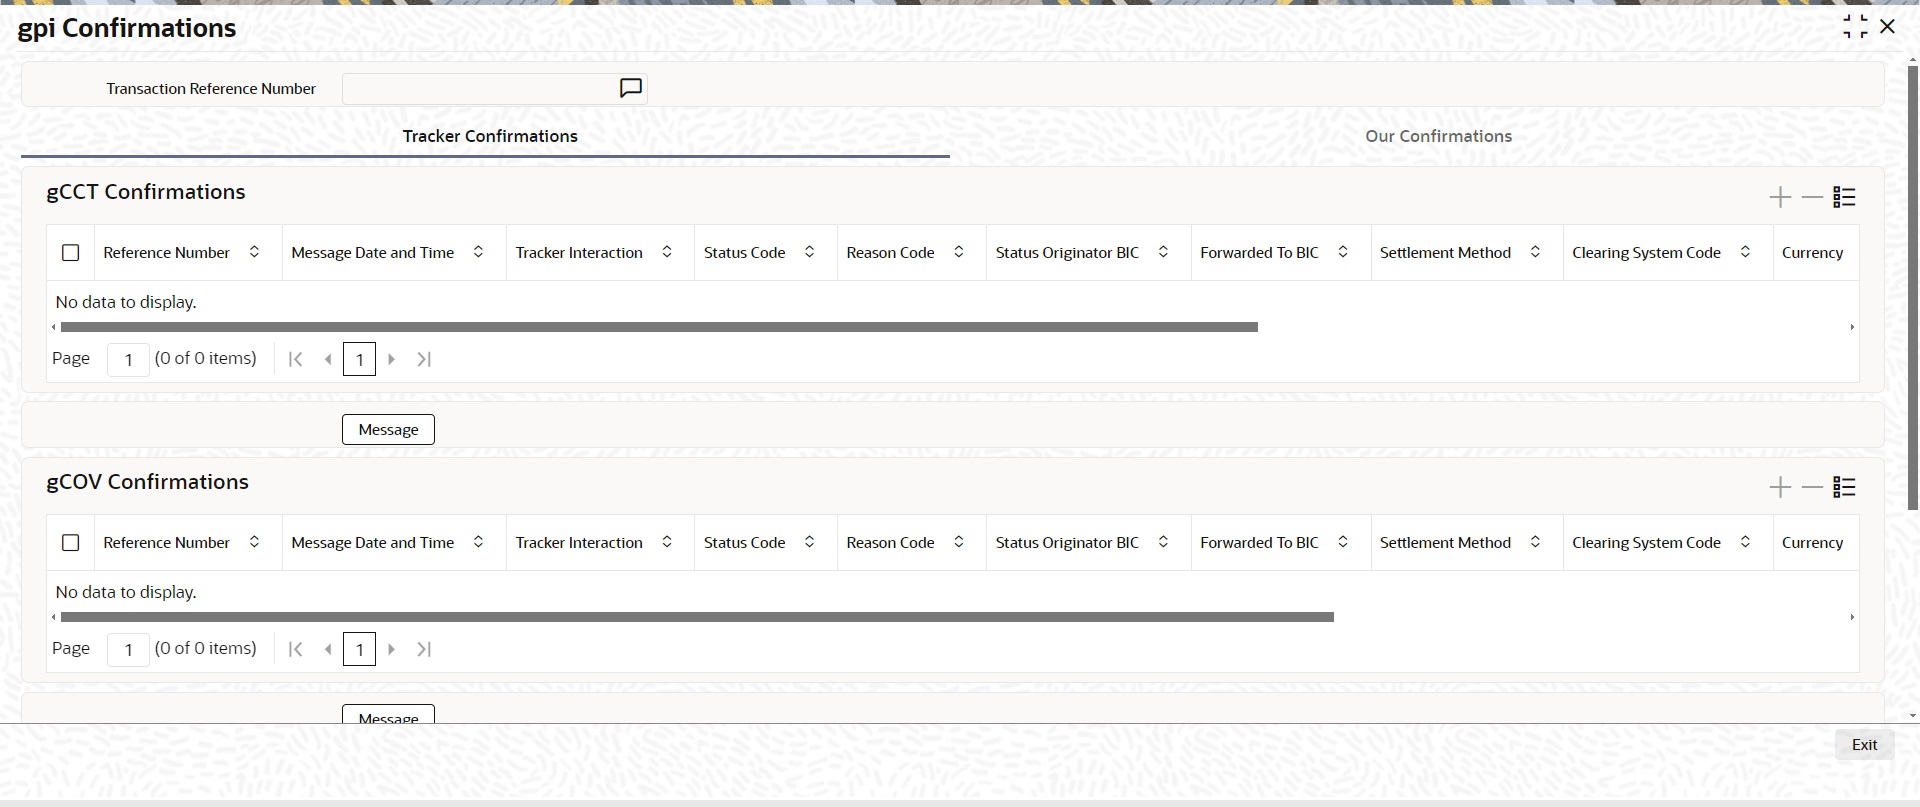

Following are the details listed under ‘Tracker Confirmations’ and ‘Our Confirmations’ tab in the screen:
gCCT Confirmations:
l Reference Number
l Message Date and Time
l Generation Mode
l Tracker Interaction
l Status Code
l Reason Code
l Status Originator BIC
l Forwarded To BIC
l Currency
l Amount
l Exchange Rate (Only for Our Confirmations)
gCOV Confirmations
l Reference Number
l Message Date and Time
l Generation Mode
l Tracker Interaction
l Status Code
l Reason Code
l Status Originator BIC
l Forwarded To BIC
l Currency
l Amount
Message Button
Click on ‘Message’ button, to view gCCT/gCOV confirmation message that was received or generated and sent out.
API Response Status
Click on ‘API Response Status’ button, to view API Response Status screen for gCCT/gCOV confirmation message that was generated and sent out.
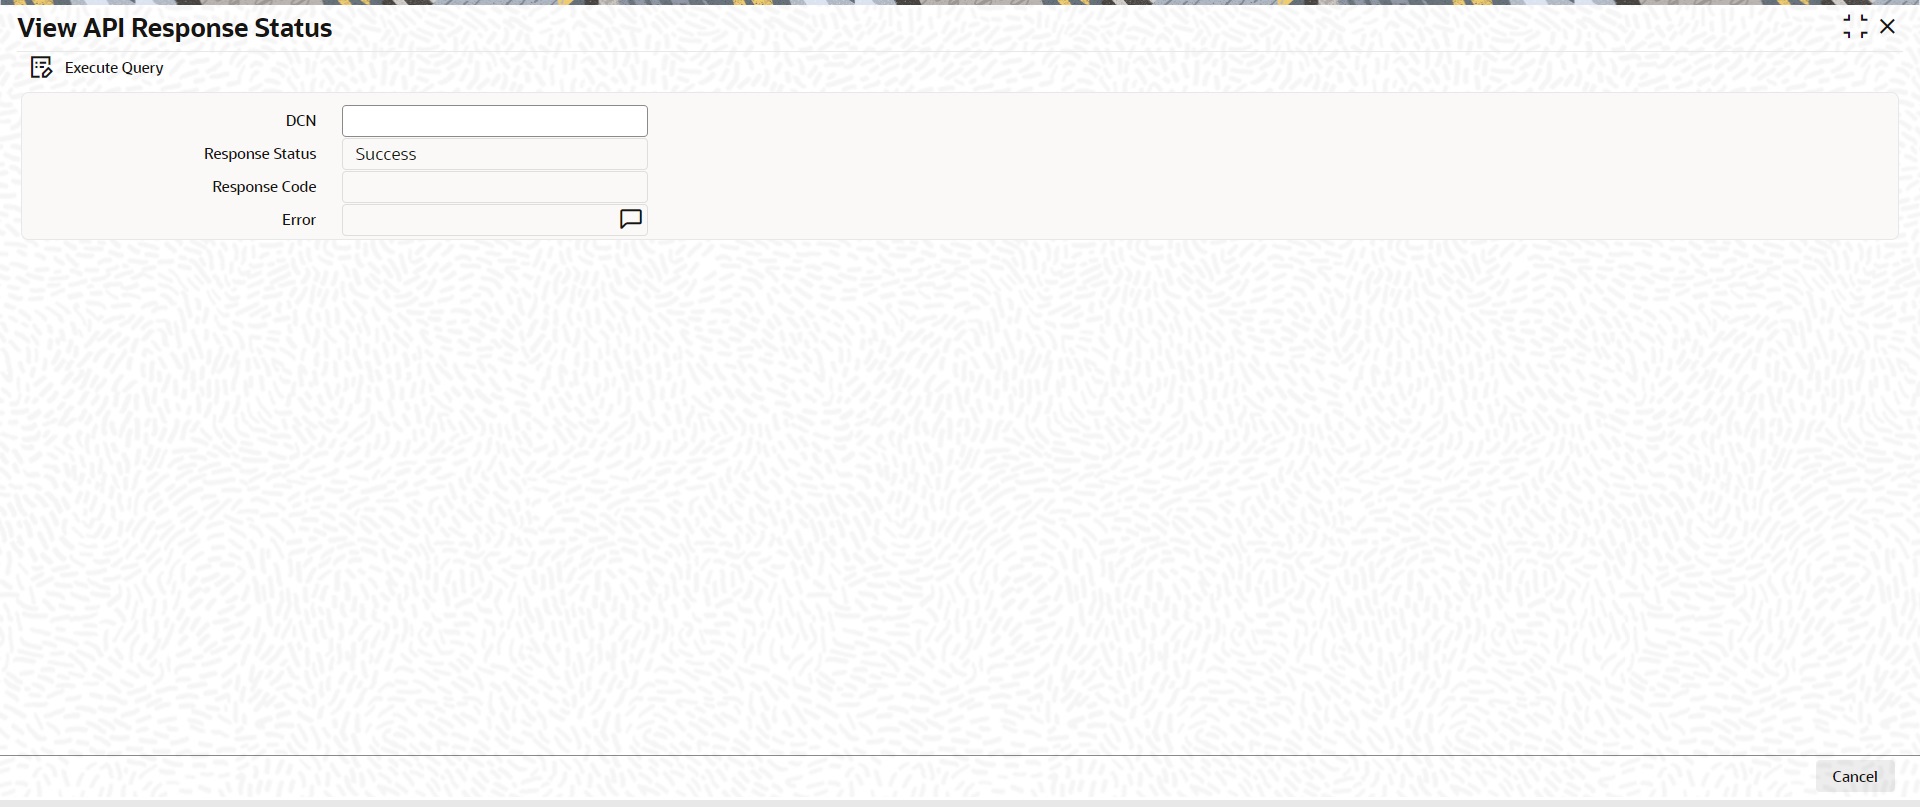
The system displays the following details:
DCN
The system displays Document Number value of the API message.
Response Status
This field displays value as ‘Success’ or ‘Failure’.
Response Code
This field displays HTTP Response code.
Error
This field displays HTTP Error message.
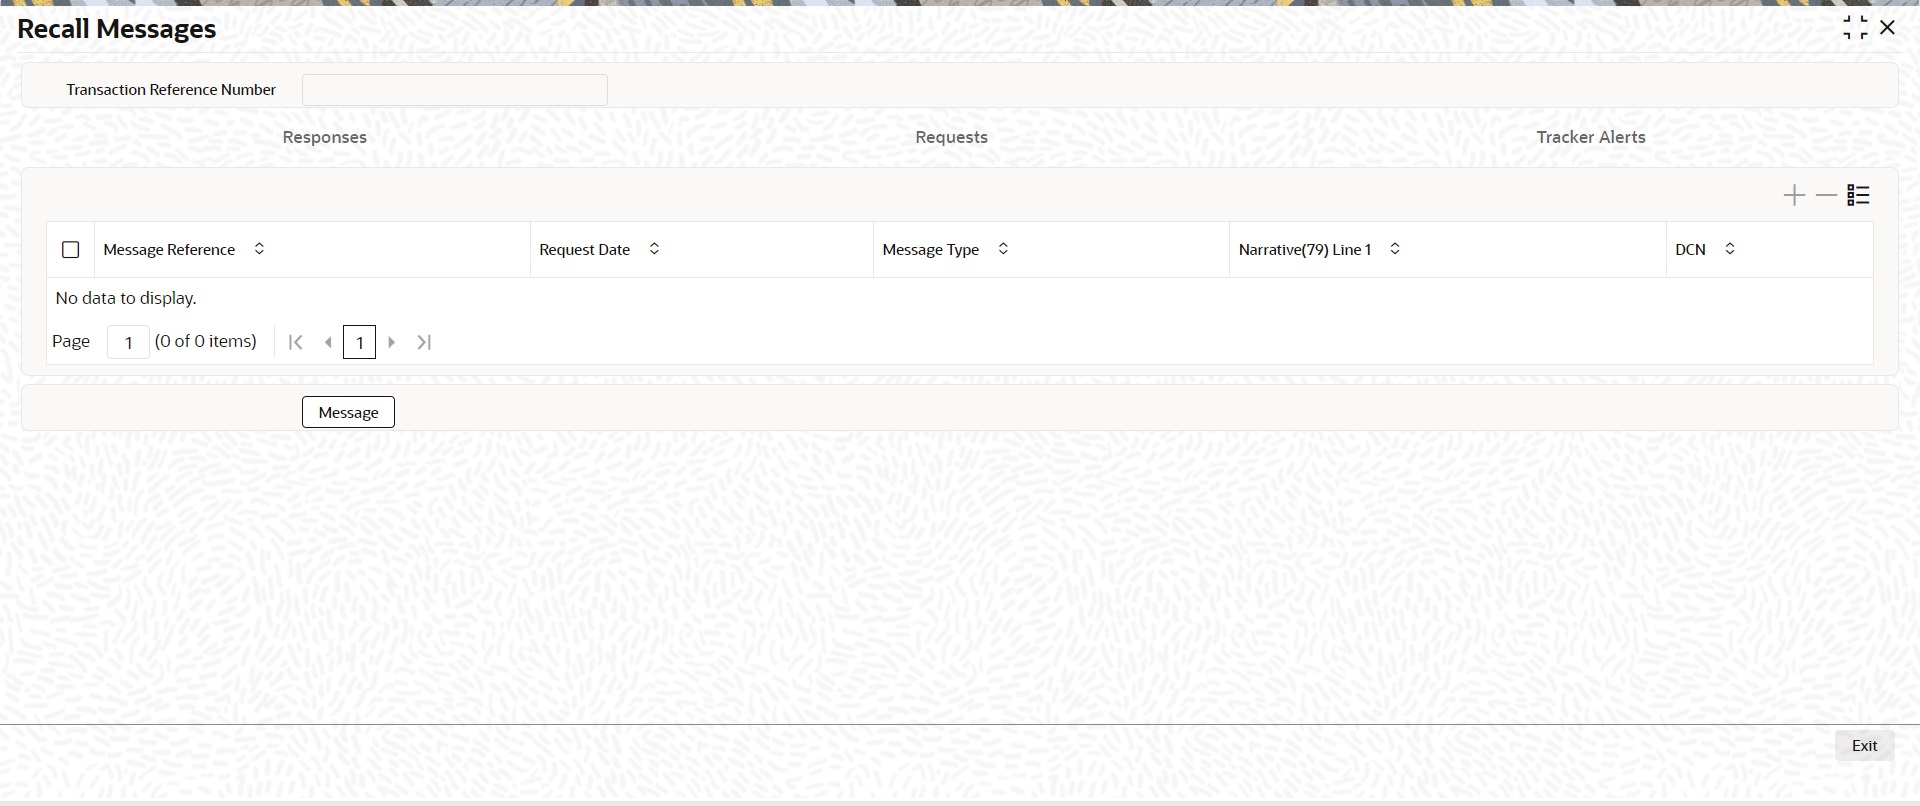
5.1.2.7 Recall Messages
You can view the recall request messages sent out, recall response messages received and gSRP alerts & status messages received from Tracker in this sub screen.
You can invoke this screen by clicking the ‘Recall Messages’ tab in PXDIVIEW screen. The tabs in this sub-screen are: Responses, Requests, Tracker Alerts.
Responses Tab
You can view the Recall Response messages received in this tab. Click on ‘Responses’ tab in the Recall Messages sub-screen to invoke this screen.

Transaction Reference Number
System displays the Transaction Reference Number by default on clicking ‘Recall Messages’ tab.
Reference Number
System displays the Field 20 of Response message.
Response Date
System displays the date on which recall response message is sent out.
Message Type
System displays the MT Message type of response - MT 196/ MT 296/ MT 199.
Response Code
System displays the Response Status code sent in the response message (Field 79 Line 1, the first 4 Characters between ‘/’)
Reason Code
System displays the Response Reason code sent in the response message (Field 79 Line 1 - 4 Character code after the Response Status code).
Originator BIC
System displays the own Branch BIC.
Forwarded To Agent
System displays the BIC of agent, if the inbound recall request is forwarded to next agent.
Message Button
System displays the response message sent out in a new screen for the selected response record on clicking Message button.
API Response Status
Click on ‘API Response Status’ button to view API Response Status screen for recall response message that was generated and sent out.
The system displays the following details
DCN
The system displays Document Number value of the API message.
Response Status
This field displays value as ‘Success’ or ‘Failure’.
Response Code
This field displays HTTP Response code.
Error
This field displays HTTP Error message.
Requests Tab
You can view the Recall Request messages received in this tab. Click on ‘Requests’ tab in the Recall Messages sub-screen to invoke this screen.
Transaction Reference Number
System displays the Transaction Reference Number by default on clicking ‘Recall Messages’ tab.
Reference Number
System displays the Field 20 of inbound n92/gSRP request message.
Request Date
System displays the date on which inbound n92/gSRP request message received.
Message Type
System displays the MT Message type inbound n92/gSRP request message - MT 192/ MT 292/ MT 199.
Reason Code
System displays the Recall Request Reason code received in the inbound n92/gSRP request message (Field 79 Line 1 , the first 4 Characters between ‘/ ’).
Reason
System displays the Value sent along with Reason Code (Field 79 Line One – 4 Characters after Reason code).
Message Button
System displays the request message sent out in a new screen for the selected recall request record on clicking Message button.
Tracker Alerts
You can view the gSRP alerts and status messages received from tracker in this tab. Click on ‘Tracker Alerts’ tab in the Recall Messages sub-screen to invoke this screen.
Transaction Reference Number
System displays the Transaction Reference Number by default on clicking ‘Recall Messages’ tab.
Reference Number
System displays the Field 20 of the inbound gSRP Tracker Alert message [MT 199].
Message Date
System displays the date on which Alert or Status Notification message is received.
Response Code
System displays the Alert Response code received in the Incoming gSRP Tracker Alert message (Field 79 Line 1 – First four characters between ‘/’)
gSRP Status Code
System displays the Status/Reason code received in the Incoming gSRP Tracker Alert message (Field 79 Line1 – Four characters after Response code).
Originator BIC
System displays the BIC value received in, Field 79 Line 2.
Message Button
System displays the request message received in a new screen for the selected recall request record on clicking Message button.
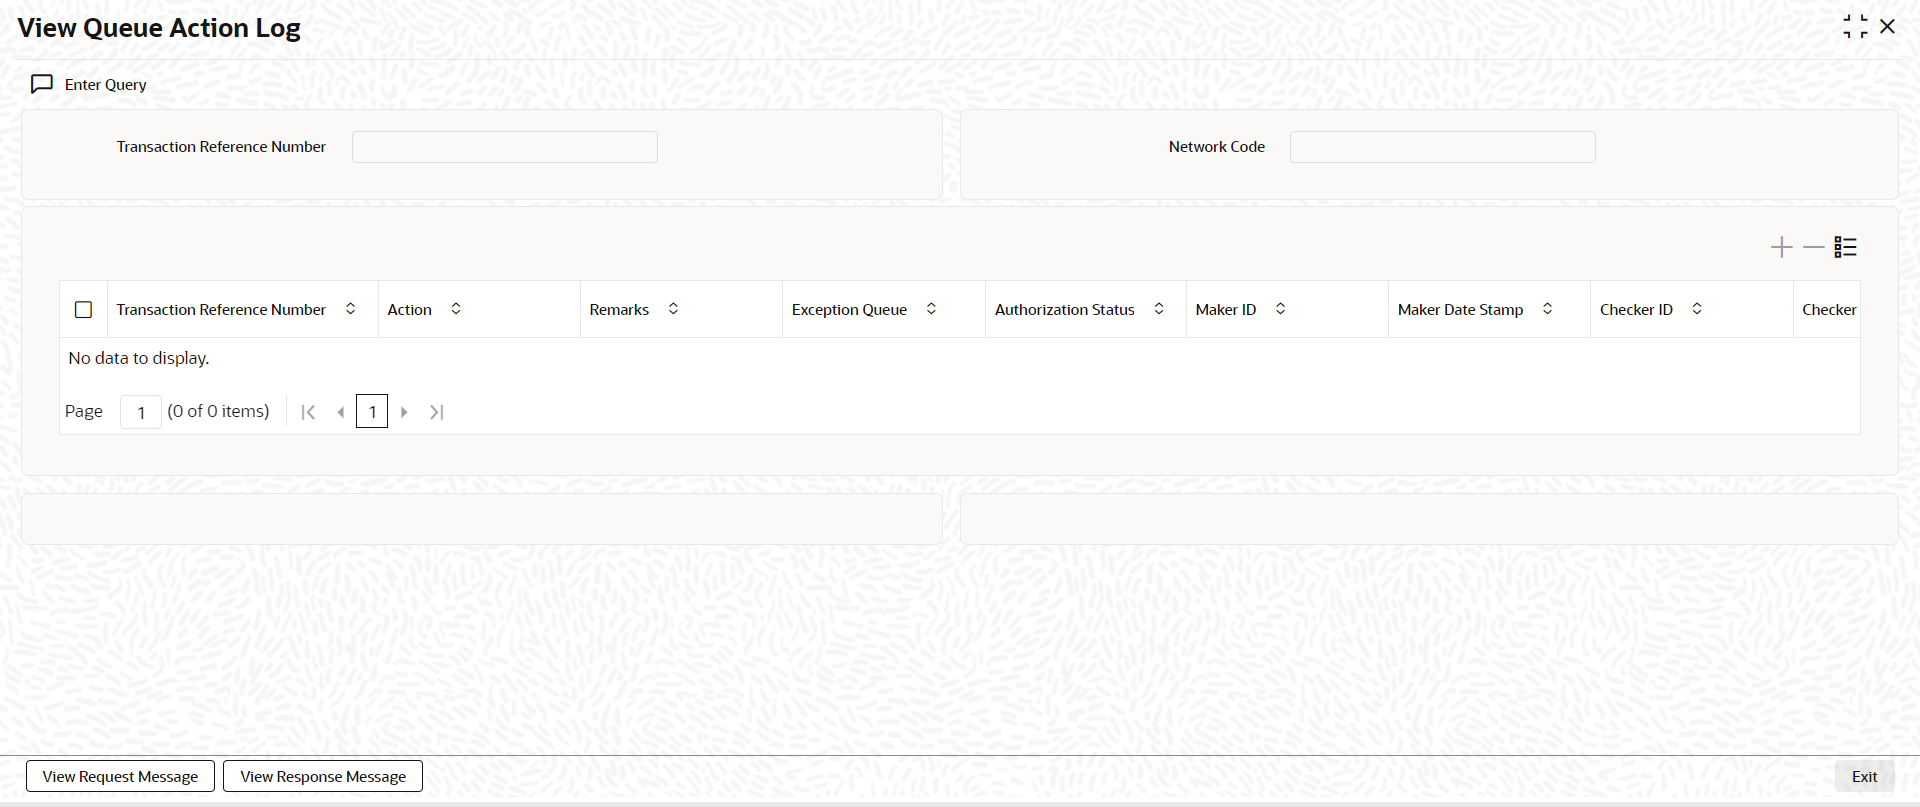
5.1.2.8 View Queue Action Log
You can invoke this screen by clicking View Queue Action tab in the PXDIVIEW screen. For more details on the fields refer to section 3.1.5.4
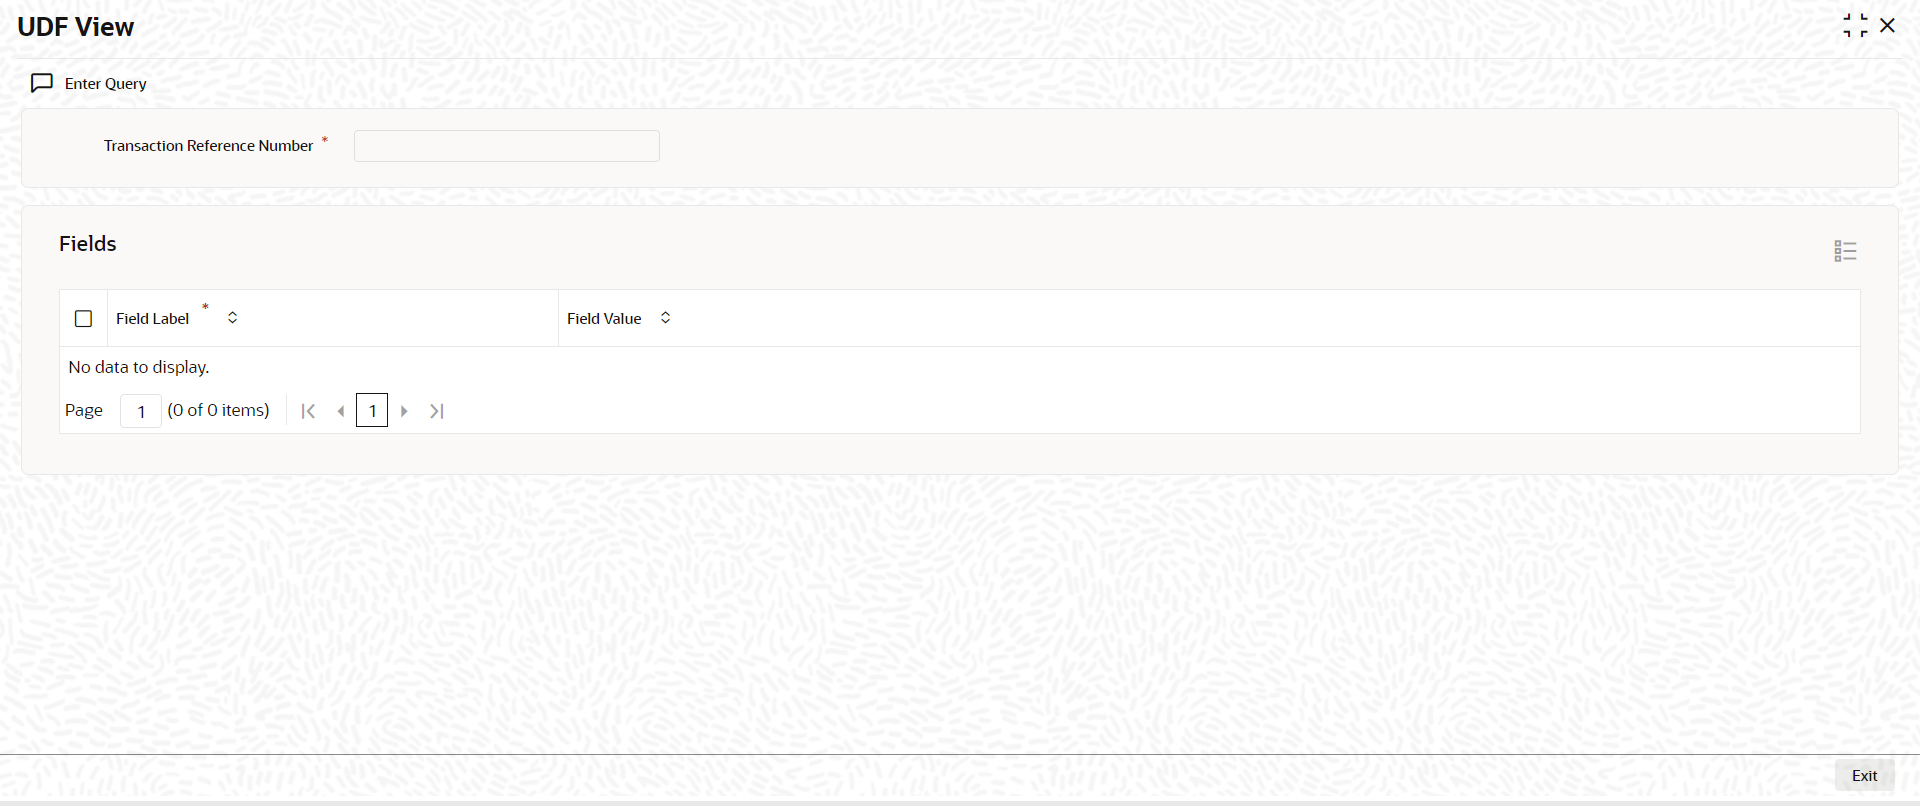
5.1.2.9 UDF Tab
You can invoke this screen by clicking UDF tab in the PXDIVIEW screen. For more details on the fields refer to section 3.3.2.2
5.1.2.10 MIS Tab
You can invoke this screen by clicking MIS tab in the PXDIVIEW screen. For more details on the fields refer to section 3.3.2.3
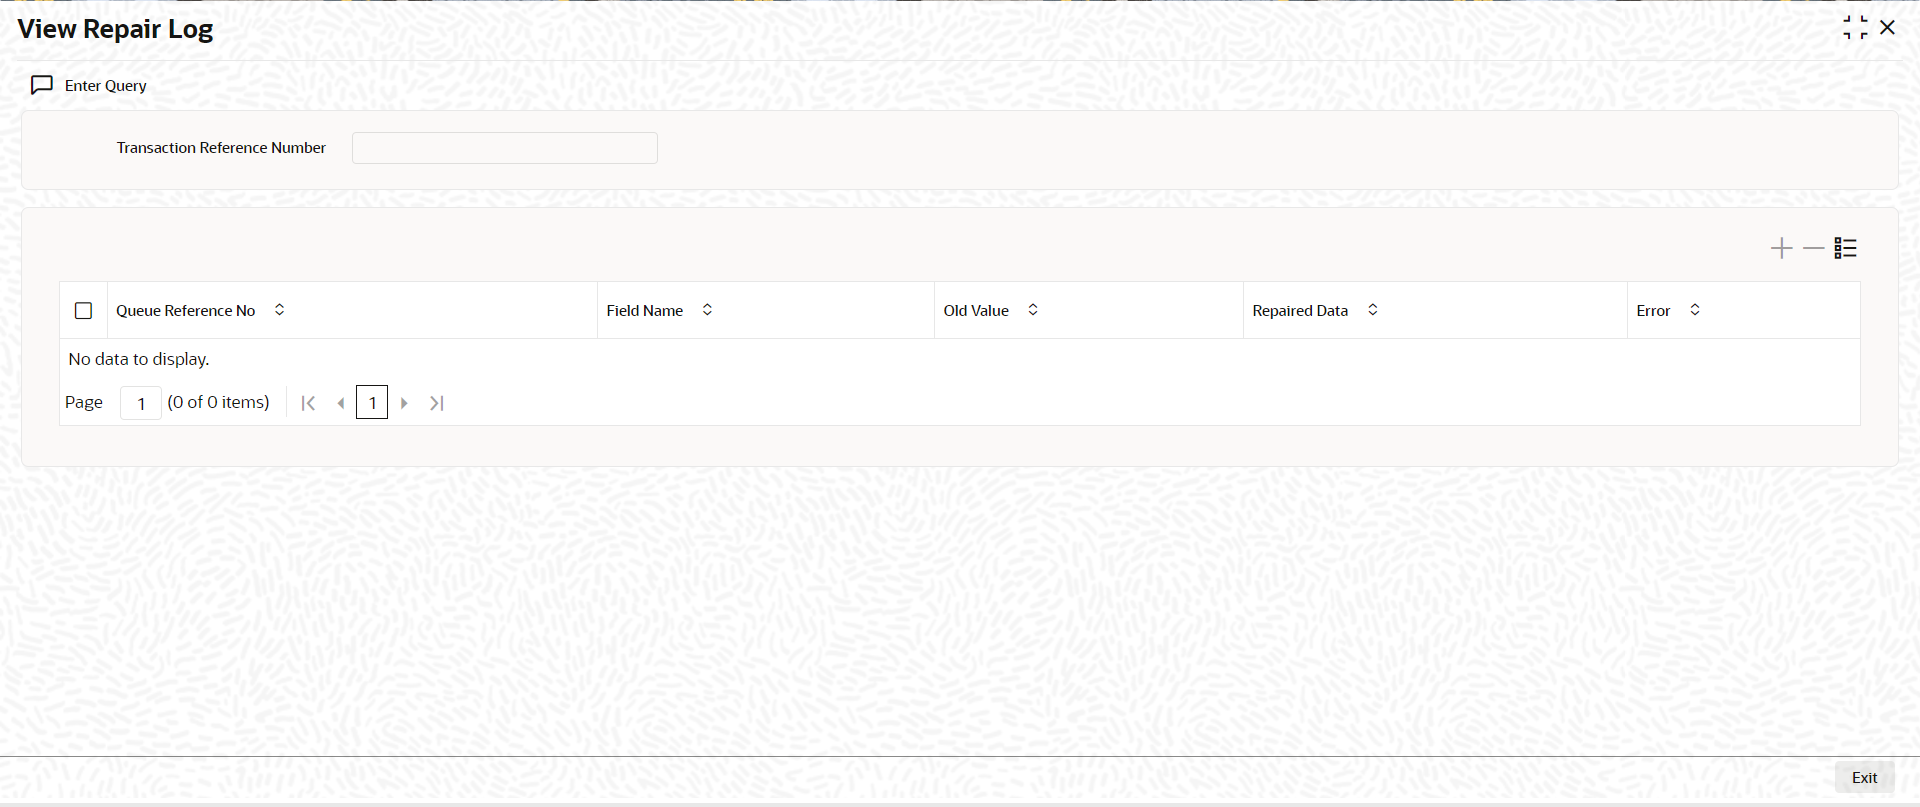
5.1.2.11 View Repair Log
You can invoke this screen by clicking View Repair Log tab in the PXDIVIEW screen. For more details on the fields refer to section 3.1.5.7
5.1.2.12 Inbound MT 103/ MT 202 Processing
On upload of MT 103/ MT 202 messages for Transfer Type - Customer Transfer/Bank Transfer, following processes are done:
l Rule based enrichment of message details are done for message types, if maintenance is done in PXDRLECH.
l Parsing of message with D to A conversion and bank/account re-direction
l Moving the messages to STP Queue and derive the message queue as STP/Non-STP/Cover based on STP rules maintained
l Release the STP messages & cover matched messages to payment processor.
Note
l The system checks for essential data field truncation in the inbound Cross Border MT transaction. If Data truncation is highlighted then system checks the value of system parameter "NONSTP_Q_ON_TRUNCATION". If value of System parameter "NONSTP_Q_ON_TRUNCATION" is "Yes" the transaction moves to Non-STP Queue.
l The system checks for essential data field truncation in the inbound Cross Border MT transaction resulting in an Outbound pass-through transaction. If Data truncation is highlighted then system checks the value of system parameter "NONSTP_Q_ON_TRUNCATION". If value of System parameter "NONSTP_Q_ON_TRUNCATION" is "Yes" the transaction moves to Non-STP Queue.
5.1.2.13 Inbound Transaction View Summary
You can invoke “Inbound Cross Border Payments View Summary” screen by typing ‘PXSIVIEW’ in the field at the top right corner of the Application tool bar and clicking on the adjoining arrow button.
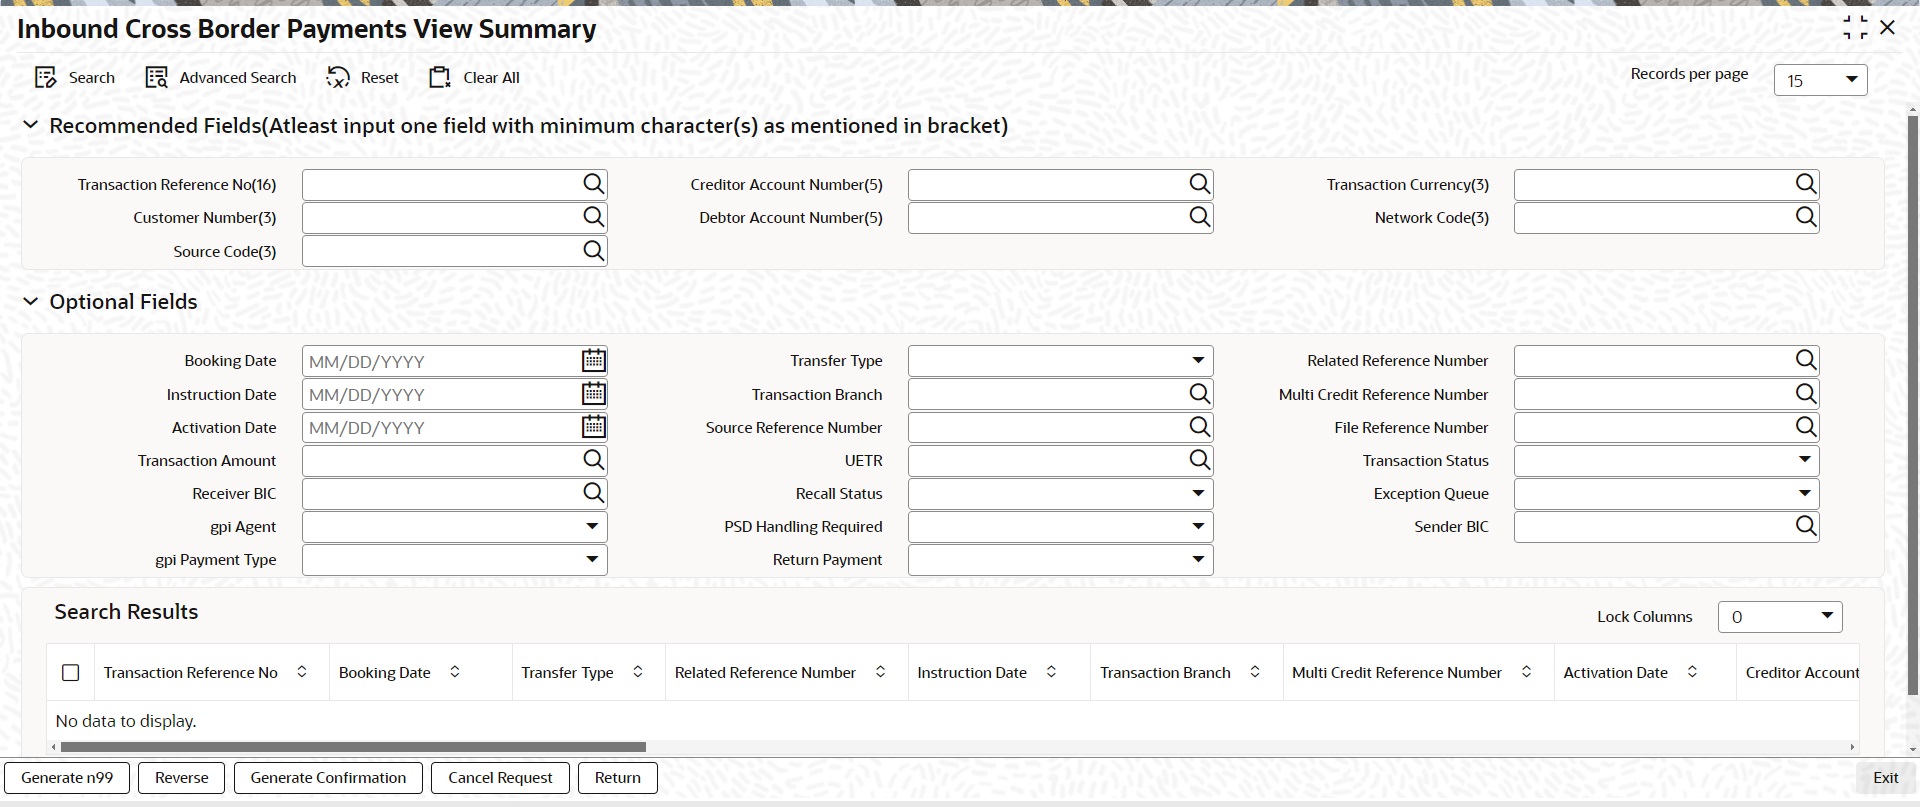
You can search using one or more of the following parameters.
l Transaction Reference Number
l Related Reference Number
l Multi Credit Reference Number
l Source Reference Number
l File Reference Number
l UETR
l Network Code
l Source Code
l Booking Date
l Instruction Date
l Activation Date
l Transaction Currency
l Transaction Amount
l Transaction Status
l Recall Status
l gpi Agent
l gpi Payment Type
l Transfer Type
l Transaction Branch
l Creditor Account Number
l Customer Number
l Debtor Account Number
l Receiver BIC
l Exception Queue
l PSD Handling Required
The following operations are available in the Summary screen:
|
Operation |
Functions |
|
Generate MT n99 |
You can use this action to generate MT n99 for selected transaction. On clicking this button, system launches the PXDMCN99 screen with ‘New’ action enabled. |
|
Reverse |
You can use this action to reverse a processed transaction. User level or role level access rights to ‘Reverse’ action required. On clicking this button, system launches the transaction reversal sub screen. |
|
Generate Confirmation |
You can use this action to generate SWIFT gpi or Universal confirmation messages manually for Customer Transfer type transactions. User level or role level access rights action required. On clicking this button, system launches the SWIFT gpi / Universal confirmation manual generation (PXDGPIMC) screen. |
|
Cancel Request |
You can use this action to raise a cancel request manually for the selected transaction. User level or role level access rights action required. On clicking this button, system launches the Cross Border Cancellation Request Detailed (PXDITRCL) screen to capture cancel request. |
|
Return |
You can use this action to return an inbound transaction with transaction status as 'Return Requested'. User level or role level access rights action required. On clicking this button, system launches the Outbound Transaction Input (PXDOTONL) screen. |
Once you have specified the search parameters. Click ‘Search’ button. The system displays the records that match the search criteria.
5.1.2.14 Credit Account Branch Based Routing Processing
Branch code and Host code for an Incoming SWIFT message is derived based on the Message Queue Mapping maintenance (MSDQMAP) as per existing functionality. Once the transaction type is resolved as an Incoming SWIFT payment, below processing changes gets applied:
l After performing the account resolution for an incoming SWIFT message, system derives the branch of the account number received in the field 59 of an incoming message.
l Based on the Account number received in the field 59 of an incoming message, system checks if the account received is a Multi-Currency/Normal Account, Loan Account or General Ledger.
l System matches the Account number received in field 59 with the below maintenances to resolve the Source Account branch.
|
Function ID |
Function ID Description |
Matching Field Name |
|---|---|---|
|
STDCRACC |
External Customer Account Input |
Customer Account |
|
STDCRCLN |
External Consumer Loan Account |
Loan Account Number |
|
STDCRGLM |
External Chart of Accounts |
GL Code |
If the General Ledger account received in Field 59, then the branch code is retained as the same code.
l If system is not able to match the account, then the account number received in Field 59 is matched with the below maintenances/field to resolve the Source Account branch.
|
Function ID |
Function ID Description |
Matching Field Name |
|---|---|---|
|
STDCRACC |
External Customer Account Input |
Source Customer Account |
|
STDCRCLN |
External Consumer Loan Account |
Source Loan Account |
l If system is not able to match the account, then the account number received in Field 59 is matched with the below maintenances/field to resolve the Source Account branch.
|
Function ID |
Function ID Description |
Matching Field Name |
|---|---|---|
|
STDCRACC |
External Customer Account Input |
IBAN Account |
|
STDCRCLN |
External Consumer Loan Account |
IBAN Account |
l If derived branch is different than the booking branch derived using the Message Queue Mapping Maintenance (MSDQMAP) screen, then derived branch gets updated as the transaction branch and transaction is routed to the derived branch.
Note
If system is not able to resolve the Credit Account based on the Account number received in the field 59 of an incoming message the transaction is moved to repair queue from Repair queue if you change the Account number present in the field 59 and repairs the transaction, then Source Account branch resolution logic is not applied on changed Account number.
5.1.3 Inbound Multi Credit Consol View Summary
You can invoke “Inbound Cross Border Payments Consol View Summary” screen by typing ‘PXSCONIN’ in the field at the top right corner of the Application tool bar and clicking on the adjoining arrow button.
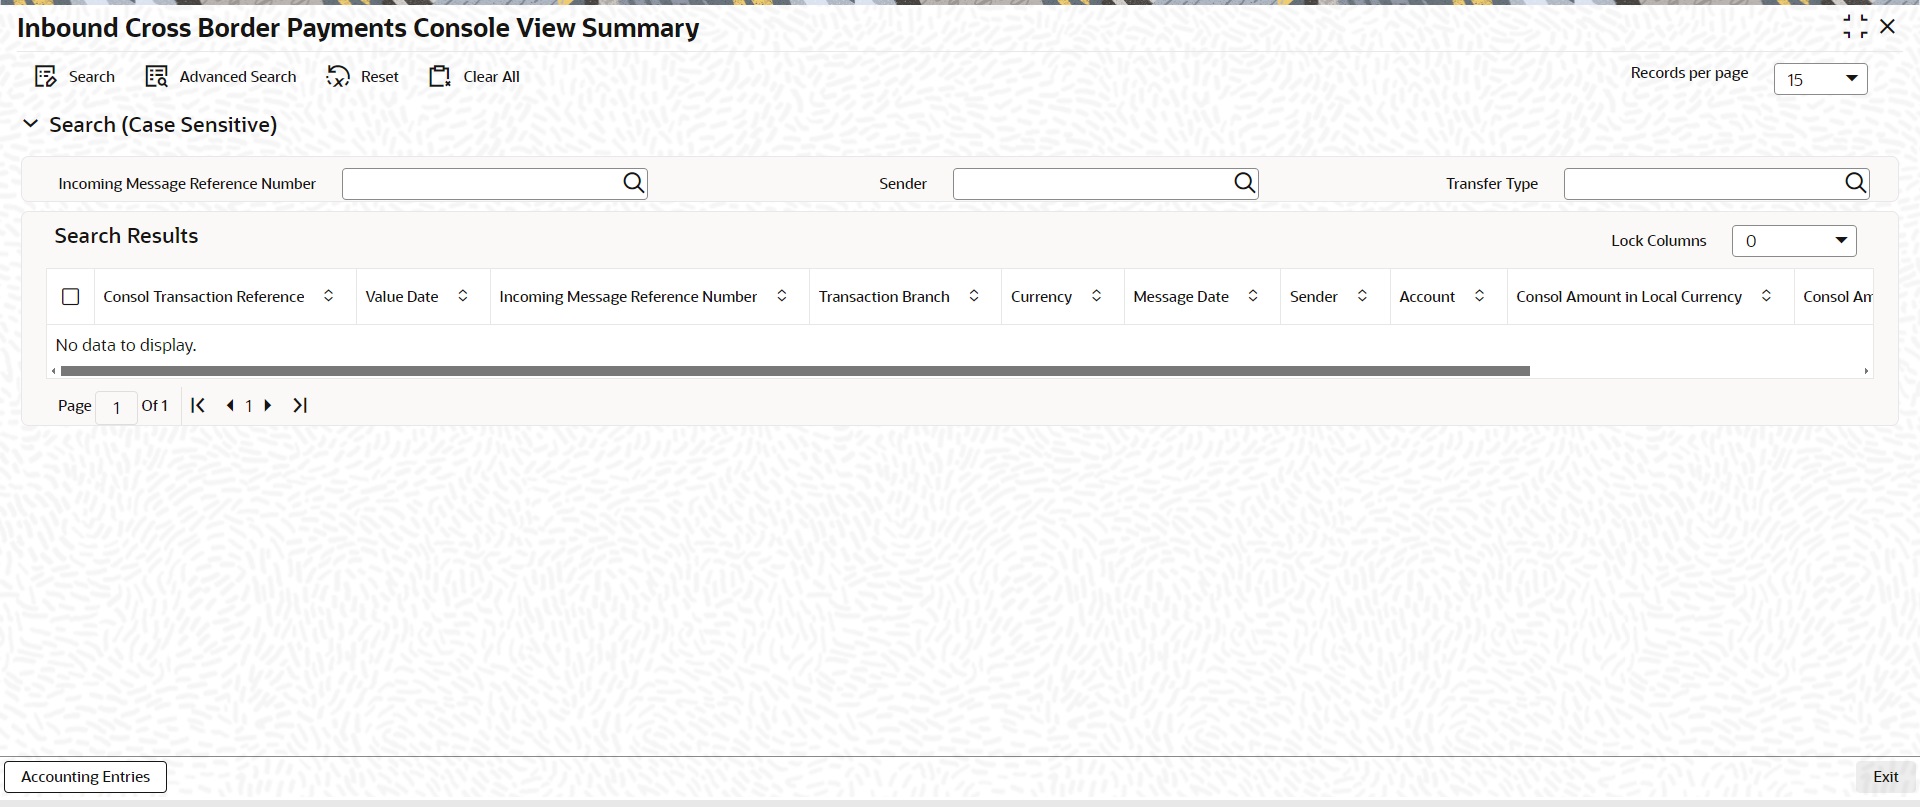
You can search using one or more of the following parameters.
l Inbound Message Reference No
l Sender
l Transfer Type
Once you have specified the search parameters. Click ‘Search’ button. The system displays the records that match the search criteria.
The following operations are available in the Summary screen
|
Operation |
Functions |
|---|---|
|
Accounting Entries |
You can view the generated consol Accounting Entries for the selected consolidated batch. |
5.1.3.1 Accounting Entries
You can view the generated consol Accounting Entries for the selected consolidated batch.
You can invoke the Accounting Entries screen by clicking on ‘Accounting Entries ‘action button available at the left bottom in the ‘Inbound Cross Border Payments Consol View Summary ‘screen (PXSCONIN)

Select a record listed in the ‘Inbound Cross Border Payments Consol View Summary’ screen and click on ‘Accounting Entries’ button. System defaults all the data for the Record selected.
5.2 Inbound Transaction Upload
You can book Inbound Transaction from external systems through:
l Inbound Cross-border Transaction Booking service
5.3 Inbound Transaction Processing
Inbound payments follows the below listed processing steps:
l Section 5.3.1, "Bank Re-direction"
l Section 5.3.2, "Account Re-direction"
l Section 5.3.3, "D to A Conversion"
l Section 5.3.5, "Account Derivation"
l Section 5.3.6, "PSD Validation"
l Section 5.3.7, "Network Cutoff Validation"
l Section 5.3.8, "Beneficiary Name Validations"
l Section 5.3.9, "Customer Payment Restriction Validation"
l Section 5.3.10, "EU Payer Validation"
l Section 5.3.11, "Sanction Check Validation"
l Section 5.3.12, "Duplicate Check"
l Section 5.3.13, "Field 72 Codeword Validation"
l Section 5.3.14, "Authorization Limit Validations"
l Section 5.3.15, "External Account Check Processing"
l Section 5.3.16, "Exchange Rate/FX Processing"
l Section 5.3.18, "Accounting"
l Section 4.3.19, "FI to FI Payment Status Report (pacs.002) generation"
l Section 5.3.20, "Transaction Cancellation Processing"
l Section 5.3.21, "Future Date Transaction Processing"
l The system checks the Bank Redirection maintenance (PMDBKRED) for any redirections maintained against the Bank Codes mentioned in the transaction. If there are any redirections maintained, the Redirected Bank Code replaces the Original Bank Code in the transaction.
l The system checks the Account Redirection maintenance (PMDACRED) for any redirections maintained against the accounts mentioned in the transaction. If there are redirections maintained, the redirected account replaces the original account in the transaction.
l The system converts party details (Name and Address) to BICFI when records are maintained in D to A Converter maintenance PMDDAMNT.
5.3.4 Charge Account Defaulting
The system defaults charge account from Customer Preferences Detailed (PMDFLPRF) maintenance, when the charge account is not provided during input and if charge account is given in the customer preference.
The system checks whether the charge account defaulted or given during input is a valid account or not (Open/Authorized). If it is not a valid account, then the transaction is moved to Repair queue for user action.
l The system validates the Credit Account against the External Customer Account Input STDCRACC to check whether the account is valid (Open / Authorized).
l The PSD Validation is applicable only for MT 103 transactions.
l The flag ‘PSD Applicable’ on Source Maintenance Detailed screen is referred for checking if PSD check is applicable for the Host.
5.3.7 Network Cutoff Validation
l The cutoff time maintained in the Inbound BIC Cutoff Maintenance (PXDINCOF) is used for Network cutoff check for Inbound Cross Border payments.
l If the transaction processing time is past cutoff time maintained or no Cutoff maintenance is available, the transaction is moved to the Network cutoff queue.
5.3.8 Beneficiary Name Validations
l Beneficiary name value of MT 103/202 is considered for Beneficiary Name Validation.
l The name is matched with the Account Description of resolved credit account (STDCRACC).
l If the name does not match the account description, then the validation is done based on the additional names maintained for the account in the Customer Account Name Match (PMDCUSNM) screen.
5.3.9 Customer Payment Restriction Validation
l If the Credit Account / Credit Account’s customer is selected, the system checks whether the account/customer is restricted to do any Inbound Cross Border payment.
l The Customer Payment Restriction (PMDCRSTR) maintenance is referred for the Credit Account / Customer combination
l The EU Payer validation applies only for MT 103.
5.3.11 Sanction Check Validation
l 'Sanctions Check Required' flag at the Source Network Preference (PMDSORNW) is referred for the Host code, Source code, Network code, and Transaction Type as 'Incoming'.
l A Sanctions request XML is prepared and sent to the Sanction System. A record is logged into the Sanction Queue. The request remains in Sanction Queue till the final response (Accept / Reject / Seizure) is received.
l If Duplicate Check fields are defined at the source level, the duplicate check is done against the inbound transactions booked (Till Duplicate Check Days).
l If the transaction is within the duplicate checking period maintained at source preferences, then the transaction is considered for Duplicate Checking.
5.3.13 Field 72 Codeword Validation
A validation is done on the Field 72 codewords. The STP preference for the codewords is referred to process the transaction/ to move the transaction to Business Override Queue.
If there is no preference maintained for a codeword, then the system checks whether the codeword is a standard codeword or not. The codewords that are published in the SWIFT Field format specification are considered as standard codewords. If the codeword is a not a standard codeword, then the transaction is moved to Business Override Queue. Otherwise, the transaction is processed further.
An option is available to skip the codeword validation for non-standard or bilateral codewords.
l For Cross-border transaction, set the parameter 'SKIP_SWIFT_F72_VALIDATION', value as "Y" to skip the Field 72 validation.
l For RTGS transaction, set the parameter 'SKIP_RTGS_F72_VALIDATION', value as the RTGS network code to skip the Field 72 validation.
5.3.14 Authorization Limit Validations
l Authorization Limit currency and Limit 1 amount values at the Source Network Preference referred for the Host code, Source code, Network code, and Transaction Type as “Incoming”.
l Authorization Limit 2 amount value at the Source Network Preference referred for the Host code, Source code, Network code, and Transaction Type as “Incoming”.
l Two levels of authorization limits can be maintained for a Network and source in PMDSORNW (optional).If the transfer amount is greater than authorization limit 1, the transaction is moved to Authorization Limit 1 Queue.
l On approval from Authorization Limit 1 Queue, if the transfer amount is greater than authorization limit 2, the transaction is moved to Authorization Limit 2 Queue. If the transfer amount is less than authorization limit 2, the transaction proceeds to next processing step.
l If the Authorization Limit check is done on booking date, it is not repeated on Value date processing.
5.3.15 External Account Check Processing
l The ‘External Credit Approval System’ is picked up from the External Customer Account (STDCRACC).
l An EAC request XML is prepared that includes the details like a debit account, amount to be debited, and charge components with charge amount to be debited.
l A record is logged in to the EAC Queue. The request is in EAC Queue with status as ‘Pending’ till the final response (Accept / Reject / Seizure) is received.
5.3.16 Exchange Rate/FX Processing
l If the Credit Currency is different from Transfer Currency, then the flag 'External Exchange Rate Required” is referred from the Network Preference (PMDNWPRF) for the Host code, Network code and Transaction Type as 'Incoming' combination.
l If the flag is set as Yes, then the ‘External Exchange Rate System’ is picked up from the External Exchange Rate mapping maintenance (PMDERMAP). An External Exchange Rate request XML is sent to the external exchange rate system, and a record is logged into the Exchange Rate Queue (PQSEXEXQ) with Queue Code as ‘External Exchange Rate Queue’.
l If the flag is set as No, then the FX Rate code maintained in preference is used to pick up from the currency exchange rates.
l Two types of pricing are supported:
– Standard pricing
– Rule based pricing
l When the system evaluates the Price rule, the pricing value is picked up from the Rule-Based Price value maintenance against the Price Value ID.
l When the system evaluates no Price rule, the pricing value is picked up from the Standard Price value.
l The ‘Transaction Pricing Code’ field value is picked up from the SWIFT Pricing Preferences Detailed (PMDSWPRF) screen as shown below:
|
Customer Transfer |
||||
|
Network Code |
Transaction Type |
Transfer Currency |
Transfer Type |
Remarks |
|
SPECIFIC |
SPECIFIC |
SPECIFIC |
Customer Transfer / Customer Transfer with Cover |
System picks the "SHA Price Code" if Charge Bearer is SHAR |
|
SPECIFIC |
SPECIFIC |
*AL |
Customer Transfer / Customer Transfer with Cover |
System picks the "SHA Price Code" if Charge Bearer is SHAR |
|
SPECIFIC |
SPECIFIC |
SPECIFIC |
Customer Transfer / Customer Transfer with Cover |
System picks the "BEN Price Code" if Charge Bearer is CRED |
|
SPECIFIC |
SPECIFIC |
*AL |
Customer Transfer / Customer Transfer with Cover |
System picks the "BEN Price Code" if Charge Bearer is CRED |
|
SPECIFIC |
SPECIFIC |
SPECIFIC |
Customer Transfer / Customer Transfer with Cover |
System picks the "OUR Price Code" if Charge Bearer is DEBT |
|
SPECIFIC |
SPECIFIC |
*AL |
Customer Transfer / Customer Transfer with Cover |
System picks the "OUR Price Code" if Charge Bearer is DEBT |
|
Bank Transfer |
||||
|
Network Code |
Transaction Type |
Transfer Currency |
Transfer Type |
Remarks |
|
SPECIFIC |
SPECIFIC |
SPECIFIC |
Bank Transfer |
System picks the "Bank Transfer Price Code" maintained for the combination |
|
SPECIFIC |
SPECIFIC |
*AL |
Bank Transfer |
System picks the "Bank Transfer Price Code" maintained for the combination |
|
Default Pricing Code Pickup |
||||
|
Network Code |
Transaction Type |
Transfer Currency |
Transfer Type |
Remarks |
|
SPECIFIC |
SPECIFIC |
SPECIFIC |
Bank Transfer / Customer Transfer / Customer Transfer with Cover |
System picks the "Default Price Code" if pricing code is not maintained for the combination |
|
SPECIFIC |
SPECIFIC |
*AL |
Bank Transfer / Customer Transfer / Customer Transfer with Cover |
System picks the "Default Price Code" if pricing code is not maintained for the combination |
l If a Pricing code value is maintained, then the Pricing value is picked up from the Pricing Value Maintenance (PPDVLMNT).
l During manual transaction input, the charge amount calculated for each pricing component is shown in the Pricing Details tab where the user can change the charge amount.
l The ‘Debit Liquidation’ & ‘Credit Liquidation’ accounting codes maintained in Network Currency preferences (PMDNCPRF) for the Host code, Network code, Transaction Type ‘Outgoing’ and Transfer Currency combination are applicable for posting the accounting entries.
l The MIS & UDFs are defaulted based on the MIS Group / UDF Group defined in the Source Network Code maintenance (PMDSORNW).
l If MIS Group/UDF Group values are not maintained, then the MIS Group/UDF Group values maintained at Source Code maintenance (PMDSORCE) are referred.
l For manual transaction input, the user can edit the default values of MIS & UDF.
5.3.20 Transaction Cancellation Processing
l An Inbound transaction can get cancelled from an exception queue either manually or automatically based on the response from external system.
l After successful completion of all cancellation processing steps, the transaction status is marked as Cancelled.
5.3.21 Future Date Transaction Processing
l An inbound transaction booked today with activation date in future is processed as future dated transaction.
l The transaction is processed on the activation date from the beginning.
Note
The Payments Auto Job ‘PQDFUVAQ’ should be configured to trigger the transaction processing for future valued transactions on the activation date.