3. Payments Core Processes
File envelope details received can be viewed from this screen. All the file types are position in the Application server file path, except for those that contain specific mention of the Database server file path. The system supports receipt, validation, and upload of file envelopes for the following file types:
l ACHCTReceipt - ACH CT Receipt file in pacs.008 format
l ACHCTReject - Originated ACH CT File reject in pacs.002 format
l ACHCTReturn - Originated ACH CT Return in pacs.004 format
l ACHCTReversal - ACH Reversal file in pacs.007 format
l ACHDDOrigination - ACHDD Origination in pain.008.001.08
l ACHDDReceipt - ACH Debit receipts in pacs.003 format
l ACHDDReject - ACH DD Reject File in pacs.002 format
l ACHDDReversal - ACH DD Reversal
l ACHDDReturn - ACH DD Return
l NACHack - NACHA Acknowledgement
l NACHCreditInput - To receive NACH Credit Input files from corporates in pacs.008 NPCI formats
l NACHCreditInward - To receive NACH Credit Input files from corporates in pacs.008 NPCI formats
l NACHDebitInput - To receive NACH Credit/Debit Input files from corporates in pacs.003.001.02 NPCI formats
l NACHDebitInward - NACH Debit Inward
l Positive Pay - Positive Pay File Upload
l SEPADDNonCSM - SEPA DD Non CSM
l SEPANonCSM - SEPA Non CSM
l achDir - To upload the ACH file via pain.001
l bicdir - To upload BIC Maintenance (Database server file path)
l bicPlusDir - To upload BIC Directory
l bulkSps - To upload Bulk XML (multiple transactions) via Single payment service
l c2bFile - To upload Bulk file via pain.001
l c2bFileCancel - To upload bulk cancellation request from customer via pain.007
l c2bNachaFile - Bulk file in US Nacha format
l clearing - Incoming Clearing
l cnapsDirxml - Cnaps Directory XML
l currencyHolidayDir - To upload Currency Holiday maintenance. To be handled at Custom Layer (Database server file path)
l euro1Dir - To upload EURO1 RTGS Directory (Database server file path)
l gpiDirXml - To upload SWIFT gpi Directory
l gpiDirTxt - gpi Directory TXT (Database server file path)
l ibanExclusionList - To upload list of IBAN Exclusion (Database server file path)
l ibanPlusDir - To upload IBAN Plus Directory
l ibanStructureDir - To upload IBAN Information Structure Maintenance
l pacs008CTOrigination - ACH CT Receipt file in ISO pacs.008 format
l pain.009 - To upload Debtor Mandate Creation via pain.009
l pain.010 - To upload Debtor Mandate Amendment via pain.010
l pain.011 - To upload Debtor Mandate Cancellation via pain.011
l rmaPlusDir - To upload RMA/RMA + Maintenance
l rtpRoutingDir - To upload RTP Routing Maintenance
l sepaPlusDir - To upload SEPAPLUS Bank Directoy (Database server file path)
l target2Dir - To upload Target2 RTGS Directory (Database server file path)
l target2DirXML - To upload TARGET2 Directory XML file
l GEFU_NeftSCSD - NEFT Single Credit Single Debit File in ASCII file
l GEFU_NeftSDMC - NEFT Single Debit Multi Credit File in ASCII file
l GEFU-RtgsCuSCSD - India RTGS Customer Single Credit Single Debit ASCII file
l GEFU-RtgsSCSD - India RTGS Bank Single Credit Single Debit ASCII file
l IMPSTCC - India IMPS Transaction Credit Confirmation (TCC) file
l tipsDirXML - tipsDirXML Directory
You can invoke the ‘File Envelope Upload’ screen by typing ‘PMDFLEVP’ in the field at the top right corner of the application toolbar and clicking the adjoining arrow button. Click ‘New’ button on the Application toolbar.
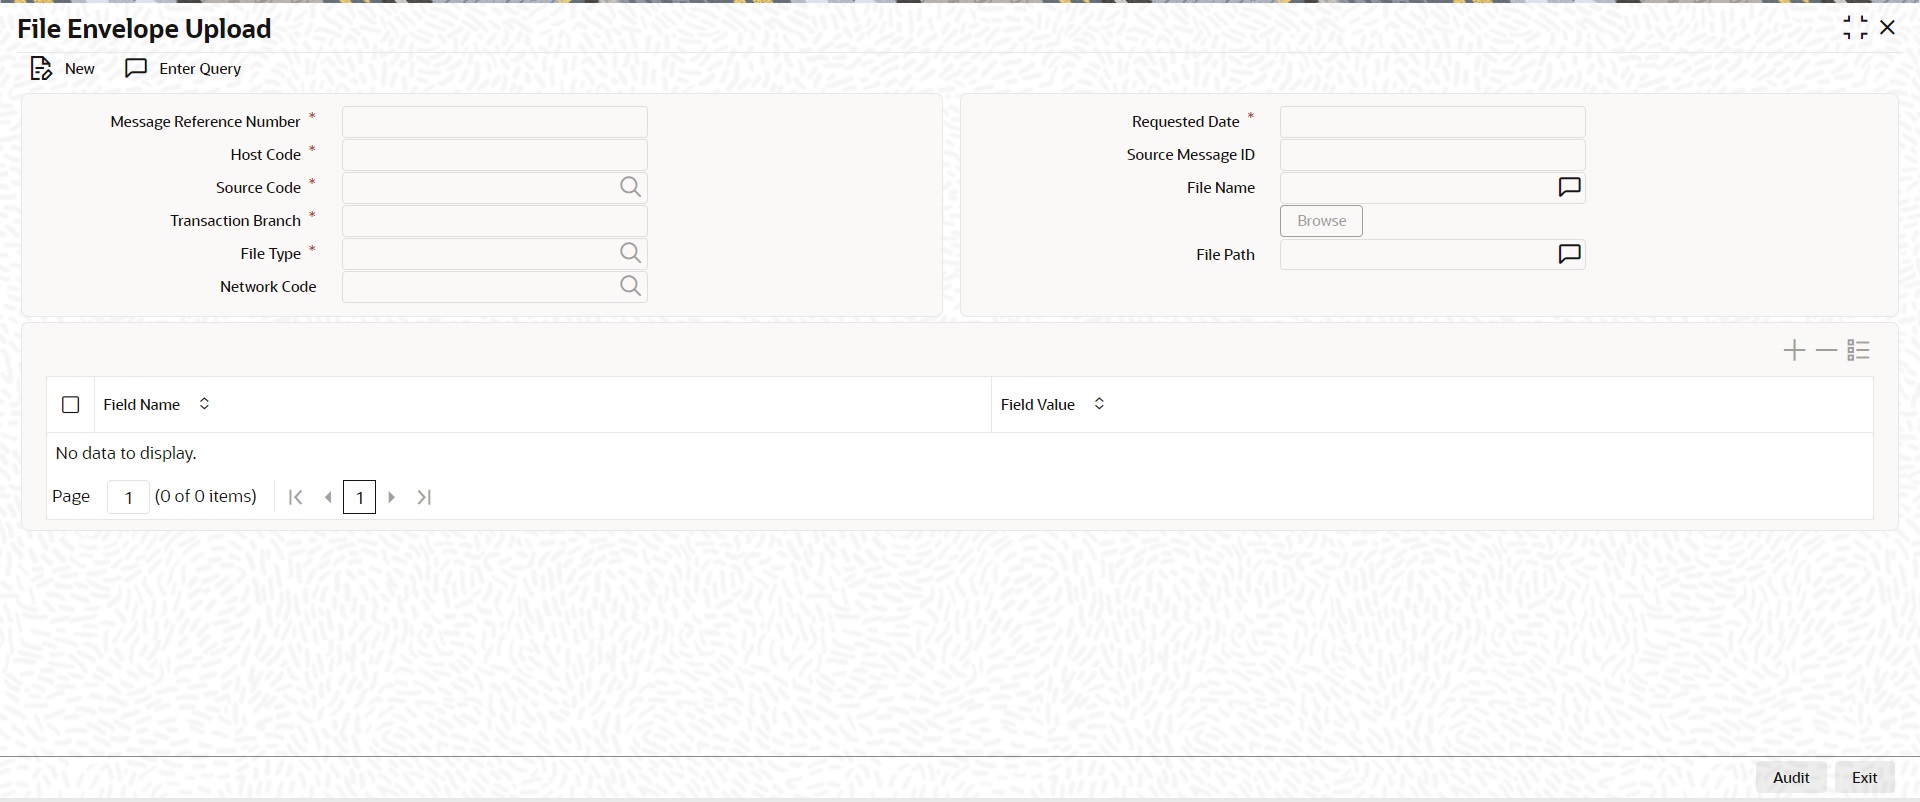
Source code received as part of the envelope are mapped to transactions generated from C2B files or bulk single payment service XMLs.
The file envelope details of the uploaded files are displayed:
l Message Reference Number
l Host Code
l Source Code
l Transaction Branch
l Network Code
l Requested Date
l Source Message ID
l File Type
l File Name
l File Path
l Field Name
l Field Value
Note
Custom Code needs to be deployed at the site for Currency Holiday Upload feature only.
3.1.0.1 File Envelope Upload Summary
You can invoke the File Envelope Upload Summary by typing ‘PMSFLEVP’ in the field at the top right corner of the application toolbar and clicking the adjoining arrow button.
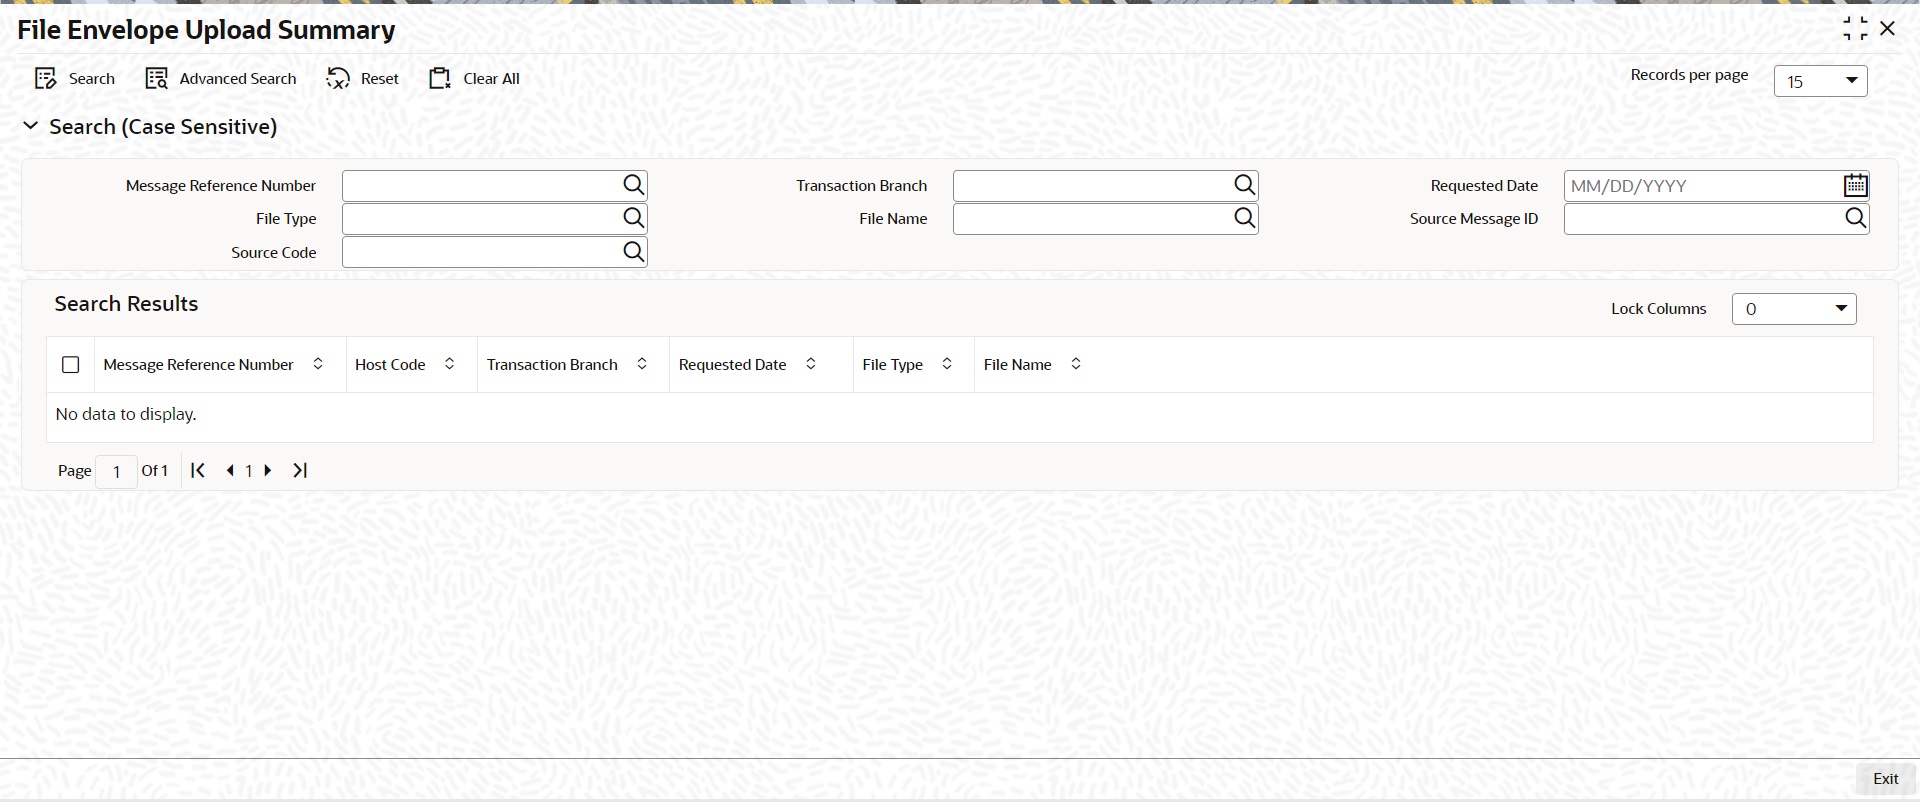
You can search using one or more of the following parameters:
l Message Reference Number
l Transaction Branch
l Requested Date
l File Name
l Source Message ID
l Source Code
Once you have specified the search parameters, click ‘Search’ button. The system displays the records that match the search criteria.
3.2 EU Payer Regulatory Maintenances
The EU Payer Regulatory Maintenances covers the Regulatory Guidelines, that the Payment Service Providers should take, to detect missing or incomplete information on the Payer or the Payee, and the procedures they should put in place to manage a transfer of funds lacking the required information. This is applicable across all the Payments modules.
Following are the features supported for both Payments and collections type of transactions as part of the EU Payer regulations:
l Ability to detect missing or incomplete information on the Payer & Payee details, like Name, Account No, and Address, in every Payment through the PSP, while playing the role as the Payer PSP, Payee PSP, or Intermediary PSP (IPSP)
l Ability to reject or suspend real-time Payments with missing or incomplete information on the Payer and/or Payee details
l Ability to allow for Repairs on such Payments as above
l Ability to report on such Payments as above.
l Ability to allow for configurations & rules to implement the monitoring in the system.
l Ability to detect & mark as high-risk PSPs repeatedly sending Payments that do not comply with the Regulation and allow for real-time monitoring of Payments from such high-risk PSPs.
l Ability to detect Payments with certain similarities with the payment amount below the threshold for monitoring, but aggregate above the threshold over a certain period, commonly known as Linked Payments.
l Ability to report on Payments for Ex-post monitoring purposes.
You can maintain the EU Payer preferences at the Host level.
You can invoke ‘EU Payer Preferences’ screen by typing ‘PMDEUPRF’ in the field at the top right corner of the Application tool bar and clicking on the adjoining arrow button.
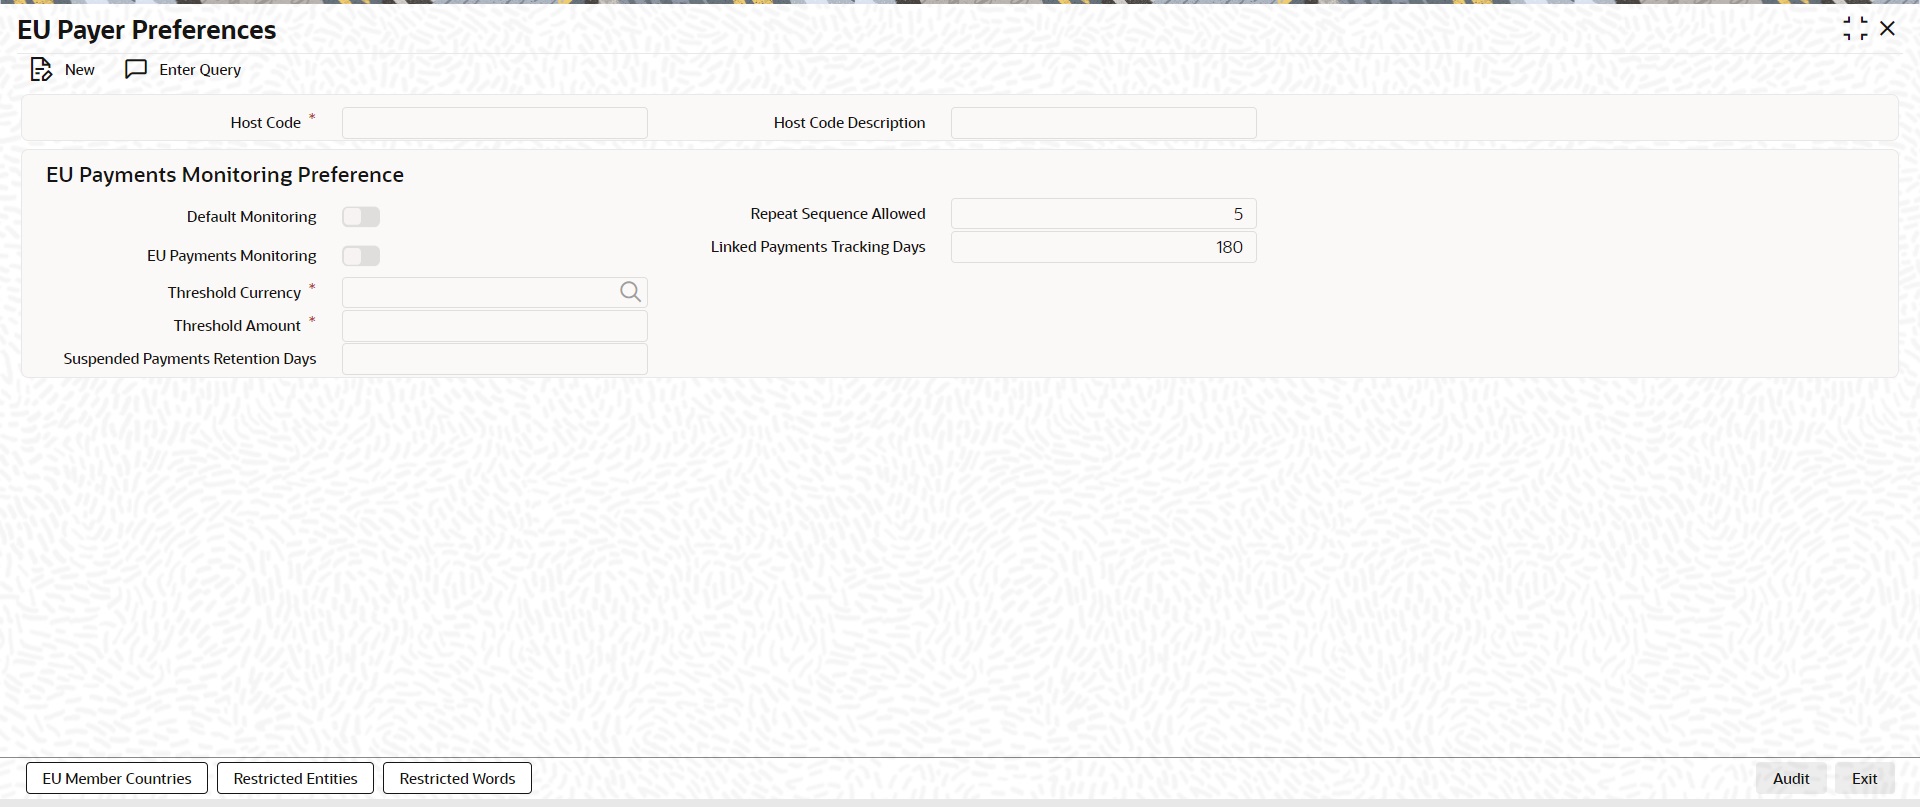
Specify the following details:
Host Code
System defaults the host code of transaction branch on clicking ‘New’.
Host Code Description
System defaults the description of the Host Code displayed.
EU Payer Monitoring Preferences
This is an option to turn on/off the monitoring at the Host level.
Default Monitoring
This flag indicates whether EU Payer monitoring is required for payments within the EU region.
This is to be turned ON when the Branch (Host) in Oracle Banking Payments is in the EU region and it is necessarily required to monitor all Payments passing through the System.
EU Payments Monitoring
A flag to indicate whether EU Payer monitoring is required for Payments destined to any EU Country.
This is to be turned ON only when the Branch (Host) in Oracle Banking Payments is in itself not in the EU region, but wishes to scan Payments destined to PSPs within the EU.
Note
l It is to be noted that PSP Entities outside of the EU do not have to comply with the Regulation However, such PSPs may turn on this flag to do a self-monitoring on Payments destined to PSPs within the EU to ensure a straight-through processing.
l EU Payer monitoring will be based on the immediate PSP before & after in the payment chain and will not be dependent on the terminal PSP.
Threshold Currency
Select the Threshold Currency from the list of values.This parameter, indicates the currency in which threshold amount is maintained.
Threshold Amount
Specify the Threshold Amount.In EU Payer Rule, this amount can be used as a condition to decide if a payment should undergo monitoring. System uses the desk rates for converting the Payment Amount to the Threshold Amount before determining the eligibility.
Suspended Payments Retention Days
Specify the Suspended Payments Retention Days. You can define the number of days (Branch Working) up to which Suspended Payments can be retained in the system.
Payments remaining under suspension beyond the number of Branch Working Days will be flagged as Aged Payments.
Repeat Sequence Allowed
Specify the number of repeat sequence allowed. This field indicates the no. of times a character or digit must be repeated within a Payment Attribute for it to be considered as meaning-less information. Default Repeat Sequence is 5.
Linked Payments Tracking Days
Specify the Linked Payment Tracking Days. This field indicates the no. of Tracking days (Calendar Days) within which a payment below threshold amount from the same sending PSP has to be tracked for linked payments.. Default number of days is 180.
Following are the sub- screens that can be accessed through the EU Payer Preferences screen.The sub-screens opens in view mode. If any information is already captured in the respective maintenance, the same will be available for view.
l EU Member Countries
l Restricted Entities
l Restricted Words
You can maintain the list of EU member countries through this screen. This maintenance is not available by Branch (Host), since the list is a standard set of member countries of the EU.
You can invoke ‘EU Member Countries’ screen by typing ‘PMDEUCTR’ in the field at the top right corner of the Application tool bar and clicking on the adjoining arrow button
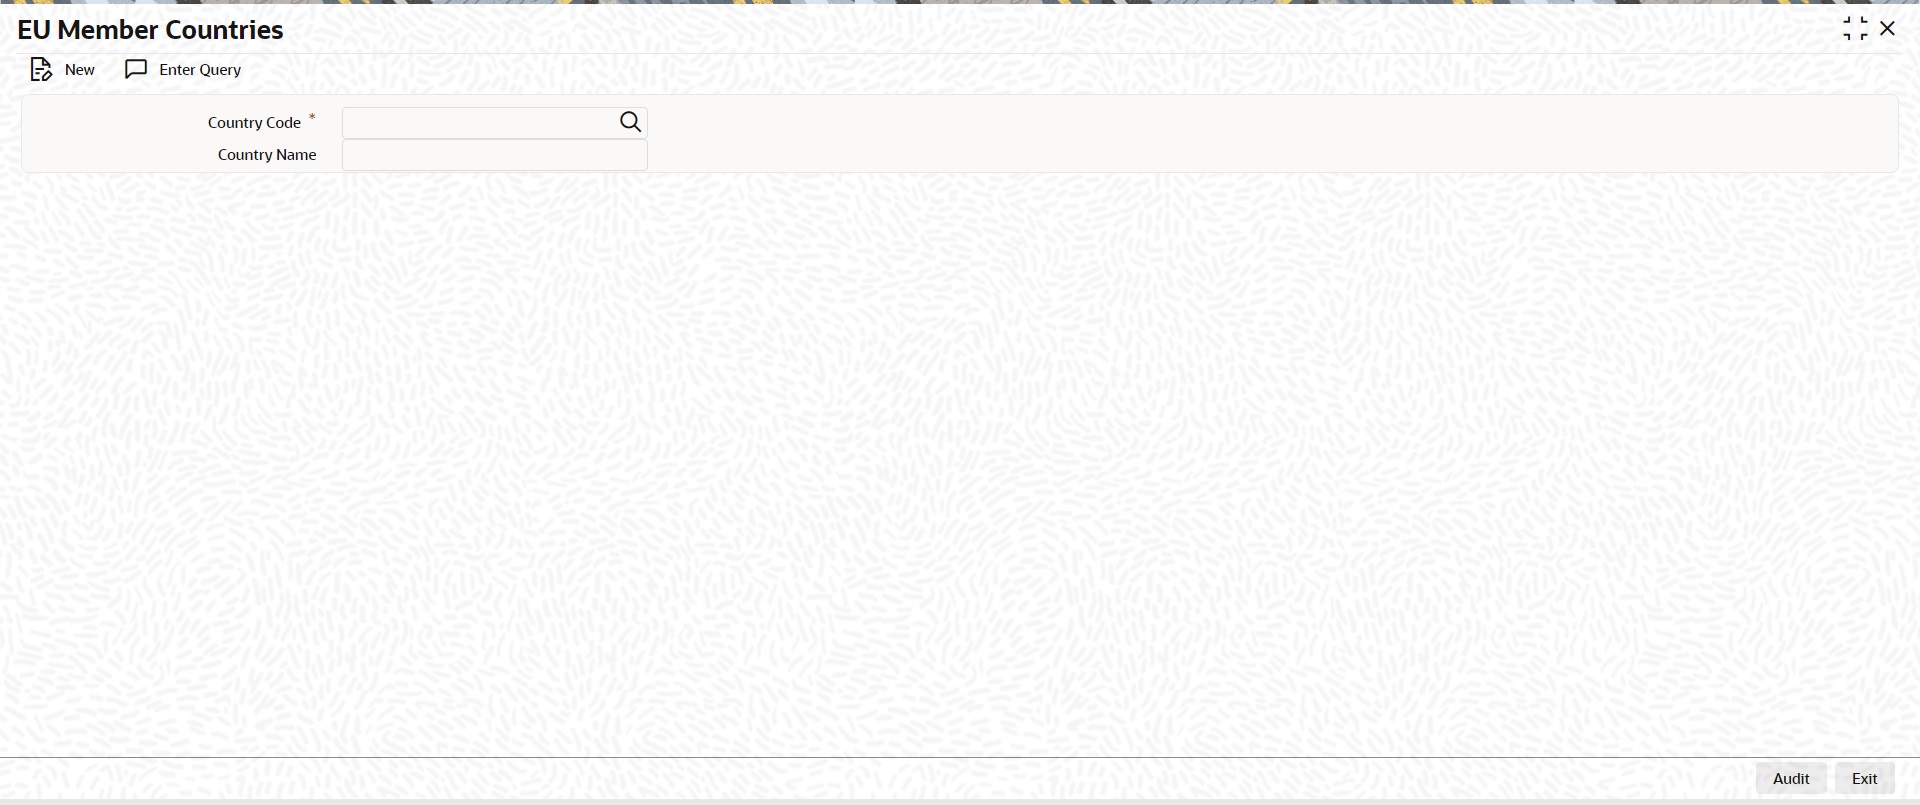
Specify the Following details:
Country Code
Select the country code from List of values. All the valid country codes are listed here.
Country Name
System defaults the Country name of the country code selected.
You can maintain the list of known/potential ML/TF countries and Non-Compliant Payers at the Branch (Host) level.
You can invoke ‘EU Payer Restrictions’ screen by typing ‘PMDEURST’ in the field at the top right corner of the Application tool bar and clicking on the adjoining arrow button.
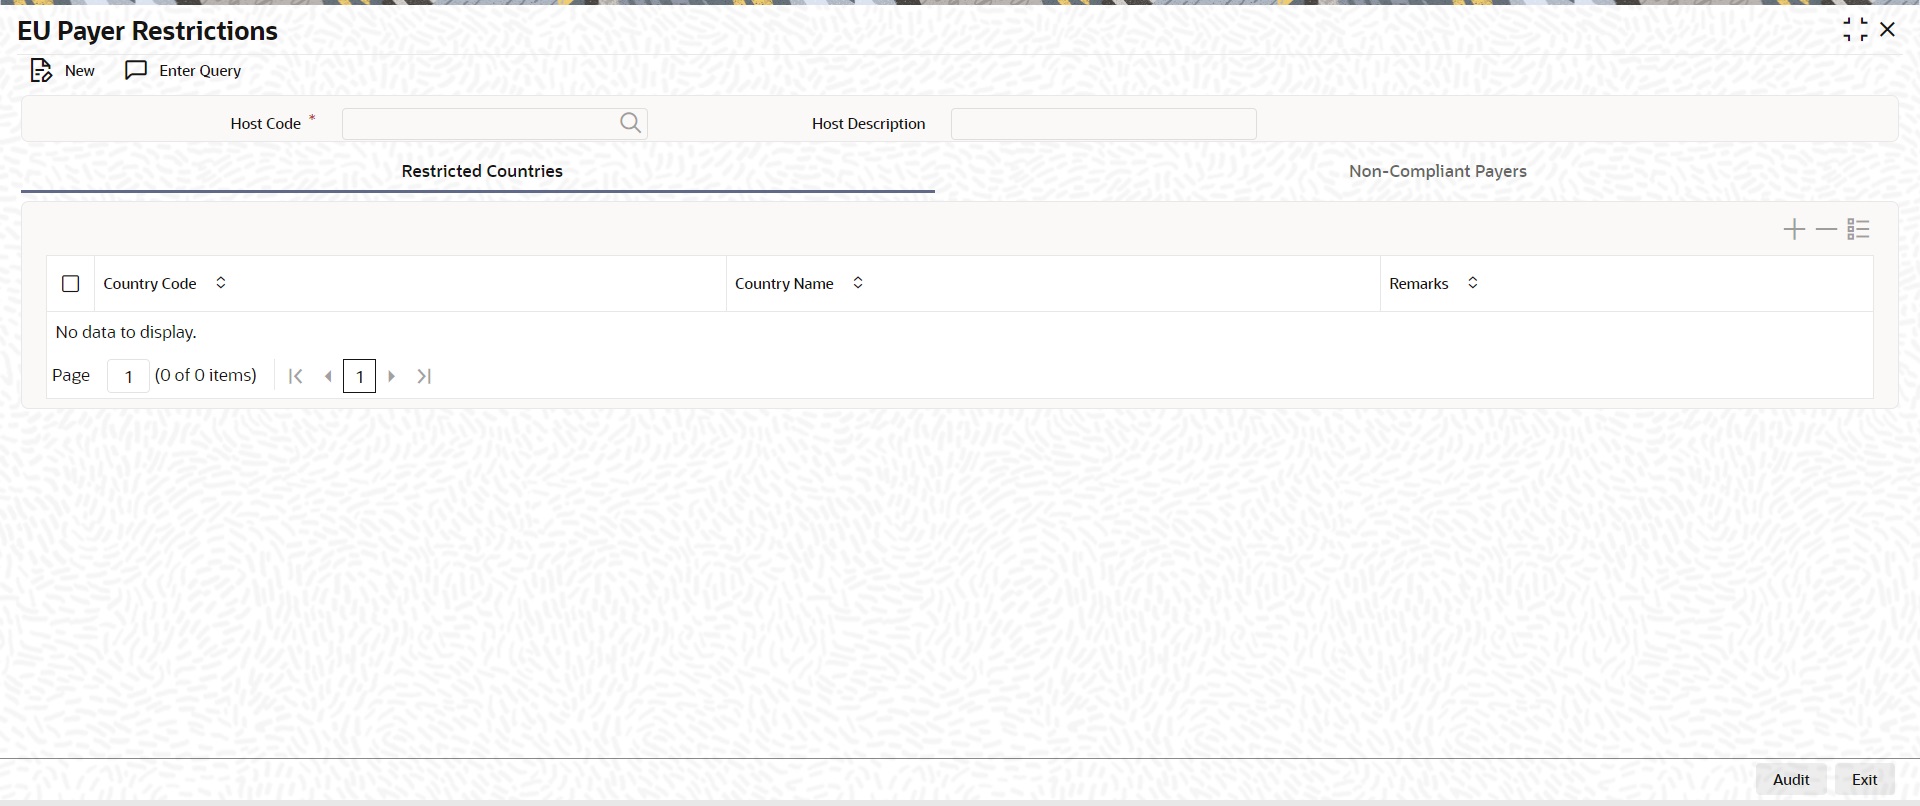
Specify the following fields:
Host Code
System defaults the host code of transaction branch on clicking ‘New’.
Host Code Description
System defaults the description of the Host Code selected.
Restricted Countries
You can maintain the list of countries to be restricted, by selecting the Country Codes from the list of values. This list is looked-up to verify the country of the Payer PSP or the Payee PSP to flag the payment as a High-risk Payment.
Country Code
Select the Country code, that is to be restricted from the list of values. All the valid country codes are listed here.
Country Name
System defaults the Country name of the country code selected.
Remarks
Specify the remarks if any.
Non - Compliant Payers
This list will be looked-up to verify if the Payer PSP has a Negative Compliance Record.
You can navigate to this screen by clicking the ‘Non-Compliant Payers’ tab.
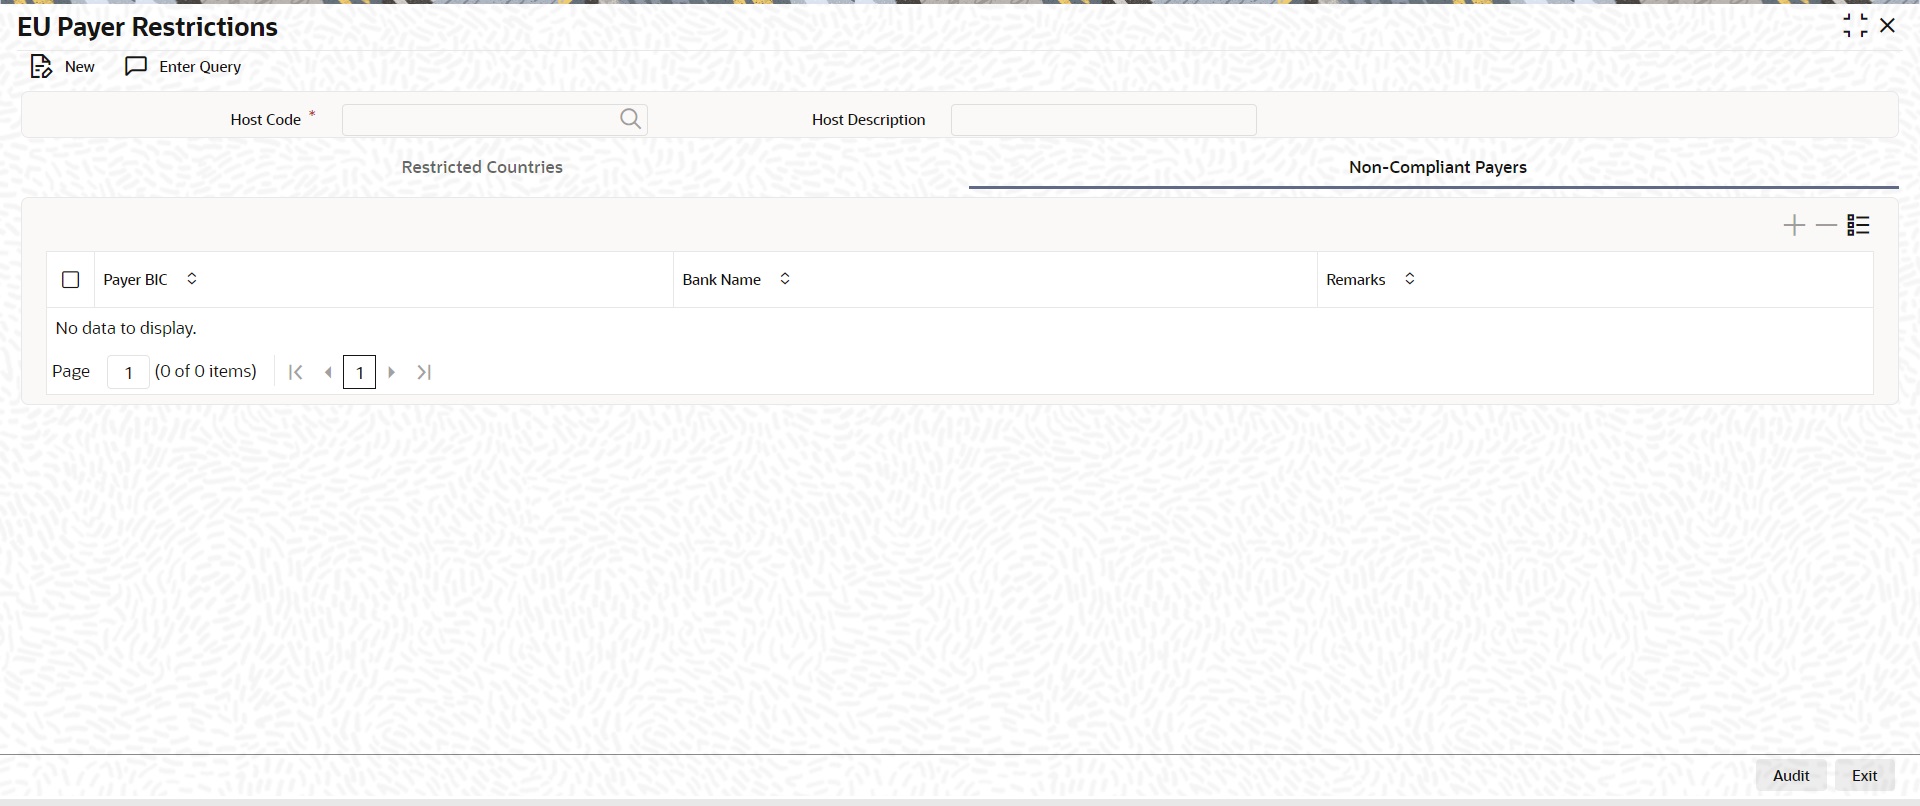
Specify the following fields:
Payer BIC
Select the Sender BIC, from the list of values, who is marked as Non-compliant. All the valid Payer BICs are listed here.
Bank Name
System defaults the Bank name of the BIC selected.
Remarks
Specify the remarks if any.
3.2.4 EU Payer Restricted Words
You can maintain the list of meaning-less words in this screen.This is a common list across Branches (Hosts). Users can maintain the known set of meaning-less words or the words as extracted from the ex-post monitoring reports.
You can invoke ‘EU Payer Restricted Words’ screen by typing ‘PMDEUWRD’ in the field at the top right corner of the Application tool bar and clicking on the adjoining arrow button
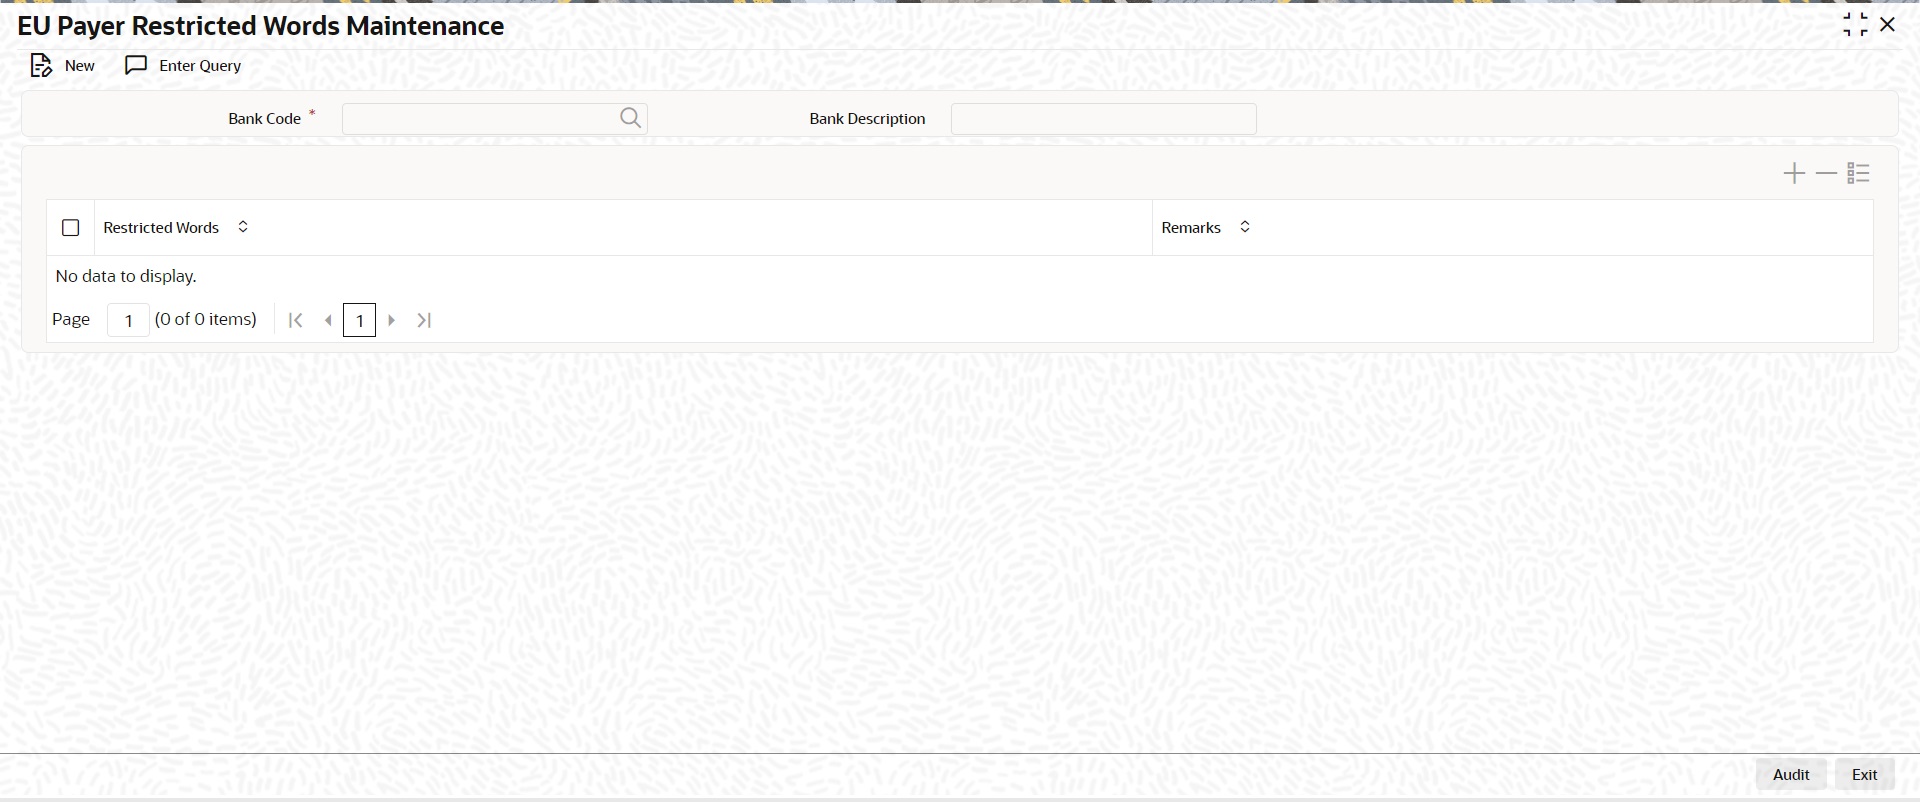
Specify the following fields:
Bank Code
Select the Bank code of the logged in user.
Description
System defaults the description of the Bank Code displayed.
Restricted Words
This is a free text field. You can maintain the known set of meaning-less words or the words as extracted from the ex-post monitoring reports
Remarks
Specify the remarks, if any.
3.2.4.1 EU Payer Preferences Summary
You can view summary of EU Payer preferences maintained in the screen, ‘EU Payer Preferences Summary’. To invoke this screen, type ‘PMSEUPRF’ in the field at the top right corner of the application toolbar and click the adjoining arrow button.
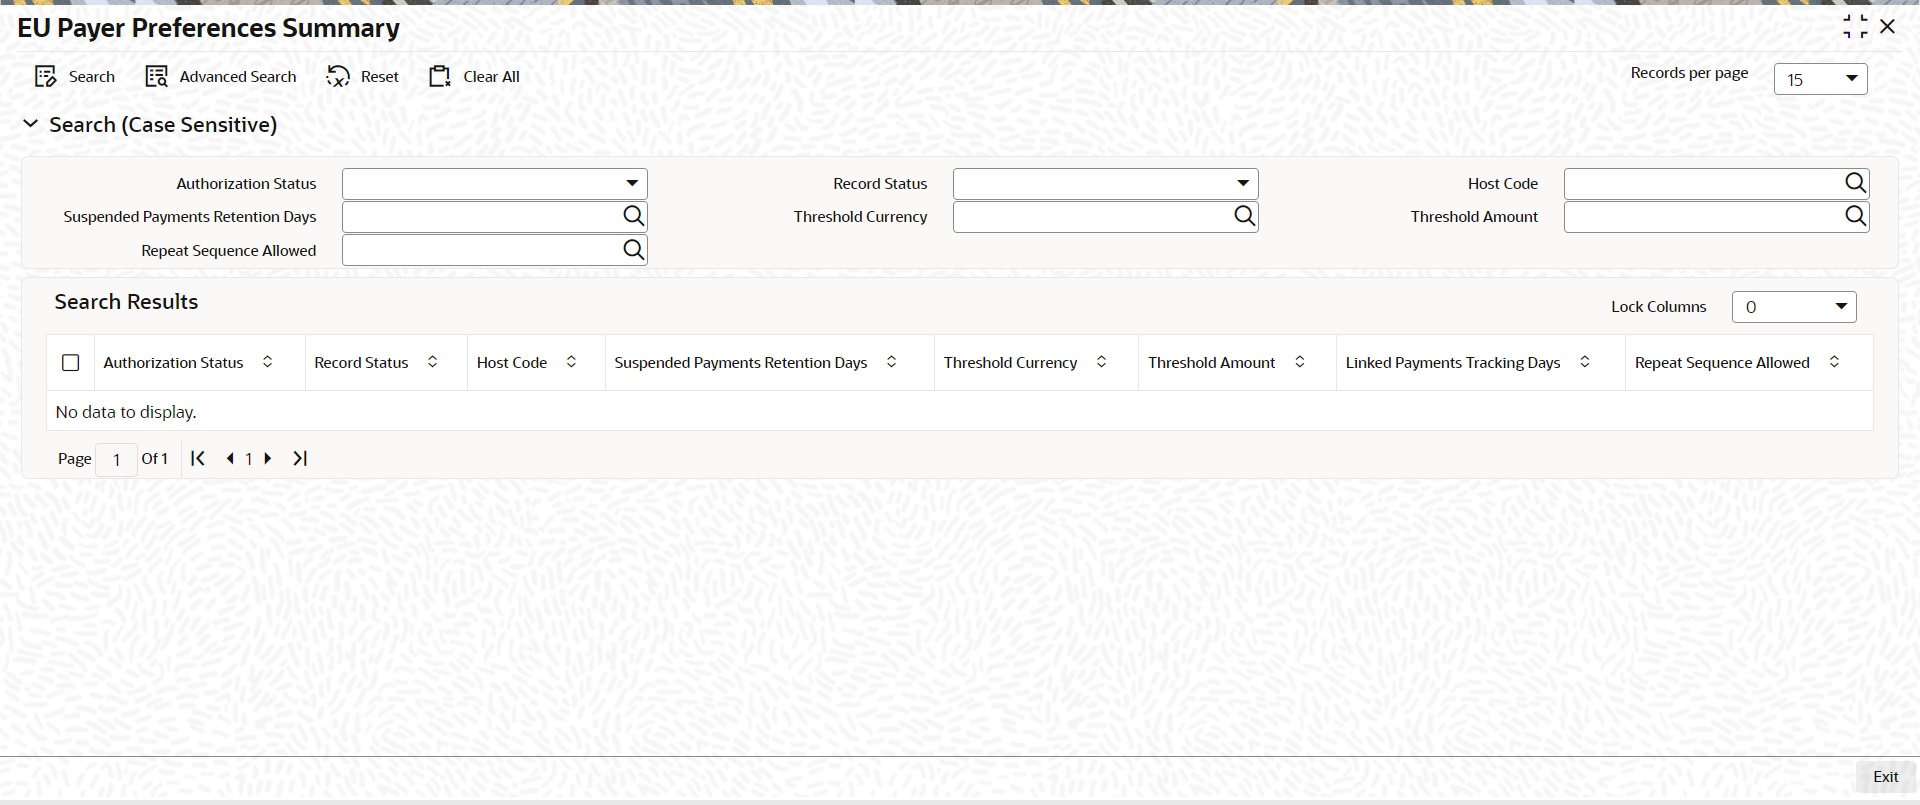
You can search using one or more of the following parameters:
l Authorization Status
l Host Code
l Threshold Currency
l Repeat Sequence Allowed
l Record Status
l Suspended Payments Retention Days
l Threshold Amount
Once you have specified the search parameters, click ‘Search’ button. The system displays the records that match the search criteria.
Double click a record or select a record and click on ‘Details’ button to view the detailed EU Payer Preferences screen.
You can set up scenario-based Rule at the Branch (Host) level to detect the set of Payments eligible for EU Payer monitoring and to configure the essential information to meet the compliance.
You can invoke ‘EU Payer Rule Maintenance’ screen by typing ‘PMDEURLE’ in the field at the top right corner of the Application tool bar and clicking on the adjoining arrow button
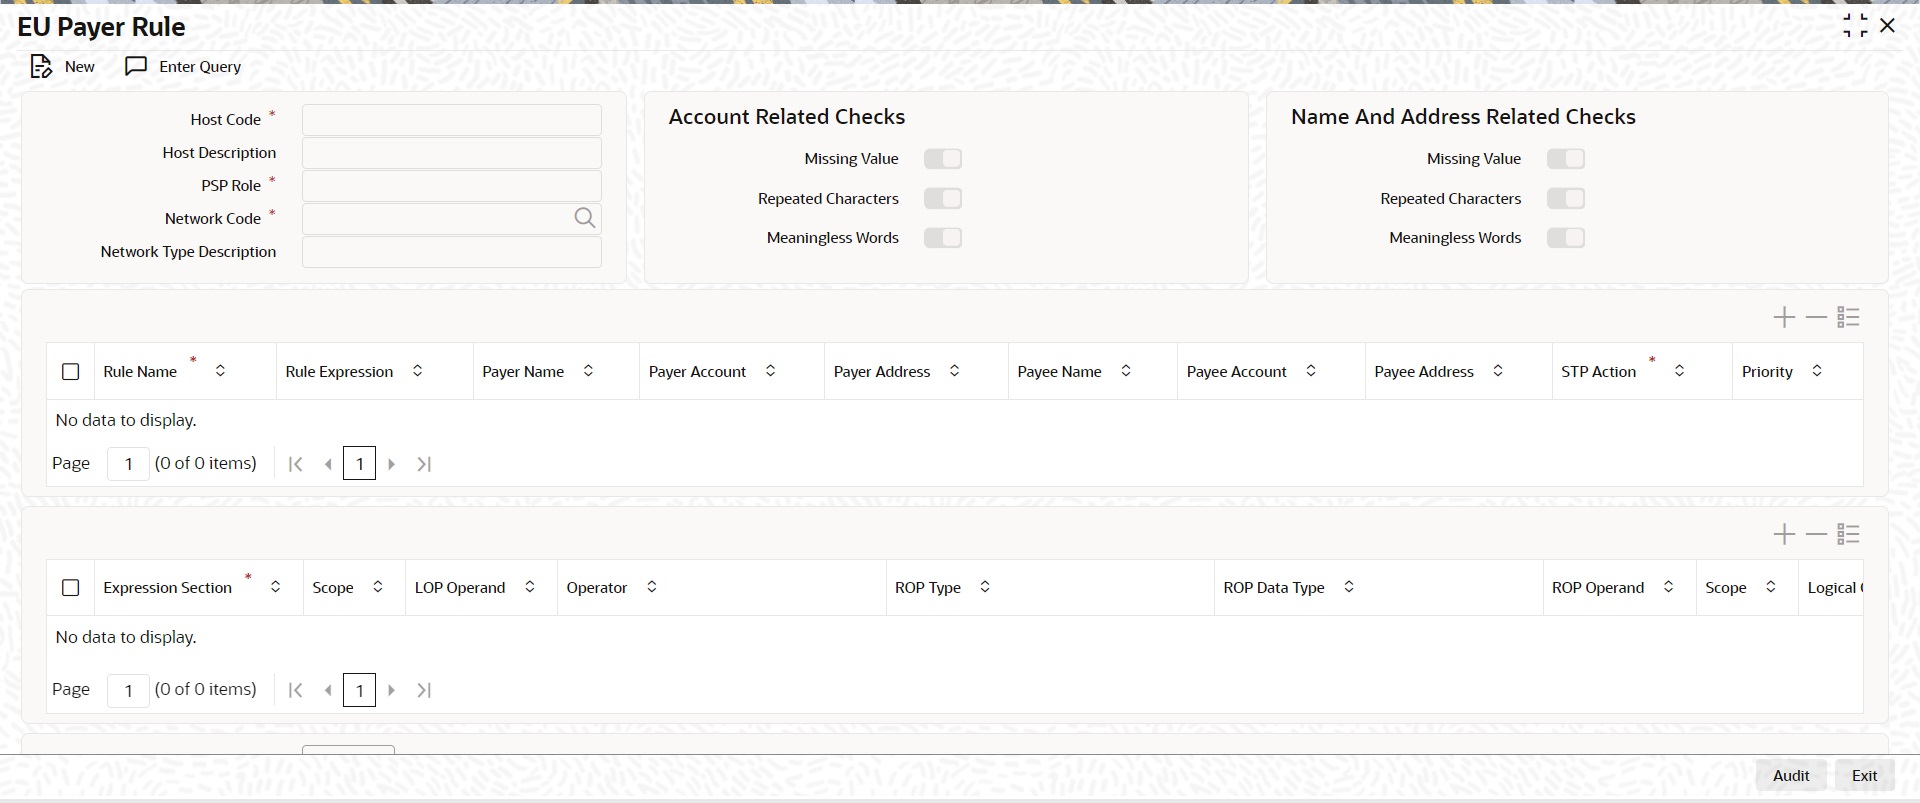
You can specify the following fields;
Host Code
System defaults the host code of transaction branch on clicking ‘New’.
Host Description
System defaults the description of the host code.
PSP Role
Select the PSP Role from the drop-down values listed. Following are the options available:
The EU Payer Rules can be set-up for each of the ‘PSP Role’ listed for each Branch:
l Payer
l Payee
l Intermediary
The rules, as detailed in the table below, can be set-up to be applied on the Payment in the listed Priority Order, when the PSP plays the Role for each of the above:
Example of a Rule Set-up when the PSP plays the role of a Payee:
|
Rule |
Required Information for Compliance |
STP Action |
|||||
|
Payer Name |
Payer Account No |
Payer Address |
Payee Name |
Payee Account No |
Payee Address |
||
|
Payer PSP Country is a ML/TF Country |
- |
- |
- |
- |
- |
- |
Suspend |
|
Payer PSP has a negative compliance record |
- |
- |
- |
- |
- |
- |
Suspend |
|
Payer PSP within the EEA |
- |
Y |
- |
- |
Y |
- |
Report – Missing Information |
|
Payer PSP outside of the EEA |
Y |
Y |
Y |
Y |
Y |
Y |
Suspend |
Network Code
Specify the network code. Alternatively, you can select the network code from the list of values, for which the EU payer rule to be maintained.
Network Type Description
System defaults the Network Type Description on the Network code selected.
Account Related Checks
Preference flags are provided to denote whether the Missing Information validation has to be done based on
l Missing Value
l Repeated characters
l Meaningless Words
If the missing information validation has to be done based on all the three conditions for an account, all the three flags are to be checked.
For example: If Repeated character check is not a criteria for marking missing information for Account, 'Repeated character flag in the EU payer rule screen can be kept as unchecked.
Name & Address Checks
Preferences similar to Account related checks are available for Name & Address. The preferences maintained are applicable to both Name and Address fields.
Note
l All the new flags are checked by default. You can uncheck any of the flags as required.
l When Missing information check is required for address, by default the validation is required for all lines of address as available in the transaction. If any line in address is having value, it is considered as availability of data.
Rule Name
Specify the name of the rule.
Rule Expression
The expression can be filled in the Expression Details multi block. On the click of Populate button, the expression gets built and displayed in this field.
To configure the Rule, the following set of elements are available.
l Payer PSP
l Payee PSP
l Sender PSP
l Receiver PSP
l Payer PSP Country
l Payee PSP Country
l Sender PSP Country
l Receiver PSP Country
l Threshold Amount in transfer currency (as configured in the EU Payer Maintenance converted in transfer currency)
l Payment Amount
l Payment Currency
l Payer PSP within EEA
l Payee PSP within EEA
l Sender PSP within EEA
l Receiver PSP within EEA
l Linked Payment (Y/N)
l Is Sender Negative Compliant (Y/N)
l Payer PSP in ML/TF Country (Y/N)
l Payee PSP in ML/TF Country (Y/N)
l Sender PSP in ML/TF Country (Y/N)
l Receiver PSP in ML/TF Country (Y/N)
l Payment Type
l Source Code
Note
l If rule element value could not be evaluated, STP action for non-compliant transactions would be applied.
Tracking for Linked Payments: Every Payment going through the System is logged into a data store, specifically created for EU Payer Reporting Purposes, provided either of the EU Payer flags are turned on.
The following are the conditions to consider the current Payment as a Linked Payment.
– The current Payment itself is below the Threshold amount as on the present date as set in the Preferences screen.
– All Payments from the same Sending PSP (Payer PSP, for Payments, and Payee PSP, for Collections) as the current Payment are considered.
– Further, all such Payments as above having the same Payer attributes for Account No are considered. Payee attributes are considered in the case of Collections.
– Always consider Payee Account No attribute.
– Further, all such Payments as above booked within the last X no. of days of the current Payment, X being the Tracking Days as set in the Preferences screen, are considered.
– Further, all such Payments as above with Payment amount below the Threshold Amount as on the date of Booking are considered.
– The Payment Threshold Amount aggregate of all such Payments as above and the current Payment should be above the Threshold Amount as on the present date.
Payer and Payee Details
For each Rule, below list of Payer/Payee fields can be checked as required for the rule:
l Payer Name
l Payer Account
l Payer Address
l Payee Name
l Payee Account
l Payee Address
If the required information is missing or incomplete, it will be considered as a compliance failure and STP Action will be applied.
STP Action
As long as the Rule is satisfied for the Payment and if it is non-compliant, the following STP Actions will apply.
– Suspend: Suspend and moves the Payment to EU Payer Compliance Queue, irrespective of required Information on the Payment missing or otherwise.
– Cancel: Payment will be auto-canceled.FX unwind (if applicable) and Sanctions will be completed before cancellation.
– Report – Missing Information: Process the Payment, but only Report when the Required Information on the Payment is missing.
l A PSP Entity or a PSP Entity Branch in any EU Member country can play the role of either a Payer PSP, a Payee PSP, or an Intermediary PSP.
l A PSP Entity or a PSP Entity Branch outside of the EU, when sending Payments to PSPs or IPSPs within the EU, can play the role of a Payer PSP for Payments, Payee PSP for collections or an Intermediary PSP
|
Scenario |
PSP Entity within the EU |
PSP Entity outside of the EU |
|
PSP – Payer Role |
Applicable |
Applicable |
|
PSP – Payee Role |
Applicable |
Not Applicable |
|
PSP – Intermediary Role |
Applicable |
Applicable |
Priority
Specify the priority for each rule. Based on the priority, rule gets executed.
Expression Details
Expression Section
Specify the unique sequence number for the expression defined.
Scope
Specify the scope assigned to the Left operand.
LOP Operand
Specify the Left Operand value details from the list of values, in the rule expression.
Operator
Select the Operator details. Choose among the following:
l Greater than
l Less than
l Not Equal To
l Greater than or Equal To
l Less than or Equal To
ROP Type
Select the type of Right operand. Choose between Constant and Expression.
ROP Data Type
Select the type of Right operand Data. Choose between String, Date and Number.
ROP Operand
Specify the Right operand value details.
Scope
Specify the scope assigned to the Right operand.
Logical Operators
Select the logical operator. Choose among the following:
l And
l OR
Populate
Click this button to build the expression details.
3.2.5.1 EU Payer Rule Summary
You can view summary of EU Payer Rules maintained in the screen, ‘EU Payer Rules Summary’. To invoke this screen, type ‘PMSEURLE’ in the field at the top right corner of the application toolbar and click the adjoining arrow button.
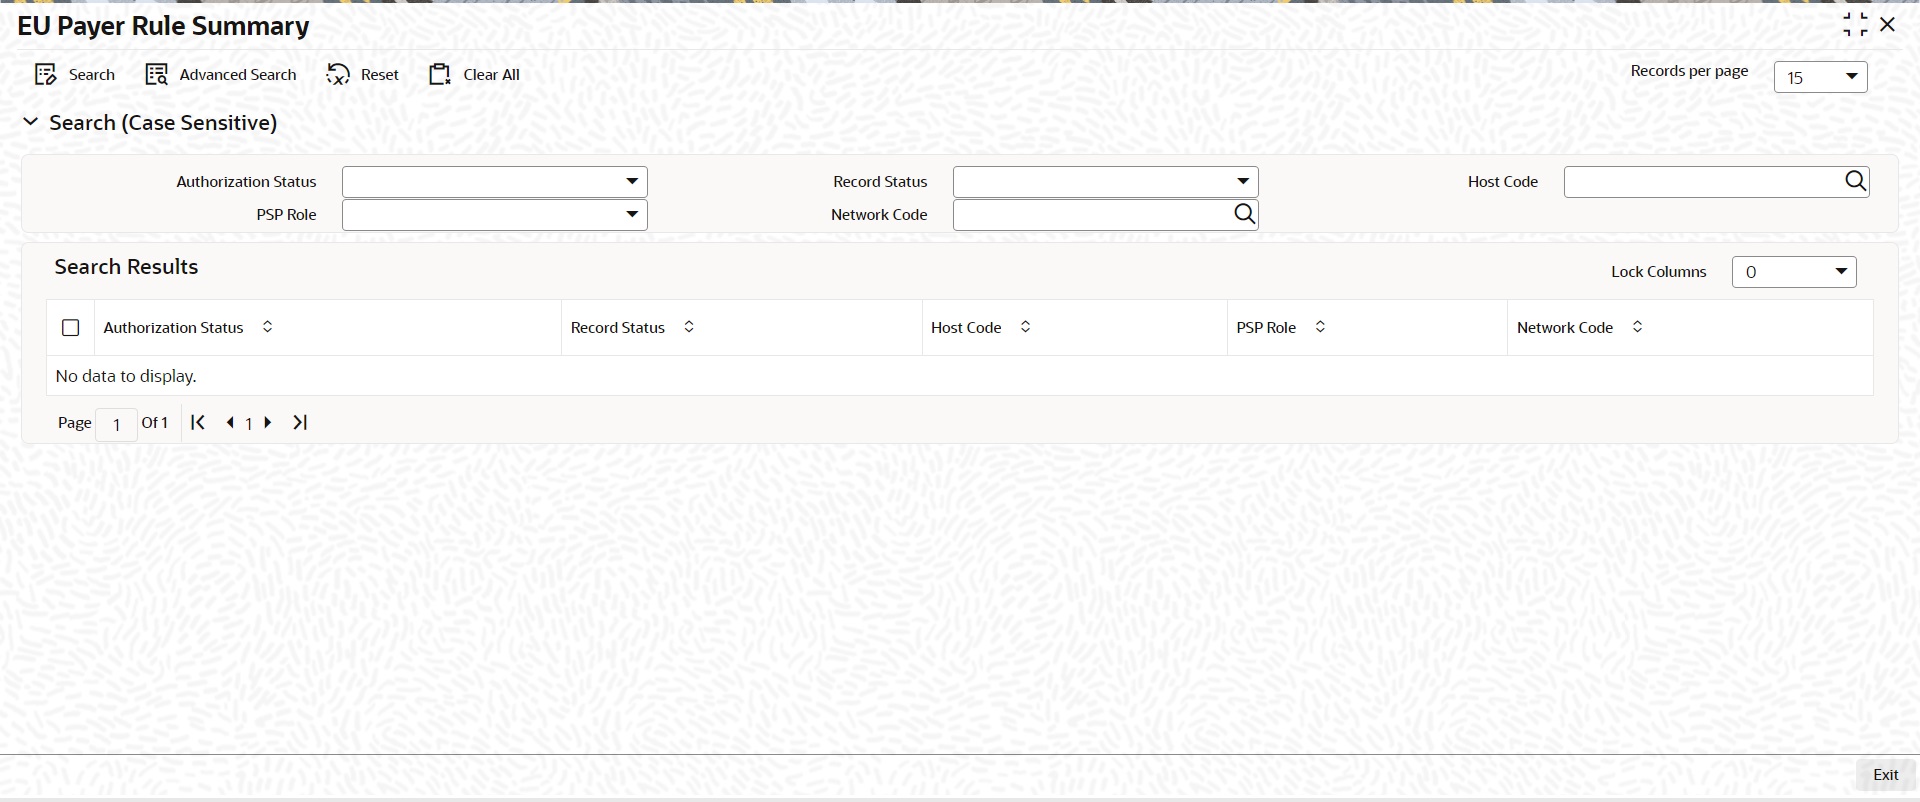
You can search using one or more of the following parameters:
l Authorization Status
l Host Code
l Network Code
l Record Status
l PSP Role
Once you have specified the search parameters, click ‘Search’ button. The system displays the records that match the search criteria.
Double click a record or select a record and click on ‘Details’ button to view the detailed EU Payer rule maintenance screen.
3.2.6 EU Payer - Rules Evaluation and Processing
The System will evaluate the role it plays vis-à-vis each Payment as either a Payer or a Payee or an Intermediary.
l When the Default Monitoring flag is turned ON, the Payment will always be monitored.
l When the EU Payment Monitoring flag is turned ON, the Payment will be monitored only when the PSP plays the role as a Payer or as an Intermediary and the Payee on the Payment chain is within the EU.
Depending on the role scenario the PSP plays in the Payment chain, the Rules from the appropriate Rule Maintenance will be evaluated & applied.
Example: Let’s assume a PSP in Frankfurt runs Oracle Banking Payments and monitors EU Payer Compliance by Default
|
Case |
Role of PSP |
Rule Maintenance used for Evaluation |
|
Frankfurt Branch Receives a Payment from a PSP in Paris for Credit to its Customer |
Payee PSP |
Branch: Frankfurt Role Scenario: PSP - Payee |
|
Frankfurt Branch Sends a Payment to a PSP in Madrid for Credit to Madrid’s Customer |
Payer PSP |
Branch: Frankfurt Role Scenario: PSP - Payer |
|
Frankfurt Branch Receives a Payment from a PSP in Dublin for Payment to a PSP in Singapore for Credit to Singapore’s Customer |
Intermediary PSP |
Branch: Frankfurt Role Scenario: PSP - Intermediary |
Each of the Rules within the Rule Maintenance is evaluated in the Priority order it is set-up. To evaluate each Rule, the possible set of Payment Elements are derived. When a rule is satisfied and required information available or not opted, the STP Action is Applied.
– If the STP Action is Suspend, the Payment is suspended and moves to EU Payer Compliance Queue. You can repair the details and re-submit for processing from the queue. For more details on queue processing, refer the Exception Queues User Guide.
Note
Except ‘Debit account’ field for outbound payments (which are not pass through payments) and ‘credit account’ for inbound payments, all the information fields can be modified.
– If the STP Action is Report – Missing Information, then the Payment is scanned for Missing Information as per the Configuration against the Rule. If any of the information that is required is found to be missing, then the Payment details are logged in a data store for Ex-post monitoring purposes, but the Payment is allowed to STP.
– If the STP Action is Cancel - Payment will be auto-canceled. FX unwind (if applicable) and Sanctions will be completed before cancellation.
l The EU Payer Rules are evaluated just before the Sanctions Screening step in the Payments flow.
l When the STP Action on the rule is to suspend the Payment, the Payment is moved to EU Payer Compliance Queue. On repair action of the payment from EU Payer compliance queue, again EU payer rules are evaluated and if it clears the EU Payer validations, then the Payment moves onto the Sanction Screening.
l The EU Payer Rules are also evaluated each time a Payment is released from Warehouse.
l This is to take into account, the possible changes in the underlying Maintenances/Set-ups/Configurations between the day of Booking and the day of Release from Warehouse.
l For example, there could be changes in the Threshold Amount, list of ML/TF Countries or the list of PSPs with a Negative Compliance Record, or even changes to the Set-up of Meaningless Words.
If Payer Account/Payee account is flagged as mandatory information for the EU payer Rule defined, any of the below condition will mark the missing information exception :
l Missing Value
l Repeated characters
l Meaningless Words
For Missing information validation, system validates whether Payer/Payee Account is missing based on the preferences maintained in the EU payer rule screen header.
Error codes are available to differentiate which kind of exception is encountered during processing.
Similarly, for Name & Address field the related preferences are to be checked while validating for missing information for Name and Address fields.
3.2.7 EU Payer Compliance - Supported Payment Types
The below types of Transactions are covered for the EU Payer Compliance Checks.
Payments:
Within Payments, the following Payment Types are covered. Both Outbound and Inbound Payments are covered
l SWIFT
l ACH
l RTGS
Note
EU Payer validation is done for Customer Transfer only.
Collections
Direct Debits is the only Collection Type that is supported, for the EU Payer Compliance Checks. In Collections, the Originating PSP plays the role of Payee PSP and the Receiving PSP plays the role of the Payer PSP.
Note
The reference to Payments in this document also includes Collections.
In both Payments & Collections, both Outbound & Inbound Transactions are considered for the EU Payer Compliance Checks. R-Transactions are excluded from the checks.
3.2.8 Detection of Missing or Incomplete Information
For the purposes of detecting Missing or Incomplete Information on a Payment, each of the below attributes of the Payer and Payee are scanned.
– Name
– Account No
– Address Lines
As far as the evaluation of Missing Information Configuration on the Rule is concerned, the Information is considered missing, if either it is missing or found to be incomplete. If the required information is missing or incomplete, it is considered as a compliance failure and STP Action will be applied.
Any of the below result of scanning on any of the Payment Attribute can be considered as a case of Missing Information.
– Missing Payment Attribute i.e., Blank or NULL or Space values on the Payment Attributes
– Repeat Chars or Digits on a Payment Attribute i.e., when a Character or Digit repeats itself for more than n of times, it is incomplete considered.
– The value of n is configurable in the EU Payer Preferences Maintenance Screen
– Attribute value part of Meaning-less Words data Set-up
3.2.9 EU Payer Compliance Queue
A payment is moved to EU Payer Compliance queue if it is suspended due to compliance failure as part of EU Payer monitoring.
For more details on queue processing, refer to Exception Queues User Guide - section 2.1.20.
l When the Branch-level Monitoring flags are turned ON, every Payment going through the System is logged into a data store, specifically created for EU Payer Reporting purposes.
l This data store is available for querying purposes. A Tracking table is provided to collect the information for every payment that goes through EU Payer, like how many times each sending PSP was compliant, etc.
l When the EU Payer Monitoring flags are turned ON, every Payment that falls within the purview of monitoring, irrespective of the fact that it may have only been reported for Ex-post monitoring, is flagged off at the Payment level to indicate that this has been a Payment tracked.
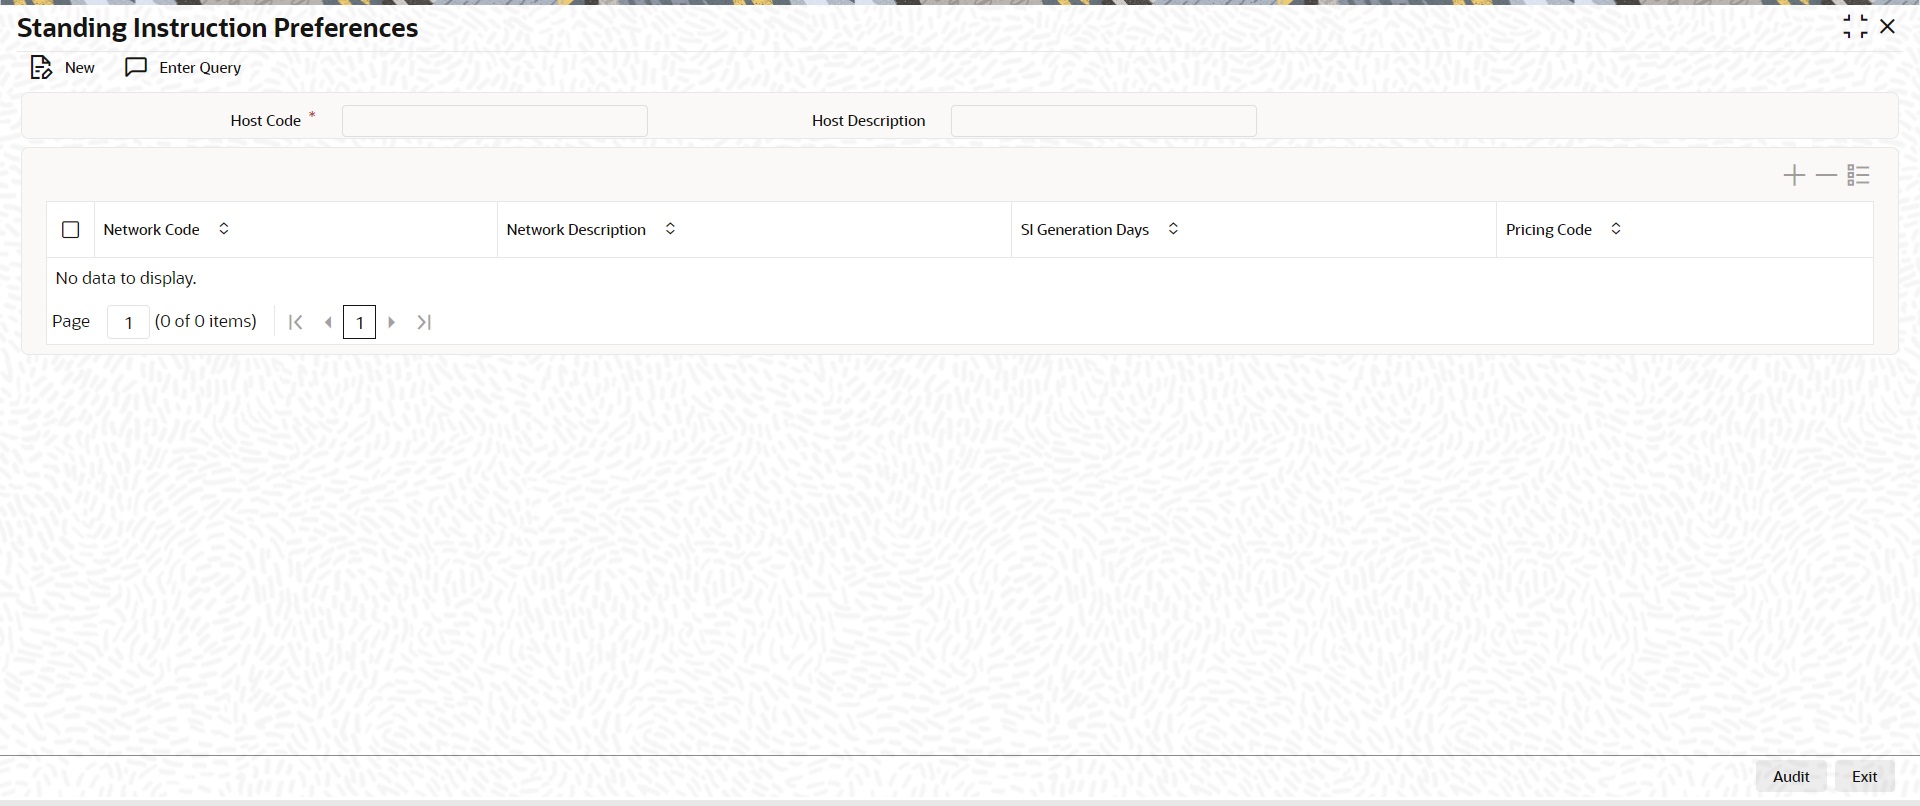
3.3.1 Standing Instruction Preferences
You have the facility to maintain the no of days before the actual instruction date based on which the SI needs to be executed by using this screen. The instruction date is considers as the value date for the transaction created. This Network-wise maintenance is an optional one. You can invoke the ‘Standing Instruction Preferences’ screen by typing ‘PMDSIPRF’ in the field at the top right corner of the application tool-bar and clicking the adjoining arrow button. Click new button on the Application tool-bar
.
Following are the actions allowed from this screen:
l New
l Enter Query
You can specify the following
Host Code
System defaults the host code of transaction branch on clicking ‘New’.
Host Description
Defaults and displays the description of the Host Code.
Network Code
Specify the network code. Alternatively, you can select the network code from the option list. The list displays all valid network codes applicable for the logged in Host.
Network Description
Defaults and displays the description of the Network Code.
SI Generation Days
Select the SI Generations Days. The Options available are from 0-5.
Pricing Code
If Pricing is applicable for SI maintenance , you can specify Price code from the list of values.
3.3.1.1 Standing Instruction Preferences Summary
You can view the Standing Instruction Preferences details in the Standing Instruction Preferences Summary. You can invoke the ‘Standing Instruction Preferences Summary’ screen by typing ‘PMSSIPRF’ in the field at the top right corner of the application toolbar and clicking the adjoining arrow button. Click Search button on the Application toolbar.
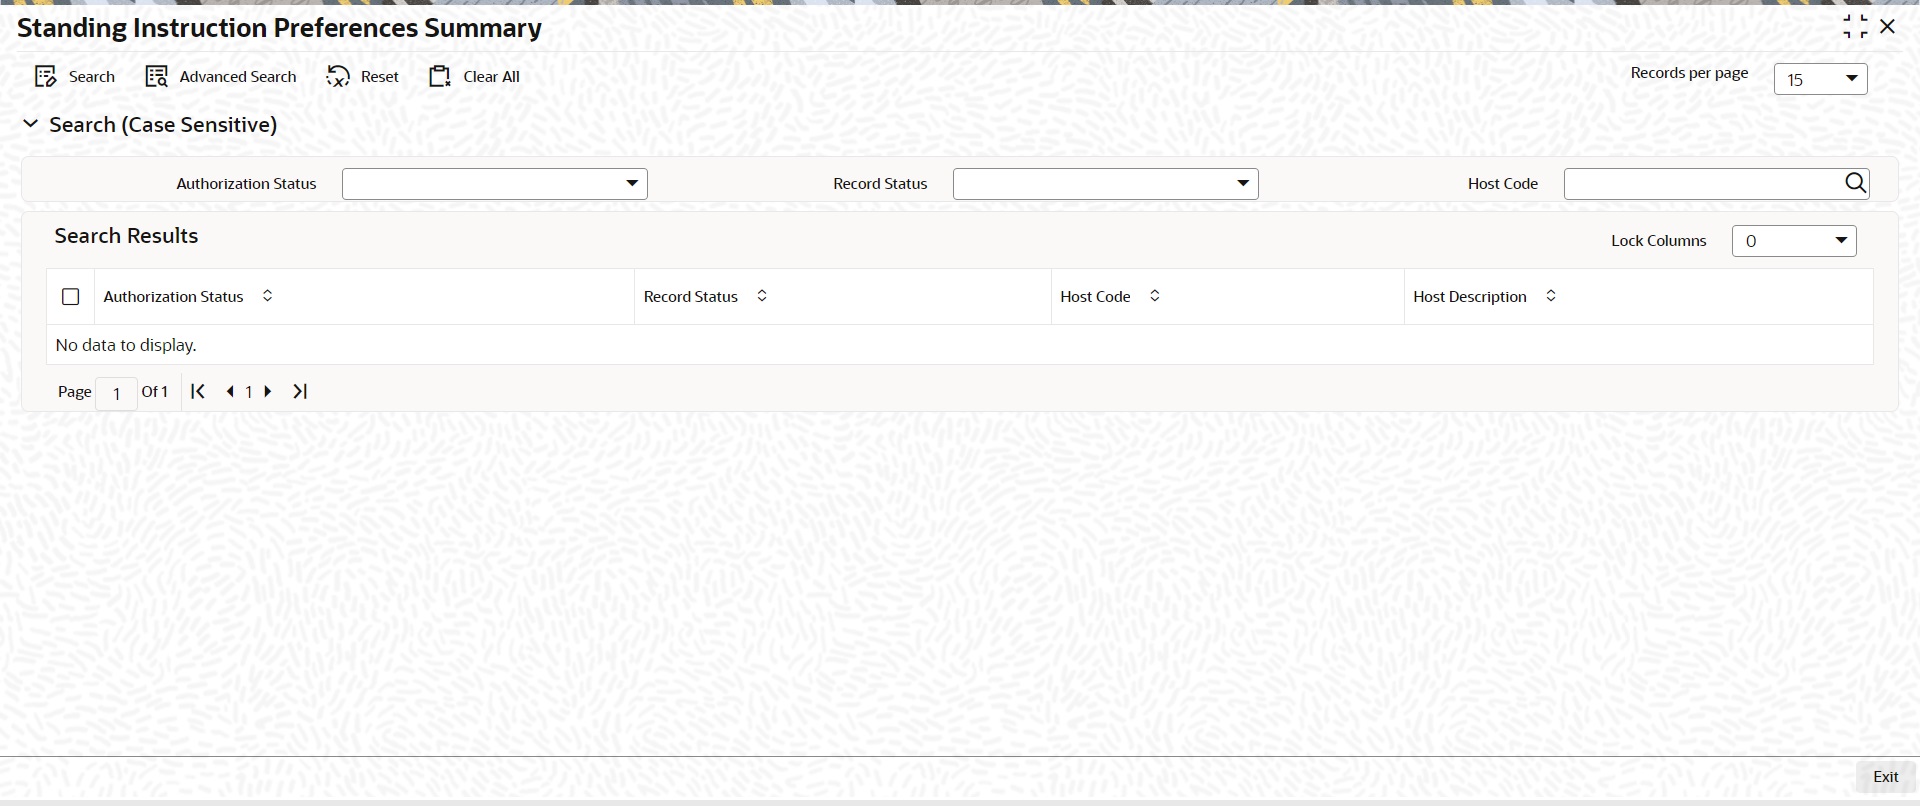
You can search using one or more of the following parameters
l Authorization Status
l Record Status
l Host Code
Once you have specified the search parameters, click ‘Search’ button. The system displays the records that match the search criteria. Double click a record or click the ‘Details’ button after selecting a record to view the detail.
3.3.2 Standing Instruction Template
Standing Instruction Templates can be created through this screen.The Standing Instruction Template can be created with or without transfer amount input. Standing Instruction templates can be created for:
l Cross Border/ RTGS
l Book Transfer
l ACH
l SEPA CT
l SEPA DD
l ACH CT
l ACH DD
3.3.2.1 Standing Instruction Template Summary
Standing Instruction Templates created for the networks - Cross Border/RTGS, Book Transfer and ACH can be viewed here.This is a combined summary screen to view the templates created.
You can invoke “Standing Instruction Template Summary” screen by typing ‘PMSSITMP ’ in the field at the top right corner of the Application tool bar and clicking on the adjoining arrow button.
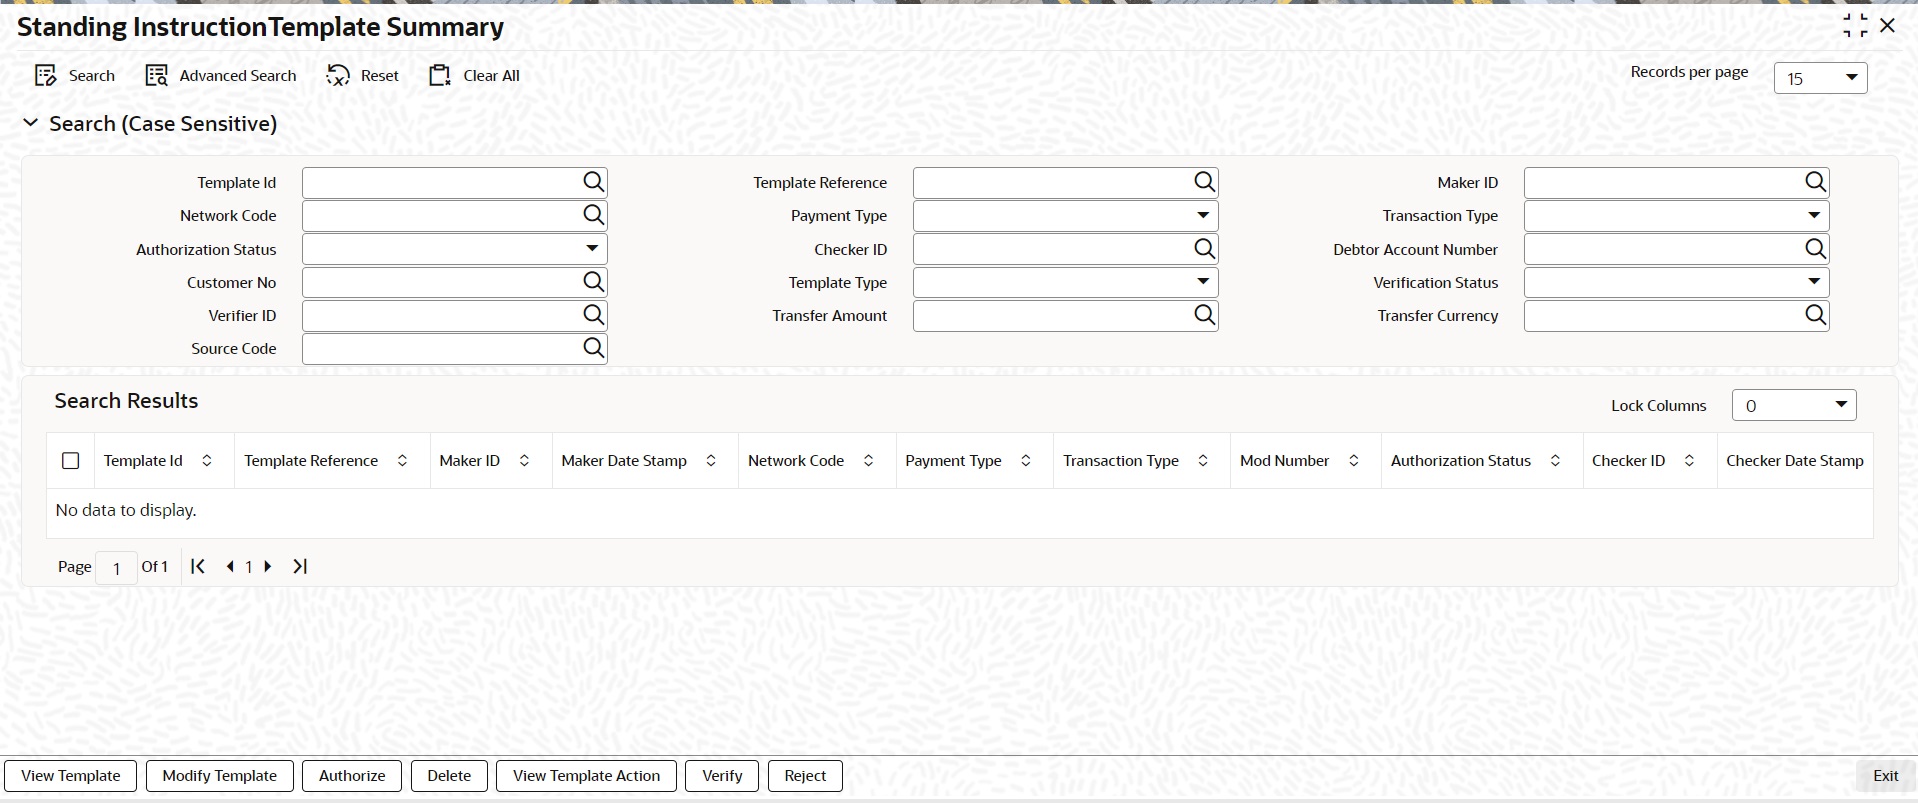
You can search using one or more of the following parameters:
l Template ID
l Template Reference
l Maker ID
l Network Code
l Payment Type
l Transaction Type
l Authorisation Status
l Debtor Account Number
l Customer No
l Template Type
You can search for the Templates created with the Template Type - Complete/Incomplete.If a non-zero transfer amount is provided as part of the template it will be considered as ‘Complete’, else ‘Incomplete’.
Once you have specified the search parameters, click ‘Search’ button. The system displays the records that match the search criteria.Using ‘Advanced Search’ option you mention specific criteria to get the specific set of records.
‘Reset’ and ‘Clear All’ button helps you to clear the existing records.
The following actions are supported from Standing Instruction Template Summary Screen:
View Template
Click ‘View Template’ button to view the Template details for the selected record. Standing Instruction Template screen is launched with all the details on clicking, ‘View Template’ button.
Modify Template
You can select a Template ID and click on ‘Modify Template’ button to modify the existing template details. Modifying the existing template details requires authorization.
Standing Instruction Template screen is launched with all the details on clicking, ‘Modify Template’ button. You can click the ‘Unlock’ button to modify the details and save the same.
Authorize
You can authorize the following records/Template details by clicking ‘Authorize’ button here
l Unauthorized Template Record
l For Modifying the template details
Standing Instruction Template screen is launched with all the details on clicking, ‘Authorize’ button. You can click the ‘Authorize’ button to authorize the changes done.
Delete
You can select a Template ID for which you have initiated modification and click on ‘Delete’ button to delete the actions before authorizing the same.
Standing Instruction Template screen is launched with all the details on clicking, ‘Delete’ button. You can click the ‘Delete’ button to delete the changes done.
Note
Deleting of an action cannot be done once it is authorised.
No records can be deleted on clicking ‘Delete’ button. Only actions initiated can be deleted
View Template Action
You can view, all the actions initiated for a Template ID with the maker/checker, Authorization Status, Action and Record Status details here.

Note
Queue Access rights can be configured for the actions.
Reject
You invoke ‘Standing Instruction Template Reject’ screen after clicking on Reject action.
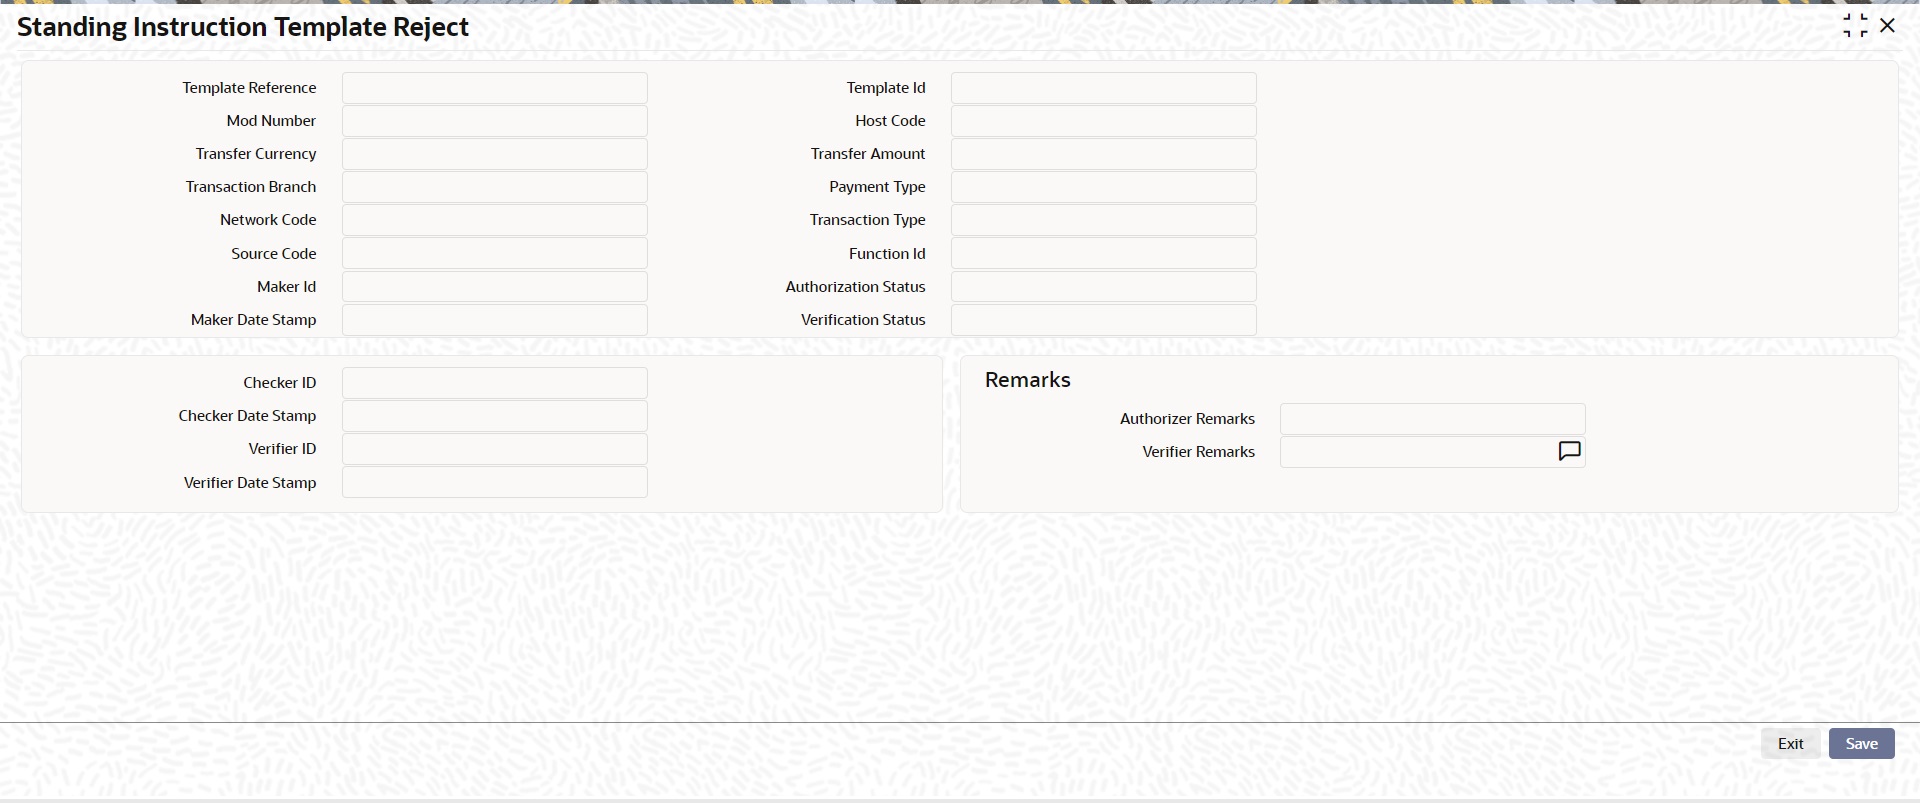
If any record is in unauthorized status, the user with access right to Reject action can reject the unauthorized action.
3.3.3 Standing Instruction Creation
You can create new Standing Instructions for ACH, Book Transfer and Cross Border/RTGS Payments through this screen. Templates created in the Standing Instructions Template screen are listed here. Templates are linked to the new SI created.
You can execute the standing instructions maintained and also set new standing instructions through this screen.
To invoke this screen type ‘PMDSIMNT’ in the field at the top right corner of the Application Tool bar and clicking the adjoining arrow button.
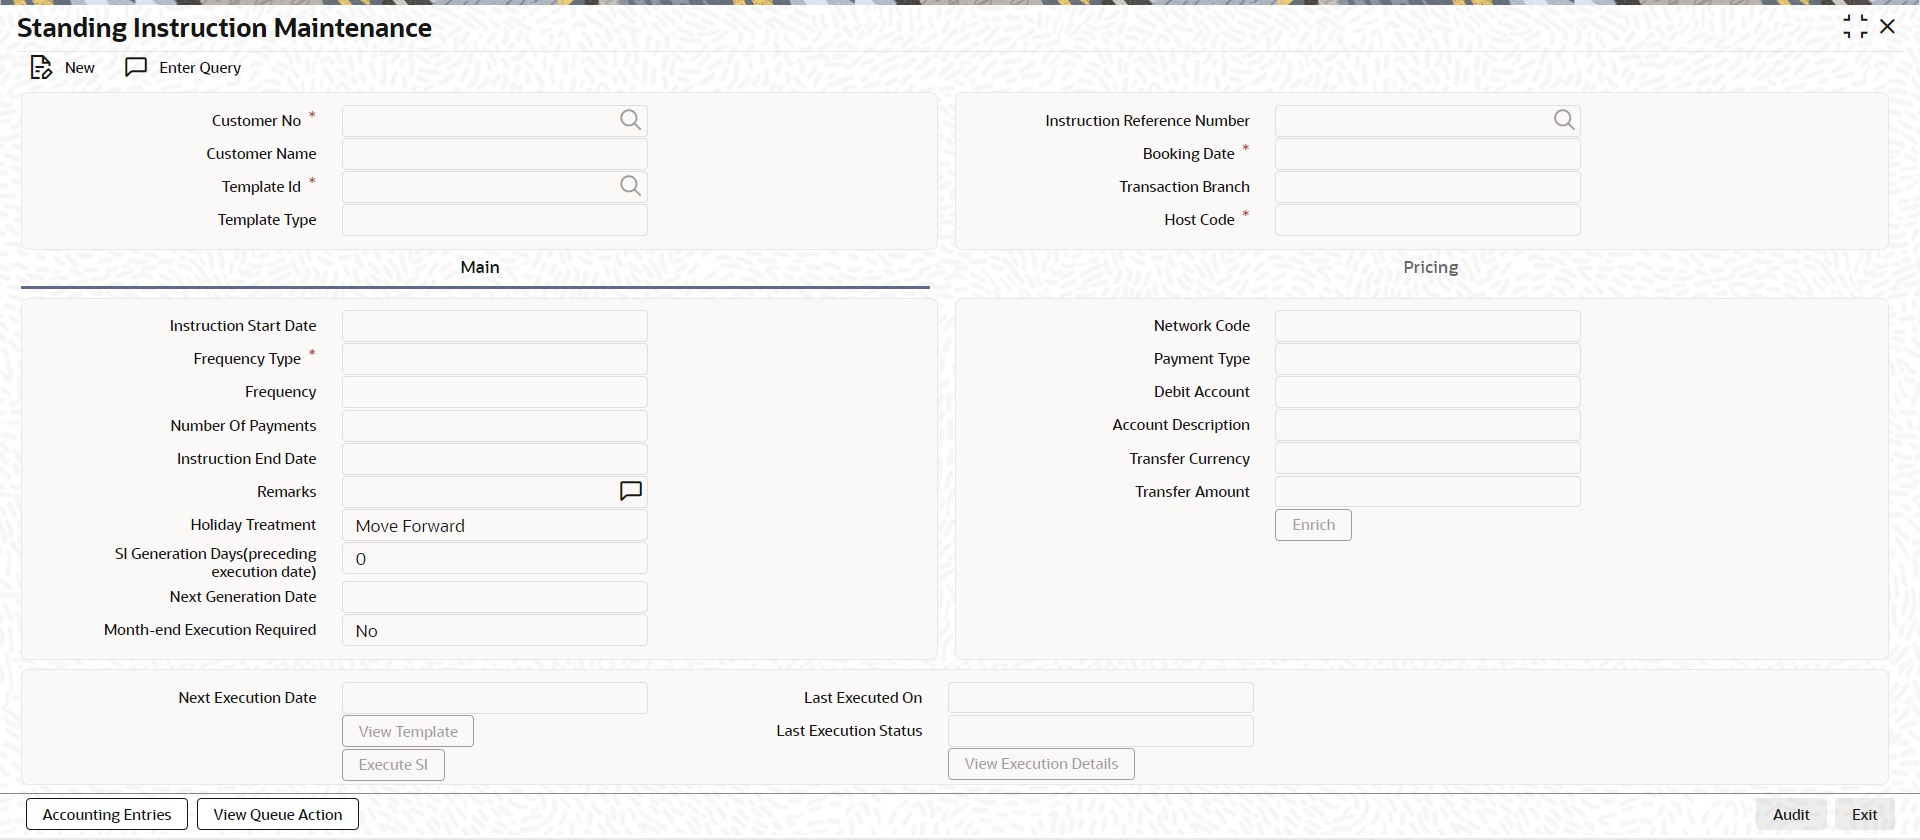
You can specify the following details:
Customer No
Select the Customer Number from the list of values. All customer numbers for which, valid authorized Standing Instruction templates are available are listed here,
Customer Name
Customer Name is defaulted on selecting the Customer Number.
Template Id
All valid Templates created in the Standing Instruction Template screen are listed here. Specify the Template Id from the list of values.
System defaults the following field details on selecting the Template Id:
l Network Code
l Payment Type
l Debit Account
l Account Description
l Transfer Currency
l Transfer Amount
Template Type
The Template Type is defaulted as ‘Complete’ or ‘Incomplete’. This is a display only field. Value is defaulted on selecting Template ID.
Following field details are defaulted on clicking ‘New’ button:
l Instruction Reference Number
l Booking Date
l Transaction Branch
l Host Code
l Network Code
l Payment Type
l Debit Account
l Account Description
3.3.3.1 Main Tab
Instruction Start Date
You can input the Instruction Start Date. Only future dates are allowed.
Frequency Type
Select the Frequencies from the drop-down values. The allowed frequencies are:
l Daily
l Weekly
l Monthly
l Ad hoc
Frequency
Enter the Number of Days/Weeks/Months based on which SI needs to be executed if the Frequency type selected is Daily/Weekly or Monthly.'.
Number of Payments
Specify the number of payments.
Instruction End Date
You can input the Instruction End date for the SI.
Remarks
Specify the remarks for the standing instruction set, if any. This is a free text field.
Holiday Treatment
If the SI execution date derived is a Branch Holiday, then the date can be moved forward/backward or can be retained as the same. You can set the Holiday Treatment preference here.The options are Move Forward/ Move Backward/ Ignore.
System defaults the option as ‘Move Forward’
SI Generation Days (preceding execution date)
Once you selects the Template ID, system defaults the number of days maintained if default maintenance PMDSIPRF is available for particular Network and defaults the number of days to ‘0’, if the default maintenance PMDSIPRF is not available.
Note
If SI Generation Days value is ‘0’, then the existing SI processing continues.
Next Generation Date
System derives the Next Generation Date as ‘Next Execution days – SI generation days counted in branch working days’.
Month-end Execution Required
Select the value between Yes or No.
Next Execution Date
System updates the Next execution date automatically upon the execution of the previous instruction.
Last Executed On
You can provide either Number of Payment or Instruction End Date.
Last Execution Status
System defaults the last execution status, based on standing instruction execution.This is a display only field.
Transfer Currency
Specify the Transfer Currency.
Transfer Amount
Specify the Transfer Amount.
Enrich button
Click on Enrich button upon providing the Payment and other details.
View Template button
View Template button gets enabled, upon selecting the valid Instruction Reference Number. You can view the complete Standing Instruction Template details for the reference Number selected.
Standing Instruction Template detailed screen is launched on clicking the ‘View Template’ button.
Execute SI button
On clicking the ‘Execute SI’ button, standalone screen with details of Standing Instruction execution is launched. System launches the ‘Standing Instruction Execution’ screen(PMDSIECT).
‘Execute SI’ button is enabled in the screen, only when the Frequency is ‘Adhoc’.And you cannot launch this screen in the ‘New’ mode, when the records are not authorized.
For details on Standing Instruction Execution screen, refer to section - 2.6.37
View Execution Status button
On clicking the ‘View Execution Status’ button, summary screen with all the Standing Instruction executions. System launches the ‘Standing Instruction Execution Summary’ screen(PMSSIECT).
All the standing instruction executions that are authorized are listed here.For details on Standing Instruction Execution screen, refer to section - 2.6.37.1
3.3.3.2 Pricing Tab
Price details are populated based on the Price code maintained in Standing Instruction preferences, for the Network Code linked in the attached SI template. You can amend the price details, if required.
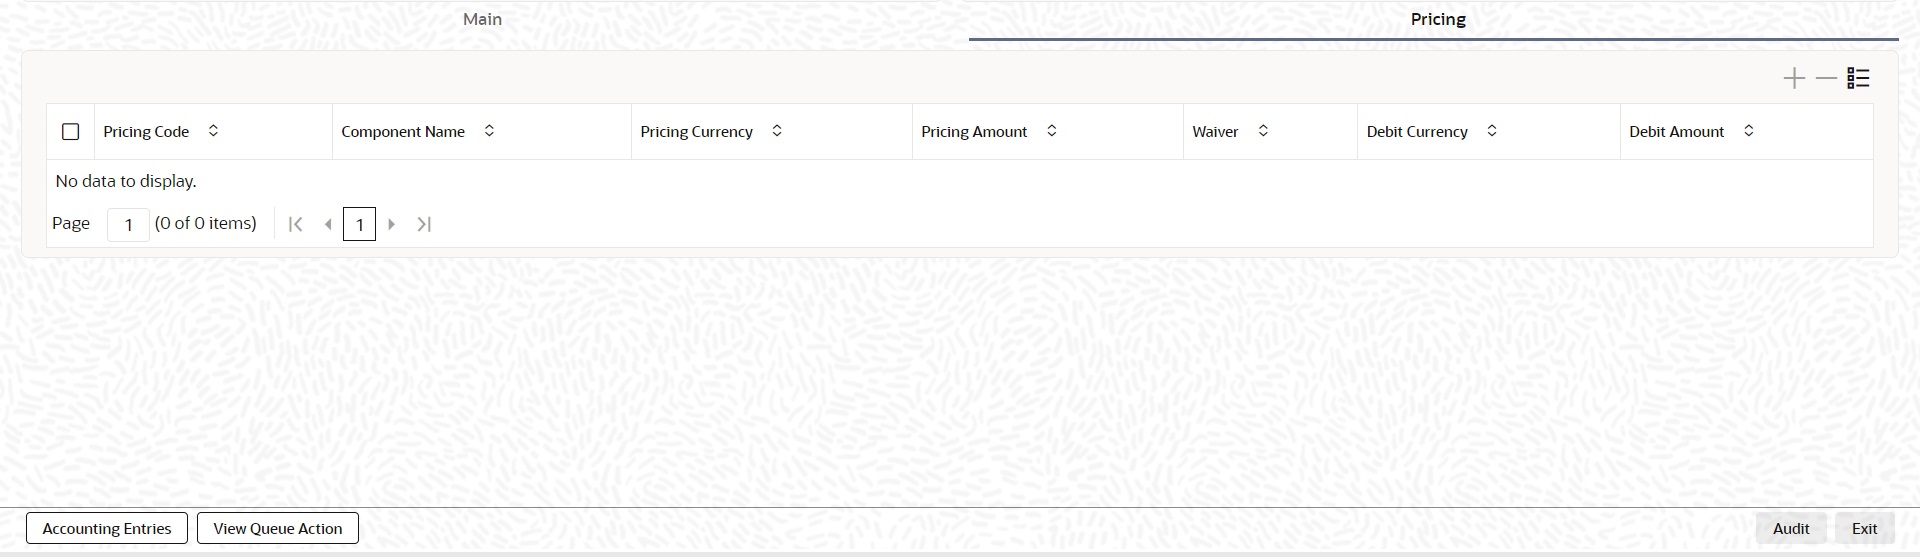
You can perform following actions:
Accounting Entries
Pricing related accounting entry details can be viewed from Accounting Details Tab after authorization.
Queue Action Log
Accounting Handoff related Queue action details can be viewed. From Queue Action Log Screen
3.3.3.3 Standing Instructions Maintenance Summary
You can view all the Standing Instructions maintained in Summary screen. You can invoke the ‘Standing Instruction Maintenance Summary’ screen by typing ‘PMSSIMNT’ in the field at the top right corner of the Application toolbar and clicking on the adjoining arrow button.
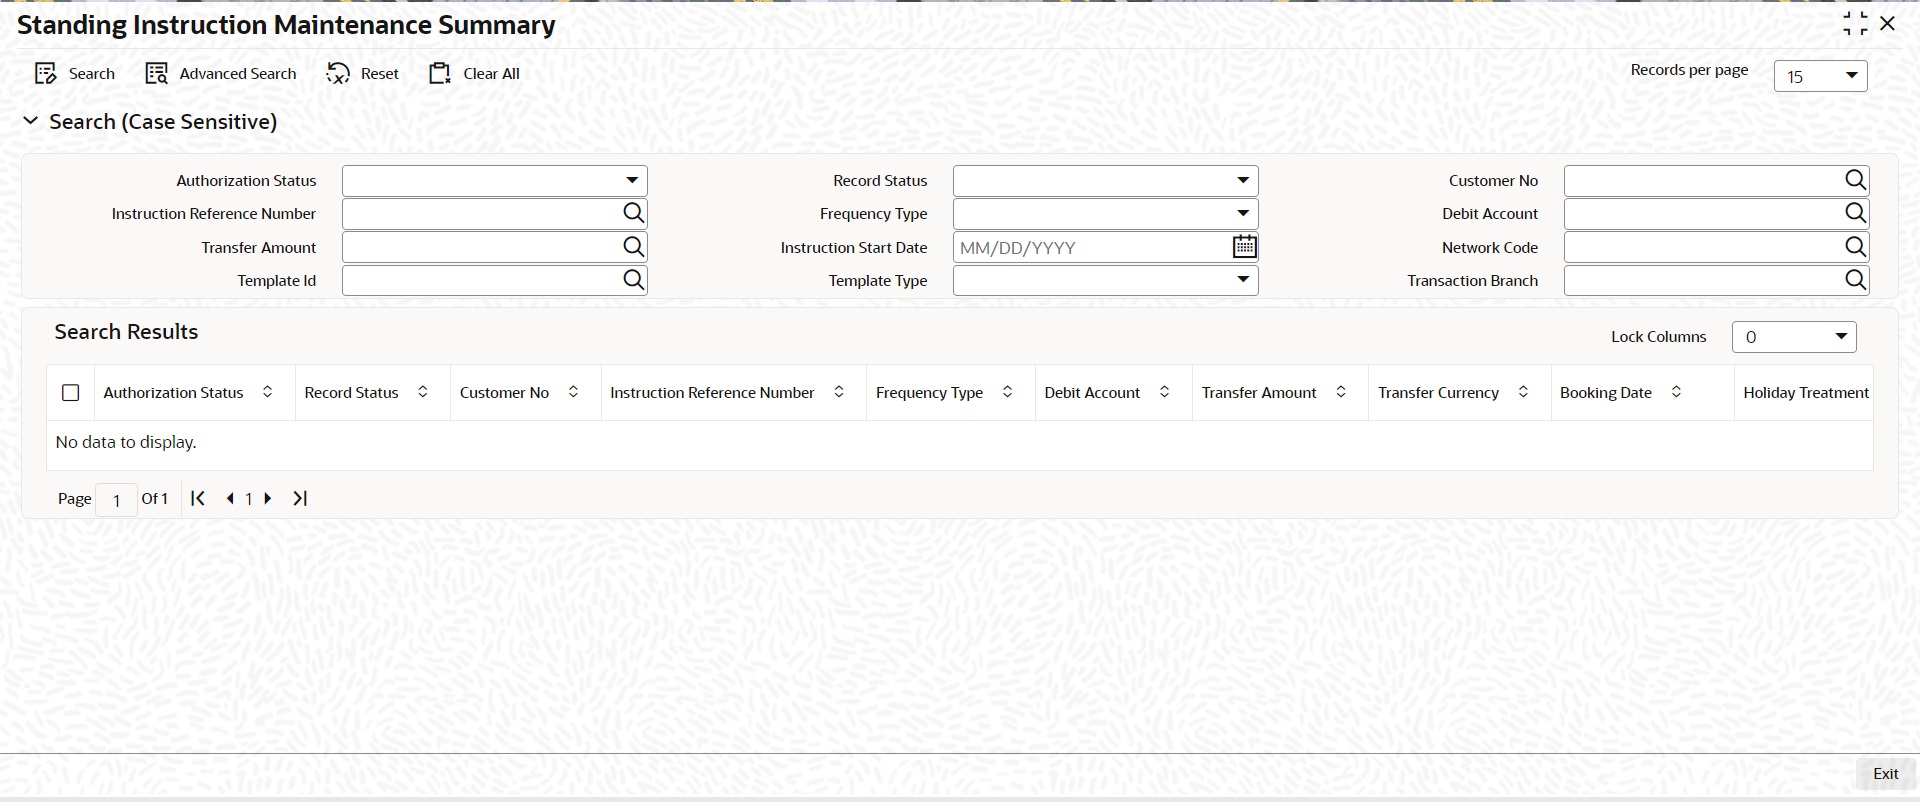
You can search for the records using one or more of the following parameters:
l Authorization Status
l Record Status
l Customer No
l Instruction Reference Number
l Frequency
l Debit Account
l Transfer Amount
l Instruction Start Date
l Network Code
l Template Id
l Template Type
Once you have specified the search parameters, click ‘Search’ button. The system displays the records that match the search criteria.
Double click a record or select a record and click on ‘Details’ button to view the detailed maintenance screen.
3.3.4 Standing Instruction Execution
Standing Instruction Execution screen is applicable only for the standing instruction frequency ‘Adhoc’.
You can invoke the ‘Standing Instruction Execution’ screen by typing ‘PMDSIECT’ in the field at the top right corner of the Application toolbar and clicking on the adjoining arrow button.
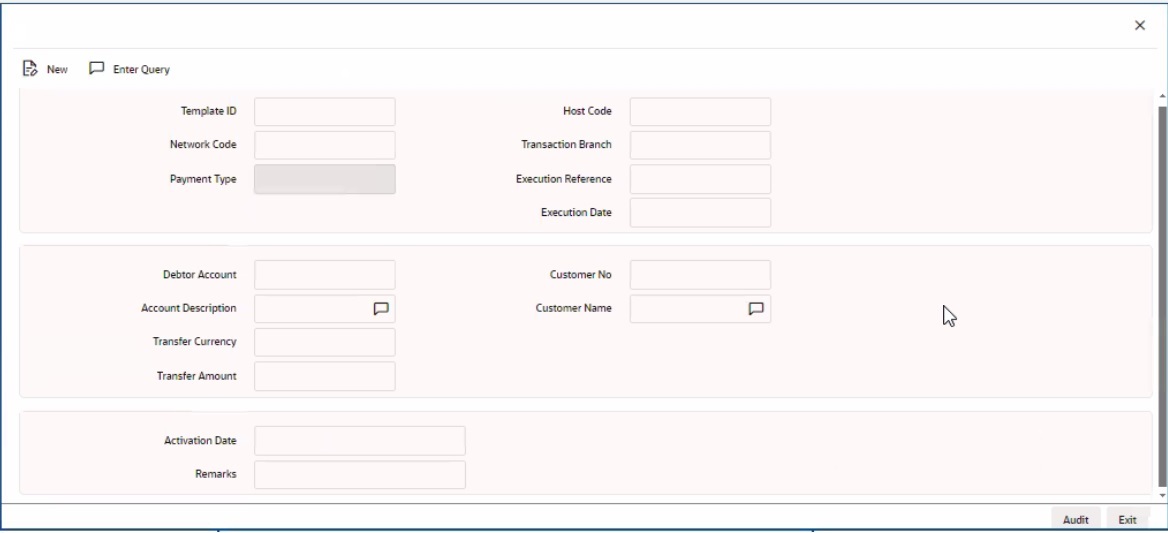
You can specify the Execution Reference and click on ‘Execute Query’ button to check the execution details. Following field details are defaulted on specifying the Execution Reference:
l Template ID
l Host Code
l Network Code
l Transaction Branch
l Payment Type
l Execution Date
l Debtor Account
l Account Description
l Transfer Currency
l Customer No
l Customer Name
l Remarks
Transfer Amount
You can input the Transfer Amount, If the Template Type for the SI is ‘Incomplete’
l If the Template Type is Complete for the Execution reference specified, the Transfer amount field is disabled.
Activation Date
Activation date is defaulted as current date which the user can modify to a future date if required.
Note
l If the Standing instruction is maintained with a frequency other than ‘Adhoc’, then the system auto executes the instruction on the due date.
l Template ID will be part of the new transaction created. Execution reference and transaction reference will be same.
l Amendment of already maintained Standing Instruction is not allowed. Record has to be closed and a new record has to be maintained with amended details.
3.3.4.1 Standing Instruction Execution Summary
All the standing instruction executions, auto/manual are listed in Standing Instruction Execution Summary screen.
You can view all the Standing Instructions executed in Summary screen. You can invoke the ‘Standing Instruction Execution Summary’ screen by typing ‘PMSSIECT’ in the field at the top right corner of the Application toolbar and clicking on the adjoining arrow button.
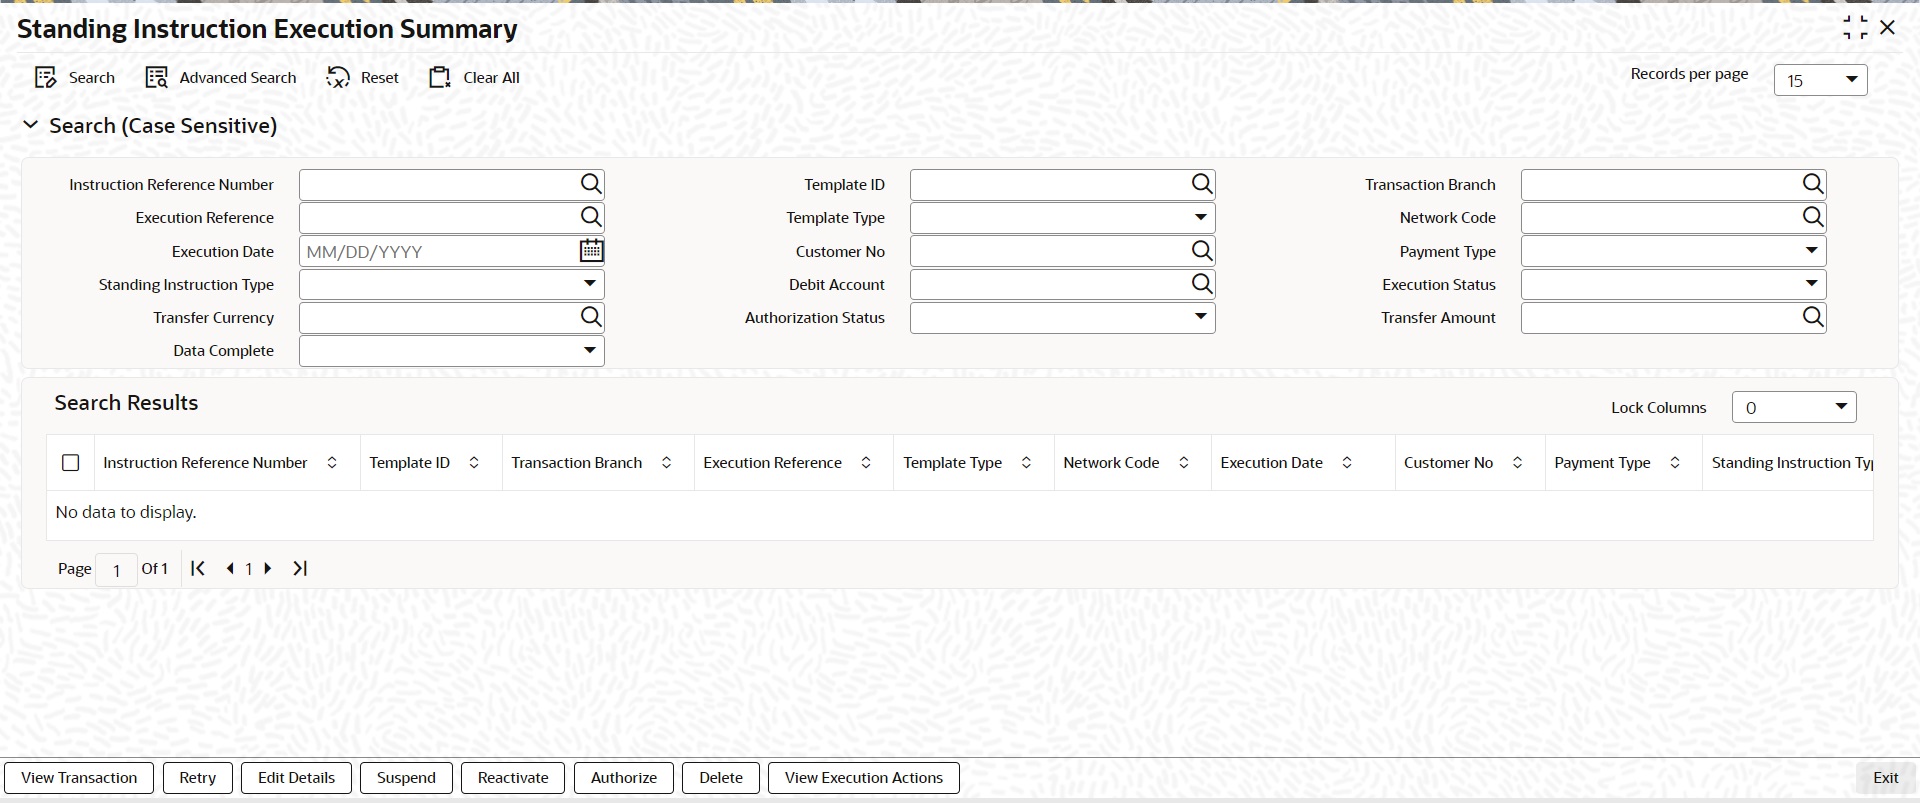
You can search for the records using one or more of the following parameters:
l Instruction Reference Number
l Template ID
l Transaction Branch
l Execution Reference
l Template Type
l Network Code
l Execution Date
l Customer No
l Payment Type
l Standing Instruction Type
l Debit Account
l Execution Status
l Transfer Currency
l Authorization Status
l Transfer Amount
l Completion Status
Once you have specified the search parameters, click ‘Search’ button. The system displays the records that match the search criteria.
Double click a record or select a record and click on ‘Details’ button to view the detailed maintenance screen.
Following actions are supported from Standing Instruction Execution Summary screen:
View Transaction
Click ‘View Transaction’ button to view the transaction execution details for the selected record. Standing Instruction execution screen is launched with all the details on clicking, ‘View Transaction’ button.
Retry
The executions that are failed with Template Type, ‘Complete’ are listed in this screen. You can select the respective record and click on ‘Retry’ button to manually re-initiate the execution from summary screen. Retry of the failed transaction does not require Authorization.
Note
Retry is not allowed beyond Next Execution Date.
Edit Details
You can select a record and click on ‘Edit Details’ button to edit the existing template details. Modifying the existing details requires authorization.Standing Instruction Execution screen is launched with all the details on clicking, ‘Edit Details’ button.
You can edit the Transfer Amount and Activate Date details for the following cases:
l For the frequency based instructions, where the amount is zero or not available.
l For the instructions, where the Template Type is ‘Incomplete’.
Suspend
You can select a record and click on ‘Suspend’ button to suspend the execution for the transaction whose Activation date is in future.
Reactivate
You can select a record and click on ‘Reactivate’ button to re-activate the suspended execution.
l If the Reactivation date is after instruction date then the instruction date updates the value same as ‘re-activation date’. In this case, transaction dates gets re-derived.
l If the activation date is ‘future’, then the Execution status updates as’ Pending’.
l If the activation date is ‘current’, then the transaction generation gets completed and Execution status updates as ‘Success’
Authorize
You can authorize the following records/Template details by clicking ‘Authorize’ button here
l Unauthorized Instructions
l For editing the instructions details
Standing Instruction Execution screen is launched with all the details on clicking, ‘Authorize’ button. You can click the ‘Authorize’ button to authorize the changes done.
Delete
You can select a record that you have edited. Click on ‘Delete’ button to delete the actions before authorizing the same.
Standing Instruction Execution screen is launched with all the details on clicking, ‘Delete’ button. You can click the ‘Delete’ button to delete the changes done.
View Execution Action
You can view, all the actions initiated for instruction execution with the maker/checker, Authorization Status, Action and Record Status details here.

System initiates the SI execution based on the Next Generation Date computed by the system. System considers the computed Next Execution Date as the Instruction date of the transaction to be generated and all the dates including the activation date gets derived on generation date.
You can view the transactions/records generated prior to the execution date in the execution summary with the status as ‘Pending’.
Completion Status
You can select the Completion Status from the drop-down values. The options are Yes / No.
If the option chosen is ‘Yes’ then the system fetches the records which have complete data else system will fetches the records which have incomplete data of the SI transactions:
|
Scenarios |
Execution Status |
Further actions |
|
SI execution before activation date derived – Data incomplete |
Execution status - Pending Completed - No |
1.Edit details and authorize before activation date: Execution status – Pending Completed – Yes 2.Edit details and authorize on activation date: Generate the transaction Execution status – Success Completed- Yes 3.Edit details and authorize after activation date: Re-derive the date by moving activation date to current date Generate transaction Execution status – Success Completed - Yes |
|
SI execution before activation date derived – Data complete |
Execution status – Pending Completed - Yes |
No action allowed |
|
SI execution on activation date - Data incomplete or Adhoc generation with incomplete data |
Execution status – Pending Completed - No |
1.Edit details and authorize on activation date: Generate the transaction Execution status – Success Completed – Yes 2.Edit details and authorize after activation date: Re-derive the date by moving activation date to current date Generate transaction Execution status – Success Completed - Yes |
|
SI execution on activation date with complete date or Adhoc generation with complete data |
Generate transaction Execution status – Success Completed - Yes |
|
|
SI Execution failure |
Execution status – Exception Completed - No |
Retry is allowed |
l New job (PMDSIPEN) is introduced which creates transactions for all execution records which satisfies the below conditions:
– If the Activation date is current date or back date
– If the Execution status is ‘Pending’ and completion status marked as ‘Yes’
l During the process of transaction creation, if system founds the activation date is a back dated, then it moves the date to current date and all processing dates are re-derived
l System updates Execution status as ‘Success‘ for successful transactions and else updates to ‘Exception’
l System updates Next execution date on successful transaction creation.
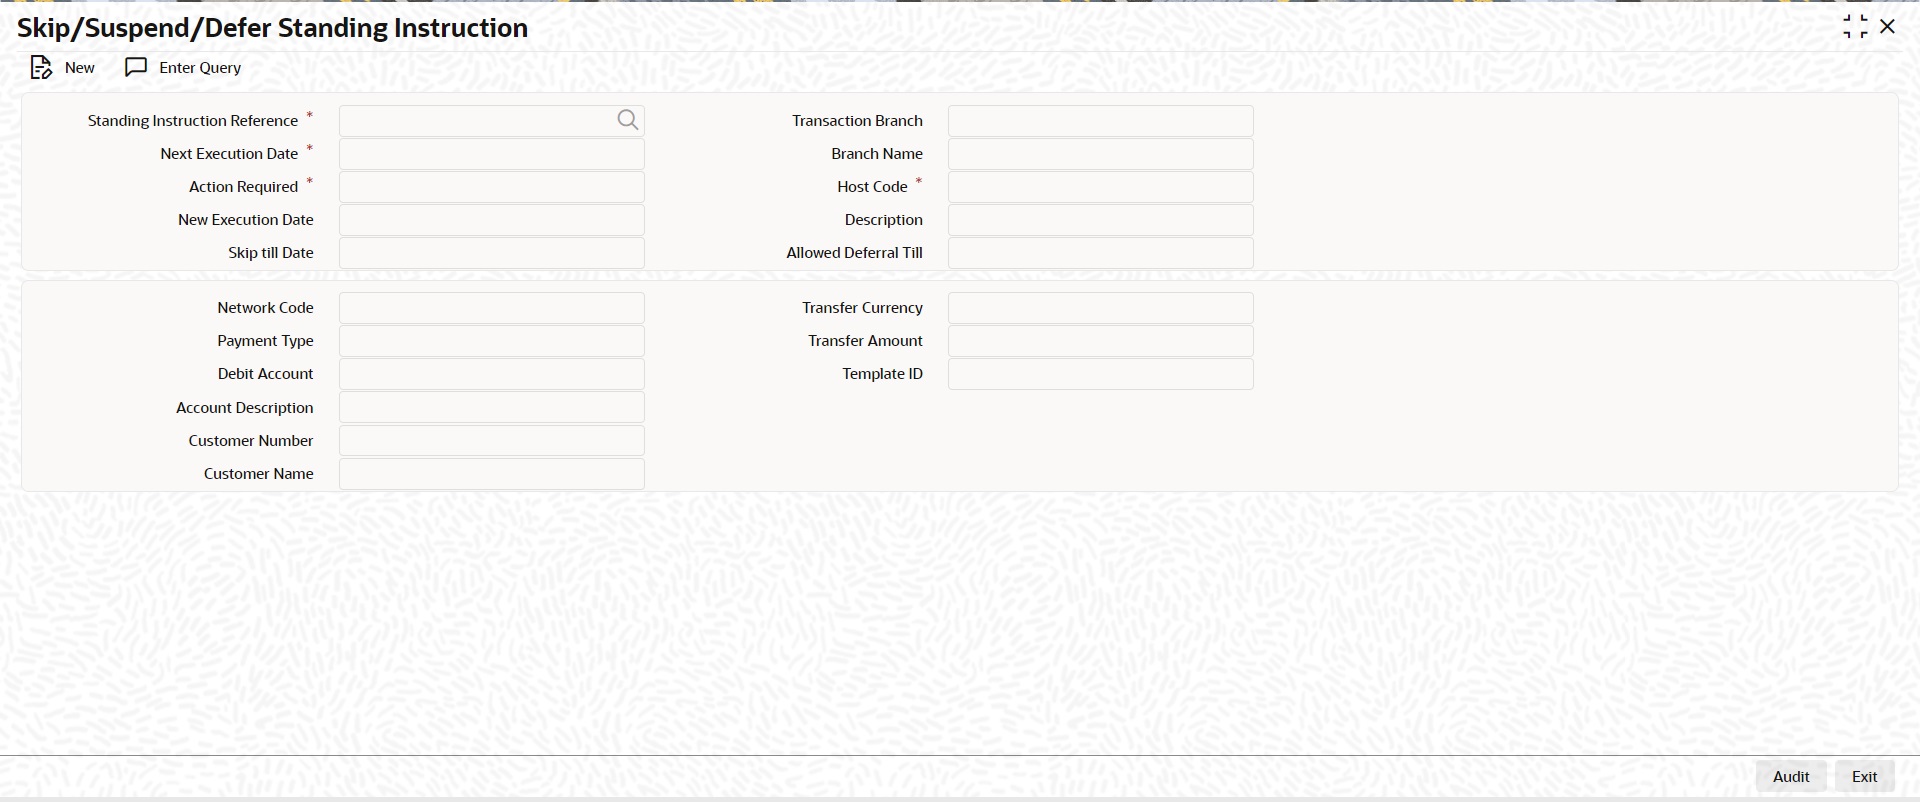
3.3.6 Skip/Suspend/Defer Standing Instruction
You can defer/skip/suspend the next execution of standing instructions by using this PMDSIDFR screen.
You can invoke the ‘Skip/Suspend/Defer Standing Instructions’ screen by typing ‘PMDSIDFR’ in the field at the top right corner of the Application toolbar and clicking on the adjoining arrow button
Following are the actions allowed from this screen:
l New
l Save
l Unlock
l Copy
l Authorize
l Delete
l Enter Query
Specify the following fields:
Following field details are defaulted on clicking ‘New’ button
– Transaction Branch
– Host Code
Standing Instruction Reference
You can select valid SI’s from the list of values. All the valid SI’s are listed here. The SI’s defined in the PMDSIMNT where the frequency is not Adhoc and SI generation is not completed for the Next execution date are listed here
The following details gets defaulted once you select the SI reference:
l Next Execution Date
l Network Code
l Payment Type
l Debit Account
l Account Description
l Customer Number
l Customer Name
l Transfer Currency
l Template ID
Action Required
Select the option from the drop down values. The options are - ‘Defer’, ’Skip’ and ‘Suspend’.By default the option is ‘Defer’.
Defer
If you select option as ‘Defer’, then system computes the ‘Allowed Deferral Till’ date as next to next instruction date -1 which is a branch working day.
Note
System do not allow Defer action for SI when the frequency is Daily.
You need to mandatorily provide New Execution Date which should be earlier than or same as Allowed Deferrral Till date. Based on the provided new execution date, system computes the new SI generation date.
Skip
If you select option as ‘Skip’ then you need to maintain mandatorily the ‘Skip till Date’.No SI gets generated/executed upto the Skip till Date. System updates the Next execution date as the date which gets computed based on the frequency maintained and coming after the maintained ‘Skip till Date’.
Suspend
You can suspend the execution of an SI for the next execution date. Once you records suspend action for an SI, now on generation of the SI for the next execution date the system marks the Execution status of the record as ‘Suspended’. System doesn’t allows the transaction creation for a suspended execution.
You can find the suspended records in the execution summary screen.
New Execution Date
You need to mandatorily provide New Execution Date which should be earlier than or same as Allowed Deferrral Till date.
Skip till Date
If you select option as ‘Skip’ then you need to maintain mandatorily the ‘Skip till Date’.
Branch Name
System defaults the description of the Transaction Branch displayed.
Description
System defaults the description of the Host Code displayed.
Allowed Deferral Till
If you select option as ‘Defer’, then system computes the ‘Allowed Deferral Till’ date as next to next instruction date -1 which is a branch working day.
Transfer Amount
You can specify the Transfer Amount.
The below listed maintenances are applicable for dispatch processing of Domestic low value payments/ Direct Debits:
l Dispatch File Generation
l File Dispatch Generation Summary
l Dispatch Parameters Maintenance
l File Dispatch Parameters Maintenance Summary
l Dispatch Browser
l Transaction XML Regeneration
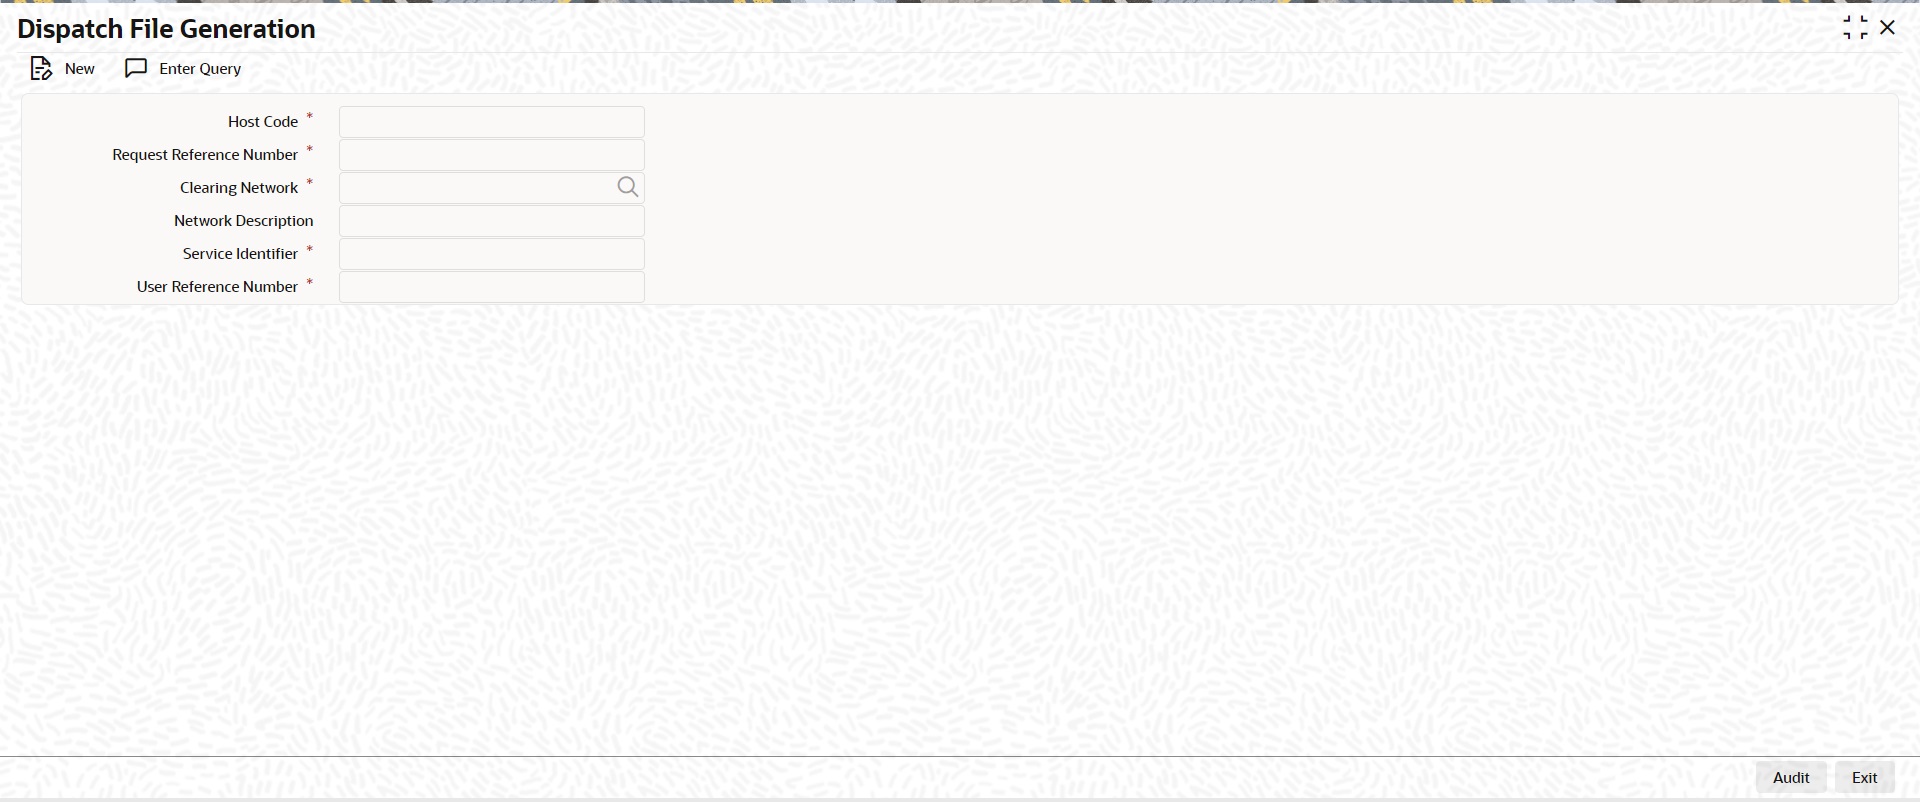
3.4.1 Dispatch File Generation
Dispatch file generation screen is provided to manually initiate generation of dispatch files for CSM.
You can invoke ‘Dispatch File Generation’ screen by typing ‘PMDDFILE’ in the field at the top right corner of the Application tool bar and clicking on the adjoining arrow button
.
You can specify the following fields:
Host Code
System defaults the host code of transaction branch on clicking ‘New’.
Request Reference Number
System generates the Request Reference Number automatically on clicking New button.
Clearing Network
Select a valid clearing network for which the dispatch file will be generated.
Network Description
System defaults the description of the Clearing Network selected.
Service Identifier
Indicates the service identifier. Identifier can be selected as Instrument Clearing and US NACHA.
User Reference Number
Specify the reference number for every dispatch run. This reference number can be used to track the number of files generated for every dispatch run.
Note
For SEPA Payments (SCT) and Collections (SDD), you can use the Dispatch Browser screen (PMSDSBRW) to dispatch the file manually.
3.4.1.1 File Dispatch Generation Summary
You can invoke the ‘Dispatch File Generation Summary’ screen by typing ‘PMSDFILE’ in the field at the top right corner of the Application tool bar and clicking on the adjoining arrow button:

You can search using the following parameter:
l Request Reference Number
l Clearing Network
l Network Description
l Clearing Network
l Service Identifier
l User Reference Number
l Authorization Status
Once you have specified the search parameters, click ‘Search’ button. The system displays the records that match the search criteria.
Dispatch time for auto generation of Domestic Low Value Payments /NEFT/Direct Debit dispatch files can be maintained in this screen.
You can invoke the ‘Dispatch Parameters Maintenance’ screen by typing ‘PADISPTM’ in the field at the top right corner of the application toolbar and clicking the adjoining arrow button.
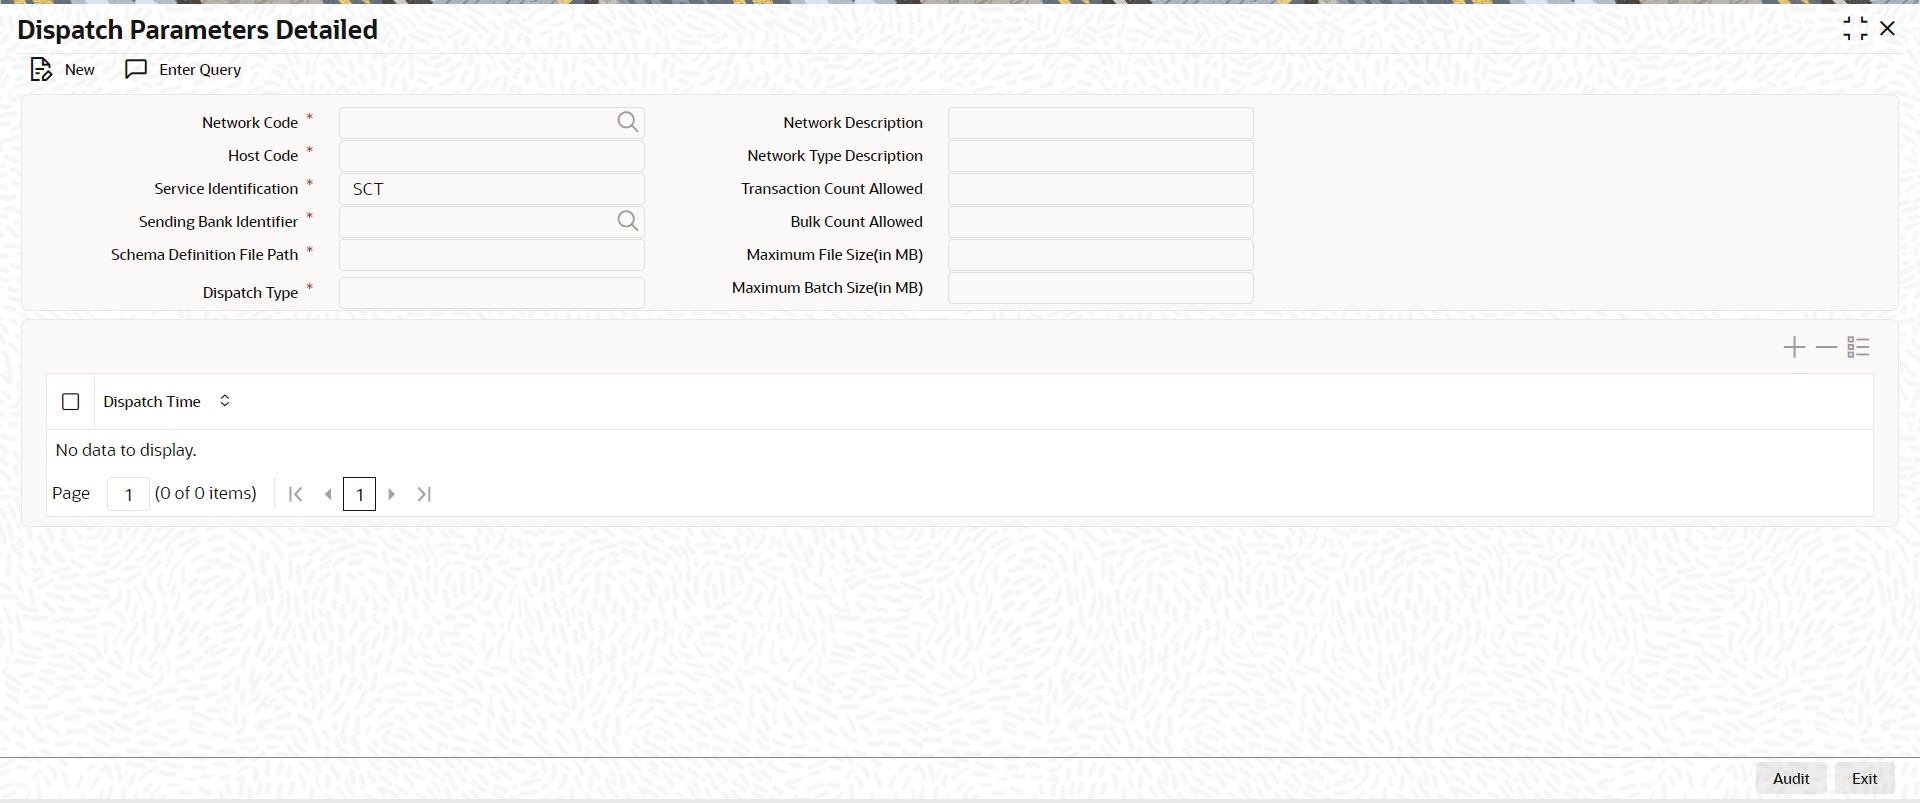
You can specify the following fields:
Host Code
System defaults the host code of transaction branch on clicking ‘New’.
Network Code
Select a Network code from the list of values.
Network Type Description
System defaults the Network Type Description based on the Network Code selected.
Service Identification
Select the service identification code from the drop-down values listed. System displays the value as SCT by default, on clicking ‘New’.
This field has options as SCT, SDD-CORE, SDD-B2B, US NACHA, SCT Inst, Clearing, India NEFT.
Sending Bank Identifier
All Branch BICs for the host are listed here. You can select the required BIC from the list of values.
Schema Definition File Path
Specify the Scheme Definition file path here.This field is used for maintaining the path of XSD file with which the dispatch file is validated.
Maximum File Size (in MB)
Specify the Maximum File Size (in MB).Dispatch files are split into multiple files if the maximum file size is exceeded.
Maximum Batch Size (in MB)
Specify the Maximum Batch Size (in MB).
Note
l If the maximum batch size is exceeded, a new batch is created which will be part of the same file. Batch size validation is applicable when the file is created in Batch mode.
l While generating ICF/IDF files, the size of the file and the size of each batch is added to a counter. On reaching the maximum file size, the batch which caused the limit breech is added to a new file and the counter is reset.
l The maximum number of batches allowed in a file will remain as 500 and maximum transaction allowed within a batch will be 100000.File/Batch size validation is done over and above this.
l Compression of outbound file is done based on the parameter defined in the ‘Protocol Parameter Definition’ screen (MSDPTPRM). In MSDPTPRM, parameter is set as ‘COMPRESSIONALGOPROP’ and value is set as ‘GZIP’.
l For the outbound files sent, FTA connector, compresses the file using GZIP and handsoff the zipped file in destination folder.
l For the inbound files received, the zipped files with extension ‘.gz’ are unzipped and handed off to payments
Dispatch Time
Specify the required Dispatch Time.
Note
For NEFT transactions, system generates the N06 dispatch for the pending N06 transaction level messages as per the dispatch time maintained in this screen and based on the parameter value - ‘No. of Transactions per Dispatch’ maintained in the PMDNFTPF screen.
3.4.2.1 File Dispatch Parameters Maintenance Summary
You can invoke the ‘Dispatch File Generation Summary’ screen by typing ‘PASISPTM’ in the field at the top right corner of the Application tool bar and clicking on the adjoining arrow button:
You can search using the following parameter:
l Record Status
l Host Code
l Network Code
l Service Identification
l Sending BIC
l Authorization Status
Once you have specified the search parameters, click ‘Search’ button. The system displays the records that match the search criteria.
Double click a record or click the ‘Details’ button after selecting a record to view the detailed screen.
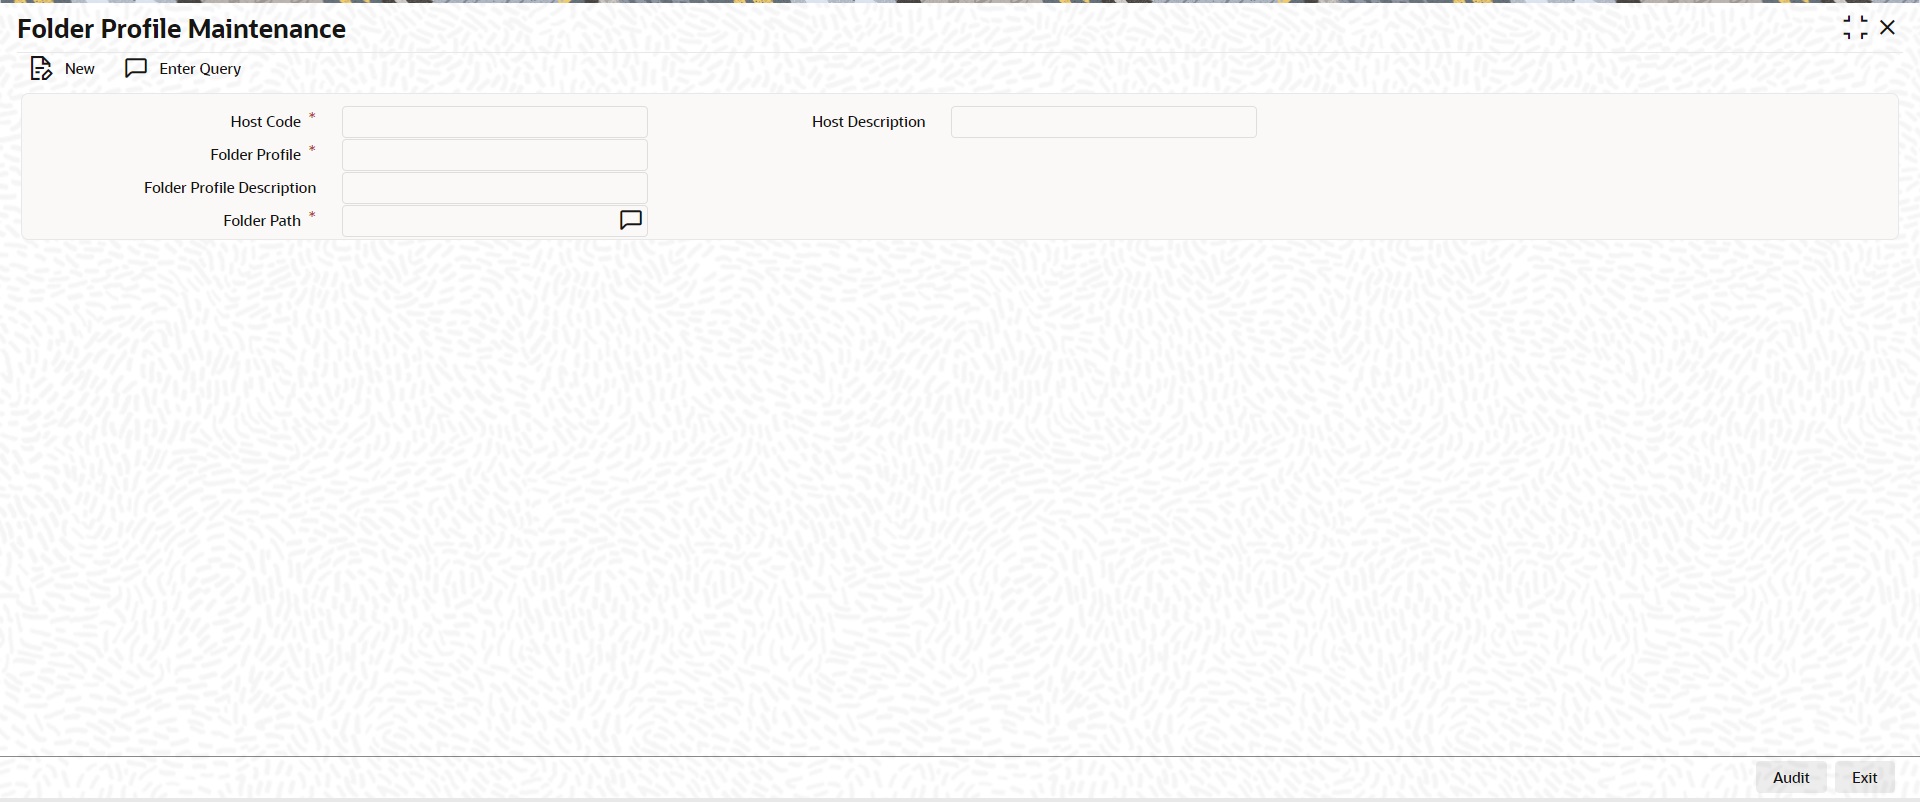
3.4.3 Folder Profile Maintenance
You can maintain Dispatch Folder details, using this screen.
You can invoke the ‘Folder Profile Maintenance’ screen by typing ‘PMDDISFR’ in the field at the top right corner of the application toolbar and clicking the adjoining arrow button
.
You can specify the following fields:
Host Code
System defaults the host code of transaction branch on clicking ‘New’.
Host Description
System defaults the Host Description based on the Host Code selected.
Folder Identifier
Specify the Folder Identifier.
Folder Profile Description
Specify the Folder Identifier Description.
Folder Path
Specify the Folder Path.
3.4.3.1 Folder Profile Maintenance Summary
You can invoke the ‘Folder Profile Maintenance Summary’ screen by typing ‘PMSDFILE’ in the field at the top right corner of the Application tool bar and clicking on the adjoining arrow button:
You can search using the following parameter:
l Authorization Status
l Record Status
l Folder Identifier
Once you have specified the search parameters, click ‘Search’ button. The system displays the records that match the search criteria.
You can maintain Dispatch Connectivity Details (Function ID: PMDDISCN). This allows to maintain a folder/queue profile for a combination of Host Code, Network Code & File type.
Note
SEPA ISO File Name structure can also be maintained in this screen. SEPA ISO files are generated to the root folders PACS008,CAMT056,PACS004 & CAMT029. In the absence of these folders files are generated under Dispatch path maintained at screen PMDDISCN directly.
You can invoke ‘Dispatch Connectivity Maintenance’ screen by typing ‘PMDDISCN’ in the field at the top right corner of the Application tool bar and clicking on the adjoining arrow button
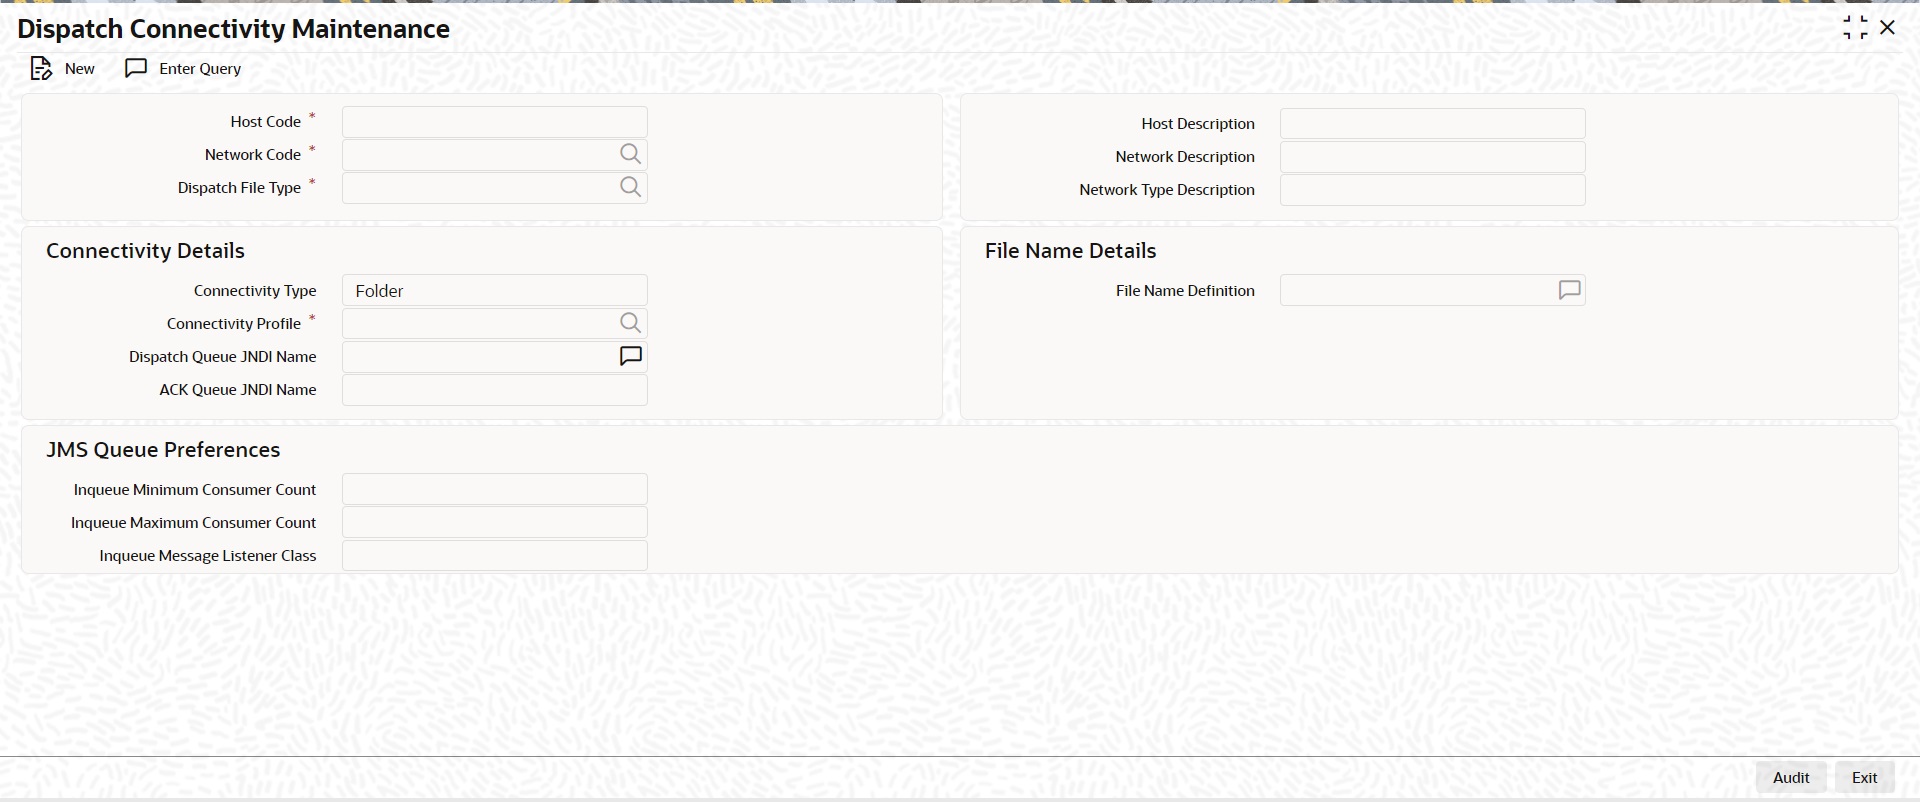
.
You can specify the following fields:
Host Code
System defaults the host code of transaction branch on clicking ‘New’.
Network Code
Specify the Network Code from the list of values that lists ACH CT and ACH DD.
Network Description
System defaults the description of the Clearing Network selected.
Network Type Description
System defaults the description of the Network Code selected.
Dispatch File Type
Specify the Dispatch File Type from the list of values. The list of values are specific to the payment type of the Network selected.
Connectivity Details
Connectivity Type
Select the Connectivity Type from the following drop down list:
l Folder
l Queue
Connectivity Profile
Specify the Connectivity Profile from the list of values. All the valid Folder Identifiers in Folder Profile maintenance are listed in this filed if the connectivity type is 'Folder'. All the Queue profiles maintained are listed if the connectivity type is 'Queue'.
Dispatch Queue JNDI Name
Specify the Dispatch Queue JNDI Name.
Connectivity Details
File Name Definition
Specify the File Name Definition. This is applicable for ACH CT/DD payment types, not applicable for SEPA files. Based on the Payment Type and Network Payment Type of the Network selected, the following values are defaulted. However, the you can edit the same.
|
Payment Type |
Network Payment Type |
File Name Definition |
|---|---|---|
|
ACH CT |
Generic |
<MESSAGE_TYPE><FILE_REFERENCE><HOST_TIME>.xml |
|
ACH DD |
Generic |
<MESSAGE_TYPE><FILE_REFERENCE><HOST_TIME>.xml |
|
ACH CT |
NACHCR |
User Input |
|
ACH DD |
NACHCR |
User Input |
|
SEPA CT |
NA |
Not Applicable, the field is disabled |
|
SEPA DD |
NA |
Not Applicable, the field is disabled |
3.4.4.1 Dispatch Connectivity Maintenance Summary
You can invoke the ‘Dispatch Connectivity Maintenance Summary’ screen by typing ‘PMSDISCN’ in the field at the top right corner of the Application tool bar and clicking on the adjoining arrow button:
You can search using the following parameter:
l Authorization Status
l Network Code
l Connectivity Type
l Network Payment Type
l Record Status
l Dispatch File Type
l Payment Type
Once you have specified the search parameters, click ‘Search’ button. The system displays the records that match the search criteria.
You can view the dispatched records for a Dispatch Reference. All the dispatched records of SCT (Domestic Low Value Payments) and SDD (Direct Debits) are listed here.
You can invoke the ‘Dispatch Browser’ screen by typing ‘PMSDSBRW’ in the field at the top right corner of the Application tool bar and clicking on the adjoining arrow button.
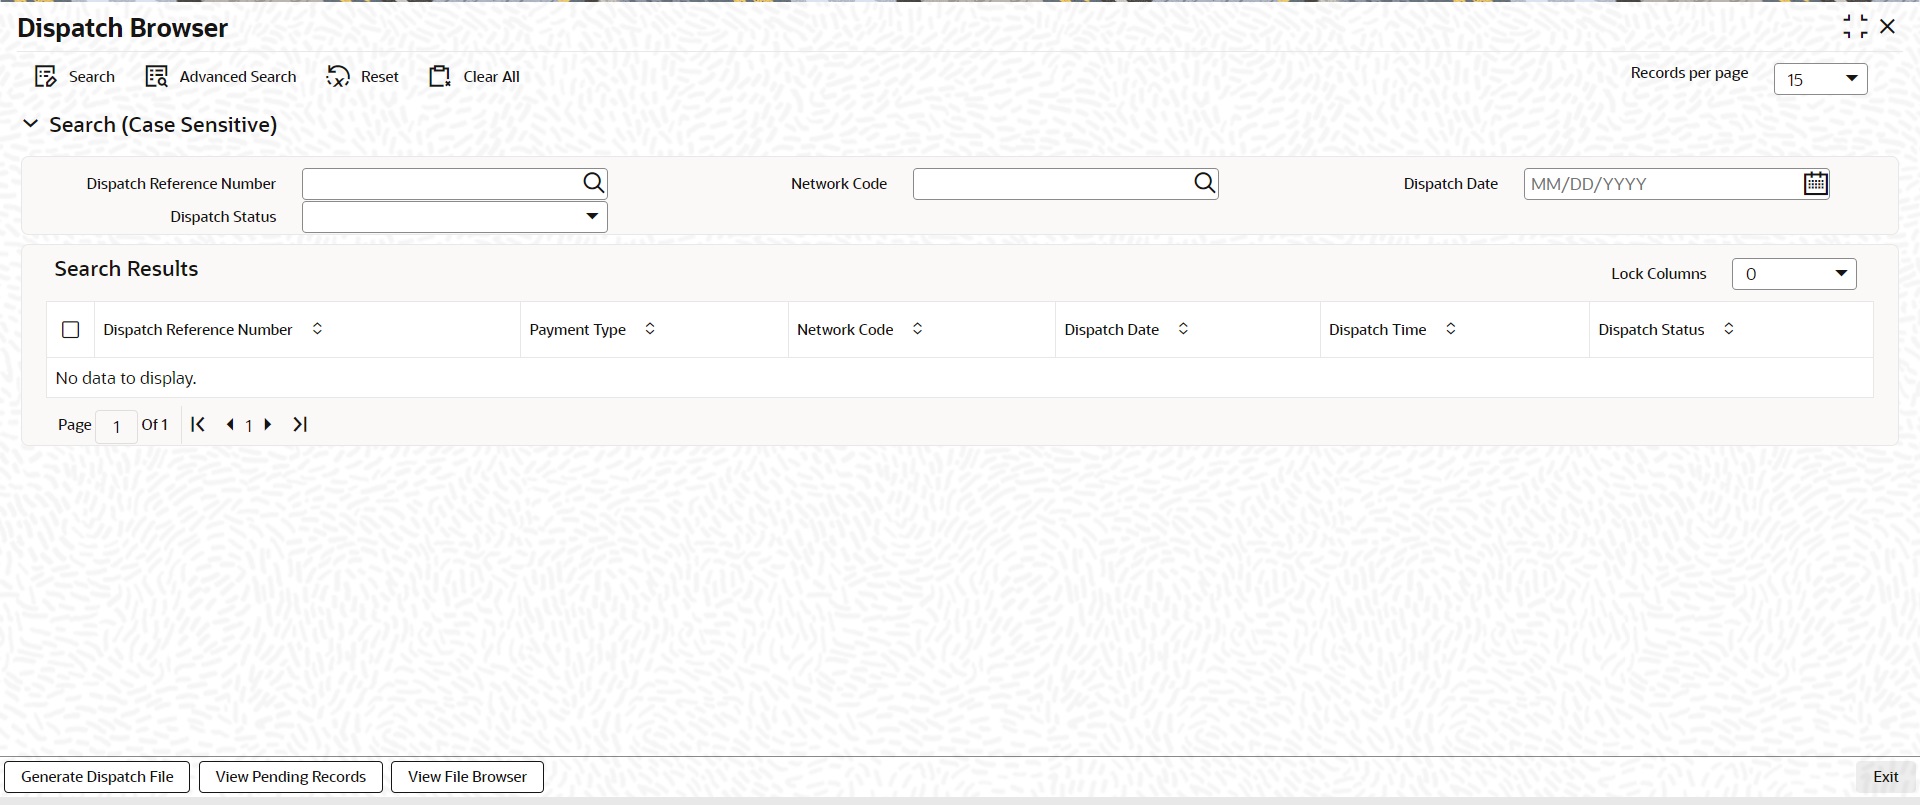
You can search using the following parameter:
l Dispatch Reference Number
l Network Code
l Dispatch Date
l Dispatch Status
Following actions can be performed from the Dispatch Browser screen (PMSDSBRW).
3.4.5.1 Generate Dispatch File
You can generate dispatch files for the pending records, in this screen. Generation of dispatch files are possible only for the pending records and not for the successful records.
You can invoke this screen, by clicking on ‘Generate Dispatch File’ button in Dispatch Browser screen (PMSDSBRW)

.
Note
Queue access right is required for Generate Dispatch File action. No authorization is applicable for this action.
3.4.5.2 View Pending Records
You can select a pending record and view the details for which the, file generation is pending.And bulk selection of pending records are not allowed.
You can invoke this screen, by clicking on ‘View Pending Records’ button in Dispatch Browser screen (PMSDSBRW).

3.4.5.3 View File Browser
You can navigate to Dispatch File Browser screen, on clicking ‘View File Browser’ button.
You can invoke ‘Dispatch File Browser’ screen by typing ‘PMSDSPBR’ in the field at the top right corner of the Application tool bar and clicking on the adjoining arrow button. This can be launched as a standalone screen.
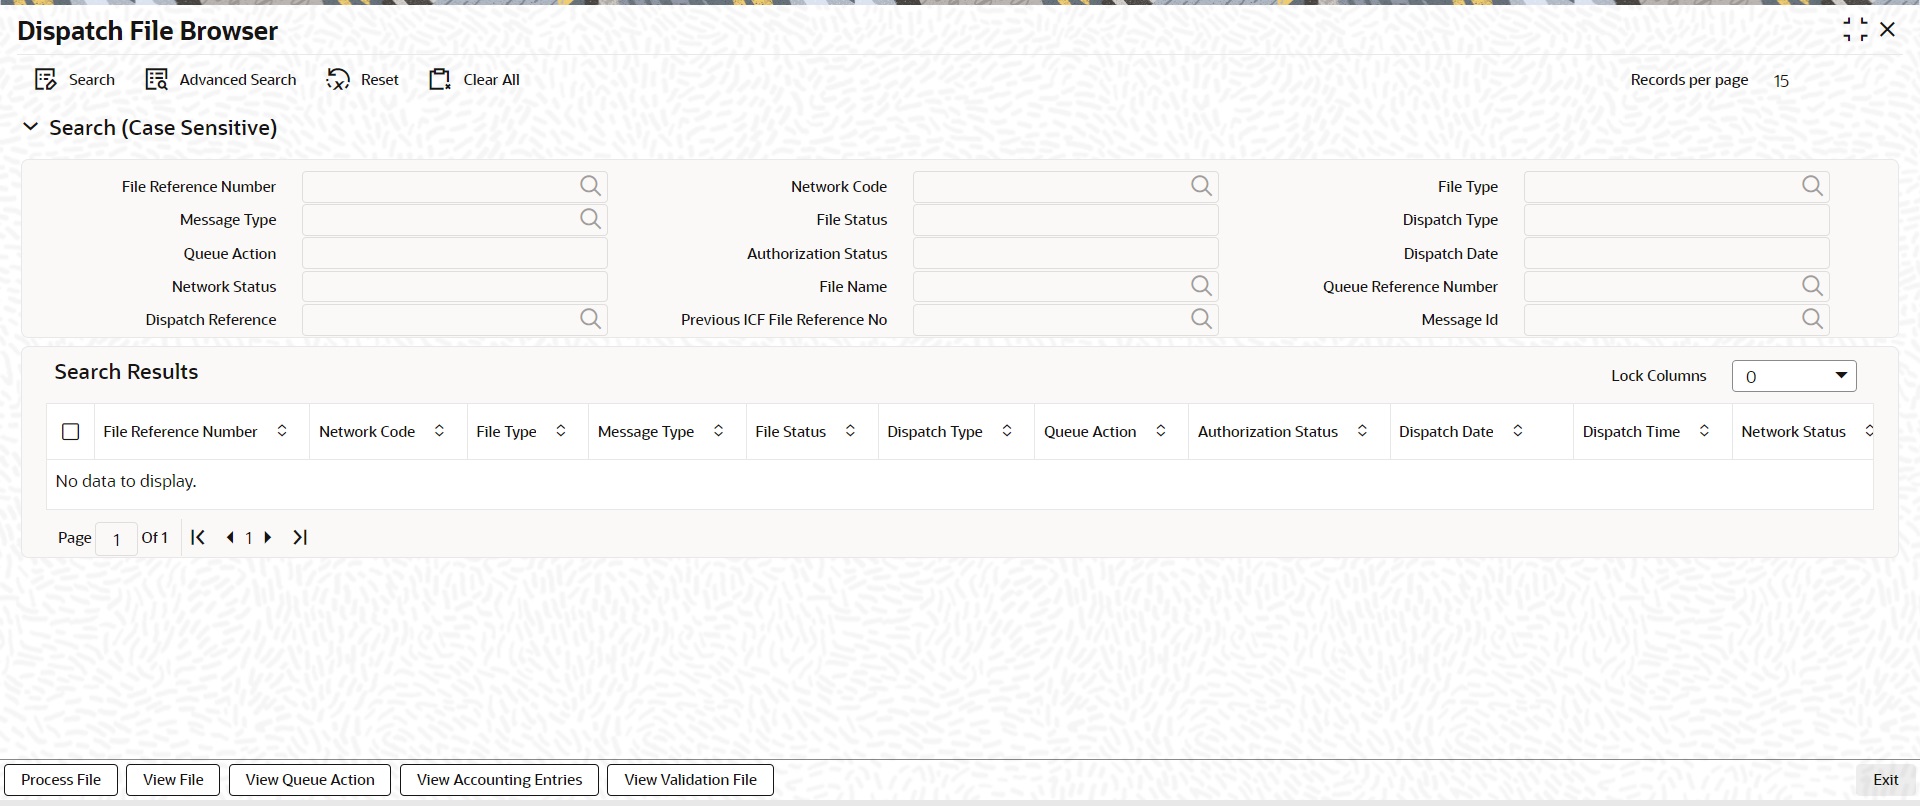
You can search using one or more of the following parameters:
l File Reference Number
l File Status
l Authorization Status
l File Name
l Previous ICF File Reference No
l Network Code
l Dispatch Type
l Dispatch Date
l Queue Reference Number
l File Type
l Queue Action
l Network Status
l Dispatch Reference
Once you have specified the search parameters, click the Search button. The system displays the records that match the search criteria.
Double click a record or click the ‘Details’ button after selecting a record to view the detailed screen.
For more details on this screen and its validations, refer to Exception Queues User Guide.
3.4.6 Transaction XML Regeneration
The Transaction Message Browser support regeneration Transaction XMLs. The XML is. generated with the transaction details available in dispatch tables at the time of regeneration. You can invoke “Transaction Message Browser” screen by typing ‘PMSTXNBR’ in the field at the top right corner of the Application tool bar and clicking on the adjoining arrow button.
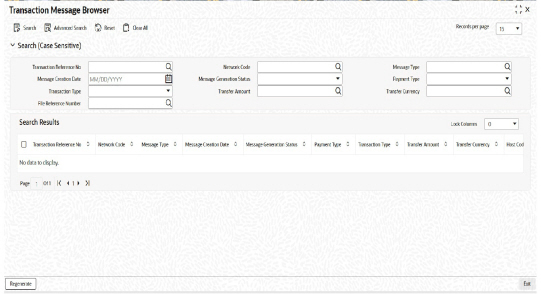
You can search using one or more of the following parameters:
l Transaction Reference No
l File Reference Number
l Network Code
l Payment Type
l Message Type
l Transaction Type
Once you have specified the search parameters, click the Search button. The system displays the records that match the search criteria.
Double click a record or click the ‘Details’ button after selecting a record to view the detailed screen.
3.5.1 Host & Time zone Related Processing
l Processing of payment transactions for multiple hosts with different time zones is supported.
l Cut-off time maintenances are to be done in host time.This has to be operationally controlled.
l Dispatch file generation timings and auto batch closure time for bulk file upload also follow host date & time.
Account Type- ‘Multi currency ‘available in LOV along with Normal, Nostro can be used by customer to initiate normal transactions.
Multi Currency Account is the Parent account and it can have multiple child accounts linked to it with different currencies allowed for the customer.
l Main account (multi currency) which is the parent account will be listed in External Account Maintenance (STDCRACC) and the child accounts linked to it will be mapped separately against each parent account
l Multi Account Type and Child Account Type are classified as ‘M’ and ‘C’ respectively.
l All Payment/collection/instrument processing transactions can be initiated by selecting Account Type - ‘Multi Currency’.
l In Transaction input screens, systems allows to select ‘multi currency’ parent account from the list of values in ‘Customer Account’ field
l User can select ‘Multi-Currency’ parent account with required account currency, as all the child accounts currencies will be displayed in list of values.
l Payment need not be initiated only with Transfer Currency while selecting multi-currency account. It is not mandatory. System will validate whether child account with account currency input is available for the multi account chosen.
l The Transfer Currency (instrument currency for clearing) is defaulted as the Account Currency, if the Multi Account is input or received from payment Webservices without Account Currency.
l When the Transfer Currency is different from Account Currency, Exchange Rate fetch will be applicable.
l External Credit Approval (ECA) / External Account Check (EAC) and Accounting handoff will indicate the Account Currency.
Note
Child accounts cannot be used as Transaction accounts in Payments.
Resolving and posting the amount to Child Account will be handled by DDA/Accounting system.
l If sanction check is made applicable at Network Preferences, system initiates sanction processing. Additional check is performed to verify whether sanction check is applicable for the customer at customer maintenance (STDCIFCR) level.Sanction processing is done only if it is applicable for both network and customer.
l On receiving External Sanction Check system response, sanction check status of the payment is updated.
l The following responses are possible:
– A – Approved. Sanction check is approved by the external system
– S –Seized
– Interim – Interim status or approval with override is received from external system
– R – Rejected. This indicates that the contract failed Sanction check.
– T – Timed out. Sanction check status is updated as T if no response is received from the external system within the stipulated time limit maintained for ECA system check system.
– R – Seize. Sanction check is seized by the external system.
l If the sanction check response status for a payment transaction is ‘Approved’, then further processing continues.
l If the sanction check response status of the transaction is ’Interim’ or ’Rejected’ or ‘Timed Out’, then transaction is logged in Sanction Check Exception Queue. If External system reject code is marked for auto cancellation in sanction system maintenance, transaction is automatically canceled.
l If External system reject code is marked for auto cancellation in sanction system maintenance, transaction is automatically cancelled.
l If sanctions status is 'Seized’ no further actions will be allowed for the transaction. You can be parameterize for a sanction system whether to post seizure accounting or not.
l Seizure GL to be mentioned.
The sanction seizure with accounting is handled in the following way :
|
Transaction type |
Payment type |
Debit account |
Credit account |
Subsequent processing
|
|---|---|---|---|---|
|
Outbound |
•Book Transfer •Cross Border MT •SWIFT CBPRPlus •RTGS FIN •TARGET2 ISO •EU SEPA Credit
|
Customer Account |
Compliance GL |
Held. Will not be dispatched. |
|
Outbound |
•EU SEPA Direct Debit |
Nostro/Clearing GL |
Compliance GL |
Held. Will not be dispatched.
|
|
Inbound |
•Book Transfer •Cross Border MT •SWIFT CBPRPlus •RTGS FIN •TARGET2 ISO •EU SEPA Credit |
Nostro/Clearing GL |
Compliance GL |
Held |
|
Inbound |
•EU SEPA Direct Debit |
Customer Account
|
Compliance GL
|
Held. And, pre settlement reject pacs.002 will be sent out. |
l If the Sanctions Check done on booking date fails, then the transaction is processed on booking date itself with seizure entries, even if the activation date is derived as future dated.
l Any transaction in Sanction Check Queue at the end of the day which is not part of a batch must be ring-fenced in the customer account. This is required only for Sanctions hold on Activation Date only and is not applicable for future valued transactions on booking date.
l The job PQDSNCKQ does ring- fencing of SC pending transactions. The job can be configured in Payments Auto job parameters screen to run at a particular time during end of day.
l ECA request generated for SC pending transactions with ‘Available balance Check’ marked as not required so that the transaction amount is force blocked in the customer’s account.
3.5.4 External Credit Approval
l Oracle Banking Payments sends debit accounting entries pertaining to payment amount and charge/tax amounts to external DDA system for credit checks. ECA system for the credit check is derived based on External Customer Account (STDCRACC) maintenance.
l ECA requests are sent, if the flag ‘External Credit Approval Required’ in ‘External Customer Account maintenance (STDCRACC) is checked.
l Transaction ECA status are updated based on the response received from the external system.
l The following responses are possible:
– A – Approved. ECA is approved by the external system
– O- Interim status or approval with override is received from external system
– R – Rejected. This indicates that the contract failed the External Credit Approval check.
– T – Timed out. ECA check status is updated as T if no response is received from the external system within the stipulated time limit maintained for external sanction check system.
l If the ECA response status for a payment transaction is ‘Approved’, then further processing continues.
l If ECA validation fails i.e. the status is ‘Interim’, ’Rejected’, or ‘Timed out’, transaction is logged in ECA Exception Queue.
l If External system reject code is marked for auto cancellation in ECA system maintenance, transaction is automatically cancelled.
l Transaction Account and Charge Account cannot belong to different DDA systems. System validates the same.
l Reversal of ECA request is required in the following cases:
– Transaction is cancelled from Network Cut-off Queue
– Transaction is carried forward from Network Cut-off Queue
l On reversal of ECA, request message is sent to external system with original transaction details & amounts, indicating that it is a reversal request.
l External Account check (EAC) request is sent if customer account is in for credit leg of a transaction. This is applicable for Inbound payments and book transfers.
l EAC requests are sent, if the flag ‘External Credit Approval Required’ in ‘External Customer Account maintenance (STDCRACC) is checked.
l For Book transfer transaction, request is generated for debit account and related charges. External Account check request is sent for credit account.
l If external account check request fails, transaction is moved to ECA queue.
Loan Accounts Credit
When a loan account is credited, EAC call is done:
l Tag AMOUNT is populated with the amount being credited in Loan account. The Loan system does the validations whether the credit can be done for the amount provided in EAC request.
l In case of any validation failure EAC gets rejected. This includes the validation that credit amount is not greater that Loan outstanding amount.
Reversal of loan account Credit
A loan payment is reversed when reversal or return of the original transaction is processed
l Value of TRNREFNODAILYLOG tag received as part of External Accounting of the original loan credit response should be sent as value for Loan Payment Settlement Reference Number LOANPAYSETTLREF in ECA request.
3.5.5 ECA/EAC Merger with Accounting
You can merge ECA /EAC step with accounting. This is enabled using a system parameter EC_EA_MERGER_WITH_ACC. By maintaining the value of this parameter as Y it is possible to do single step accounting.
Single step accounting is applicable for the below payment types for outbound and inbound transactions:
l Book Transfer
l Cross Border / RTGS MT
l Cross Border MX / TARGET2 MX
l India Payments (NEFT, RTGS, IMPS)
l SEPA CT
l SEPA DD
l ACH CT
For further details on Accounting queue changes related to this, please refer to Exceptions Queue User manual.
3.5.6 Small FX Limit Check & Currency Conversion
l For a cross currency payment transaction where debit currency and transfer currency are different, exchange rate is picked up as maintained for the transaction branch.
l If Small FX limit is defined in Network Currency Preferences, then the auto rate pick up takes place only if the transfer amount is within the small FX limit.
l Exchange Rate Type is based on Network preferences maintained. Buy/Sell indicator is derived by the system.
l If the transfer amount is above the small FX limit specified, the rate is fetched from the internal exchange rates maintained in CORE.
l If the transfer amount is above the small FX limit specified, system checks whether External Exchange Rate is applicable in Network Preferences.
l If external system is available the transaction details, then system sends request to external system for receiving the exchange rate.
l Based on the response received, exchange rate is populated and further processing of transaction will continue.
l The following responses are possible from External Exchange Rate system:
– A-Approved-Response with exchange rate
– R-Rejected-No exchange rate available in response or resulted in error
– T-Timed out –Request is timed out
l If Small FX limit is not maintained, auto rate pick up is done from internal rates maintained, for all cross currency payment transactions without any limit check.
l Payment contract is moved to Exchange Rate Exception queue in the following cases with proper error code details:
– Exchange Rate derivation based on core system maintenance fails
– Small FX limit is breached and no external exchange rate system maintenance is available
l Payment contract is moved to external exchange rate queue if response from External Exchange Rate system is rejected or timed out. If advance FX booking is done, then the FX reference can be provided in the payment request. This reference is sent to External system along with the external FX request for validation. If FX reference is not provided in payment request and if the external system provides a new reference, the same can be stored for the transaction.
l It is possible to provide exchange rate manually from Queue screen if the external rate fetch failed so that transaction proceeds with further processing.
Note
– Creation of the FX transaction, utilizing and tracking the same will be handled in the external system.
– The FX reference number generated in the external system can be captured as part of transaction input, and the same will be shared to the external system, as part of the external exchange rate pickup request.
– If no FX reference number is input during transaction creation, the same will be blank in the external exchange rate request. On this case, the external system is expected to create a FX transaction and share the same.
l External rate fetch is applicable for a payment, if the transfer amount is greater than the small FX limit maintained in Network Currency maintenance (PMDNCPRF) and External Rate fetch is made applicable in the Network preferences (PMDNWPRF).
l If external rate fetch needs to be made applicable for all transactions, the small FX limit needs to be maintained as 0.
l Changes are done in inbound payments External rate fetching. System applies the FX rate preference maintained in Inbound Payment Processing Preferences before sending the external FX rate request.
3.5.6.1 Instruction Date changes based on FX Value Date
l If FX rate response received from the external rate system is having a value date which is not matching with the instruction date, then the instruction date will be replaced with FX value date.
l For outbound payment, Credit value date will be updated as the new instruction date and debit value date will be Instruction date-Float days provided the date basis is ‘Instruction Date’ in the Network preferences. If the debit value date basis is ‘Activation date’, there will be no impact.
l The FX value date will be replaced for inbound payment instruction date as well. Based on this credit value date will be derived as new Instruction date + credit float days.
l If ‘IBAN validation required’ flag is checked for the network, then IBAN verification for Debtor IBAN, Creditor IBAN & creditor BIC is done against the IBAN format maintained for the respective country.
l IBAN is validated based on IBAN Information maintenance (ISDESBAN) available for the country for the following parameters:
– IBAN length
– Check digit of the IBAN
– National ID of the IBAN
l Check digit of the beneficiary IBAN must be validated using the below mentioned process:
– Extract country code from the IBAN
– Search the IBAN check digit length and IBAN check digit position for the country code from the IBAN structure data storage.
– Extract the check digit from IBAN using IBAN check digit length and IBAN check digit position.
– Compute the check digit from IBAN using the scheme defined in ISO/IEC 7064 Modulo 97-10.
– Compare the check digit value computed and the check digit value extracted from IBAN
l National ID of the beneficiary IBAN must be validated using the below mentioned process
– Extract the IBAN National id from IBAN using bank identifier position and IBAN national ID length
– Extract the IBAN ISO country code from IBANPlus data storage for the IBAN national id
– Compare the IBAN ISO country code from IBANPlus with the country code extracted from IBAN.
– If the all of the above conditions are satisfied, then the IBAN is valid.
l Validate BIC from an IBAN by looking up IBANPlus, if available. For payment transaction the beneficiary Bank code is checked for Valid BIC based on the beneficiary IBAN. The BIC will be derived from IBAN using the below mentioned process:
l Extract country code from the IBAN
– Search the bank identifier position and IBAN national ID length for the country code from the IBAN structure data storage
– Extract the IBAN National id from IBAN using bank identifier position and IBAN national ID length
– Search the IBAN BIC for the IBAN National id and country code from the IBANPlus data storage.
– If the IBAN BIC and Account with Institution BIC code (Creditor Agent BICFI for Outbound ISO transaction) does not match, then it displays ans error that Account with Institution BIC is not valid.
Notifications are generated in the following scenarios:
l Upon successful processing of the payment
l When the payment is cancelled from any queue
l When the payment is moved to future valued queue
Note
Refer the individual payment user guides for a complete list of events that are supported.
Notifications are generated for each configured Source of Payment to receive them.
3.5.8.1 Notify Message Details
You can invoke the ‘Notify Message Details ‘screen by typing ‘PMSNOTFY’ in the field at the top right corner of the application toolbar and clicking the adjoining arrow button.
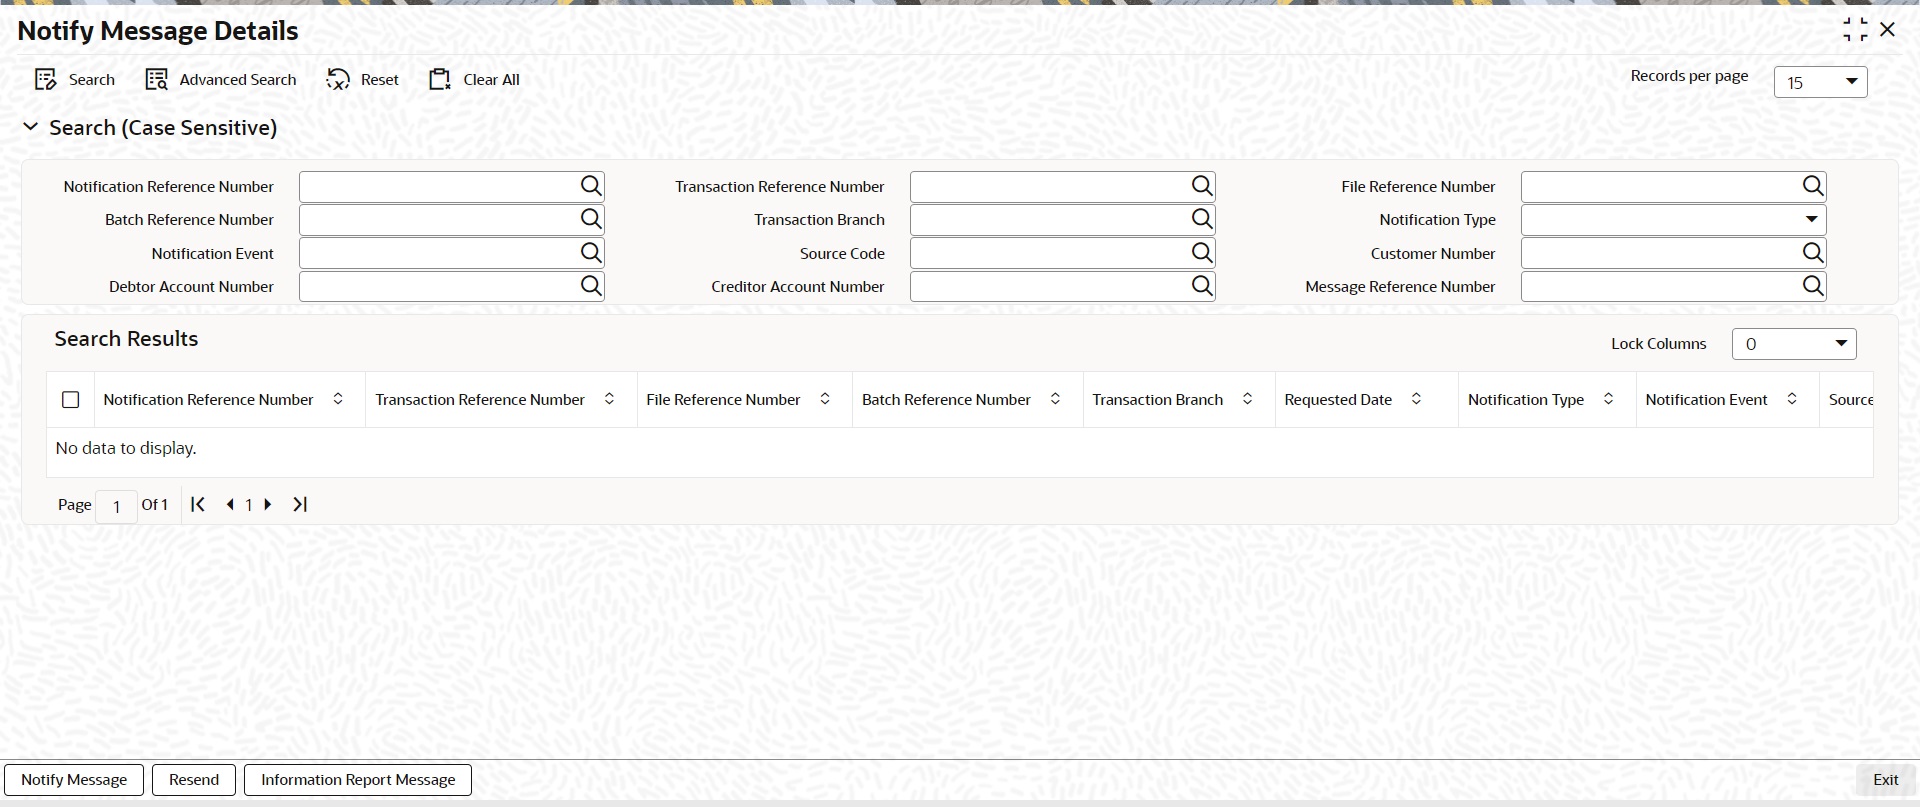
You can search using one or more of the following parameters:
l Notification Reference Number
l Batch Reference Number
l Notification Event
l Debtor Account Number
l Transaction Reference Number
l Transaction Branch
l Source Code
l Creditor Account Number
l File Reference Number
l Notification Type
l Customer Number
l Message Reference Number
Once you have specified the search parameters, click ‘Search’ button. The system displays the records that match the search criteria.
Note
Message Reference Number and Batch Reference Number parameters are not applicable for India Payments - NEFT and RTGS.
The following actions can be performed for transactions in this queue:
|
Actions |
Functions |
|---|---|
|
Notify Message |
Click this link to view Notify message. |
|
Resend |
Click this link to resend message. |
|
Information Report Message |
Click this link to view information report message. |
3.5.8.2 Notify Message
You can invoke the Notify Message screen by clicking on ‘Notify Message ‘action button available at the left bottom in the ‘Notify Message Details ‘screen (PMSNOTFY).
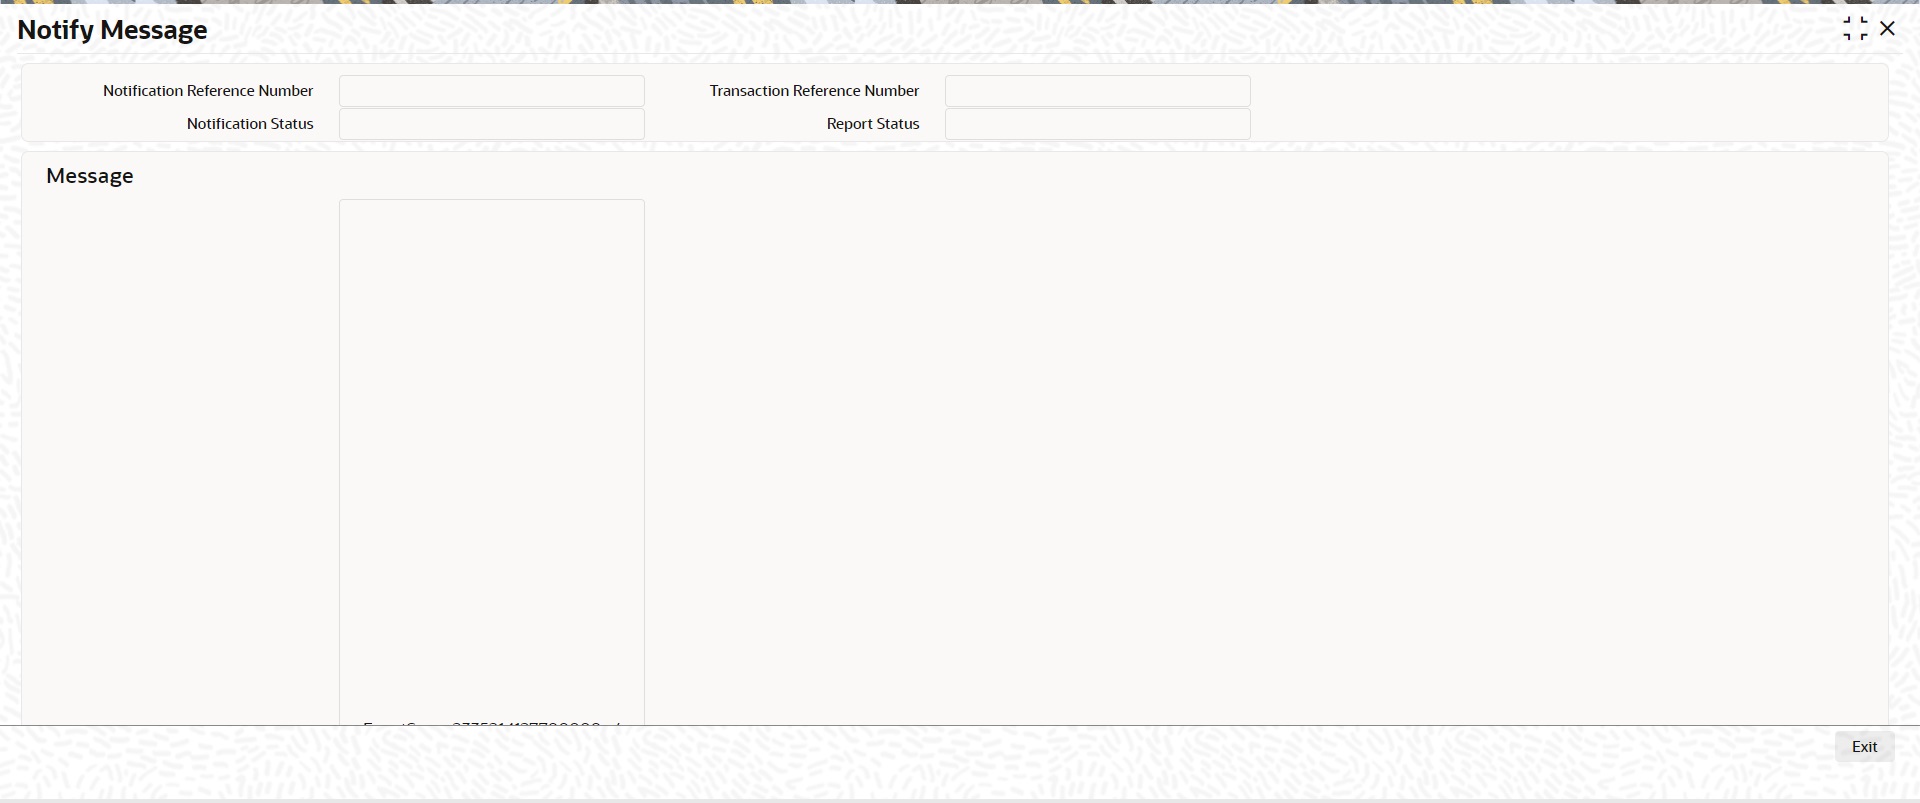
Select a record listed in the ‘Notify Message Details’ screen and click on ‘Notify Message’ button. System defaults all the data for the Record selected.
System displays the following details:
l Notification Reference Number
l Transaction Reference Number
l Notification Status
l Report Status
l Message
3.5.8.3 Resend Message
You can invoke the ‘Resend Notify‘ screen by clicking on ‘Resend ‘action button available at the left bottom in the ‘Notify Message Details ‘screen (PMSNOTFY).
Select a record listed in the ‘Notify Message Details’ screen and click on ‘Resend’ button. System defaults all the data for the Record selected and displays the Information message “Request Successfully Processed”
System displays the following details:
l Host Code
l Notification Reference Number List
l Notification Reference Number
l Transaction Reference Number
l File Reference Number
l Batch Ref Number
l Transaction Branch
l Requested Date
l Notification Type
l Notification Event
l Source Code
l Customer No
l Debtor Account Number
l Creditor Account Number
l Message Reference Number
l Network Code
l Payment Type
l Transaction Type
3.5.8.4 Information Report Message
You can invoke the Notify Message screen by clicking on ‘Notify Message ‘action button available at the left bottom in the ‘Notify Message Details ‘screen (PMSNOTFY)
Select a record listed in the ‘Notify Message Details’ screen and click on ‘Information Report Message’ button. System defaults all the data for the Record selected that includes the accounting details of transaction
System displays the following details:
l Notification Reference Number
l Transaction Reference Number
l Notification Status
l Report Status
l Message
l The format of Reference Number in Oracle Banking Payments is a 16 digit number.
l On any new operation on screen, the transaction reference number is generated as explained in the below table.
l The transactions uploaded from other channels – including GW, ReST, upload or EMS also follows the below reference number generation logic:
|
Component |
Description |
Digits |
Position, Length |
S.No |
|---|---|---|---|---|
|
Year |
Last 2 Digits of the Year |
2 |
1, 2 |
For e.g. 2017 = 17 |
|
Date |
Julian Date |
3 |
3, 3 |
For e.g. 1st February = 032 |
|
Server Id |
If clustered, each app server will have a number.
This is setup as a JVM Parameter by Infra Team |
2 |
6, 2 |
For e.g 1 App Server = 01 |
|
PM Type |
Each Sub-Module in PM represents a Type |
1 |
8, 1 |
ACH - 1 XBORDER & RTGS - 3 BOOKTRANSFER -4 DD - 5 Clearing - 6 FASTER PAYMENTS – 7 C2B - 8 |
|
Seconds |
Seconds Elapsed past date change
1 Minute = 00060 Seconds 1 Hour = 03600 Seconds 24 Hours = 86400 Seconds
Left Padded with 0s |
5 |
9, 5 |
For e.g. If time is 18:00 as per the host date then Seconds will be calculated as 64800. |
|
Serial Number |
Sequential Serial Number generated per second
Sequence Resets to 0000 for every Second |
3 |
14, 3 |
For e.g. Seconds and Serial Number Representation for 5 Transactions processed @ 18:00
648000001 -64800004
64800 – Seconds001 – Serial Number 002 – Serial Number 003 – Serial Number 004 – Serial Number |
Other Reference Number like Queue Reference Number, File reference, etc
|
Component |
Description |
Digits |
Position, Length |
S.No |
|---|---|---|---|---|
|
Year |
Last 2 Digits of the Year |
2 |
1, 2 |
For e.g. 2017 = 17 |
|
Date |
Julian Date |
3 |
3, 3 |
For e.g. 1st February = 032 |
|
Server Id |
If clustered, each app server will have a number.
This is setup as a JVM Parameter by Infra Team |
2 |
6, 2 |
For e.g 1 App Server = 01 |
|
Seconds |
Seconds Elapsed past date change
1 Minute = 00060 Seconds 1 Hour = 03600 Seconds 24 Hours = 86400 Seconds
Left Padded with 0s |
5 |
8, 5 |
For e.g. If time is 18:00 as per the host date then Seconds will be calculated as 64800. |
|
Serial Number |
Sequential Serial Number generated per second
Sequence Resets to 0000 for every Second |
4 |
13, 4 |
For e.g. Seconds and Serial Number Representation for 5 Transactions processed @ 18:00
648000001 -648000004
64800 – Seconds0001 – Serial Number 0002 – Serial Number 0003 – Serial Number 0004 – Serial Number |
During payment transaction processing, the accounting entries whose for which hand -off status is pending are posted to a JMS Queue. Once these entries are posted in the queue, the status is updated as handed off.
If the Accounting system and the ECA system are not the same, an update is sent to the ECA system as well while doing the accounting handoff. Any amount block in the customer account done during External credit approval can be released on receiving accounting update.
Click the “Accounting Entries” link in the transaction input screen to invoke the screen
The system displays the following details in a grid form that contains accounting entries in multiple rows:
Reference Number
Displays the Transaction reference number.
Event Code
Displays the Accounting event code.
Account
The system displays the transaction account number that is debited or credited in the accounting entry.
Account Branch
The system displays the account branch.
TRN Code
The system populates the transaction code of the accounting entry from the Account Template maintenance.
Dr/Cr
The system displays whether the accounting entry is ‘debit’ or ‘credit’ leg.
Amount Tag
The system displays the amount tag of the Amount being debited/credited.
Account Currency
The system displays the transaction account currency.
Transaction Amount
The system displays the transaction amount being debited/credited.
Netting
The system displays if Netting of accounting entries is required.
Offset Account
The system displays the Offset Account of the accounting entry for posting the offset debit/credit.
Offset Account Branch
The system displays the Offset Account Branch.
Offset TRN Code
The system displays the Offset Transaction Code from the Account Template maintenance.
Offset Amount Tag
The system displays the Offset Amount Tag of the Offset amount.
Offset Currency
The system displays the Offset Amount Currency.
Offset Amount
The system displays the Offset Amount being debited or credited.
Offset Netting
The system displays if the Offset Netting is required.
3.5.10.1 Accounting Entry Handoff
It is now possible to view the account entry handoff status at the transaction view level.
In all Payment / Collection Transaction View Screens, accounting entries are displayed with Handoff Status.
The below listed status are applicable for the new field Handoff Status:
l Pending - Not yet handed off to external system
l Requested - Request sent to external system
l Success - Success response received
l Rejected - Reject response received
Rollover Preferences from the urgent/Non-urgent payment preferences will be applied in the following scenarios for the outbound payments:
l Transaction is pending in Process Cutoff Queue/Network Queue during end of day
l Transaction is released from Sanction Check Queue on a later date
l Interim status is received for ECA/EAC check
If no record is received from the new preferences, system will consider the rollover preference available as part of Source maintenance PMDSORCE.
If source-wise preference is also not available, system will do auto roll-over and proceed.
This screen is for viewing the uploaded inbound files for ACH and Direct Debits and the related Receipt accounting.This is a common screen for viewing inbound Clearing files from other Low value clearing networks set up in the system.
You can invoke “Inbound File Summary” screen by typing ‘PMSINLOG’ in the field at the top right corner of the Application tool bar and clicking on the adjoining arrow button.
You can search using one or more of the following parameters:
l File Reference Number
l Received Date
l File Name
Once you have specified the search parameters, click the Search button. The system displays the records that match the search criteria.
Double click a record or click the ‘Details’ button after selecting a record to view the Receipt Accounting entries for the selected record.
Message
Click on the ‘Message ‘action tab present in the ‘Inbound File Summary ‘screen to view the uploaded message for the selected record.You can also view the receipt accounting entries for the record selected.
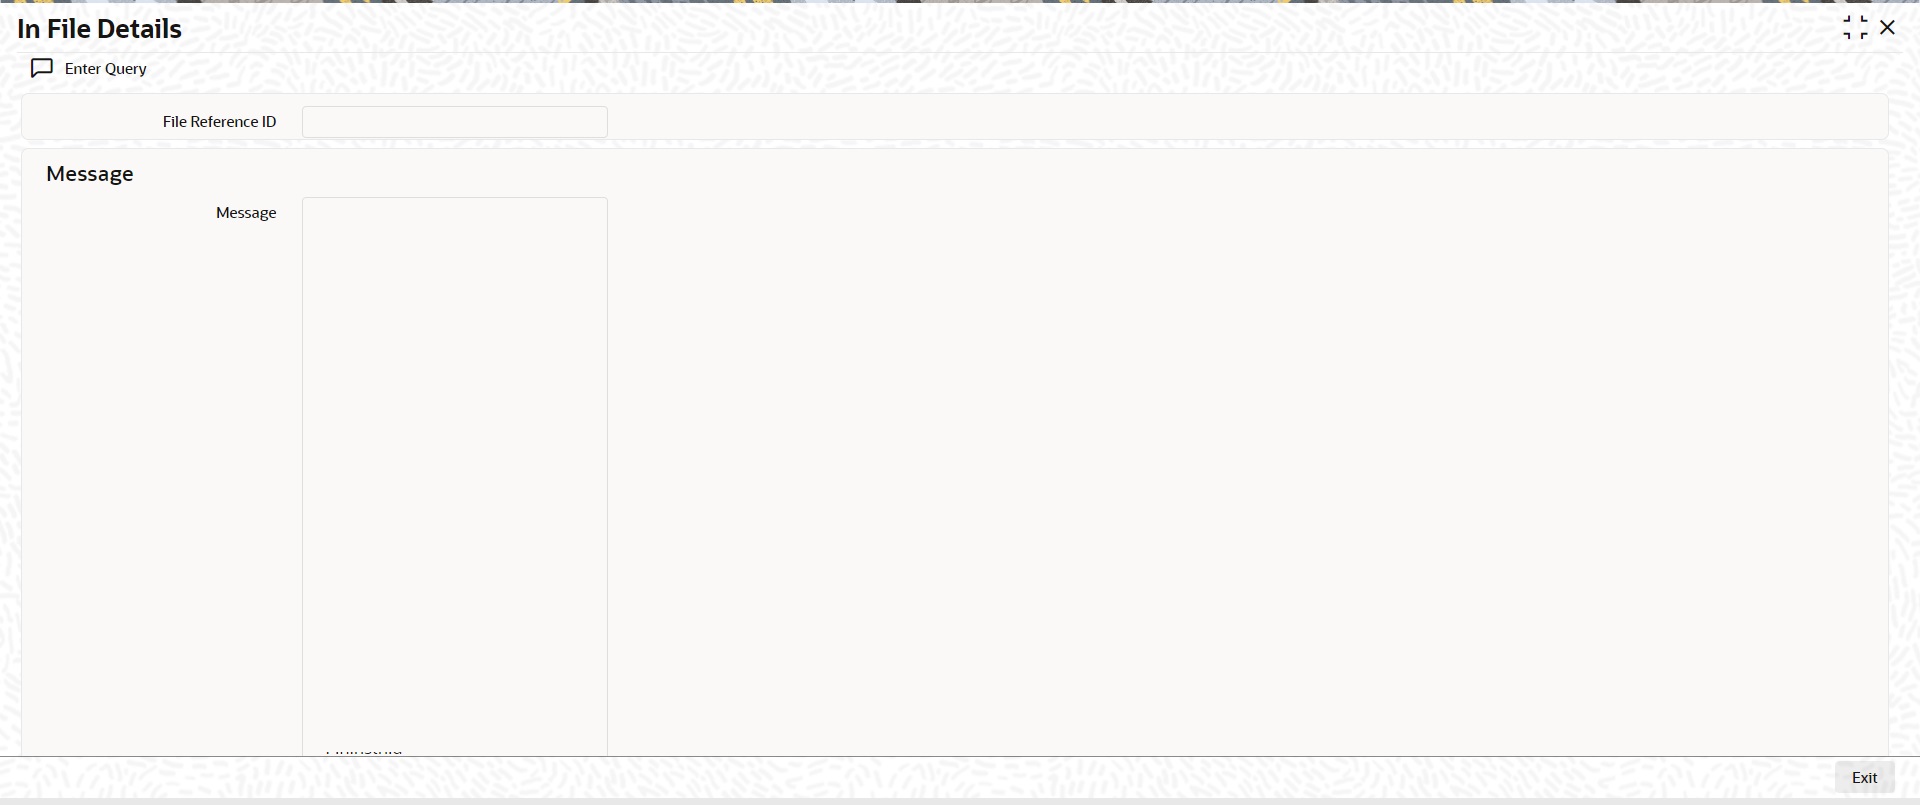
Following details are displayed for the record selected in the ‘Inbound File Summary ‘screen
l File Reference ID
l Message
Templates created for Book Transfer and Cross Border transactions can be viewed here by specifying the Template ID. This is a common Template Summary screen for other Payment transactions.
To invoke this screen type ‘PQSTMPLQ’ in the field at the top right corner of the Application Tool bar and clicking the adjoining arrow button.
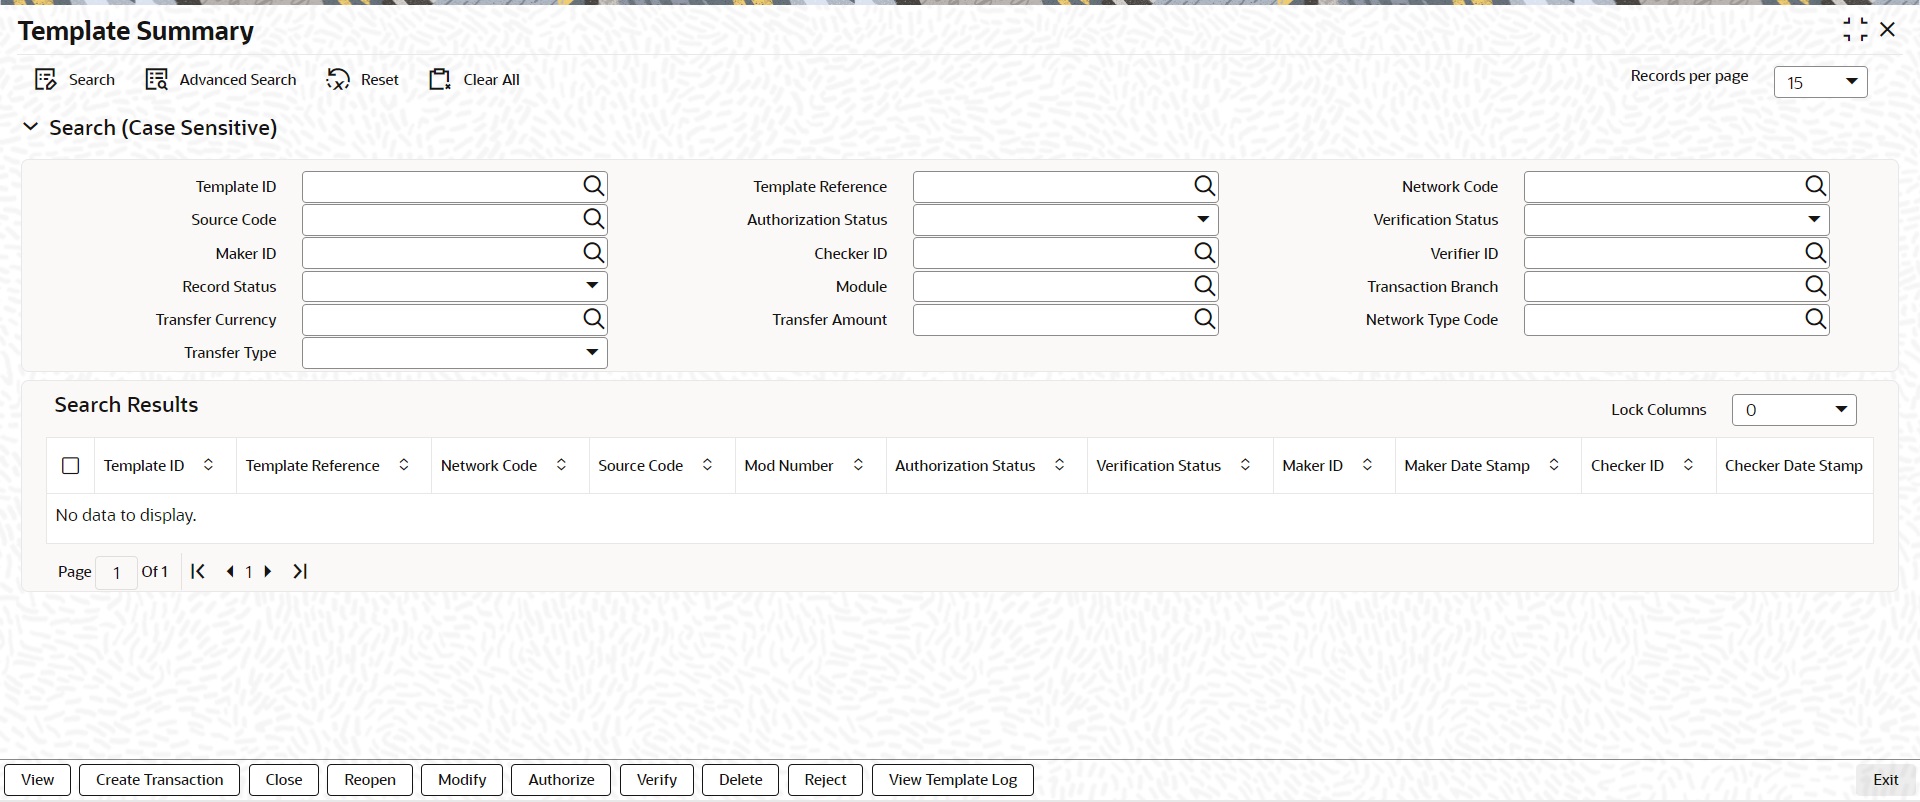
Dual authorization is supported for the Cross Border and Book Transfer Templates created. The dual authorization maintenance for the respective functions in the PMDFAUMN screen. For more details on the screen, refer to section 2.6.42.
You can search using one or more of the following parameters:
l Template ID
l Template Reference
l Payment Type
l Source Code
l Transfer Currency
l Transaction Type
l Network Code
l Transfer Amount
l Authorisation Status
l Maker ID
l Module
l Verification Status
l Checker ID
l Transaction Branch
l Record Status
l Verifier ID
Verify action button is available on querying the saved template or unauthorized templates from Template Summary screen.
On selecting the transaction and on clicking ‘Authorize’ action button, the Template Detailed screen is launched.
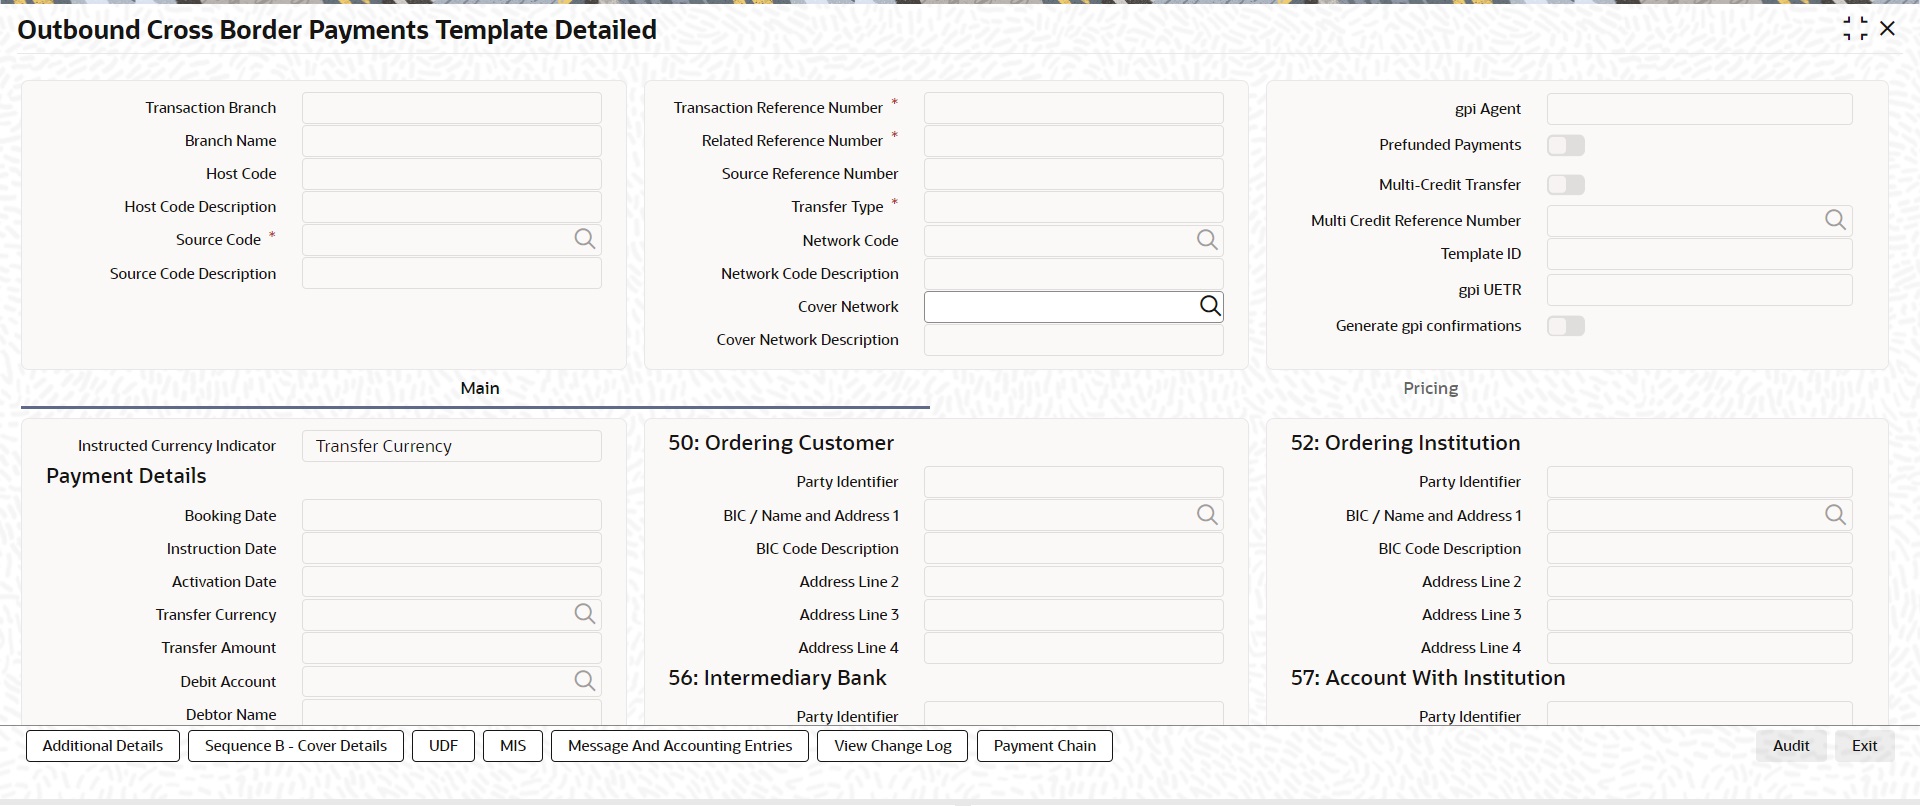
l Once a maker saves a template, Checker needs to authorize, then Verifier can verify it.
l Maker cannot perform first authorization. Final authorization cannot be performed, if first authorization is pending. Final authorization cannot be done by maker / first authorizer. Template remains Unauthorized, till final authorization is performed
Dual Authorization is not possible, if the ‘Dual Authorization Required’ option is not enabled in the Dual Authorization Maintenance screen (PMDFAUMN). Error is displayed, when ‘Verify’ button is clicked in the Template screen, if not maintained.
Once you have specified the search parameters, click ‘Search’ button. The system displays the records that match the search criteria.Using ‘Advanced Search’ option you mention specific criteria to get the specific set of records.The following actions are supported from Template Summary Screen:
View
Click ‘View’ button to view the Template details for the selected record
Create Transaction
New Book Transfer transaction can be created by clicking ‘Create Transaction’ based on the details saved for that Template ID. You can query the respective Template ID and create a new transaction with the details displayed.
Transactions created are Saved/Auto-Authorized depending on the user rights.
Note
l New transaction can be created only if the Template ID selected is Open and Authorized
l While creating a new transaction, system will default the ‘Booking Date’ and ‘Instruction Date’ as current date in the ‘Transaction Input Detailed’ (PBDOTONL) screen.
l You can modify the details populated from the Template and click on ‘Enrich’
l System validates the user access rights and the Transaction Limits allowed for the user to access’ Transaction Input’ screen on invoking’ Create Transaction’
Close
You can select a Template ID that is Open and Authorized and click on ‘Close’ button to close the record. Authorization is required to ‘Close’ a record.
Re-Open
You can select a Template ID that is closed and authorized to re-open the record, by clicking the ‘Reopen’ button. Reopening of a record requires authorization.
Modify
You can select a Template ID and click on ‘Modify’ button to modify the existing template details. Modifying the existing template details requires authorization.
Note
– On modification, the system generates a newer version of the template instead of replacing the older template.
– Whenever the template details are modified, both new and old templates are available as a part of audit log.
Authorize
You can authorize the following records/Template details by clicking ‘Authorize’ button here
l Template Id’s generated in Template Generation screen
l For closing a Template Id
l For Reopening a Template ID
l For Modifying the template details
Note
‘Same user cannot perform all the actions - Save, First Auth and Authorize’. This validation is done during the authorization process.
View Template Log
You can view the actions initiated on a Template with the maker/checker/verifier details here.
Delete
You can select a Template ID for which you have initiated actions like - ‘Create Transaction’, ‘Close’, ‘Reopen’, ‘Modify’ and click on ‘Delete’ button to delete the actions before authorizing the same.
Note
l Deleting of an action cannot be done once it is authorised.
l No records can be deleted on clicking ‘Delete’ button. Only actions initiated can be deleted.
Verify
You can verify the transaction only if dual authorization is enabled.
Reject
Either the Authorization status or Verification status is unauthorized, the you can reject the transaction.
Payment view screens are available for each payment type. It is possible to query the transaction details from a common screen for all payment types.
3.5.14.1 Outbound Transaction View Screen
The below query screen is provided for viewing the outbound payment transactions. You can search for the authorized/unauthorized transaction using query fields available. You can view the Outbound Transaction View screen by typing ‘PMSOTNVW’ in the field at the top right corner of the application toolbar and clicking the adjoining arrow button
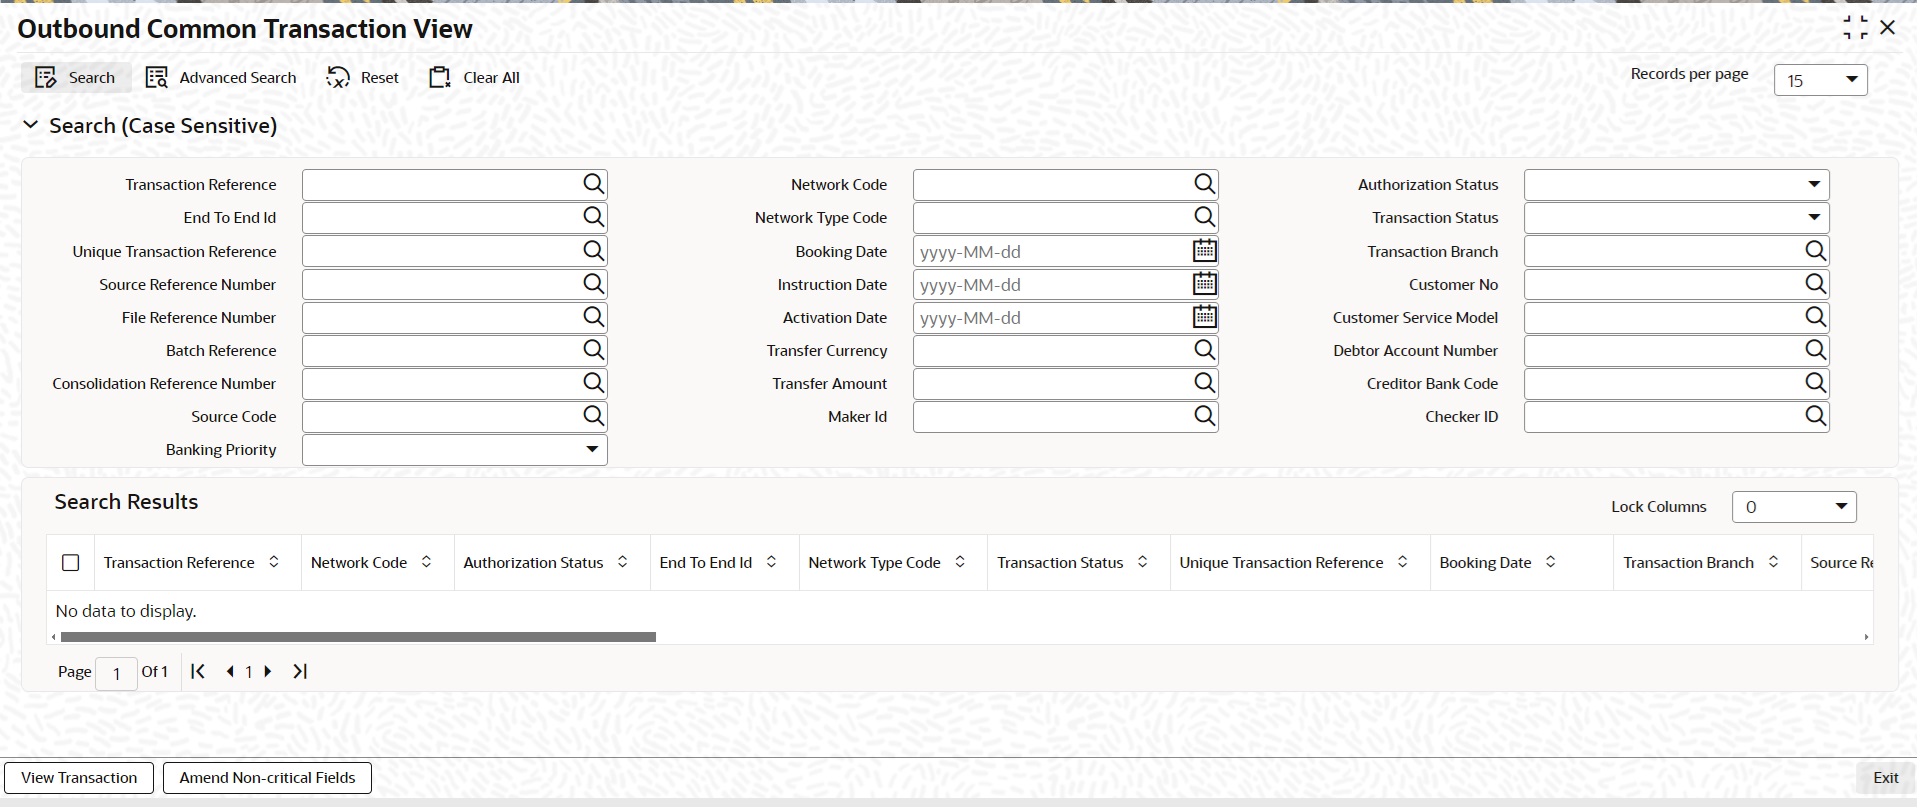
.
You can search using one or more of the following parameters:
l Transaction Reference
l Transaction Branch
l Authorization Status (Authorized/Unauthorized/Rejected)
l Network Code
l Network Type Code
l Source Code
l Unique Transaction Reference
l Source Reference Number
l Customer No
l File Reference Number
l Batch Reference
l Booking Date
l Instruction Date
l Activation Date
l Transfer Currency
l Transfer Amount
l Customer Service Model
l Consolidation Reference Number
l Debtor Account Number
l End To End Id
l Maker ID
l Checker ID
l Creditor Bank Code
l Transaction Status
l Banking Priority
Once you have specified the search parameters, click ‘Search’ button. The system displays the records that match the search criteria.
This maintenance is applicable for below Payment types:
l India NEFT Outbound
l India NEFT Inbound
l India RTGS Outbound
l India RTGS Inbound
l ACH Outbound
l ACH Inbound
l US NACHA Outbound
l US NACHA Inbound
l CNAPS Outbound
l CNAPS Inbound
3.5.14.2 View Transaction
Select a record and click the ‘View Transaction’ button to view the complete details of the transaction. The View Transaction Action opens the specific transaction selected, in view mode.
Note
For unauthorized transaction, View Transaction opens the respective online screen.
3.5.14.3 Amend Non-Critical Fields
Amendment of non-critical fields are applicable for the following payment/collection types:
l Cross-border/RTGS
l Book Transfer
l Domestic Low Value
l US ACH
l Fedwire
l NEFT
l India RTGS
l Direct Debits
Amendment of non-critical fields can be done from Outbound Common Transaction View screen (PMSOTNVW) screen by clicking the ‘Amend Non-critical Fields’ button and Transaction Amendment screen is launched.
Also you can launch the ‘Transaction Amendment’ screen as standalone screen, by typing ‘PMDNCAMD’ in the field at the top right corner of the application tool-bar and clicking the adjoining arrow button. Click ‘New’ button on the Application tool-bar.
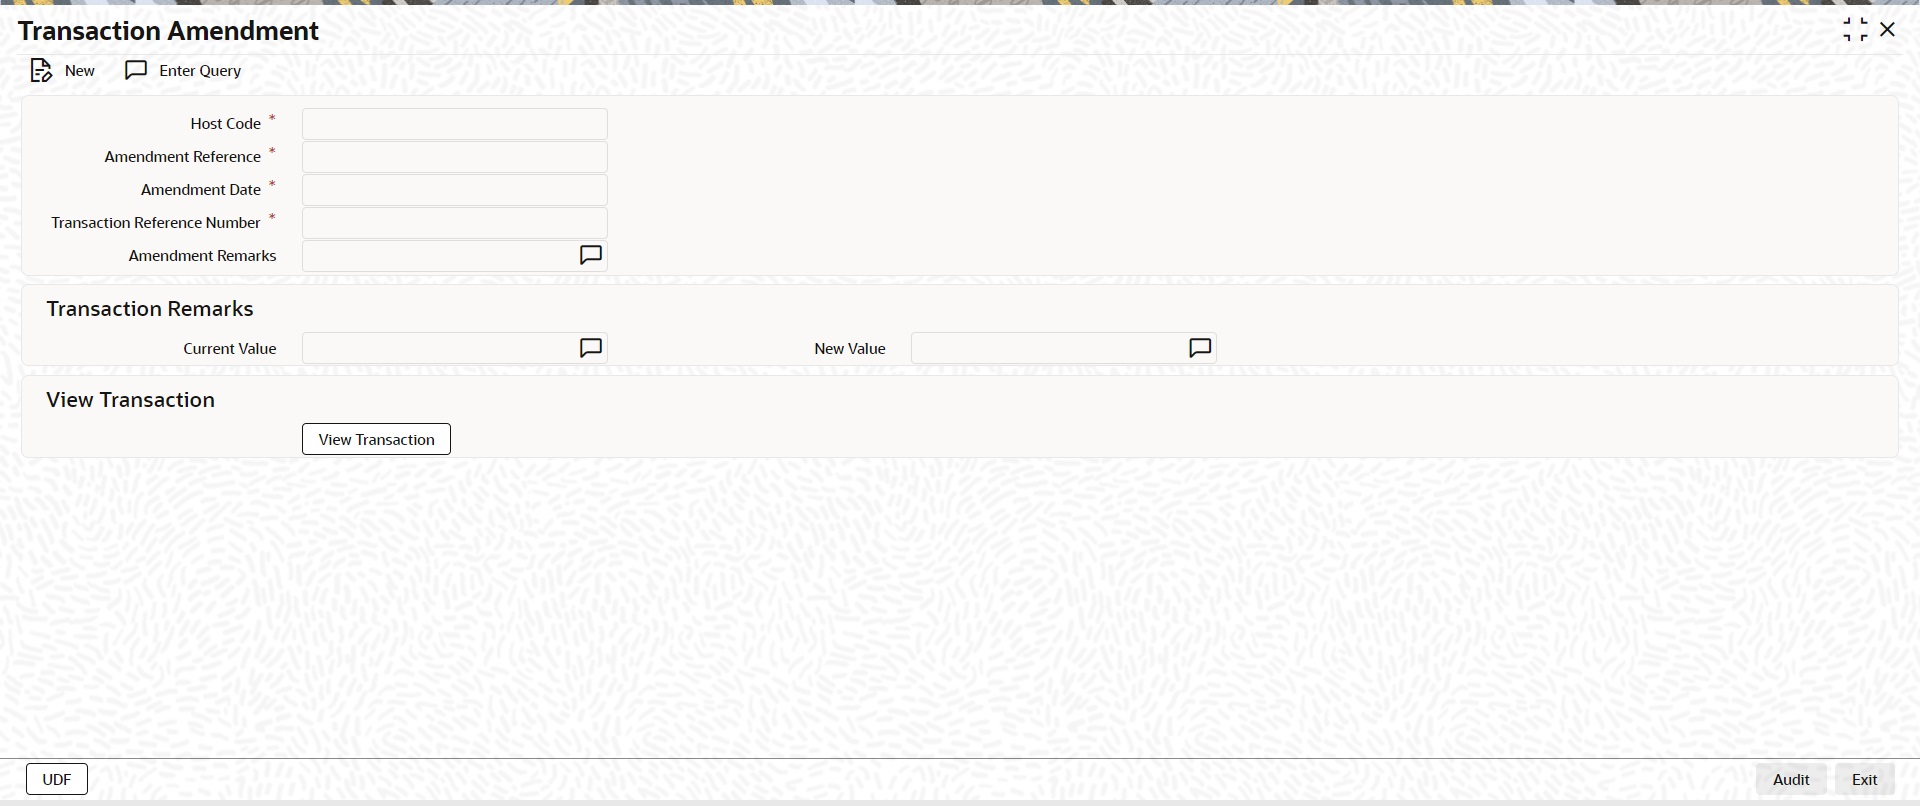
l Amendment of non critical fields can be initiated only from the common view screen.
l The deletion by maker or authorization can be initiated by querying the record from the summary screen PMSNCAMD. The user should have access rights for the function ID
l Transaction Remarks can be amended. The UDF values can be amended from UDF sub-screen.
l Amendment of non-critical fields are allowed irrespective of the transaction status. Only New value fields can be input by the user.
l Both current value and new value are stored for each amendment.
l The amended values are updated for the original transaction. The system will log the details in the queue log as well with maker/checker details.
l New transaction record gets created in Outbound/Inbound Common Transaction View (PMSOTNVW/PMSITNVW) underlying tables for unauthorized transactions from View Transaction sub screen.
l Unlock action is not allowed in Transaction Input screen for uploaded transactions.
l Restriction is added while 'Amend Non-Critical Fields' from Outbound/Inbound Common Transaction View (PMSOTNVW/PMSITNVW) for NONSTP/Unauthorized transactions
3.5.14.4 Inbound Transaction View Screen
The below query screen is provided for viewing the inbound payment transactions. You can search for the authorized/unauthorized transaction using query fields available. You can view the Inbound Transaction View screen by typing ‘PMSITNVW’ in the field at the top right corner of the application toolbar and clicking the adjoining arrow button..
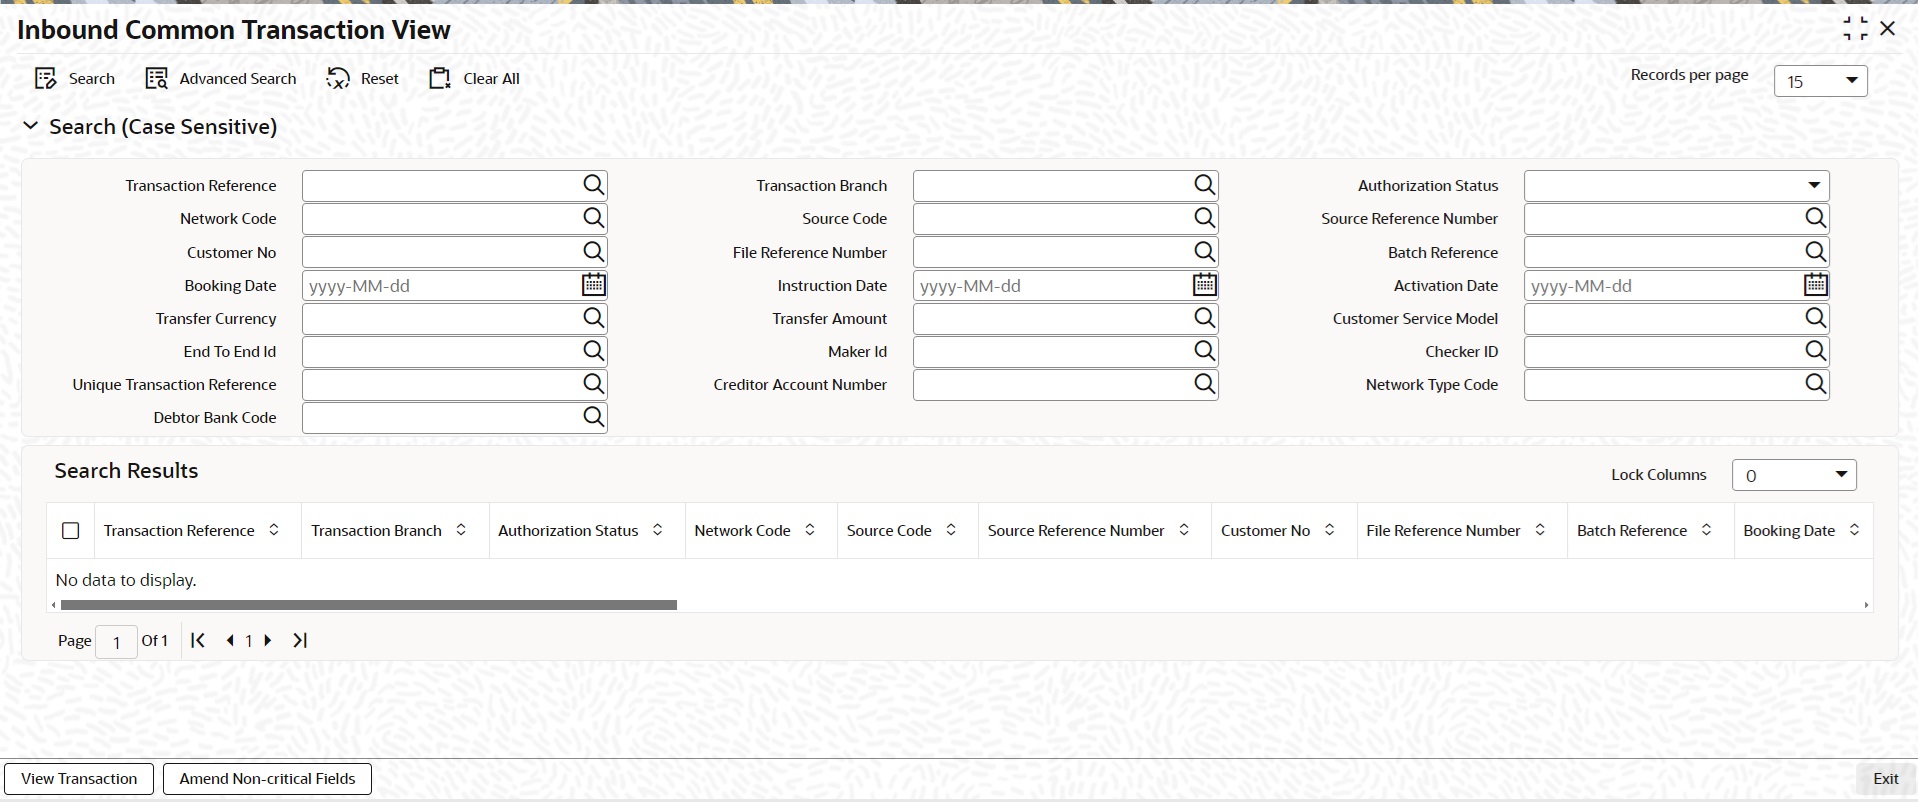
You can search using one or more of the following parameters:
l Transaction Reference
l Transaction Branch
l Authorization Status (Authorized/Unauthorized)
l Network Code
l Payment Type
l Source Code
l Source Reference Number
l Customer No
l File Reference Number
l Batch Reference
l Booking Date
l Instruction Date
l Activation Date
l Transfer Currency
l Transfer Amount
l Customer Service Model
l End To End Id
l Maker ID
l Checker ID
l Unique Transaction Reference
l Transaction Status
l Debtor Bank Code
l Creditor Account Number
Once you have specified the search parameters, click ‘Search’ button. The system displays the records that match the search criteria.
3.5.14.5 View Transaction
Select a record and click the ‘View Transaction; button to view the complete details of the transaction.The View Transaction Action opens the specific transaction selected, in view mode.
Note
For unauthorized transaction, View Transaction opens the respective online screen.
3.5.14.6 Amend Non-critical Fields
Amendment of non-critical fields are applicable for the following payment/collection types:
l Cross-border/RTGS
l Book Transfer
l Domestic Low Value
l US ACH
l Fedwire
l NEFT
l India RTGS
l Direct Debits
Amendment of non-critical fields can be done from Inbound Common Transaction View screen (PMSITNVW) screen by clicking the ‘Amend Non-critical Fields’ button and Transaction Amendment screen is launched.
Also you can launch the ‘Transaction Amendment’ screen as standalone screen, by typing ‘PMDNCAMD’ in the field at the top right corner of the application tool-bar and clicking the adjoining arrow button. Click ‘New’ button on the Application tool-bar.
For more details on screen details and validations, refer to section - 2.11.15.3
The following services for querying payment details:
l Remittance Enquiry Request
l Remittance Enquiry Response
l Transaction Request
l Transaction Response
3.5.15.1 Remittance Enquiry Request
This is sent from an external system for querying the status of the payments. The query can be either for outbound payments or for inbound payments.
The following fields are allowed for query:
l Payment type Inbound/Outbound this will be a mandatory query field
l Transaction Reference
l Transaction Status
l Pending, Exception, Processed, Cancelled, Future values, Reversed, Recall Requested, Returned, Rejected or Null
l Debit Account
l Credit Account
l Transfer Currency
l Transfer Amount
l Instruction Date
l Activation Date
l Booking Date
l Creditor Bank Code
l Debtor Bank Code
l Batch ID
l File Reference
l Maker ID
l Checker ID
l Transaction Branch
l Source Code
l Source Reference
l Customer ID
l CO ID
l Customer Service Model
l Debtor Name (for inbound payments)
l Creditor Name (for outbound payments)
There are tags for sending the USER ID for access right validation.
3.5.15.2 Remittance Enquiry Response
l On receiving remittance query request system gives response with the details of records matching the query criteria.
l For each record all the above listed fields are available for the related data in the response message.
l If no record is found, the related exception message are sent in the response.
3.5.15.3 Transaction Request
In this request a particular transaction reference can be sent for fetching the related details.
3.5.15.4 Transaction Response
The common xsd with all the transaction details is sent as response for the transaction queried
3.6 Verification Queue Processing
Verification Queue processing is applicable for all the Outbound/Passthrough Cross Border/RTGS transactions.
3.6.1 Verification Rule Validation
After network cutoff validation, the verification rule is applied on the transaction against the transaction network.
If the verification rule doesn't satisfy, then the transaction will be processed further - Posting of accounting entries, payment messages and advice messages generation, etc.
If the verification rule satisfies, then the transaction is moved to the new verification queue. The network cutoff time and Queue action log is populated.
3.6.2 View Message Action Processing
On clicking of View Message action, the message generation processing gets triggered. The payment messages are generated. The sub-screen 'View All Messages' (PXDALMSG) is launched and shows the generated messages (Customer transfer with Cover scenario results in both payment messages getting generated).
The 'Message Status' field shows the value as 'Pending Verification' for the generated messages. The generated messages are available in the Outbound Message Browser Summary (PMSOUTBR) screen also. No user action is allowed when the message status is 'Pending Verification' in the Outbound Message Browser Summary (PMSOUTBR).
3.6.3 Release Action Processing
This processing is applicable for Release Action apart from updating Queue action log.
l The network cutoff validation is triggered first. If the network cutoff validation fails (cutoff time crossed), then this action is not allowed. This network cutoff validation gets triggered on Authorization of Release action also. Authorization user action is not allowed, if the network cutoff validation fails. You can take 'Delete' action to delete the Release action or 'Reject' the Release user action or 'Force Release' action to release the transaction for further processing.
l If the network cutoff is not crossed, the transaction gets released out of the queue, message status is updated to 'Generated' and the transaction is processed further - posting of accounting entries, generating advice messages. if applicable, applying hold/release criteria if any, handing off the generated messages etc.
l If the generated payment message is to be delivered.
3.6.4 Force Release Action Processing
This processing is applicable for Force Release action apart from updating Queue action log.
The transaction is released out of the queue irrespective of whether network cutoff is crossed or not , message status is updated to 'Generated' and the transaction gets processed further - posting of accounting entries, generating advice messages if applicable, applying hold/release criteria if any, handing off the generated messages etc.
3.6.5 Modify Action Processing
Modify Action launches PXDOTONL screen with Payment type as Cross Border / RTGS.
The transaction details are populated into the underlying transaction input table if no data available earlier (Transaction is an uploaded transaction and was not moved to Non-STP queue and modified/released). Otherwise, a new version is to be created and shown to the user for modification. The data in the host tables are populated into transaction input tables even for manually inputted transactions because there can be data modifications done during the transaction processing. E.g. Transaction data modified in Repair Queue.
You can modify the data only for the fields that are maintained in the Verification Amend Allowed Fields Detailed (PMDVFAMD).
On Authorization of the modification, the data in the transaction input tables is updated to the host tables for further processing after the below processing is successful.
l ECA Reversal Request is sent out, if ECA Check was applicable.
l FX Reversal Request is sent out, if External Exchange Rate was applicable.
l FX Unwind request is logged after cancellation, if transaction is a cross currency transaction and FX Reference is present.
l Generated payment messages gets deleted.
The modified transaction is processed from the beginning starting from Repair validations for both Originated payments and for Pass-through payments.
For Pass-through payments, if Split Accounting is already done, then the same is reversed and reversal accounting entries are sent to accounting system. 'Debit Liquidation Status' is reset to 'Pending'.
3.6.6 Cancel Action Processing
ECA Reversal Request is sent out if ECA Check was applicable.
FX Reversal Request is sent out if External Exchange Rate was applicable.
FX Unwind request is logged after cancellation if transaction is a cross currency transaction and FX Reference is present.
Generated payment messages gets deleted.
Sanctions check is done for the cancellation.
l If the Sanctions response is 'Seized', then the sanctions seizure entries are posted. The transaction status is updated as 'Seized'.
l If the Sanctions response is not 'Seized', then the transaction status is updated as 'Cancelled'.
For Outbound pass-through payments, a Reject gpi or Universal confirmation message is generated depending on whether the payment is a gpi payment or not.
3.6.7 Message Generation Processing Impact
If payment messages weren't generated earlier, the same is generated. Otherwise, payment message generation gets skipped.
Payment messages that are sent via OFBA (Oracle FLEXCUBE Blockchain Adapter) is sent only when the transaction is released from Verification Queue and the message status is changed to 'Generated'.
You can transfer the rights of the Maker to another user using this screen for all unauthorized transactions of Function IDs selected.
You can invoke ‘Reassign Details’ screen by typing ‘PMDREASN’ in the field at the top right corner of the Application tool bar and clicking on the adjoining arrow button.

You can specify the following fields:
Host Code
System defaults the Host Code on clicking ‘New’.
Host Date
System defaults the Host Date to Current Date. Host date can be manually edited to another back date before entering the Maker ID.
Reassign Reference
System defaults the Reassign Reference.
Maker ID
Specify the Maker ID from the list of values. The field lists the Maker IDs of the unauthorized transactions for the Host and Date. You can select a Maker ID that has to be reassigned to a new User ID.
Reassign User
Specify the Reassign User from the list of values. All valid user Id are listed.
Function ID
Specify the Function ID from the list of values.
System does not allow to maintain a reassignment record if there is another unauthorized/authorized reassignment existing for same Host Code/Host Date/Maker ID/Function ID combination selected. The system validates whether the reassigned user is having appropriate access rights for the function ID selected.
While allowing Delete and Modify of an unauthorized transaction, system first checks whether any authorized reassignment record is available for the transaction. If yes, the New Maker ID maintained in the latest record is considered as the Maker of the transaction. Only this user is allowed for delete and modify.
If no reassignment record is not available, system allows only Maker of the transaction for Delete and Modify operations.
3.7.2 Transaction Reassign Screen
You can reassign a single unauthorized transaction based on Transaction Reference to a new user in this screen.
You can invoke ‘Transaction Reassign Screen’ screen by typing ‘PMDRATXN’ in the field at the top right corner of the Application tool bar and clicking on the adjoining arrow button.
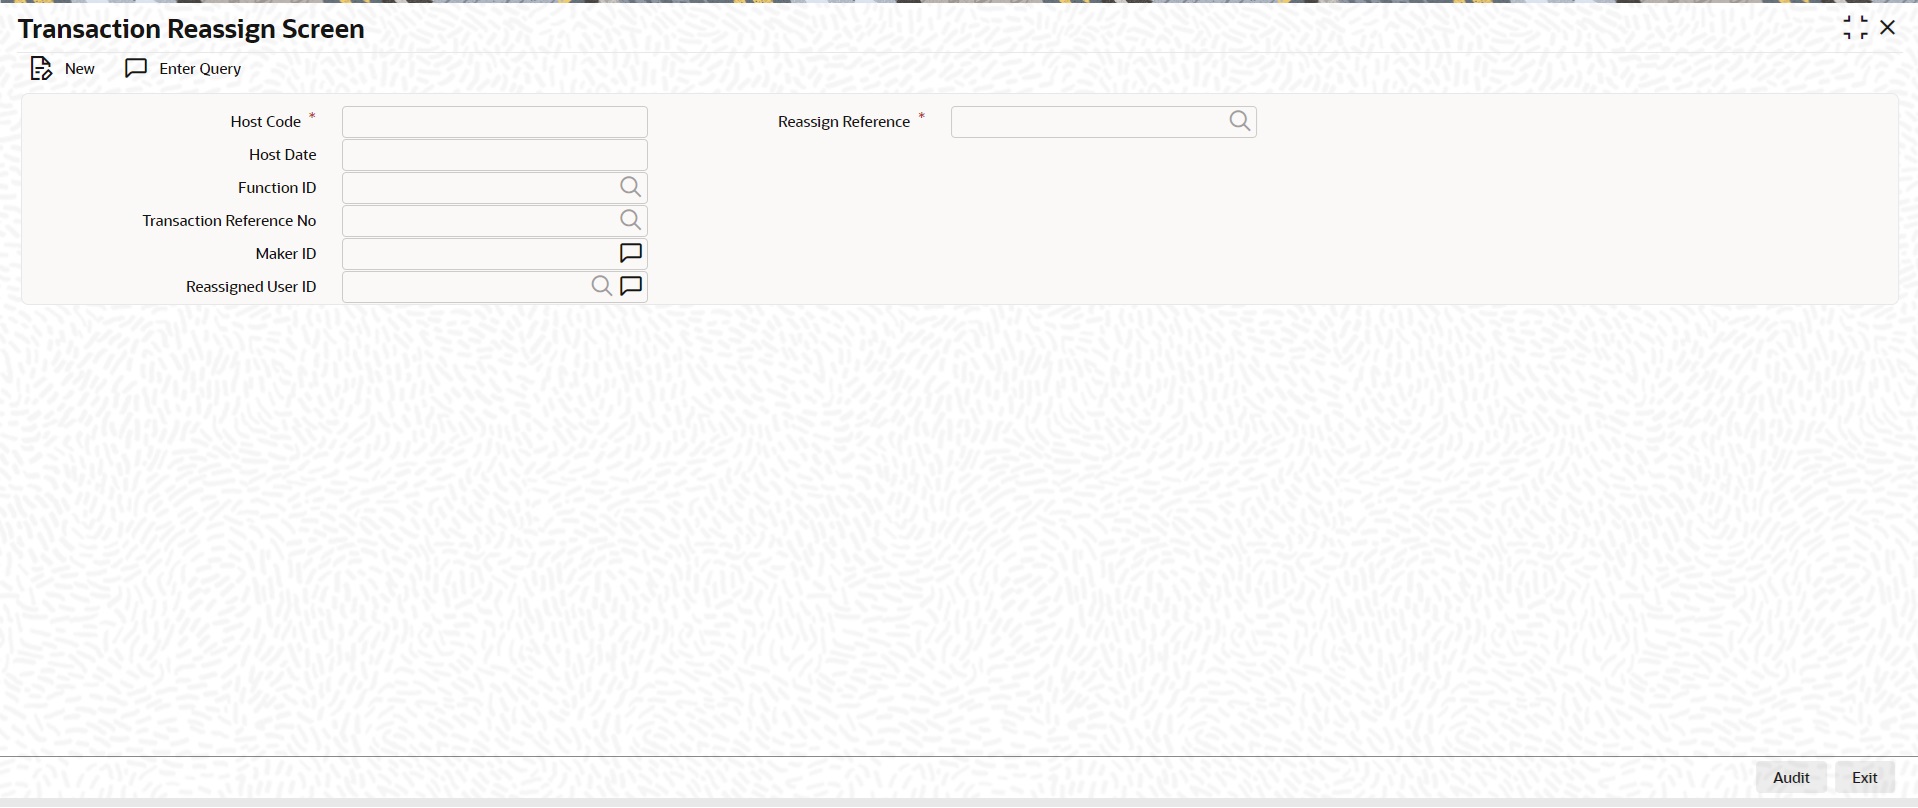
You can specify the following fields:
Host Code
System defaults the Host Code on clicking ‘New’.
Host Date
Host date is defaulted as current date, you can modify the same to a back date,
Function ID
Specify the Function ID from the list of values. All transaction function IDs for which unauthorized records are present are listed.
Transaction Reference No
Specify the Transaction Reference No from the list of values. Only outbound/inbound type of transactions are listed.
Maker ID
System defaults the Maker ID of the transaction.
Reassign User ID
Specify the Reassigned User ID from the list of values. All valid User IDs other than the Maker ID are listed.
Reassign Reference
System defaults the Reassigned Reference from the list of values.
3.7.2.1 Transaction Reassign Screen Summary
You can invoke the ‘Transaction Reassign Screen’ screen by typing ‘PMSRATXN’ in the field at the top right corner of the Application tool bar and clicking on the adjoining arrow button.
You can search using one or more of the following parameters:
l Authorization Status
l Record Status
l Maker ID
l Reassign Reference
l Reassigned User ID
l Transaction Reference No
Once you have specified the search parameters, click ‘Search’ button. The system displays the records that match the search criteria.
Note
Transaction reassign is a applicable to outbound /inbound transactions of the following payment types:
l Cross border / RTGS MT
l Generic wires
l Clearing
l Instrument Issue /Payment
l ACH CT /ACH DD
3.7.3 Unauthorized Entries View
You can invoke the ‘Unauthorized Entries View’ screen by typing ‘PMSUNAUT’ in the field at the top right corner of the Application tool bar and clicking on the adjoining arrow button.
You can search using one or more of the following parameters:
l Host Code
Once you have specified the search parameters, click ‘Search’ button. The system displays the records that match the search criteria.
You can perform following actions:
Reassign
Click this button to display the Reassign Details, refer Section 3.7.1, "Reassign Details" for more details..
The Single Payout Service screen allows payment request input for initiating a payment transaction. Single payout can be done by providing a specific payment network to which the payment needs to be forwarded or without providing the network details. If network is not provided for a payment, system has the capability to derive the same using the network rule maintained for the processing Host. The Single Payout Service screen is provided with major fields that are supported by ISO pain.001 message format. Single payout for the following payment types can be done using this screen:
l Book Transfers
l Cross Border Payments
l RTGS
l SEPA CT
l Generic ACH CT
l US Fedwire
l India NEFT
l India RTGS
l CNAPS
l SWIFT CBPRPlus
l TARGET2 ISO
The Single Payout Service Screen allows payment request input for single transaction. In this screen, you can accept single payout requests irrespective of the payment type.
You can invoke ‘Single Payout Service’ screen by typing ‘PMDPNSPS’ in the field at the top right corner of the Application tool bar and clicking on the adjoining arrow button.

You can specify the following fields:
Transaction Branch
This is defaulted as user's logged in branch.
Host Code
Indicates the host code of logged in branch.
Source Code
Specify the Source Code from the list of values.
Transaction Reference
16 digit transaction number is populated by system.
Network Code
Specify the Network Code. Alternatively, you can select the Network Code from the option list. The list displays all valid network codes maintained in the system.
This is an optional field. If the network is not provided, system will derive the same using the Network rule maintenance available.
Customer No
Specify the Customer Number. Alternatively, you can select the Customer Number from the option list. The list displays a list of customer numbers maintained in the system for the Host.
SSI Label
Select the required SSI label from the list of values.
Note
This list will be populated with valid SSI Labels, applicable for the customer and the Network. If Customer or Network details are not available, the fetch action of the list of values displays the information message to this effect. The list of values is queried based on the fields SSI Label, Beneficiary Bank ID, Beneficiary Account & Account IBAN.
File Reference Number
Specify the File Reference Number, if applicable.
Payment Info ID
Specify the Payment Info ID, if the payment request is part of a Batch.
Instruction ID
Specify the Instruction ID.
End to End ID
Specify the End to End ID.
Payment Type
Payment type is defaulted based on the network.
Transfer Type
Select the Transfer Type as given below:
l Customer Transfer
l Book Transfer
l Book Transfer Own A/c
l Indo Nepal Remittance
Prefunded Payments
Check this box to enable Prefunded Payments.
Credit to GL
Check this box to enable Credit to GL. This flag is applicable for Book Transfer transactions only for which 'Prefunded payments' flag is not checked.
Payments Details
Requested Execution Date
Specify the Execution Date.
Initiation Date
This date indicates the booking date of payment initiation. Initiation date is defaulted as current date.
Activation Date
Specify the Activation Date. System derives the activation date, if not provided.
Instructed Currency
Specify the Instructed Currency from the list of values. If transfer amount is provided in the request, you can enter transfer currency as Instructed currency and transfer amount as Instructed Amount.
Instructed Amount
Specify the Instructed Amount.
Equivalent Currency
Specify the Equivalent Currency from the list of values. If the debit amount is provided in the request, you have to provide Equivalent Currency, Equivalent Amount and Transfer currency.
Equivalent Amount
Specify the Equivalent Amount.
Currency of Transfer
Specify the Instructed Currency from the list of values.
Unit Currency
Specify the Unit Currency in which the Exchange rate is specified.
Exchange Rate
Specify the Exchange Rate.
Exchange Rate Type
Specify the Exchange Rate Type.
FX Reference Number
Specify the FX Reference Number.
Debit Entry on
Select the Debit entry posting date preference from below options:
l On Activation Date
l On Value Date
Credit Entry on
Select the Credit entry posting date preference from below options:
l On Activation Date
l On Value Date
Remarks
Specify the internal remarks, if any.
Change Bearer
Select the Charge Bearer. The options available are as follows:
l CRED
l DEBT
l SHAR
l SLEV
l SHA
l BEN
l OUR
Name
Specify the Name of the Debtor.
Address Type
Specify the Address Type. The options available are as follows:
l ADDR
l PBOX
l HOME
l BIZZ
l MLTO
l DLVY
You can specify the following address fields additionally:
l Department
l Sub Department
l Street Name
l Building Name
l Postal Code
l Town Name
l Country SubDivision
l Country
l Address Line1 to 4
Account IBAN
Based on the debtor account chosen, IBAN of the account is defaulted. This value is mandatory if IBAN validation is applicable for the network chosen.
Account Other ID
Specify the Account Other ID from the list of values.
Debtor Account Currency
Customer account currency is displayed based on the Debtor account number chosen.
Debtor Account Name
Debtor Name is displayed based on the Debtor account number chosen.
Identification Scheme Code
Specify the Identification Scheme Code from the list of values.
Identification Scheme Proprietary
Specify the Identification Scheme Proprietary.
Identification Issuer
Specify the Identification Issuer.
Account Type Code
Select the Account Type Code as follows:
l IBAN
l OTHR
Account Type Proprietary
Specify the Account Type Proprietary.
Charge Account Number
Specify the Charge Account Number from the list of values.
Charge Account Branch
Debtor account branch is displayed based on the Debtor account number chosen.
Charge Account Currency
Specify the Charge Account Currency.
Charge Account IBAN
Specify the Charge Account IBAN.
Creditor Details
You can specify Creditor Details fields, The Creditor Details fields are similar to the fields available in Section , "Debtor Details".
Creditor Account Details
You can specify Creditor Account Details fields, The Creditor Account Details fields are similar to the fields available in Section , "Debtor Account Details".
BICFI
Specify Creditor Agent BIC. Alternatively, you can select the BIC from the option list. The list displays all valid BIC codes maintained in the system.
Clearing system Code
Specify the Clearing system Code from the list of values.
Clearing System Proprietary
Specify the Clearing System Proprietary.
Member Identification
Specify the Member Identification. Alternatively, you can select the Member Identification from the option list. The list displays all valid bank codes maintained in the Local Bank directory system.
Creditor Agent Party ID
Specify the Creditor Agent Party ID.
Identification Scheme Code
Specify the Identification Scheme Code.
Identification Scheme Proprietary
Specify the Identification Scheme Proprietary.
Other Issuer
Specify the Other Issuer.
Intermediary Agent Details
You can specify Intermediary Agent Details fields, The Intermediary Agent Details fields are similar to the fields available in Section , "Creditor Agent Details".
Intermediary Agent Address Details
You can specify Intermediary Agent Address Details fields, The Intermediary Agent Address Details fields are similar to the fields available in Section , "Debtor Details".
Creditor Agent Address Details
You can specify Intermediary Agent Address Details fields, The Intermediary Agent Address Details fields are similar to the fields available in Section , "Debtor Details".
Transaction Status
Single Payout Transaction Status
This field is no-editable, you can view one of the applicable values:
l Exception
l Cancelled
l Processed
Single Payout Queue Code
This field is no-editable, you can view one of the applicable values:
l Network Resolution Queue
l Blank
External Status Code
Network Cancellation Sanction Check Status
This field is no-editable, you can view one of the applicable values:
l Not Applicable
l Pending
l Approved
l Interim
l Rejected
l Time Out
l Carry Forward
Network Cancellation Sanction Check Reference
You can view the Network Cancellation Sanction Check Reference.
3.8.1.1 Customer Details
To specify party details, click on Customer Details sub-screen.
Debtor Details
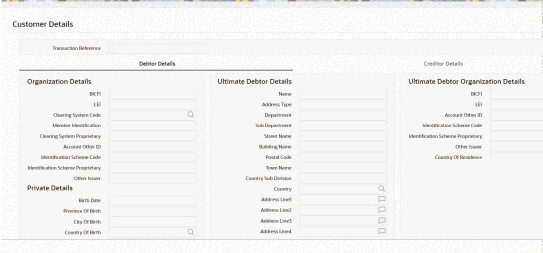
Specify the Debtor/Ultimate Debtor Details by entering the following details:
l Debtor Organization Details
l Debtor Private Details
l Ultimate Debtor Details
l Ultimate Debtor Organization Details
Creditor Details
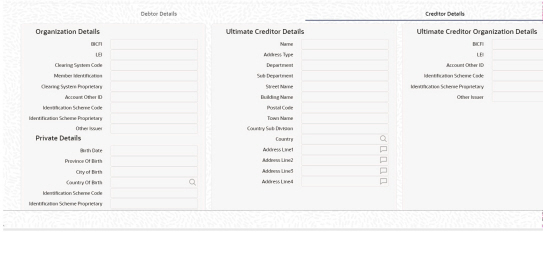
Specify the Creditor/Ultimate Details by entering the following details:
l Creditor Organization Details
l Creditor Private Details
l Ultimate Creditor Details
l Ultimate Creditor Organization Details
3.8.1.2 Routing Details
To specify routing details, click on Routing Details sub-screen.
Debtor Agent Details
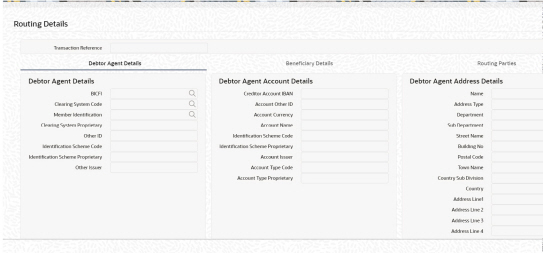
Specify the Creditor Details by entering the following details:
l Debtor Agent Details
l Debtor Agent Account Details
l Debtor Agent Address Details
Beneficiary Details
Beneficiary is meant for field 58 of beneficiary institution of cross border.

Specify the Creditor Details by entering the following details:
l Beneficiary Details
l Beneficiary Account Details
l Beneficiary Address Details
Routing Parties
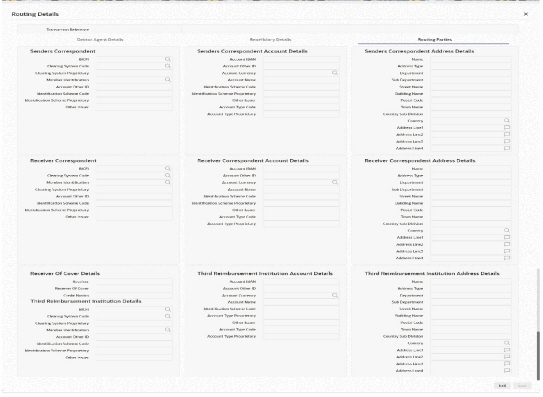
For Cross Border, you can specify following details:
l Senders Correspondent
l Senders Correspondent Account Details
l Senders Correspondent Address Details
l Receiver Correspondent
l Receiver Correspondent Account Details
l Receiver Correspondent Address Details
l Receiver of Cover Details
Also, you can specify the following details:
l Third Reimbursement Institution Account Details
l Third Reimbursement Institution Address Details
l Third Reimbursement Institution Details
3.8.1.3 Additional Information
To specify routing details, click on Additional Information sub-screen.

For Cross Border, you can specify the following details:
l Senders to Receiver Information
l 71F: Sender Charges
l 71G Receiver Charges
l Time Indicators
l Message Suppression Preferences
Also, you can specify the following details:
l Purpose Details
l Payment Details (Structured)
l Payment Details (Unstructured)
l Regulatory Reporting Details (Unstructured)
l Additional Payment Information
l Envelope Details
l Instruction Information Details
Note
If the user specifies the Sender charge & currency for Prefunded payments with Charge whom as BEN, then the same is considered as the Sender Charge and populated to PXDOVIEW - Additional details sub screen - Sender charges
F71F is populated based on the specified Sender Charges in SPS channel. If not provided, then sender charges will be picked from PMDSWPRF as per existing feature.
If 71F is specified in SPS Channel, then Pricing pick up based on PMDSWPRF gets skipped.
This received Sender pricing / charge amount will be the 71F charge amount. If multiple Sender charges are specified, then last Sender chg will be the 71F amount
In the Out 103 message, the 32A will be 33B - received last Sender charge amount
In accounting, the received last Sender charge amount will be deducted from Nostro account and credited to the Prefunded GL with amount tag as 71F_SNDR_CHG
If the received sender charge is in different currency than the transfer currency, then sender charge amount will be converted to transfer currency using STANDARD Mid rate.
3.8.1.4 UDF
Click the ‘UDF’ Section in the Transaction View screen to invoke this sub-screen.
Specify the following details.
Fields
Field Label
The system displays all fields that are part of the associated UDF group.
Field Value
The system displays the default value, where exists for the UDF fields. You can change the default value or specify value for other fields (where default value does not exist).
3.8.1.5 MIS Details
You can maintain the MIS information for the Transaction. If the MIS details are not entered for the Transaction the same is defaulted from the product maintenance. Click the ‘MIS’ link to invoke the ‘MIS’ sub-screen.
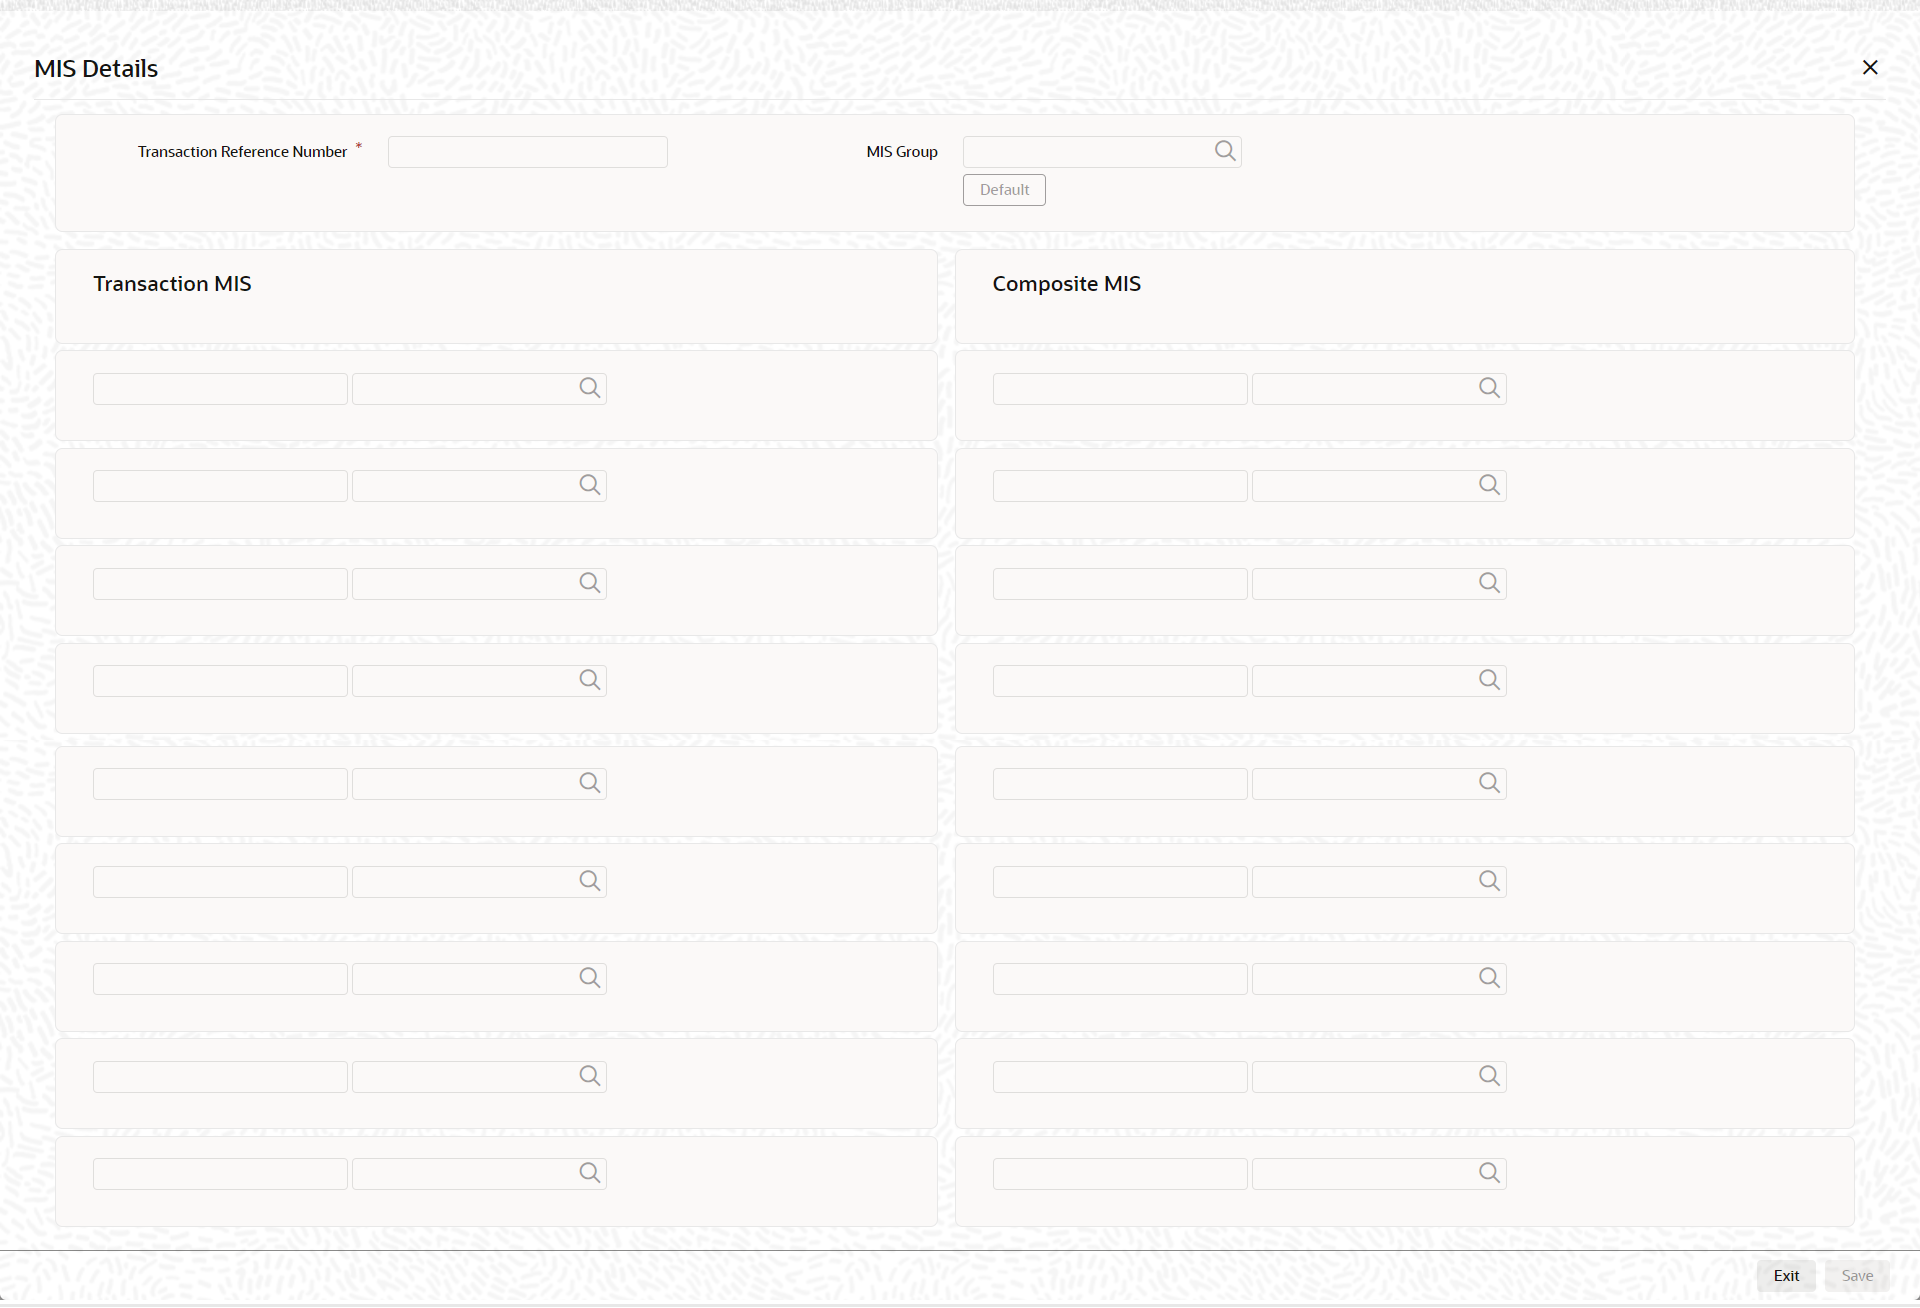
Specify the following details:
Transaction Reference
The system displays the transaction reference number of the transaction.
MIS Group
Specify the MIS group code. Alternatively, you can select the MIS group code from the option list. The list MIS group displays all valid MIS groups maintained in the system for different sources in the Source maintenance. By default, the MIS group linked to the ‘Manual’ source is populated while booking a transaction from this screen.
Default button
Click this button after selecting a MIS group different from the default MIS Group (which was populated) so that any default MIS values can be populated from to link to the Transaction MIS and Composite MIS classes.
Transaction MIS
The default MIS values for Transaction MIS classes are populated for the MIS group. You can change one or more default MIS values or specify more MIS values. Alternatively, you can select MIS values from the option list.
Composite MIS
The default MIS values for Composite MIS classes are populated for the MIS group. You can change one or more default MIS values or specify more MIS values. Alternatively, you can select MIS values from the option list.
3.8.1.6 Viewing Single Payout Service Summary
You can invoke the Single Payout Service Summary screen by typing ‘PMSPNSPS’ in the field at the top right corner of the Application toolbar and clicking on the adjoining arrow button.
You can search for the records using one or more of the following parameters:
l Transaction Branch
l Source Code
l Transfer Type
l SSI Label
l Instruction ID
l Transaction Reference
l Network Code
l Activation Date
l Authorization Status
l File Reference Number
l Payment Type
l Booking Date
l End to End ID
Once you have specified the search parameters, click ‘Search’ button. The system displays the records that match the search criteria.
REST and SOAP services are available for this screen.A subset of the fields, primarily the mandatory fields are supported as part of REST service format.
Note
If Transaction Branch and Host Code are not passed in the ReST service, then system should not process the request as both Host Code and Transaction Branch cannot be null.
3.8.2.1 External Pricing Support
l You can send pricing details, such as pricing component and pricing amount, under a single pricing code.
l The system executes the price calculation after network identification either with rule based pricing or standard pricing.
l If system resolved pricing matches with the pricing details received from the Single Payout service request, the Single Payout service request pricing gets updated.
l If system resolved pricing does not match with the pricing details (pricing code/pricing components) received from SPS request, the service request is rejected.
l For the below payments, support is available to send pricing details:
– Book Transfer
– Cross Border MT
– SWIFT CBPRPlus
– RTGS FIN
– TARGET2 ISO
– Generic ACH Credit
– EU SEPA Credit
– US Fedwire
3.8.2.2 External Audit Info Support
l SPS supports accepting Maker/Checker information.
l If both the Maker id/ Checker id tags are not given in the service request, the Maker / Checker id of the transaction is populated as ‘SYSTEM’.
l If the Maker id/ Checker id tags are given in the service request, the user id values are validated against the user id maintained in the system.
l If the values are valid, the system considers the same as the Maker/Checker ids of the transaction.
l If the values are not valid, the system checks the source level ‘Allow External Audit Info’ flag value:
– If the ‘Allow External Audit Info’ flag value is ‘Yes’, the Maker/Checker id received in the request is considered as the transaction Maker/Checker id.
– If the ‘Allow External Audit Info’ flag value is ‘No’, the SPS request is rejected.
l For the below payments, support is available for populating external audit information:
– India NEFT
– India RTGS
3.9 Advice Generation (MAIL/SWIFT)
Advice generation is a part of the transaction processing after the accounting step. This is applicable for all customer types.
l Customer Advice Preference (Function ID: PMDCSADV) is verified for the customer & message type. If maintenance is available, Media maintained for the customer account & Network is fetched. If no record is available for the account & Network, the default media maintained for the message type is used for generating advices.
l If the media derived is SWIFT, it is mandatory that customer ID is linked to the related BIC in ISDBICPB. Mt900/910 is generated in this case.
l If the media is derived as MAIL, the default Format ID is fetched from Default format maintenance. If Format ID is maintained for the Network and the source, that is considered. If source level maintenance is not available default format for the Network is considered. If Network level maintenance is not available, default Format ID for the media and message type is used.
l The Advice is generated in the format maintained for the Format ID and Language combination. Customer's language as maintained in External customer maintenance is considered for this.
The generated advice can be viewed from View Messages screen of the Transaction screens & view screens.
For the below payments, the Mail advices supported are:
l Book Transfer
l Outbound Cross Border
l Inbound Cross Border
l Outbound RTGS
l Inbound RTGS
l Outbound Generic ACH Credit
l Inbound Generic ACH Credit
l Outbound Generic ACH Debit
l Inbound Generic ACH Debit
l Outbound US Fedwire
l Inbound US Fedwire
l Outbound US NACHA Credit
l Inbound US NACHA Credit
l Outbound India NEFT
l Inbound India NEFT
l Outbound India RTGS
l Inbound India RTGS
l Outbound CNAPS Credit
l Inbound CNAPS Credit
l Instruments
For the below payments, the SWIFT advices supported are:
l Book Transfer
l Outbound Cross Border
l Inbound Cross Border
l Outbound RTGS
l Inbound RTGS
Tags should be made available so that the following details can appear in an Advice:
|
Advice Tag Name |
Debit/Credit Advice |
Payment type /Field mapping |
|---|---|---|
|
_CUSTOMER_ |
Debit Advice |
Debit Customer for Outbound Cross-border |
|
Credit Advice |
Credit Customer for Inbound Cross-border |
|
|
_CUSTOMERNAME_ |
Both |
Name of the customer fetched |
|
_ADDRESS1_ to _ADDRESS4_ |
Both |
Address lines 1 to for as in STDCIDCR |
|
_TRNREF_ |
Both |
Transaction Reference |
|
_USERREF _ |
Both |
User Reference |
|
_SOURCEREF_ |
Both |
Source Reference |
|
_RELATEDREF_ |
Both |
Cross border Outbound/Inbound - Related Reference |
|
_PAYERACCOUNT_
|
Debit Advice |
Cross-border Outbound |
|
Credit Advice |
Cross-border Inbound -Originator Account (Field 50 Account line) |
|
|
_PAYERACCOUNTCCY_ |
Debit Advice |
Account currency of payer account |
|
_PAYERNAME_
|
Debit Advice |
Cross-border Outbound |
|
Credit Advice |
Cross-border Inbound -Originator Name (Field 50 Address line 1) |
|
|
_PAYEEACCOUNT_
|
Credit Advice |
Cross-border Inbound -Customer Credit Account |
|
_PAYEEACCOUNTCCY_ |
Credit Advice |
Currency of Payee Account fetched |
|
_PAYEENAME_
|
Credit Advice |
Cross-border Inbound -Customer Credit Account Description |
|
_TRANSFERAMOUNT_ |
Both |
Cross-border -Transfer Amount |
|
_TRANSFERCCY_ |
Both |
Cross-border -Transfer Currency |
|
_DEBITAMOUNT_ |
Debit Advice |
Cross-border Outbound |
|
_CREDITAMOUNT_ |
Credit Advice |
Cross-border inbound |
|
_VALUEDATE_ |
Both |
Instruction Date |
|
_BOOKDATE_ |
Both |
Booking Date |
|
_ACTIVATIONDATE_ |
Both |
Activation Date |
|
_NETWORKNAME_ |
Both |
Network |
|
_SOURCECODE_ |
Both |
Source Code |
|
_PRICECOMPNAME_ |
Both |
Price Component Description. (Provision to loop for all price components linked) |
|
_PRICECOMPCCY_ |
Both |
Price Component Currency |
|
_PRICECOMPAMT_ |
Both |
Price Component Amount |
|
_PRICEDEBITCCY_ |
Both |
Same as CHARGEACCOUNTCCY |
|
_PRICEDEBITAMT_ |
Both |
Price Component debit amount |
|
_CHARGEACC_ |
Both |
Price Component debit account |
|
_CHARGEACCOUNTCCY_ |
Both |
Charge account currency |
|
_REMITTANCEINFO_ |
Both |
Cross-border -Remittance information |
|
_FXRATE_ |
Both |
Exchange Rate |
|
_FXREF_ |
Both |
FX Reference |
|
_BATCHID_ |
Debit Advice |
Batch ID if received in bulk file |
|
_FILEREF_ |
Debit Advice |
File Reference if received in bulk file |
|
_UDFVAL1_ to UDFVAL10_ |
Both |
UDF values |
|
_BANKNAME_ |
Both |
Bank Name from STDCRBNK |
|
_BRANCHNAME_ |
Both |
Branch Name from STDCRBRN |
|
_PURPOSE_ |
Both |
Purpose code /proprietary |
|
_CATEGORYPURPOSE_ |
Both |
Category purpose code or proprietary |
|
_DEBTORAGENTNAME_ |
Credit Advice |
Debtor Agent Name |
|
_CREDITORAGENTNAME_ |
Debit Advice |
Creditor Agent Name |
|
_PAYMENTDETAILS1_ |
Both |
Payment Details line 1 |
|
_PAYMENTDETAILS2_ |
Both |
Payment Details line 2 |
|
_PAYMENTDETAILS3_ |
Both |
Payment Details line 3 |
|
_PAYMENTDETAILS4_ |
Both |
Payment Details line 4 |
|
_ORDERINGCUSTOMER1_ |
Credit Advice |
Ordering Customer Line1–Party Identifier |
|
_ORDERINGCUSTOMER2_ |
Credit Advice |
Ordering Customer Line 2 - BIC / Name and Address 1 |
|
_ORDERINGCUSTOMER3_ |
Credit Advice |
Ordering Customer Line3 –Address Line 2 |
|
_ORDERINGCUSTOMER4_ |
Credit Advice |
Ordering Customer Line3 –Address Line 3 |
|
_ORDERINGCUSTOMER5_ |
Credit Advice |
Ordering Customer Line3 –Address Line 4 |
|
_ORDERINGINSTACC_ |
Credit Advice |
Ordering Institution Line 1 - Party Identifier |
|
_ORDERINGINSTITUTION2_ |
Credit Advice |
Ordering Institution Line 2 - BIC / Name and Address 1 |
|
_ORDERINGINSTITUTION3_ |
Credit Advice |
Ordering Institution Line 3 - Address Line 2 |
|
_ORDERINGINSTITUTION4_ |
Credit Advice |
Ordering Institution Line 3 - Address Line 3 |
|
_ORDERINGINSTITUTION5_ |
Credit Advice |
Ordering Institution Line 3 - Address Line 4 |
|
_ORDERINGINSTBICNAME_ |
Credit Advice |
If Ordering Institution Line 2 is a BIC ,Bank name from ISDBICDE |
|
_AWIACCOUNT_ |
Debit Advice |
Account With Institution Line 1- Account |
|
_AWIID_ |
Debit Advice |
Account With Institution Line 1 -Party Identifier |
|
_AWIBIC_ |
Debit Advice |
Account With Institution Line 2 - BIC / Name and Address 1 |
|
_AWINAME_ |
Debit Advice |
Bank Name as available from ISDBICDE |
|
_AWIADDRESS1_ |
Debit Advice |
Account With Institution Line 3 -Address Line2 |
|
_AWIADDRESS2_ |
Debit Advice |
Account With Institution Line 3 -Address Line 3 |
|
_AWIADDRESS3_ |
Debit Advice |
Account With Institution Line 3 -Address Line 4 |
|
_BENEFICIARY1_ |
Debit Advice |
Beneficiary Line1 - Party Identifier |
|
_BENEFICIARY2_ |
Debit Advice |
Beneficiary Line1 - BIC / Name and Address 1 |
|
_BENEFICIARY3_ |
Debit Advice |
Beneficiary Line1 - Address Line2 |
|
_BENEFICIARY4_ |
Debit Advice |
Beneficiary Line1 - Address Line 3 |
|
_BENEFICIARY5_ |
Debit Advice |
Beneficiary Line1 - Address Line 4 |
|
_REMITTANCEINFOUSTRD1_ |
Both |
Unstructured Remittance Information - Fedwire Tag {6000} : Originator to Beneficiary Information Line 1 |
|
_REMITTANCEINFOUSTRD2_ |
Both |
Unstructured Remittance Information - Fedwire Tag {6000} : Originator to Beneficiary Information Line 2 |
|
_REMITTANCEINFOUSTRD3_ |
Both |
Unstructured Remittance Information - Fedwire Tag {6000} : Originator to Beneficiary Information Line 3 |
|
_REMITTANCEINFOUSTRD4_ |
Both |
Unstructured Remittance Information - Fedwire Tag {6000} : Originator to Beneficiary Information Line 4 |
The following tags are only allowed to be repeated:
l _PRICECOMPNAME_
l _PRICECOMPCCY_
l _PRICECOMPAMT_
l _PRICEDEBITCCY_
l _PRICEDEBITAMT_
3.9.1.1 Additional Advice tags supported for Instruments:
|
Advice Tag Name |
Debit/Credit Advice |
Payment type /Field mapping |
|---|---|---|
|
_INSTRUMENTCODE_ |
Debit/Credit Advice |
Instrument Code |
|
_INSTRUMENTNUMBR_ |
Debit/Credit Advice |
Instrument Number |
|
_INSTRUMENTDATE_ |
Debit/Credit Advice |
Instrument Date |
|
_INSTRUMENTCCY_ |
Debit/Credit Advice |
Instrument Currency |
|
_PAYABLEBRANCH_ |
Debit Advice |
Payable Branch Name |
3.10 Source Based Error Handling
You can maintain Referral type as 'Internal' for ECA system maintenance. With this maintenance in a FCUBS co deployed environment, you can control the resultant operation on receiving ECA response for Overridable error messages. This is done based on the Source /Network Error Handling preferences maintained.
If the referral type maintained as 'Internal' then ECA request is sent to FCUBS with Referral Type as 'EE'.
In case of Overridable errors, based on the maintenances available in FCUBS, the ECA response is received with TXNSTAT as X (Pending with PP) from FCUBS.
In this case, the system checks Network based Error code handling (Function ID:PMDNWERR) and System based error code handling (Function ID:PMDSRERR) in the same priority order to decide the exception handling for the External Override Error code received.
If any one of the error code is to be treated as error, then ECA reversal request is sent. ECA status is marked as 'Cancelled' and the transaction is auto cancelled.
If none of the error code is to be treated as Error, then system checks whether any of the error code to be treated as 'Move to Queue'. If yes, the transaction is moved to ECA Queue. System Action for the record is updated as 'Retain In Queue'.
If none of the Override Error code is to be treated as Error or Move to queue, then STP processing is continued.
If no maintenance is available for any of the error codes, the transaction is moved to ECA queue.
You can manually remove the data cached during processing.
You can invoke the 'Cache Evict' screen by typing 'PMDCACHE' in the field at the top right corner of the application toolbar and clicking the adjoining arrow button. Click new button on the Application toolbar.

You can specify the following:
Cache Evict
Click on Cache Evict button to remove the cached data.