Creating a Contract
To create a contract in User Mode:
- In the Tabs bar, select the + icon to the right of the Company Workspace tab.
The All Locations form is displayed.
- From the All Locations form, select the Location icon.
A list of all locations you have access to is displayed.
- Select the project for which you want to create a contract and select Select.
- After you choose a project, select NEC4 Contract Administration, and then select NEC4 Contract Request from the left Navigator.
- Select Create.
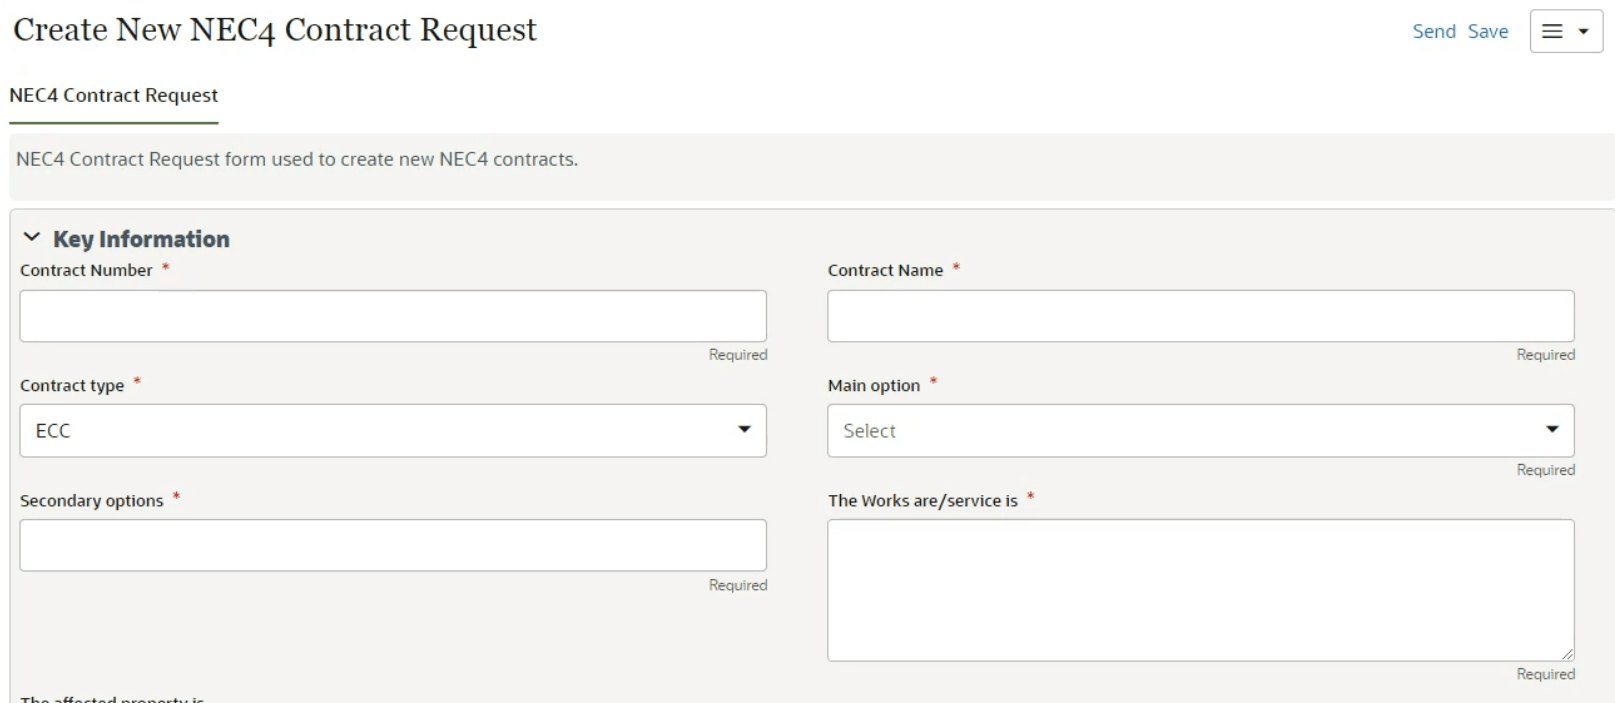
- A New NEC4 Contract form is displayed.
- There are pre-configured shell templates for each available contract type. Each template includes all the appropriate workflows and permission groups for that contract.
- Complete all the required fields.
- When completing the party's information, you will select the client, project/service manager, supervisor, and contractor/consultant from a list of vendors you previously created.
- After you select your vendor, your list of Key Persons filters to show only team members for that supplier.
- Select Send to submit the form for approval.
- The Workflow Action Details list the users who will receive the contract request for approval.
- The status of the contract changes to Pending and the application creates a task for the listed users to review the contract.
- To approve a contract, the user will select the contract request from their task list and select Accept.
- After accepting the contract, the user can send the contract on to the final step by selecting Send.
- When you receive the contract, select Approved from the workflow actions. This will approve the contract and create the new contract shell.

Last Published Monday, January 6, 2025