User Picker and Group Picker
Most pickers operate in the same way. However, the User/Group Picker has several features that other pickers do not.
Note If a User Administration design has been imported, the content of the User/Group picker (in User view) can vary. The Find window and sort order can also vary depending on the optional design created.
The list of users and groups in your company may be exceptionally long. To make reading the picker list easier, you can filter the names on the list by project/shell and by user or group, or both. To filter the user/group list:
- To filter the list by project/shell, use the List Names From field and choose the name of the project/shell. (This filter option is generally available only to administrators; for example, when an administrator is adding project/shell members.)
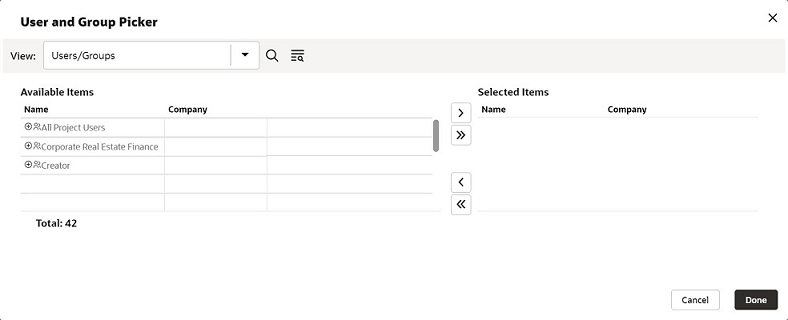
- To filter the list by user or group, use the Show By field to display users, groups, or both users and groups on the list.
To select a user or group:
- To select a user or group for an action, select the name. To select multiple names, hold down the Ctrl key while you select the names.
- To add the names for the action, select Add. The names are displayed at the bottom of the window.
- Select OK.
To remove a user or group:
If you change your mind, you can remove a name from the action as follows:
- At the bottom of the window, select the user or group you want to remove. To select multiple names, hold down the Ctrl key while you select the names.
- Select Remove. The names are removed from the bottom of the window.
- Select OK.
To view a user's profile:
Select the name, and select View Profile. The View User Profile window is displayed, showing work information for the user, including their Title, E-Mail, Phone Number, and Company Address. Use the drop-down list to view the user's information for either the company or shell level.
To see a list of group members:
Select the name of the group, and select Members. The Member List window is displayed. To remove a user from the list, deselect the checkbox beside their name.
Last Published Friday, May 1, 2026