Setting Up the Label Change Utility
To set up the Label Change Utility, use the Label Change Template (RV_TEMPLATE), Label Change Template Mapping (RB_TMPL_APP_MAP), and Label Change Page Fields (RV_APP_COMP_FLD) components.
This section discusses how to define templates and clone templates.
|
Page Name |
Definition Name |
Usage |
|---|---|---|
|
RV_TEMPLATE |
Define templates for industries or applications that use the utility. The system uses templates to identify setup data. |
|
|
RV_TMPL_SAVEAS |
Clone label change templates. |
|
|
RV_TMPL_APP_MAP |
Map templates to setIDs. Each setID can be mapped to only one label change utility template. |
|
|
RV_APP_COMP_PG_FLD |
Configure field properties, such as define fields that need a label change or hide fields. |
|
|
RV_APP_CMP_PG_PROP |
Configure page properties, such as hide pages of the selected component or change page information to display-only. |
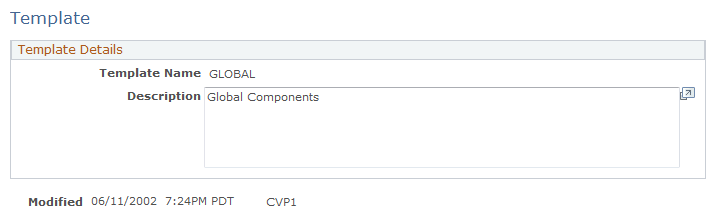
Use the Label Change Template - Template page (RV_TEMPLATE) to define templates for industries or applications that use the utility.
The system uses templates to identify setup data.
Navigation
Image: Label Change Template - Template page
This example illustrates the fields and controls on the Label Change Template - Template page.
|
Field or Control |
Definition |
|---|---|
| Template Name |
Displays the name entered when you added the template. For easy identification, use the name of the industry or applications for which the template is created as the template name, such as HRHD360 or CORE360. |
Use the Template Save As page (RV_TMPL_SAVEAS) to clone label change templates.
Navigation
Image: Template Save As page
This example illustrates the fields and controls on the Template Save As page.
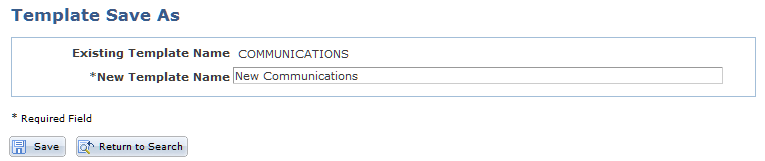
Select an existing label change template that is used to clone the new template.
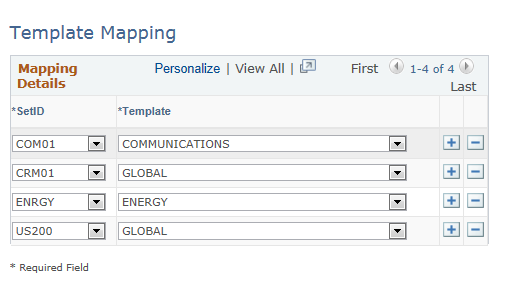
Use the Template Mapping page (RV_TMPL_APP_MAP) to map templates to setIDs.
Each setID can be mapped to only one label change utility template.
Navigation
Image: Template Mapping page
This example illustrates the fields and controls on the Template Mapping page.
|
Field or Control |
Definition |
|---|---|
| SetID and Template |
Select a setID and match it with a template name. The Template Name drop-down list box contains all templates created in the system using the Template page. Note: You can map a setID to only one template; however, you can map multiple setIDs to the same template. |
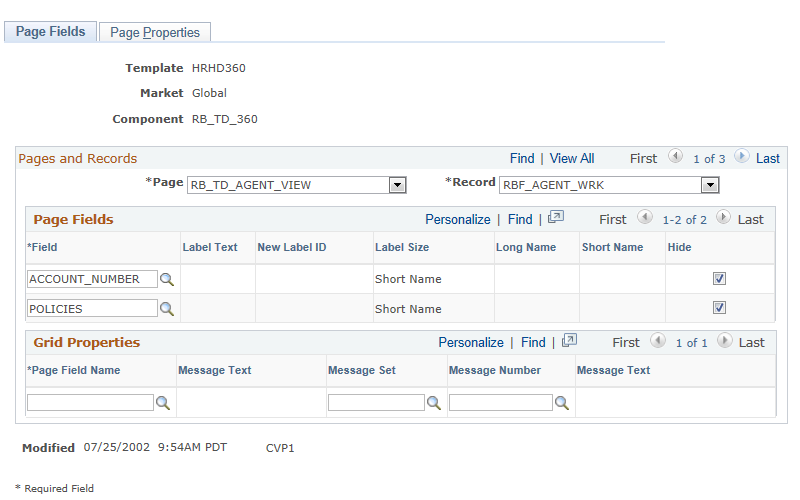
Use the Page Fields page (RV_APP_COMP_PG_FLD) to configure field properties, such as define fields that need a label change or hide fields.
Navigation
Image: Page Fields page
This example illustrates the fields and controls on the Page Fields page.
|
Field or Control |
Definition |
|---|---|
| Page and Record |
Select the page name and record of the page on which you want to hide fields or change field labels. Values in the Page field dictate the values available in the Record field and are specific to the component listed at the header level. |
Page Fields
Use this section, configure the system to hide fields or change field labels that are associated with the selected page or page record.
|
Field or Control |
Definition |
|---|---|
| Field and Label Text |
Select the name of the field you want to modify; the current label of the selected field appears in the adjacent field. |
| New Label ID |
Select a new label for the selected field, if applicable. The system lists existing labels that are associated with this field; you cannot create new field labels. After selecting a new label ID, the system displays the long and short name of the label. The Hide check box becomes unavailable for entry. |
| Label Size |
Select whether to use the long or short name of the new label. |
| Hide |
Select to hide the associated field from the page. Do not select a new label for fields that you want to hide because when you do, the Hide check box becomes unavailable for entry. To enter a new label for the field, clear the check box. For the system to adjust page layout accordingly after fields are hidden from the page, you must enable the adjust layout property in PeopleSoft Application Designer. With the page opened in PeopleSoft Application Designer, right-click it and select Page Properties from the menu. On the Use page, select the Adjust Layout for Hidden Fields check box and save the change. The page layout updates and fields adjust horizontally after you hide fields from the page. Note: The label change utility cannot be used to hide required fields unless a default value has been defined for these fields in their record definitions. |
To change labels for fields inside grids, you must first change the page (where the grid resides) using PeopleSoft Application Designer. To do so:
Open the page in PeopleSoft Application Designer.
Right-click on the field (which appears as a grid column heading) whose label you want to change.
Select Page Field Properties from the menu.
On the General page, enter the field name in the Page Field Name field (available on the Record page).
Save the change.
You can now change field labels, regardless of whether they are inside or outside of a grid.
Grid Properties
Use this section to change the grid label available on the selected page.
|
Field or Control |
Definition |
|---|---|
| Page Field Name and Message Text |
Select the name of the field that is associated with the grid; the current grid label appears in the adjacent field. If the selected page does not have a grid, the system returns no search results. |
| Message Set |
Select the message set (message catalog) from which the new grid name is selected. The system displays the message set number in the field. |
| Message Number |
Select the number of the text to be used as the new grid name. The system displays the text associated with the selected message number to the right of this field. |
We discuss this procedure in the documentation for creating page definitions.
See PeopleTools: PeopleSoft Application Designer Developer's Guide
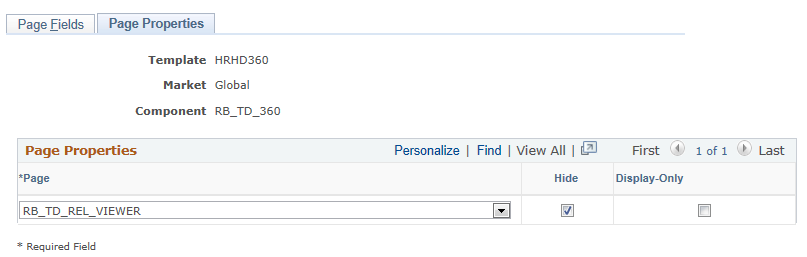
Use the Page Properties page (RV_APP_CMP_PG_PROP) to configure page properties, such as hide pages of the selected component or change page information to display-only.
Navigation
Image: Page Properties page
This example illustrates the fields and controls on the Page Properties page.
|
Field or Control |
Definition |
|---|---|
| Page |
Select the page that you want to hide. |
| Hide |
Select to make the associated page invisible. For example, you can hide a page in a component that is used in a PeopleSoft CRM vertical application because this page is irrelevant to the application. |
| Display-Only |
Select to change the mode of the associated page to display-only, which means you cannot edit information on the page. |