Configuring actions for attribute values
For many components, you can allow users to click displayed values in order to refine data, display record details, or navigate to a specified page or external URL.
When configuring a displayed value, there is an Actions section to configure the action.
To configure actions for an attribute in a component:
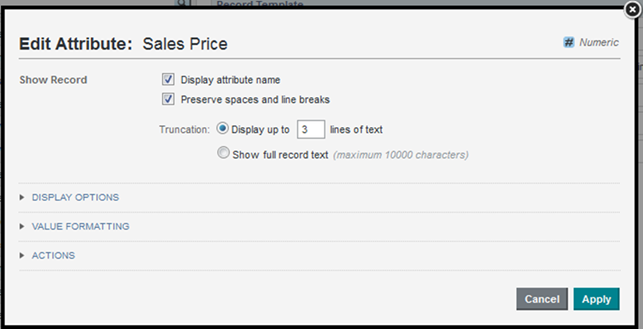
- Open the Edit Attribute dialog for the attribute you wish to configure:

- Expand the Actions section.
- If more than one action is available, select the action from the list.
The available actions are:
Action Name Description No Action Indicates that the value is not hyperlinked. For attributes that do not support refinement, this is the default option.
Show Details When users click the value, the Record Details dialog displays already populated with the details for that record or row. Refinement When users click the value, the data is refined to only include records with that value. If the displayed attribute supports refinement, then this action is selected by default.
Hyperlink When users click the value, they navigate to the specified URL. A hyperlink can be to another page in the same project, or to an external URL.
Hyperlinks to external URLs can include attribute values as parameters.
- To configure a Show Details action:
- Set title of the Record Details dialog in the Window Name field.
- To configure a Refinement action:
- Set the Target Page to the desired destination page for the attribute value link.
Values include:
- Current page - Stays on the current page.
- Other page - Navigates to the specified page.
For details on providing a target page for refinement, see Selecting the target page for a refinement or hyperlink.
- Set the Target Page to the desired destination page for the attribute value link.
- To configure a Hyperlink action:
- Optionally, display a description tooltip for the action by selecting the Display action description in tooltip check box.
- If you have enabled an action tooltip, enter text in the Action Description field.
- To create a new browser window for the destination page, select the Open link in a new window check box.
- Enter the hyperlink destination in the URL field.
You can link to:
- A different page in the same project. For details on providing a target page for a hyperlink, see Selecting the target page for a refinement or hyperlink.
- An external URL. Ensure the URL is correctly formed and that you have properly encoded any special characters.
You must provide the full URL, starting with the protocol (HTTP, HTTPS, FTP, etc.)
A hyperlink to an external URL can include attribute values.
The values may be query parameters:
http://www.acme.com/index.htm?p1="Red"&p2="1995"
Values may also be part of the URL path:
http://www.acme.com/wines/1995/
To add attribute values to an external URL:
- Click + Add URL Parameters.
- On the add parameters dialog, in the attribute list, select the check box next to each attribute to add.
- When you are finished selecting attributes, click Apply.
The selected attributes are displayed in a table, with each attribute assigned an ID to use when inserting the attribute into the URL.
The attributes are also inserted as query parameters, where the parameter name is the attribute key, and the parameter value is
{IDNumber}, whereIDNumberis the ID for that attribute. For example:http://www.acme.com/index.htm?Region={0}&WineType={1}By default, the value is encoded. To not encode the value, change the format to
{{IDNumber}}. For example:{{0}}You can also use the ID numbers to insert the attribute values manually.
For details on component hyperlinks and encoding inserted attribute values, see Configuring hyperlinks to external URLs.
- To remove a URL parameter from the table, click its delete icon.
If you did not edit the inserted query parameter, then Big Data Discovery also removes it from the URL.
If you did edit the inserted query parameter, then you must remove the parameter from the URL manually.
If you inserted the attribute value manually, then you also must remove it manually.
- Click Apply.