Managing saved snapshots

From the Snapshots list for a project, you can edit, email, save, and delete snapshots. You can also use the snapshot as a bookmark to display the project page in the state reflected by the snapshot.

Note that in order to be able to send snapshots by email, the outbound email server for Studio must be configured. For information about how to configure the outbound email server, see the Administrator's Guide.

To manage the snapshots in the Snapshots list:
  1. To display details for a snapshot, click the snapshot.

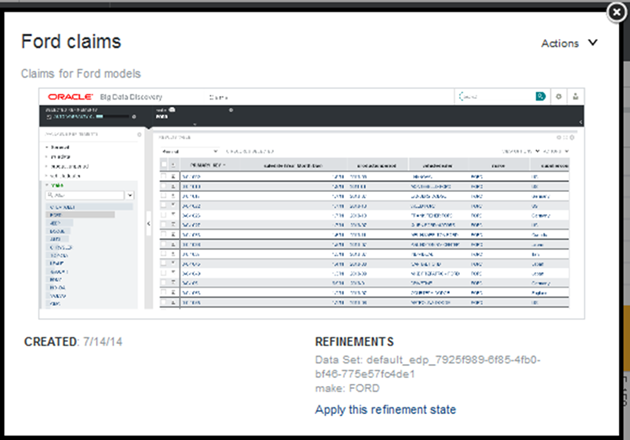
    The snapshot details include the name, description, creation date, source of the data, and the refinements that were in place when you created the snapshot.


    Snapshot details panel for a selected snapshot

    The Actions menu contains options to edit, email, save, and delete the snapshot. You can also navigate to the refinement state represented by the snapshot.

  2. To edit a snapshot:
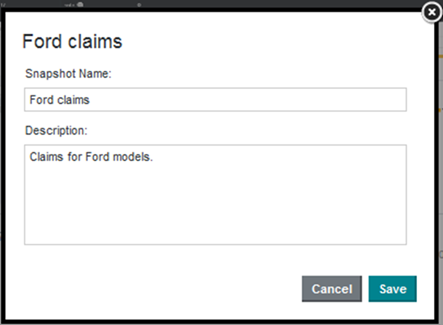
    1. From the snapshot Actions menu, select Edit.
    2. On the edit dialog, you can edit the name and description of the snapshot.
      Edit dialog for a snapshot
    3. To save the changes, click Save.
  3. To email a snapshot:
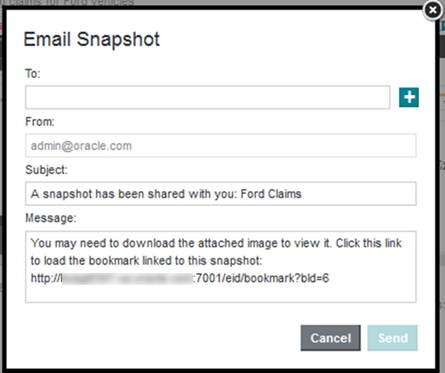
    1. From the snapshot Actions menu, select Email.

      The Email Snapshot dialog displays.


      Initial view of the Email Snapshot dialog
    2. In the To field, type the email address of the recipient.

      If you are sending the snapshot to multiple recipients, then for each additional recipient, click the + icon to add a field for the email address.

    3. The From field shows your email address as the "Reply to:" address on the email message.

      Note that this is not the From address. The From address on the email is the address associated with the outbound email server.

      For information on configuring the outbound email server, see the Administrator's Guide.

    4. In the Subject field, edit the subject line of the email.
    5. In the Message field, edit the text for the email message.
    6. To send the snapshot, click Send.
  4. To save a snapshot to a file, from the Actions menu, click Save to Disk.

    Depending on your browser, you are prompted to open or save the image.

  5. To display the project page using the refinement state associated with the snapshot, on the snapshot details, click Apply this refinement state.
  6. To delete a snapshot, from the snapshot Actions menu, select Delete.

    You are prompted to confirm that you want to delete the snapshot from the list. If they snapshot is part of a gallery, it is still stored there.