Creating account fields
There are a number of standard account fields in Eloqua, such as account type, billing address, and business phone, but you can create and define custom fields that you require to track accounts.
To create a new account field:
- Click Settings
 .
. - Click Fields & Views in the Database Setup area.
- Create the account field:
- In the classic UI, on the Fields tab, click Add
 . Then select Add Account Field.
 - In the Redwood experience, on the Fields tab, in the left panel, the actions menu
 and then click Add Account Field.
Classic UI

Redwood experience
- In the classic UI, on the Fields tab, click Add
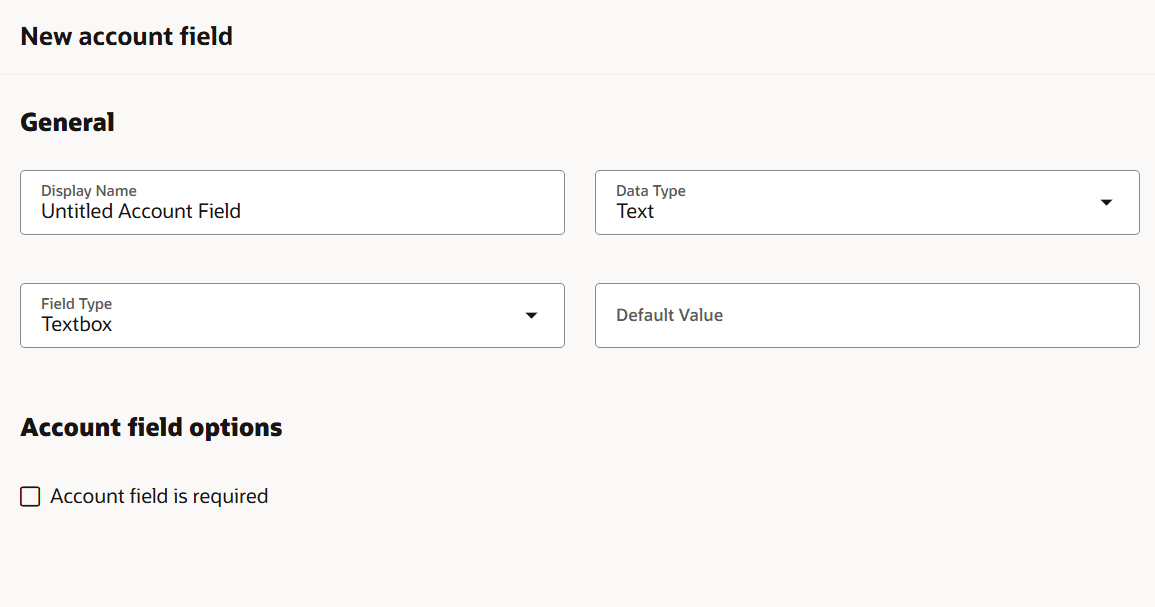
- Configure the field:
- Display Name: This name will be used throughout Oracle Eloqua when referencing the field.
- Data Type: Select a data type for your field from date, large text, numeric, or text. Based on your selection, the field type options will populate. If you want to use a picklist with the field, then use the text data type. If you want the field to be a checkbox, you can use text, numeric, or date data types.
- Field Type: Select the field type. The options vary depending on the data type selected above.
- Field Type: Select the field type. The options vary depending on the data type selected above. The field type will be use to determine how the field is displayed to users.
- Output Format Type: For date and numeric data types, then choose an option for how you want the field value to be displayed to users. The available formats are provided by Eloqua or those setup by your administrator. Learn more about the formats.
- Picklist values: For picklist based field types, choose the picklist.
- Value for checked and Value for unchecked: For checkbox field types, provide the values when the checkbox is selected or not.
- Default State: If you have selected a checkbox field type, specify whether the field is checked or unchecked by default.
- Account Field is required: Select to make this account field a mandatory field.
- Save your changes.