Uploading contacts
Important: You will receive a validation error when attempting to update to a contact with non-breaking spaces in their email address. When notified of the error, please update the email address as it is invalid and contacts with these email addresses will not be able to be re-saved, included in data imports or have forms and emails submitted to them.
You can use an upload file to make the following types of updates to your contact database:
- Add or update contacts
- Change email addresses
- Unsubscribe contacts from lists
- Identify contacts with hard bouncebacks
- Delete contacts
- Change SMS opt in/out
Important: This feature is only available if your organization has purchased SMS services. Please contact your account manager for additional information and pricing.
Tip: To schedule an import or to import from a file stored on an SSH File Transfer Protocol (SFTP) server, you can use the data import tool.
Learn more by watching the video
Learn more by watching the video
Before you begin:
- Create your upload file (.txt, .csv, .xls, .xlsx). The upload file should only contain the contacts that you want to update or delete. For example, if you are uploading a list of bouncebacks, don't include contacts that are not bouncebacks.
- Separate contact fields in a .csv or .txt file using a comma (,), pipe (|), tab, or semi-colon (;).
- Any field may be quoted (with double quotes).
- Fields containing a line-break, double-quote or the selected delimiter must be quoted.
- If double-quotes are used to enclose fields, then a double-quote in a field must be represented by two double-quote characters.
- The first row of the file must be column headings. Oracle Eloqua will attempt to map the headings to existing contact fields.
- If you are adding or updating contacts, make sure that you can map the data in your upload file to contact fields in Oracle Eloqua. Use similar naming conventions in your upload file to make this mapping easier.
- Make sure that contacts in your upload file have a unique identifier (such as an email address).
- The SMS Opt In/Out update requires the following columns be in the upload file:
Column No Column Name Values 1
Phone Number
Should be in International or e.164 format
2
Preference
Should have either of these values only:
- Opt-In
- Opt-Out
To upload multiple contacts using the contact upload wizard:
- Navigate to Audience
 , then click Contacts.
- Choose the upload action:
- In the classic UI, click Upload.
- In the Redwood experience, click Upload Contacts.
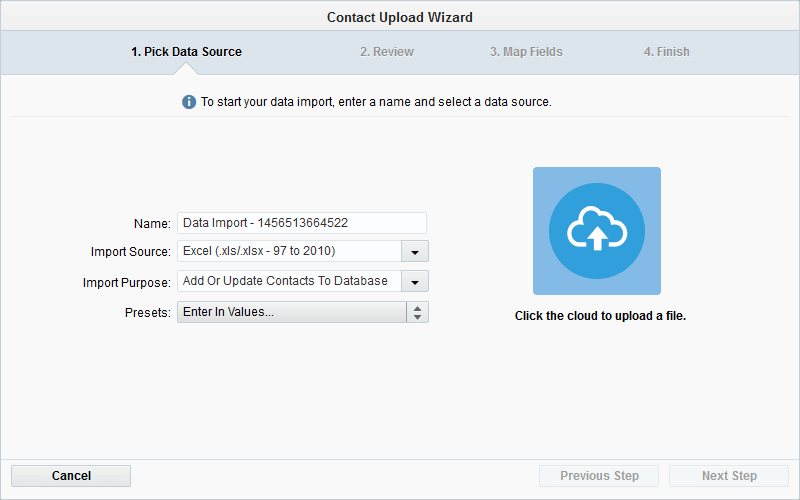
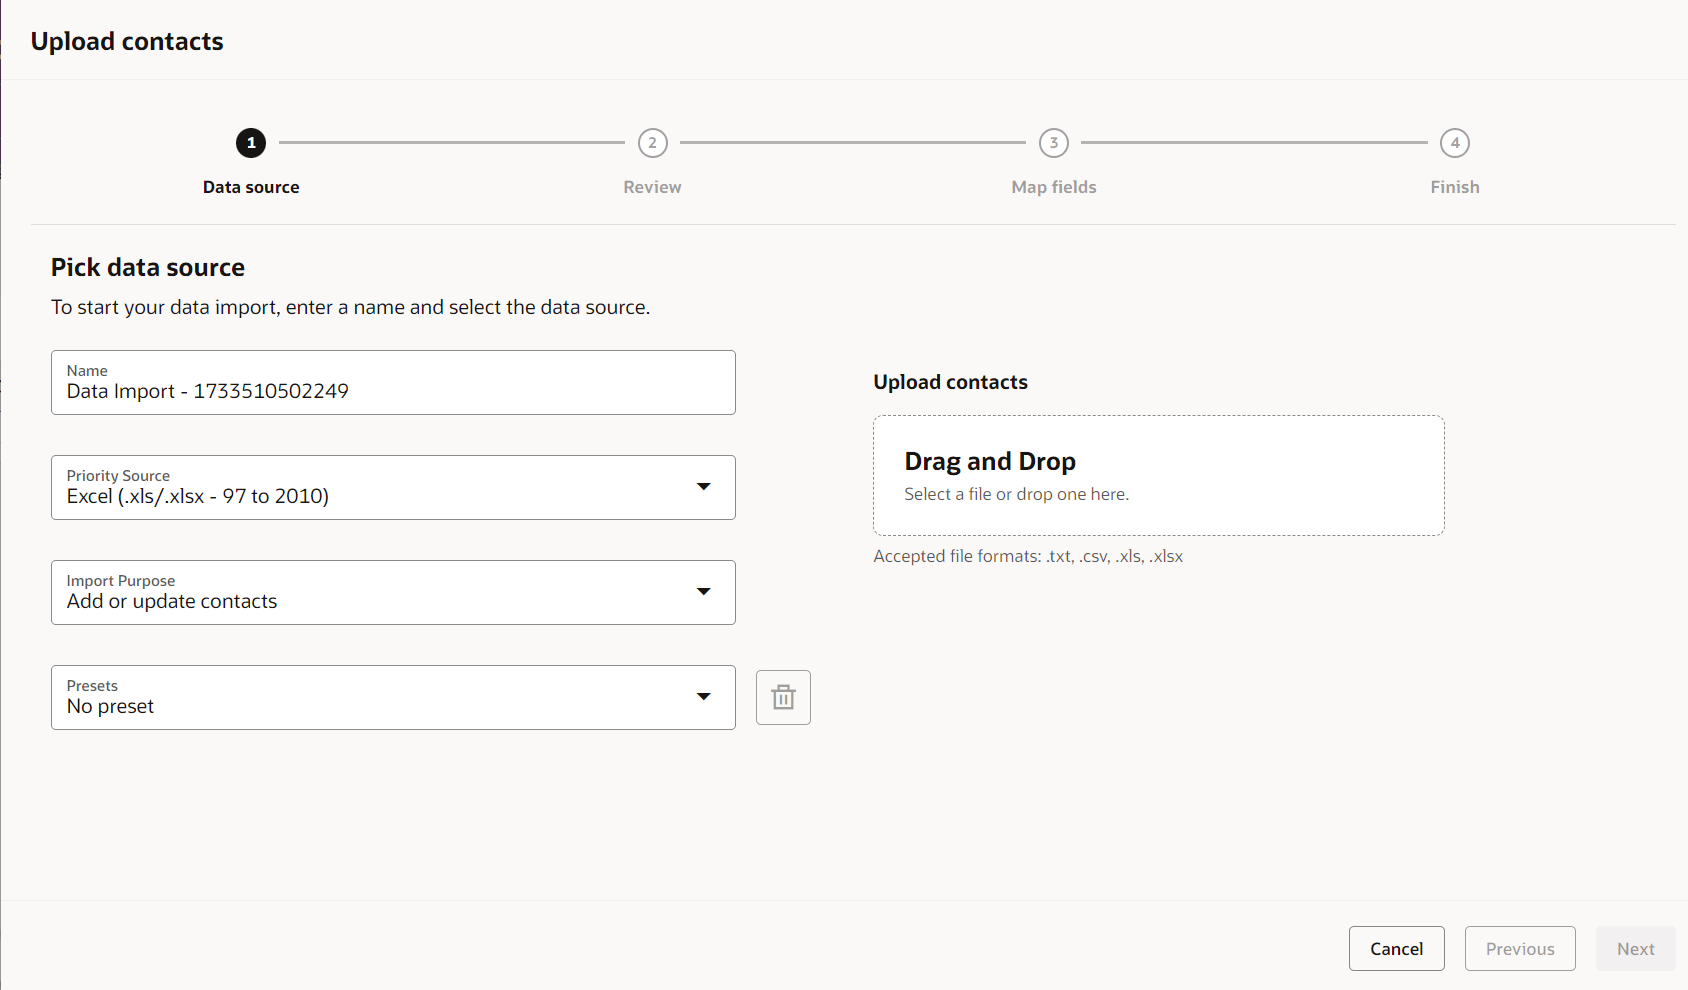
- Complete the information about the upload. You'll want to be sure to click the correct type of upload from the Import Purpose drop-down list.
Classic UI
Redwood experience
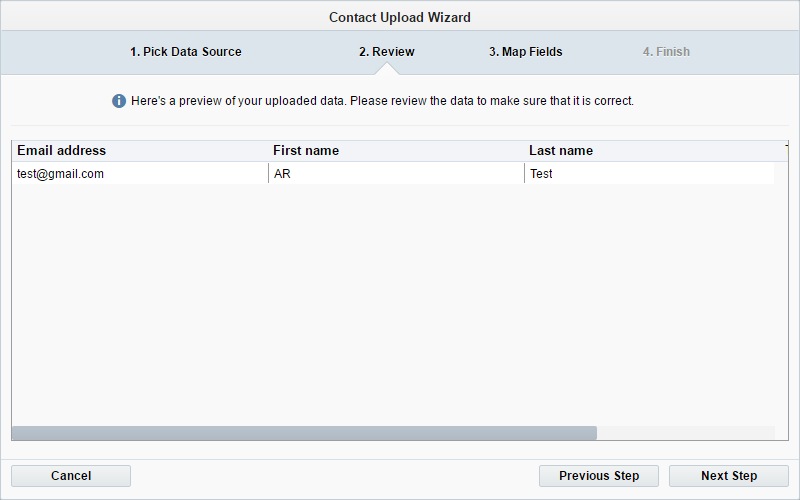
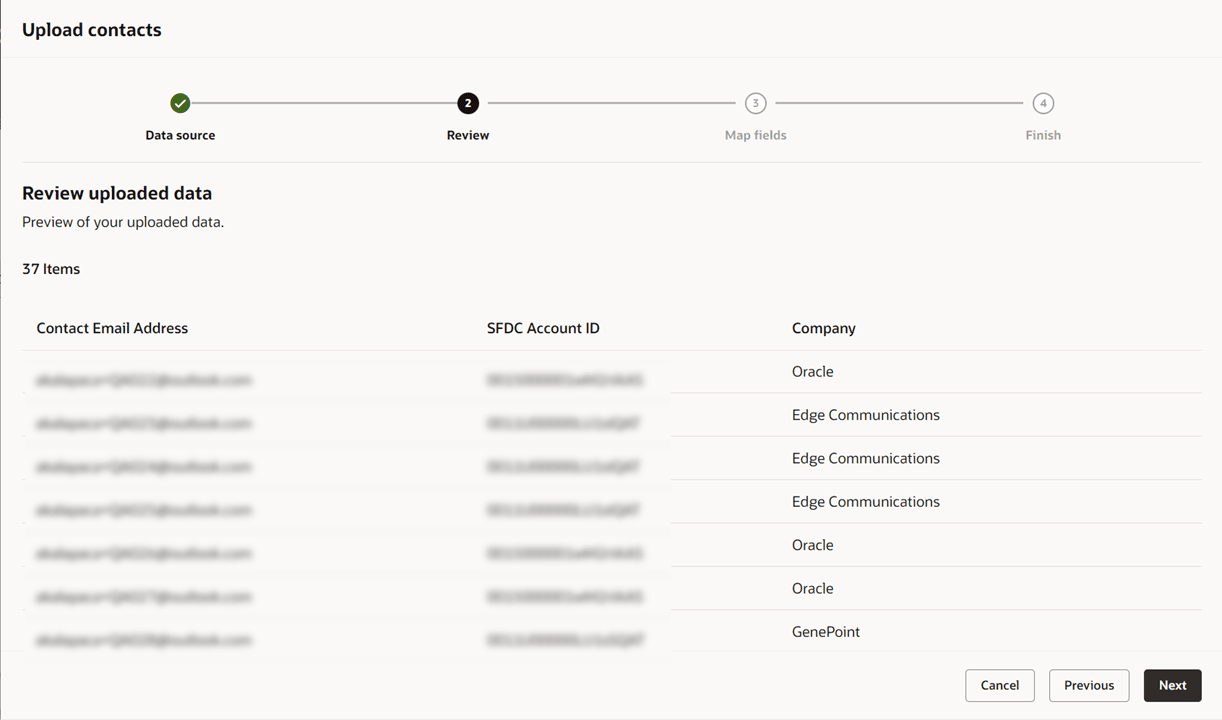
- Verify the contents of the file on the Review tab and click Next Step.
Classic UI
Redwood experience
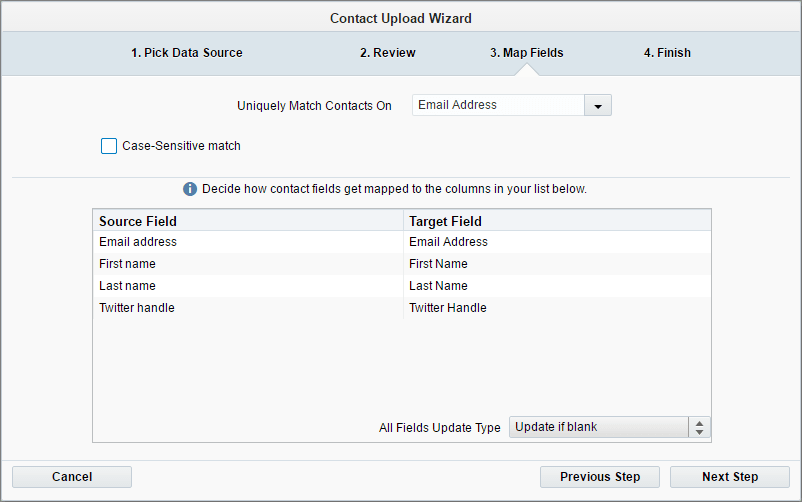
- Complete the Map Fields window and continue.
- If you are adding or updating contacts, make sure you map all the data in your upload file to the applicable contact field.
- Also, make sure that you select when you want the contact fields to update. For example, update the field if it is blank or not blank. Using Set to default will use the default configuration for each field. If a specific field should be updated differently than the rest, you can configure the update type for that specific field.
Classic UI
Redwood experience

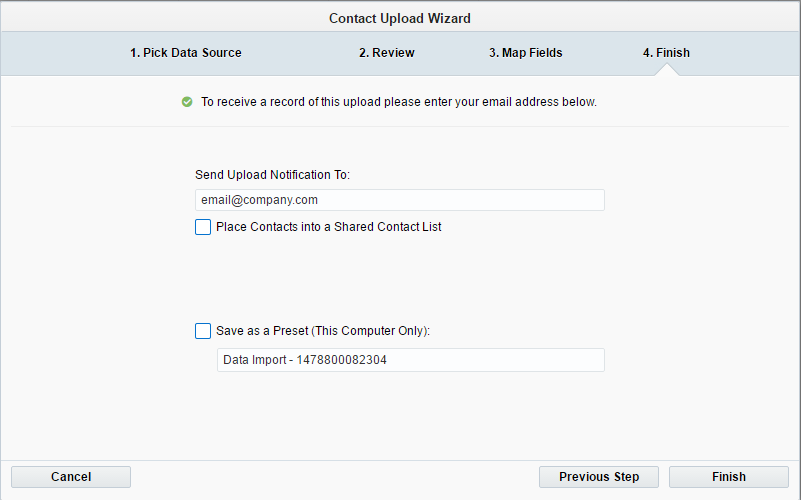
- Complete the final step of the wizard. You can add the contacts into a shared list and optionally save your settings for future use.
Classic UI
Redwood experience

- Click Finish.
Troubleshooting
You might notice that some of the data from the upload file did not make it to the contact record. There can be a few reasons why this may happen:
- In step 3 of the wizard, you can change when to update contact fields. For example, to only update the contact field if it is blank or to always update the field. Check to make sure you've selected the desired setting.
- If you selected the Set to default update type, this will use the default update method configured by your administrator (Settings > Manage Fields and Views). So, if you have unexpected upload results, consult your administrator on this default setting or upload the contacts again using a different update type. In the case where the upload used Set to default, and the field is setup to use Update if new email address, Oracle Eloqua will actually use the Update if new value is not blank setting.
- If a contact was recently updated by your CRM system, a manual upload might not update the contact record. This is because a manual upload usually has a lower data priority when compared to some other sources of contact data. An administrator can change the priority of manual uploads from Settings > Integrations. See this knowledge base article for more help.
- Data imports via Importing contacts or accounts are subject to a 30-minute timeout.