Processing form data
Important: You will receive a validation error when attempting to update to a contact with non-breaking spaces in their email address. When notified of the error, please update the email address as form submissions for the email address cannot be processed.
Form processing steps allow you to configure what should happen after a contact submits a form (such as updating a contact record or custom data object), and what actions to take as a result of the submission (for example, sending the submitter an email or adding them to a campaign). You can configure these steps for each form you create.
- Create a contact record with the information from the form
- Redirect the contact to a confirmation page
- Add the contact to a shared list based on the preferences specified by the contact
- Add the contact to a nurture campaign
- Send the contact an email to confirm their email address
- Update the data in your CRM
Learn more by watching the video
Accessing form processing
The Design button lets you switch back to the form design window.
While using the Redwood experience:

|
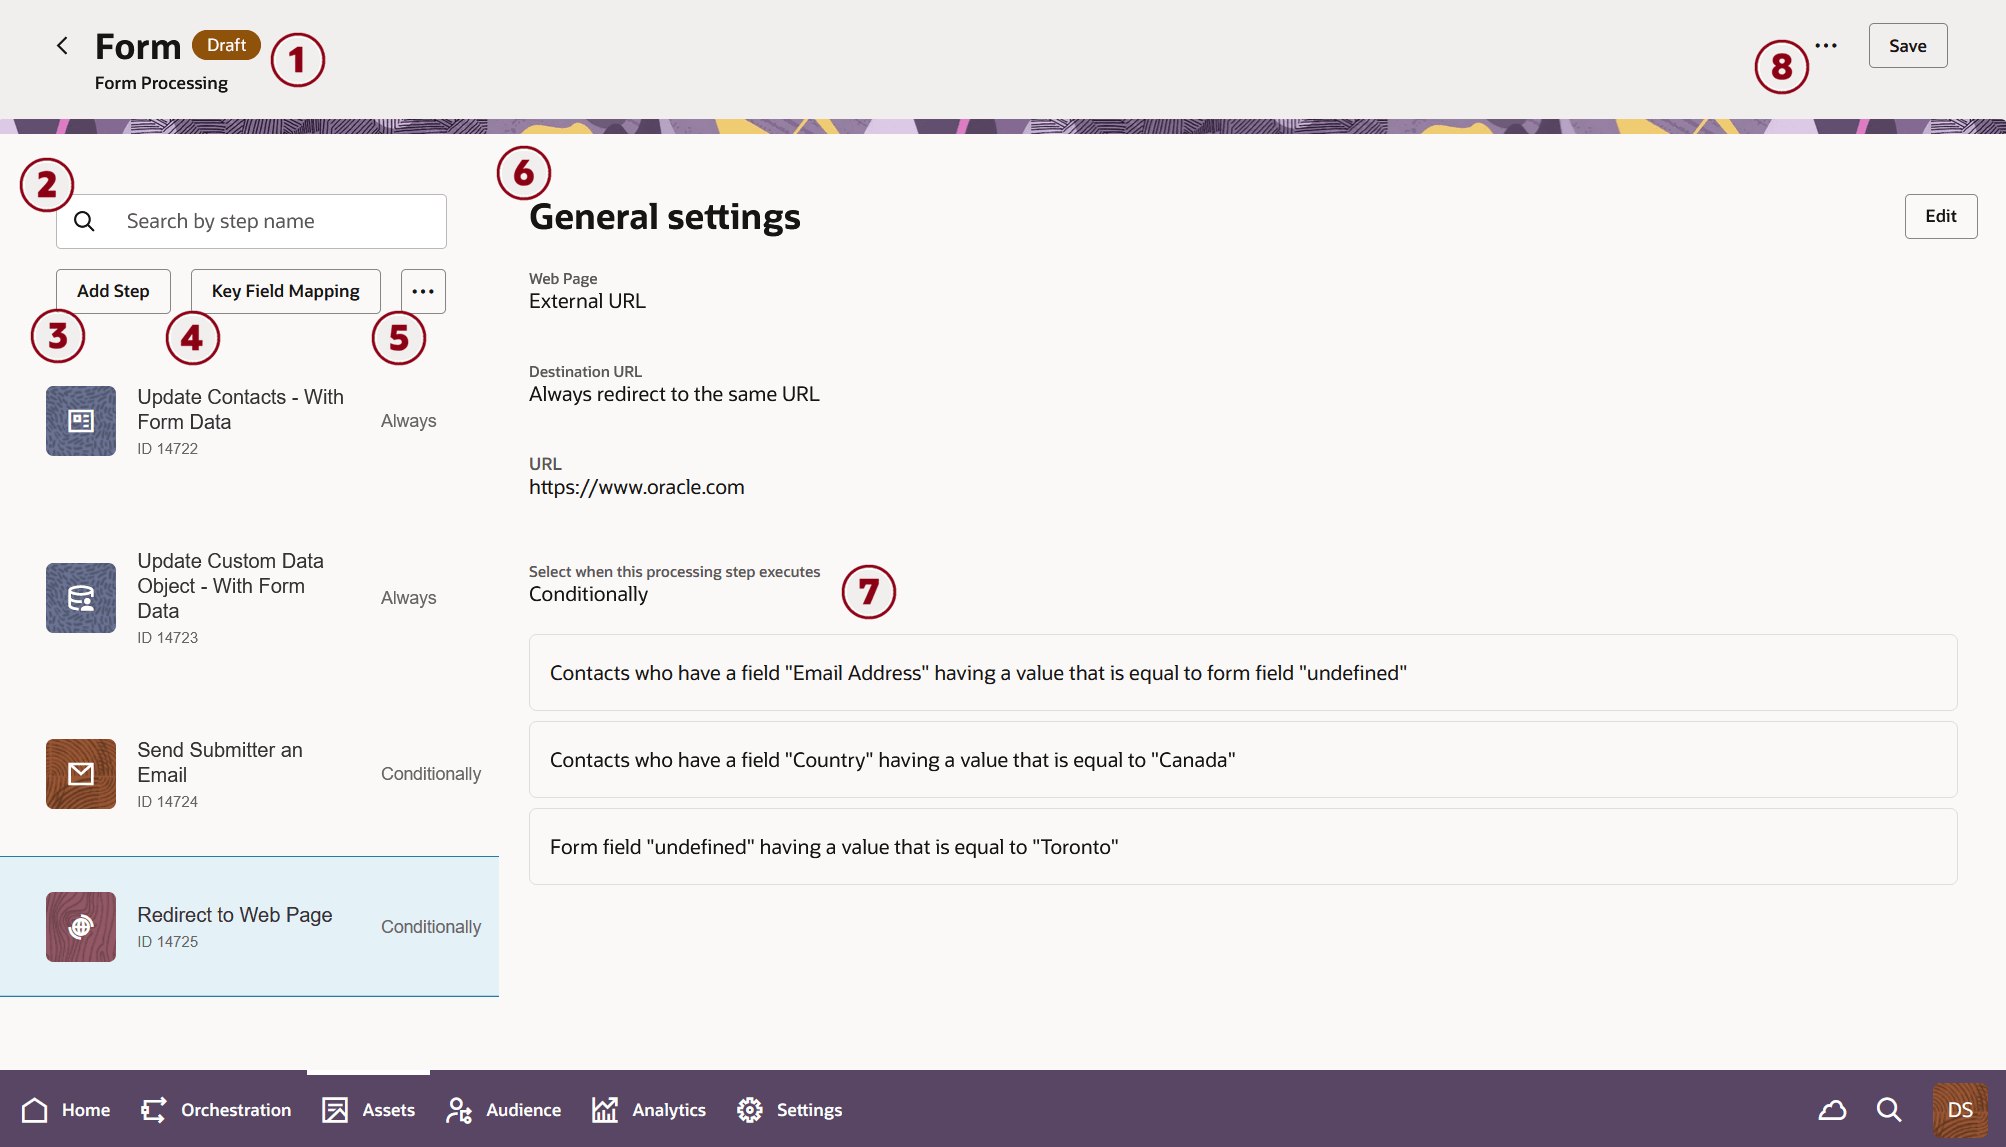
The back button lets you switch back to the form design window, where the visual elements of the form are laid out and configured. |

|
The Processing Steps panel is where you identify the processing steps you want to include in your form. |

|
The  button opens the list of processing steps. You can select the processign step and click the "Select" button to add them to the Processing Steps panel. button opens the list of processing steps. You can select the processign step and click the "Select" button to add them to the Processing Steps panel. |

|
The  button opens the Key Field Mapping window, which lets you map a form field to a contact record field as your key identifiers. If you have an Email Address field in your form, the Key Field Mapping is set to Email Address by default. Some processing steps allow you to override this form setting. button opens the Key Field Mapping window, which lets you map a form field to a contact record field as your key identifiers. If you have an Email Address field in your form, the Key Field Mapping is set to Email Address by default. Some processing steps allow you to override this form setting. |

|
The  button lets you remove or disable the currently selected step in the Processing Steps pane, or edit the processing step's description. Disabled steps are identified by the status of "Never" beside the step name and description. button lets you remove or disable the currently selected step in the Processing Steps pane, or edit the processing step's description. Disabled steps are identified by the status of "Never" beside the step name and description. |

|
The configuration pane displays the settings for the currently selected step. The  button allows you to make changes to the processing step's settings. button allows you to make changes to the processing step's settings. |

|
Processing steps provide options which let you specify when a step is executed. For more information see Configuring when a form processing step runs. |

|
The Actions button and Save button are available in both the design and processing windows for your form. Use it to access form-related actions. |
Steps to configure form processing
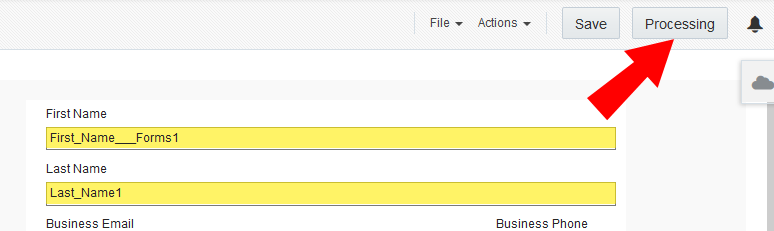
- Click Processing.
-
Configure how to uniquely identify the contact that submitted the form. Typically this is done using the email address submitted with the form.
- In the classic UI, click
 at the bottom of the window and configure the key identifier mapping.
 - In the Redwood experience, click at the top of the processing step panel and configure the key identifier mapping.
Note: You can override this default mapping for some form processing steps.
- In the classic UI, click
-
Add processing steps:
- In the classic UI, click
 in the left pane and double-click the step you want to add.
 - In the Redwood experience, click and click select to choose the step you want to add.
Add the steps in the order that you feel they should be performed. Oracle Eloqua will reorder those steps that must occur first. See How Oracle Eloqua determines the processing order for more information.
- In the classic UI, click
-
Add a description to the step:
- In the classic UI, double-click the step you added and add a description of the step.
- In the Redwood experience, select a step and choose the action menu at the top on the processing step panel, and select Edit Description.