Step 1: Selecting the subject area
In this tutorial, we're creating a new analysis that looks at emails sent. To start, you must select a subject area provided by Oracle Eloqua. A subject area is a collection of attributes and metrics that are compatible with each other when creating analyses. In this tutorial, we'll use the Email Send subject area, which allows us to analyze everything that Oracle Eloqua knows about sent emails. If you want to learn more about subject areas, see Insight subject areas.
To create an analysis:
-
In Insight, click New >
 Analysis. A list of subject areas appears.
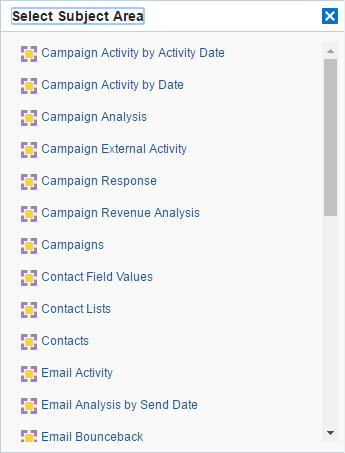
Tip: We could also use the Email Analysis By Send Date subject area. This subject area includes additional attributes and metrics that we could use. But for this tutorial, we will use the Email Send subject area. For a complete list of subject areas, see Insight subject areas.
- Scroll down in the list and click Email Send.
The analysis editor appears.
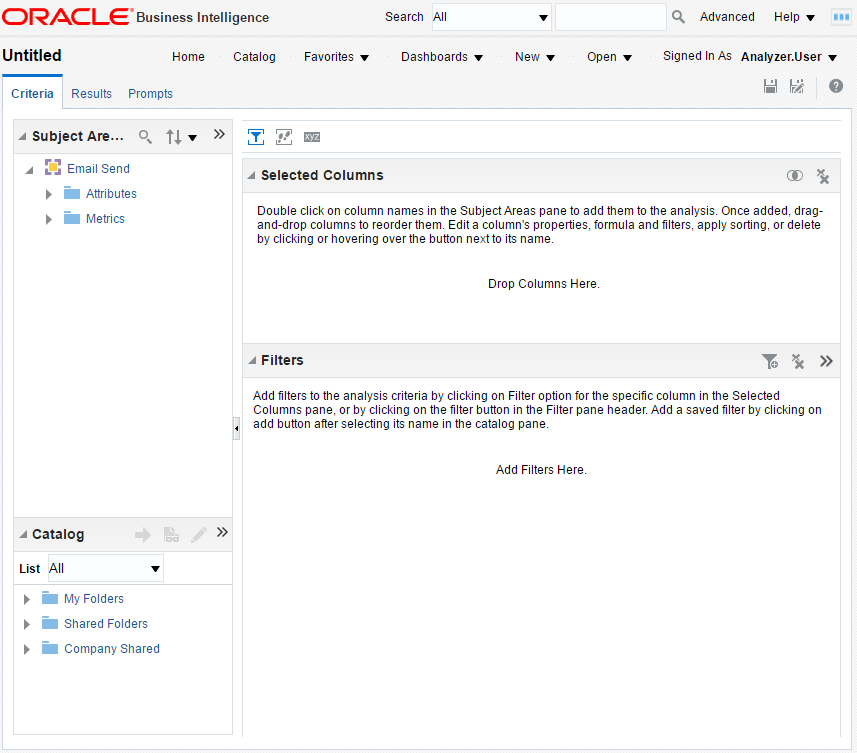
The editor is composed of tabs and panes showing you the subject area (columns), available catalog objects, selected columns for the analysis, and filters (which limit the selected data). In the next step, we'll add columns to the analysis.