Creating picklists
Create a picklist that is centrally managed and available for use across multiple forms, fields, and assets in Oracle Eloqua.
Tip: You can create and manage picklists from anywhere in Oracle Eloqua where you would use the picklist. For example, create a new picklist while you're creating the form that will include the picklist.
Good to know:
- Be intentional about the order of picklist options, as this is the order displayed to users or customers in drop-downs.
- In the Redwood experience, duplicate options (same display name with different stored values) are not allowed. If your use case requires duplicate options, a Controlled Availability (CA) setting is available. Contact Oracle Support to have this enabled.
-
Aim for under 25 values where practical for ease of use. Avoid exceeding 2,500 picklist options, as larger lists may cause performance issues for the UI and for processes using the picklist.
-
The classic UI allows up to 2,500 values per picklist.
-
The Redwood experience displays a maximum of 500 values per picklist. Lists of a larger size can only be managed by uploading values.
-
- The steps below describe manually creating a picklist. You can upload options instead. Learn more.
To create a picklist:
- Click Settings
 .
. - Click Manage Picklists in the Database Setup section.
- Create the picklist:
- In the classic UI, click Picklist in the upper-right corner, then click New Picklist.
- In the Redwood experience, click Add.
- Name your picklist.
- In the classic UI, enter a name and click Save.
- In the Redwood experience, enter a name.
- Add the options to the picklist:
- Provide each option an Option Value (stored value) and Option Name (display name).
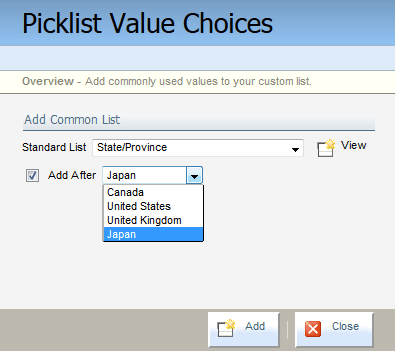
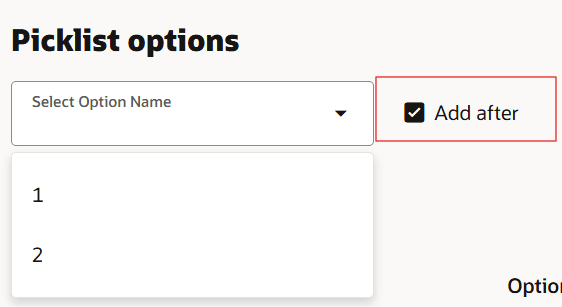
- Insert values between existing options when needed using the Add After option.
Classic UI
Redwood experience
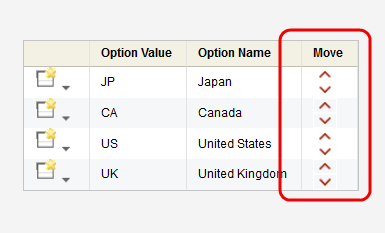
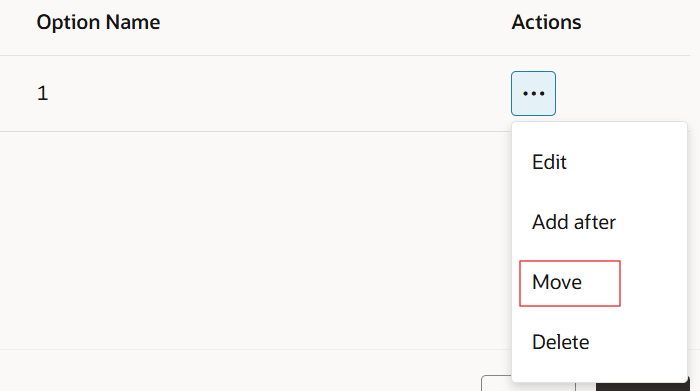
- Rearrange options as desired.
Classic UI
Redwood experience
- Save your changes.