Setting Up Data Security By Importing User Data In A Bulk Load
During the Setting Up Data Security step in an OTBI-Enterprise deployment, Implementors can optionally provision users by importing in bulk load a set of user to data mappings in a comma separated value (CSV) file.
Before you start, prepare a CSV containing the user to data mappings, in the following format:
The first line of the CSV file should be a header row, followed by one or more data rows. The Header can be in any order, but data row values must be placed adjacent to the headers. Header names are read case-insensitive, that is, ACTION, Action or action are interpreted as Action header. The following table describes the required columns in the CSV file:
| Header | Header Name in CSV File | Valid Values |
|---|---|---|
| Action (Mandatory) | Action | Insert / i / + For Inserting, Delete / d / - For Deleting |
| Data Source (Mandatory) | DataSourceNumber, DATA_SOURCE_NUMBER, DSN, Source | Name or DSN ID given to a data source instance. Use ‘All’ to performs the action for all configured data sources that are defined for the given data security type. Note: Values are case in-sensitive. |
| User (Mandatory) | Username, USER_NAME, User, UserId | User name or user ID as available in Oracle Internet Directory (OID). Values are case-insensitive. |
| Data Security Type (Mandatory) | Code, DataSecurityCode, DATA_SECURITY_CODE | Data security code or name given to the data security type. Values are case-insensitive. |
| Data Security Value (Mandatory) | Value, DataSecurityValue, DATA_SECURTY_VALUE | A non empty data security value. Values are case-sensitive. |
| Overwrite (Optional) | Override, Overwrite | No / 0 / False / N. |
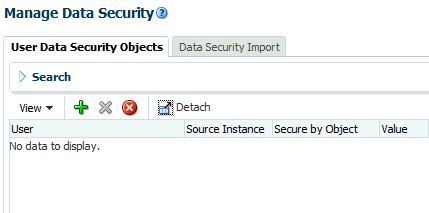
- In Configuration Manager, select the Manage Data Security link on the Tasks pane.

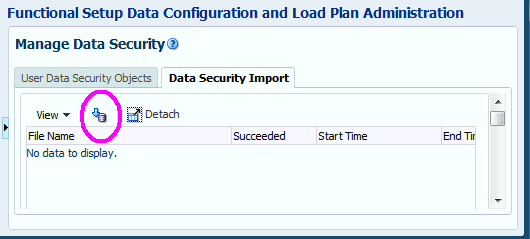
Description of GUID-E5BB605F-F3C3-48A8-BC09-029E7B135B6D-default.gif - Display the Data Security Import tab, and click the Bulk Upload icon.

Description of GUID-D5E6D2CC-D392-4B0E-8311-965D53AC588A-default.gif - Click Browse and navigate to the CSV file that contains the user to data mappings.

Description of GUID-5C882AB7-9B6B-4731-A936-EE4905964B8B-default.gif - Click Upload.
- Use the import logs listed on the Data Security Import dialog to verify that the data was uploaded.
- Display the User Data Security Objects tab, and review the user to data mappings that were imported.
If the user to data mappings are correct, then you can test the user accounts in BI Answers to verify that each user has access to the correct data areas.