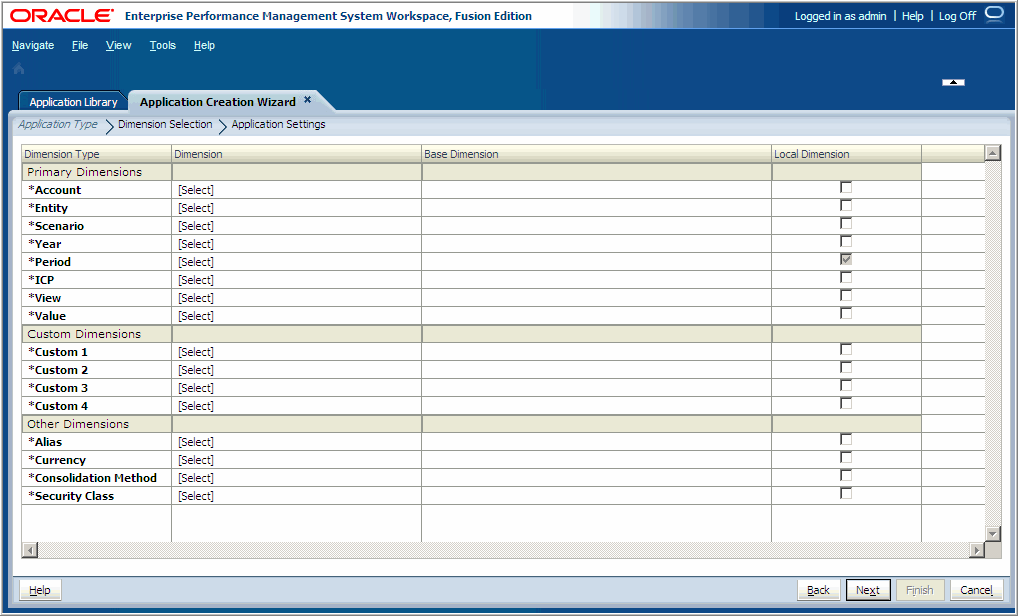
When you use the application wizard, all required dimensions for Standard consolidation and tax provisioning applications are automatically displayed If there is an exact match, it automatically populates the dimension column for the dimension type. Dimension types are automatically categorized and displayed with a shaded heading. For example, Primary Dimensions, Custom Dimensions, and Other Dimensions. Primary dimensions are required.
If you selected Auto Create Local Dimensions, new local dimensions are created for each required dimension. The name of each new dimension is the same as the dimension type, with (New) in parentheses. For example, Account (New).
-
To map a dimension type to a dimension, click [Select] in the Dimension column.
If a required dimension type matches to a dimension in the Dimension Library, the dimension name displays in the Dimension column.
-
The dimensions that display in the drop-down list map to the type of dimension. For example, if you are mapping a dimension to the Account dimension type, only account dimensions display in the list.

In some cases, you may want to create a new dimension.
-
Optional: Create a new dimension. To create a new dimension:
-
Using the Dimension drop-down arrow, select Create New Dimension.
The Add New Dimension dialog box is displayed.
-
Enter the dimension name and description. The type is automatically selected according to the dimension type you are mapping the dimension to in the Dimension Type column.
-
Note:
When you create a dimension in the application wizard, it is always a local dimension and cannot be shared in the application wizard. If you want to share a dimension, you must use the Dimension Library. See Understanding Shared and Local Dimensions.
-
-
Continue to select or create new dimensions for all primary, custom, and other dimensions.
-
If you want the dimension to be local, select the local check box at the end of each row.
Note:
If you automatically created new local dimensions on the first screen of the wizard, you cannot change the dimensions to be shared.
For information on shared and local dimensions, see Understanding Shared and Local Dimensions.
Note:
All dimensions must be mapped to a dimension or [None] before you can move to the next screen.
-
The Application Settings screen is displayed.