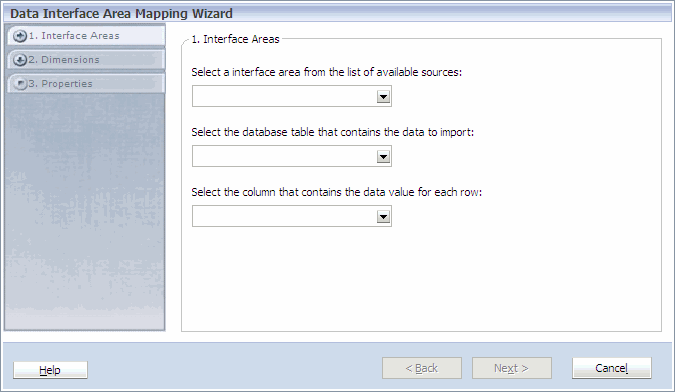
Before you create synchronizations using an interface area as the source, you must create interface data sources. See Configuring Interface Data Sources.
-
Select File, New, Data Interface Area Definition.

-
Select the interface table source, database table that contains the data to import, and the column that contains the data values for each row, and click Next.
-
Define the dimension by selecting a column on the left and entering the dimension name on the right. Then, click
 to add more columns.
For example, if the column name is SCENARIO_DIMENSION_NAME, you can change the name displayed to “Scenario.”
Tip:
Click
 to remove a column.
 -
Enter the interface table name, optional description, and then click Finish.