Scenario: Receiving Commands and Sending Responses using MQTTS
Use this scenario to receive unstructured raw JSON commands from the cloud and send device responses over MQTTS.
This scenario supports unstructured raw JSON commands only. Use an MQTTS client as a connected device, invoke a command from the Internet of Things Platform, receive the command on the device request topic, and publish a response to the response topic.
Tasks
Step 1: Create or Select a Digital Twin Instance
Use a digital twin instance without a digital twin model or digital twin adapter. The instance must be directly connected and have an authentication ID. Save the instance OCID and External Key.
Select an existing digital twin instance without a digital twin model or digital twin adapter. The instance must be directly connected. Alternatively, follow the Console instructions in Creating a Digital Twin Instance. Select or paste a secret or certificate authentication OCID.
To create a digital twin instance without a digital twin model or digital twin adapter, use the oci iot digital-twin-instance create command:
oci iot digital-twin-instance create \
  --iot-domain-id <iot-domain-OCID> \
  --display-name <display-name> \
  --auth-id <secret-or-certificate-OCID>
Run the CreateDigitalTwinInstance operation to create a digital twin instance without a digital twin model or digital twin adapter, or get an existing instance with the same configuration. The instance must be directly connected and have an authentication ID.
Step 2: Establish the MQTT Session Using Broker Credentials
This example uses MQTTX with MQTT 5.
- Download and set up MQTTX. See Getting Started with MQTTX.
- Create a connection and enter a name that contains no confidential information.
- Enter the digital twin instance external key as the Username.
- Enter the device credential as the Password. For testing with a vault secret, use the plain-text secret contents.
- For Host, select
mqtts://and enter<domain-short-id>.device.iot.<region>.oci.oraclecloud.com. - Enter port
8883, enable SSL/TLS, and select a CA-signed server certificate. - Configure a persistent MQTT 5 session so the broker can resume the command subscription after a brief disconnect:
- Client ID: Enter a stable Client ID and reuse it each time the client reconnects.
- Clean Start: Turn off this option.
- Session Expiry Interval: Set a nonzero interval long enough for the expected disconnect, for example,
7200seconds. - Last-Will-Retain: This setting controls only whether the Last Will message is retained; it does not control subscription persistence.
- Set Last Will QoS to 1 for at-least-once delivery of a disconnect notification.
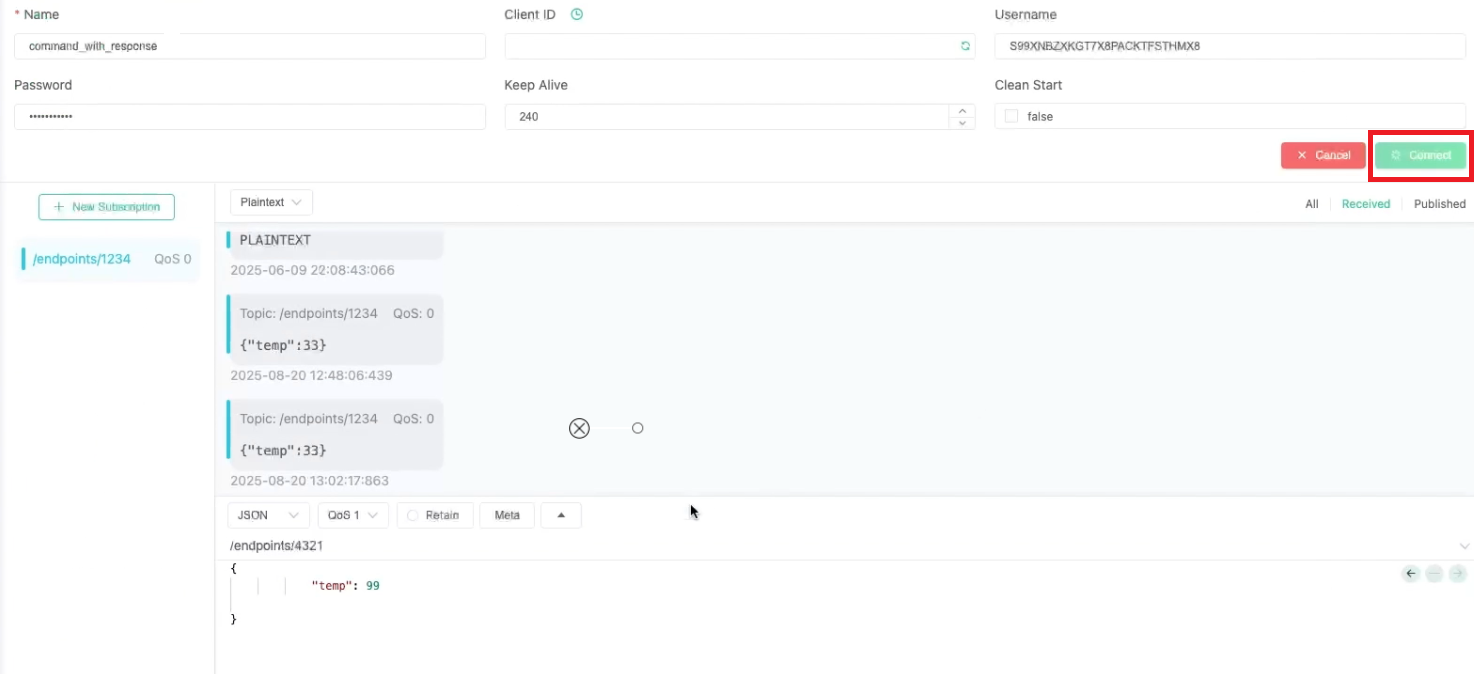
- Select Connect.
Step 3: Subscribe to the Command Request Topic
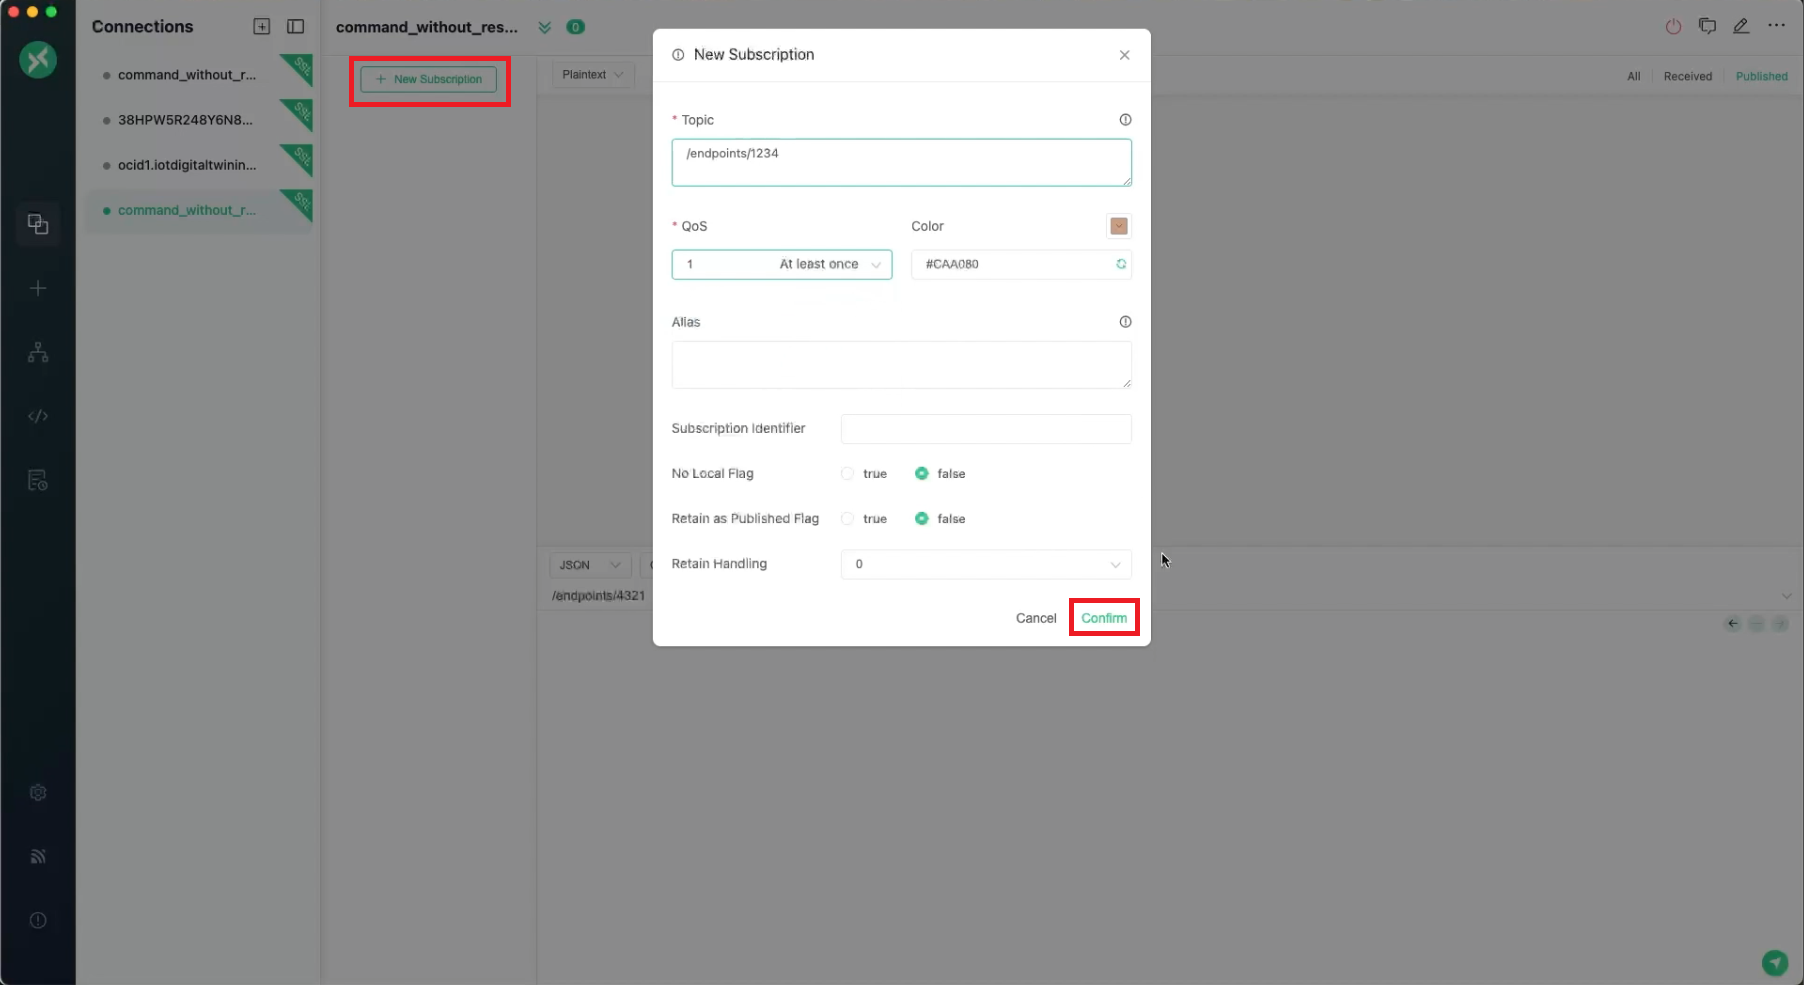
The requestEndpoint in the command becomes the MQTT topic on which the device receives the command. For this example, subscribe to /endpoints/1234 with QoS 1.
- In MQTTX, select + New Subscription.
- Enter
/endpoints/1234as the Topic. - Select 1 At least once from the QoS menu.
- Select Confirm.
Step 4: Define the Command in a JSON File
Define the command details in a JSON file to use when you invoke the raw JSON command.
Save this request as command.json:
{
  "requestEndpoint": "/endpoints/1234",
  "requestDuration": "PT3M",
  "requestDataFormat": "JSON",
  "requestData": {
    "temp": 33
  },
  "requestDataContentType": "application/json",
  "responseEndpoint": "/endpoints/4321",
  "responseDuration": "PT3M"
}requestEndpointis the MQTT topic to which the device subscribes to receive the command. Use the same value when you subscribe to the command request topic.requestDurationis the period during which the platform can deliver the command. Use the ISO 8601 duration format. For example,PT3Mis 3 minutes.requestDataFormatidentifies the request data as JSON.requestDatais the JSON payload delivered to the device.requestDataContentTypeis the media type of the request data.responseEndpointis the MQTT topic to which the device publishes its response. If you have a dedicated response endpoint, such as/endpoints/<external-id>/response, use it here. Use the same MQTT topic in this field and when the device publishes the response.responseDurationis the maximum time the platform waits for the response.
For information about file locations and path types, see Using a JSON File for Complex Input.
Step 5: Invoke a Raw JSON Command on a Device
Invoke the same command by using the Console, CLI, or API.
- Open the IoT domain and select Digital twin instances.
- Open the instance, select Actions, and select Send raw command.
- Enter
/endpoints/1234as the request endpoint andPT3Mas the request duration. - Select JSON and enter
{"temp": 33}. - Specify
/endpoints/4321andPT3Mas the response parameters. - Select Send raw command.
Use the oci iot digital-twin-instance invoke-raw-json-command command:
oci iot digital-twin-instance invoke-raw-json-command \
  --digital-twin-instance-id <digital-twin-instance-OCID> \
  --request-endpoint "/endpoints/1234" \
  --from-json file://command.json
Run the InvokeRawCommand operation for the digital twin instance and use the values from
command.json.
Step 6: Receive the Command and Publish a Response in MQTTX
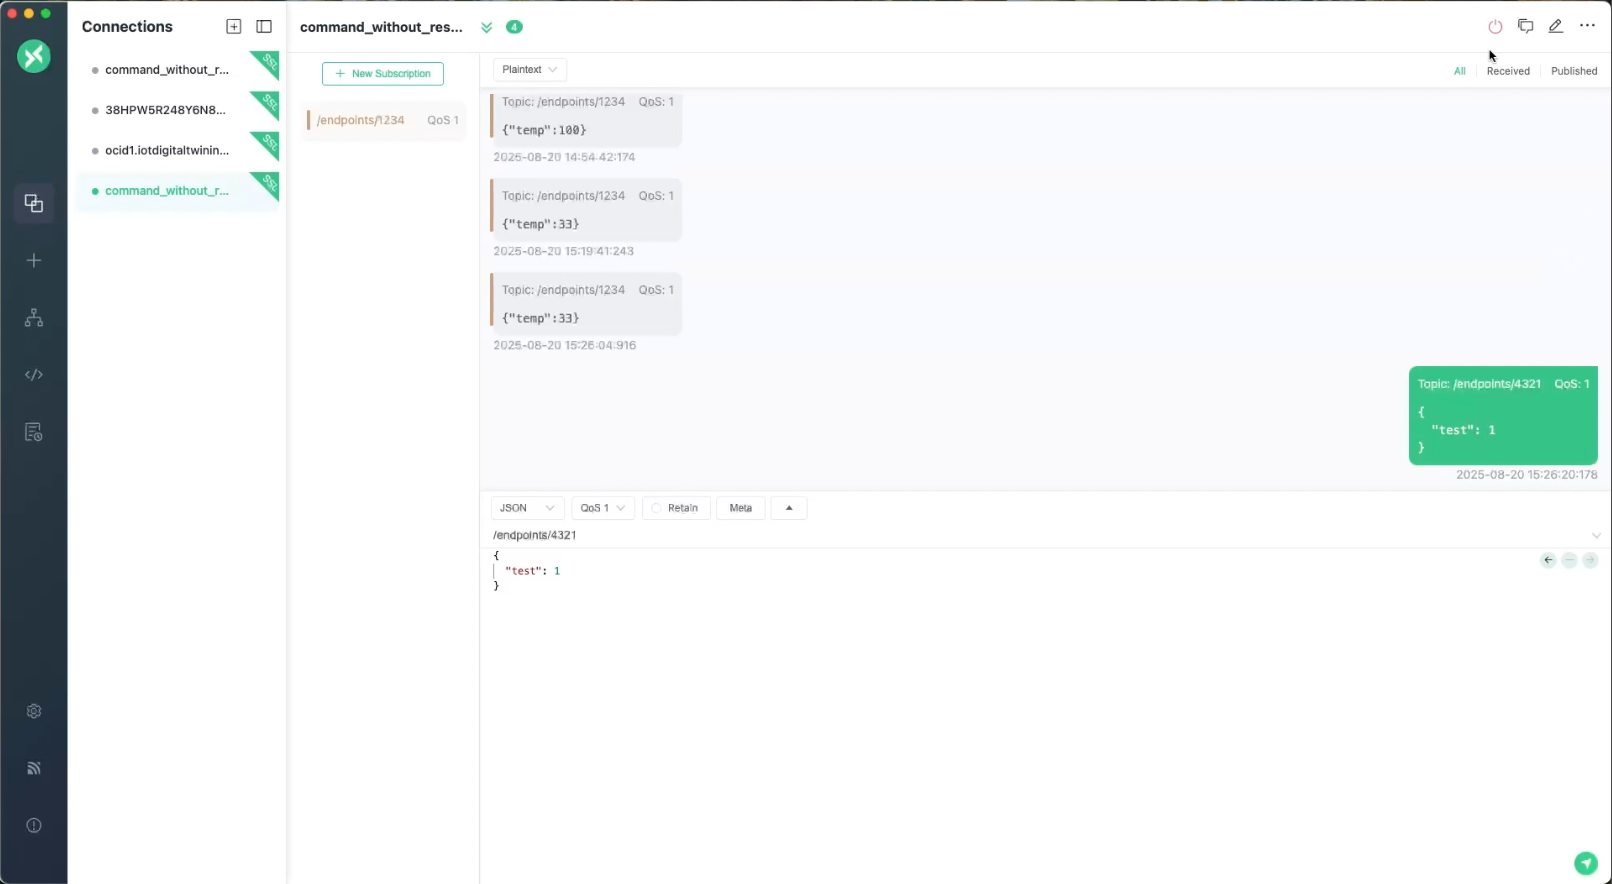
- On the
/endpoints/1234subscription, confirm that MQTTX receives the request data:{ "temp": 33 } - Before the response duration expires, publish a response to
/endpoints/4321with QoS 1:{ "status": "accepted", "temp": 33 }
| Scenario | Device State | Expected Command State | Comments |
|---|---|---|---|
| Not connected | Not connected and not subscribed | REFUSED | Command delivery fails immediately. |
| Connected but not subscribed | Connected | REFUSED | The device is online but cannot receive the command. |
| Subscribed but not connected | Subscription is in a persistent session | PENDING to EXPIRED | The command waits and expires after the timeout. |
| Reconnects before timeout | Initially offline with a persistent session | PENDING to SENT | The device receives the command after reconnecting. |
| Connected and subscribed | Connected and subscribed | SENT | The device receives the command. |
| One-way command | Connected and subscribed | COMPLETED | No response is expected. |
| Two-way command without a response | Connected and subscribed | NOT_RESPONDED | The device does not respond before the response timeout. |
| Two-way command with a response | Connected and subscribed | COMPLETED | The device publishes a response before the timeout. |
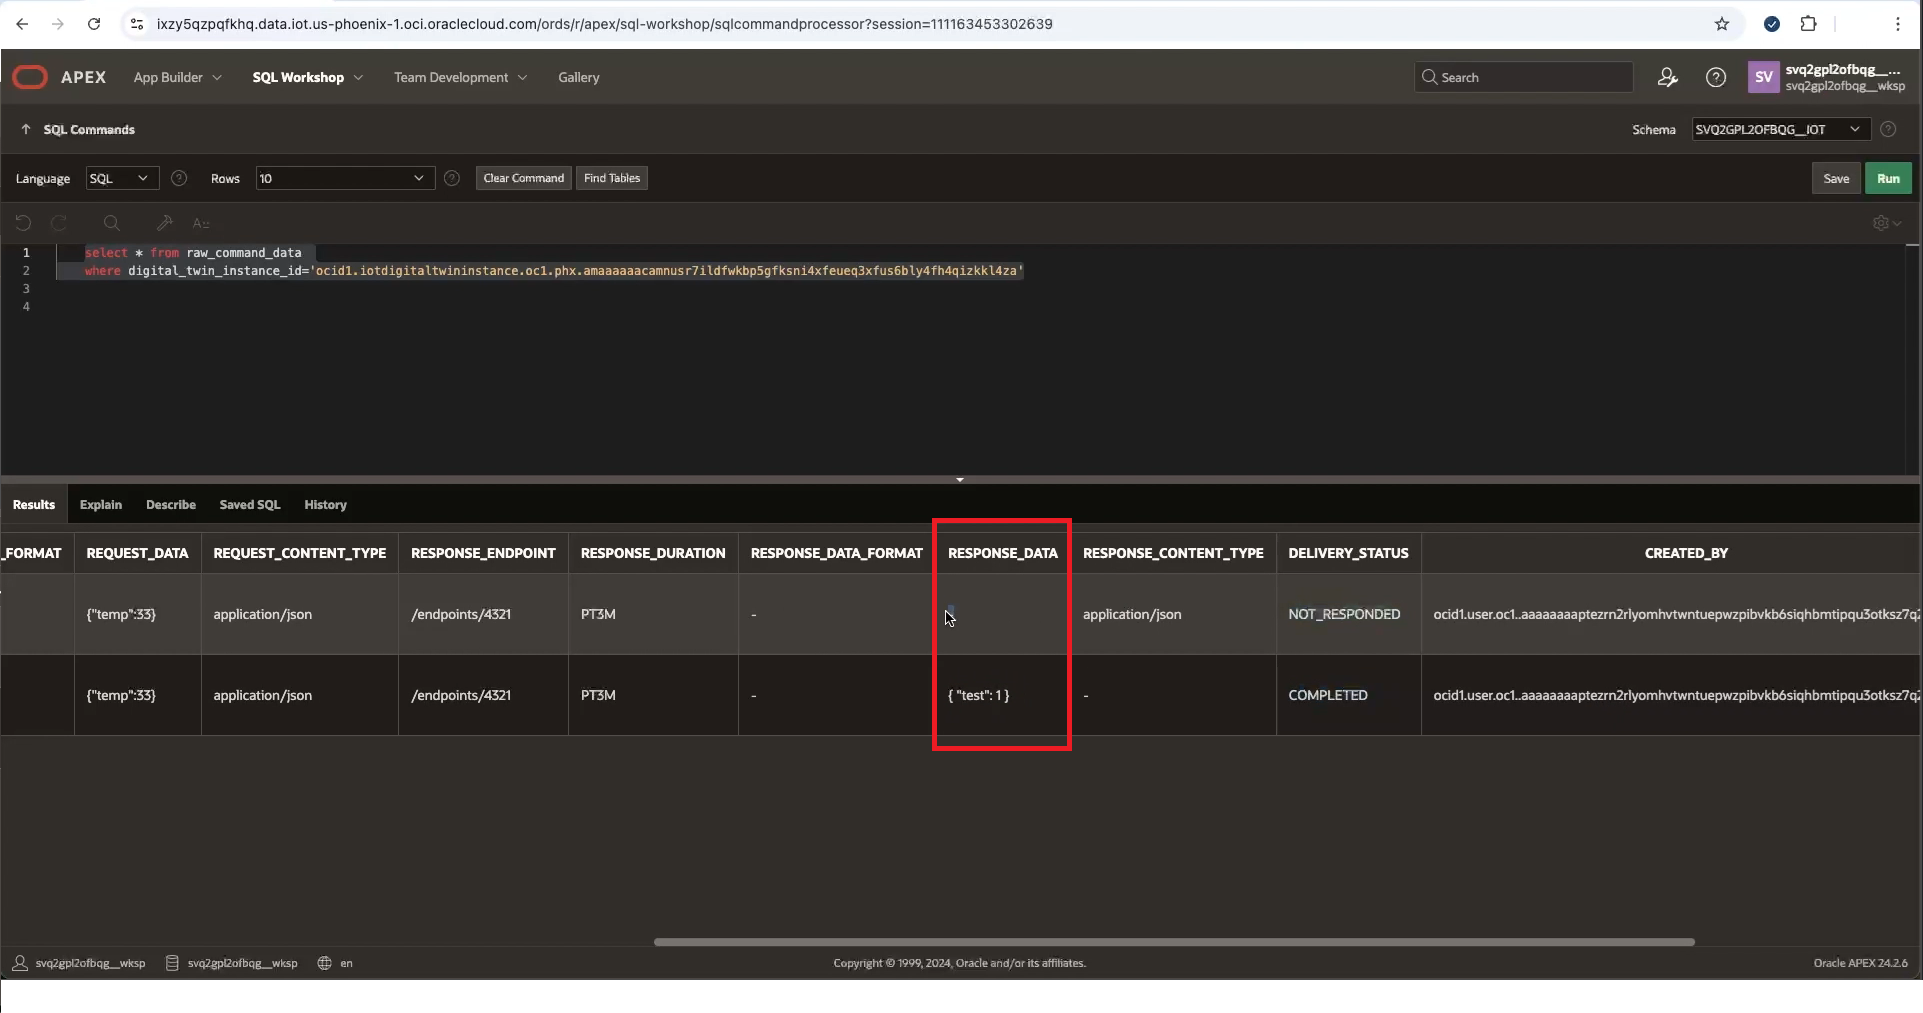
Step 7: Monitor the Command's Delivery Status in APEX
After you configure APEX access to IoT data, use APEX to query raw command data.
- Get the IoT domain details to find the
<domain-short-id-from-device-host>. In APEX, log in to the IoT domain's Workspace using this value as both the workspace name and database user name:<domain-short-id-from-device-host>__WKSPNote
Notice the two underscores in__WKSP. - Go to SQL Workshop, select SQL Commands, and select the read-only
<domain-short-id-from-device-host>__IOTschema. - Enter the following command. Replace
<domain-short-id-from-device-host>and<digital-twin-instance-OCID>with the values for your environment, and then select Run:select * from <domain-short-id-from-device-host>__IOT.RAW_COMMAND_DATA where digital_twin_instance_id = '<digital-twin-instance-OCID>'; - In Results, review RESPONSE_DATA, delivery status, request and response endpoints, and timeout values.
To view a larger screenshot, right-click and open the image in a new browser tab.