Configuring Planning on PLANHOST1
- On PLANHOST1, launch EPM System Configurator: From the Start menu, select Oracle EPM System, and then EPM System Configurator (all instances).
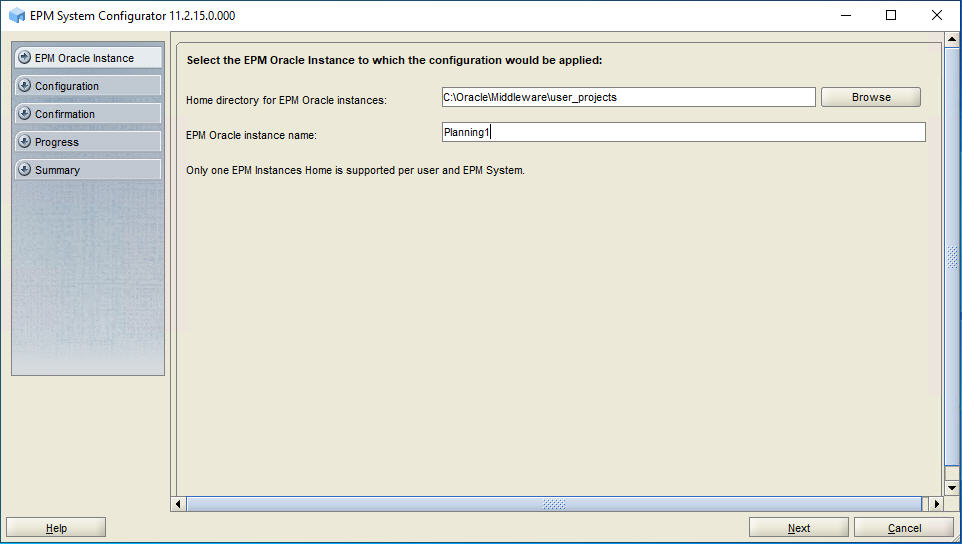
- In EPM Oracle Instance, complete these steps, and then click Next.
- In Home directory for EPM Oracle instance, verify that the location of EPM Oracle Home directory is identical to that specified while configuring Oracle Hyperion Foundation Services (onFNDHOST1).
- In EPM Oracle instance name, enter
Planning1.
-
If you installed Oracle Hyperion Planning on
the same server as Foundation Services, skip this
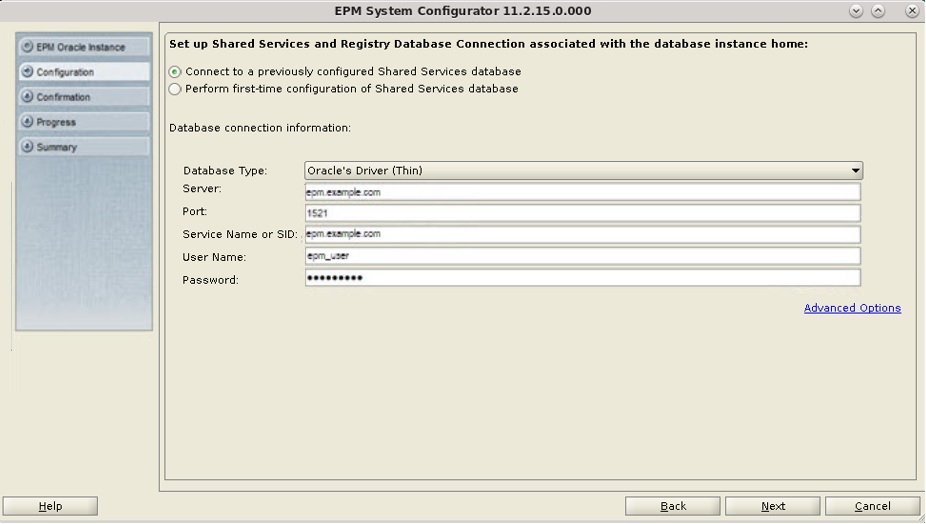
step. Otherwise, on the Oracle Hyperion Shared Services Registry database
configuration screen, select Connect to a Previously Configured
Shared Services Database, enter the connection information for
the Shared Services Registry
database and the user name and password of the database account to use for
accessing the database (recorded in Table 3-1), and then click Next.
The data that you enter must match the data that you entered while configuring the Shared Services Registry on the Foundation Services server (FNDHOST1).
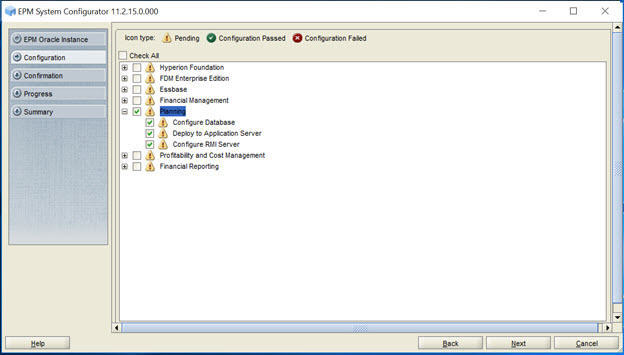
- In Configuration, click Uncheck All, select Planning, then expand Planning, clear the selection from Configure RMI Server, and then click Next.
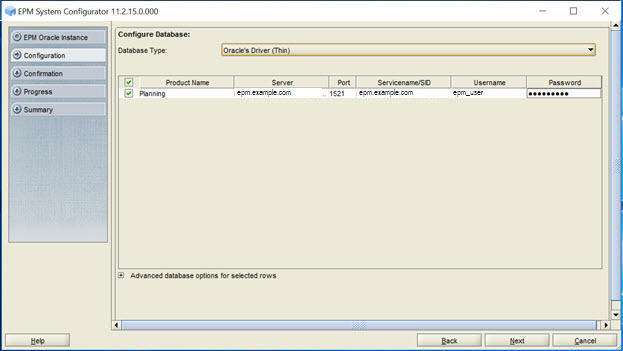
- In Configure Database, click Next to use the default values to leverage the Foundation Services database for Planning.
The Configure Database step is needed only once per deployment, so if you are configuring an additional instance of Planning, skip this step.
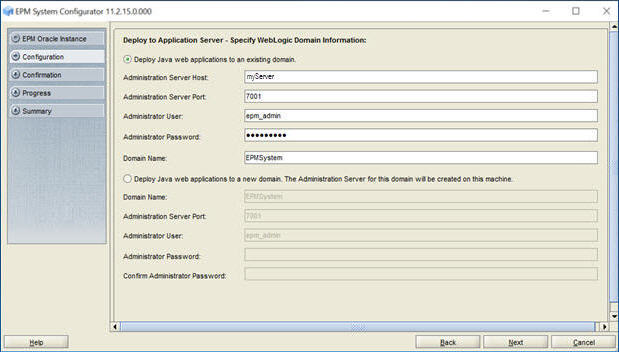
- In Deploy to Application Server - Specify WebLogic Domain Information, click Next to deploy Planning to the Oracle WebLogic Server domain that you created on the Foundation Services host (FNDHOST1).
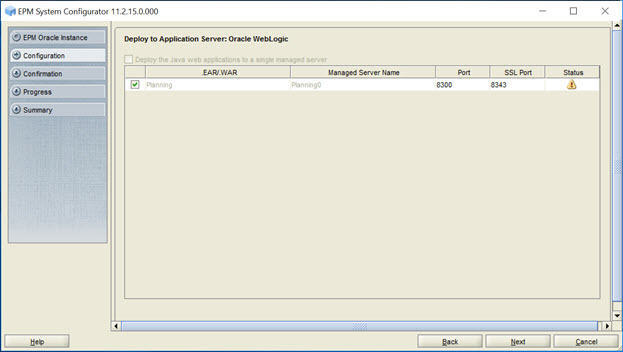
- In Deploy to Application Server: Oracle WebLogic, click Next to deploy Planning web application.
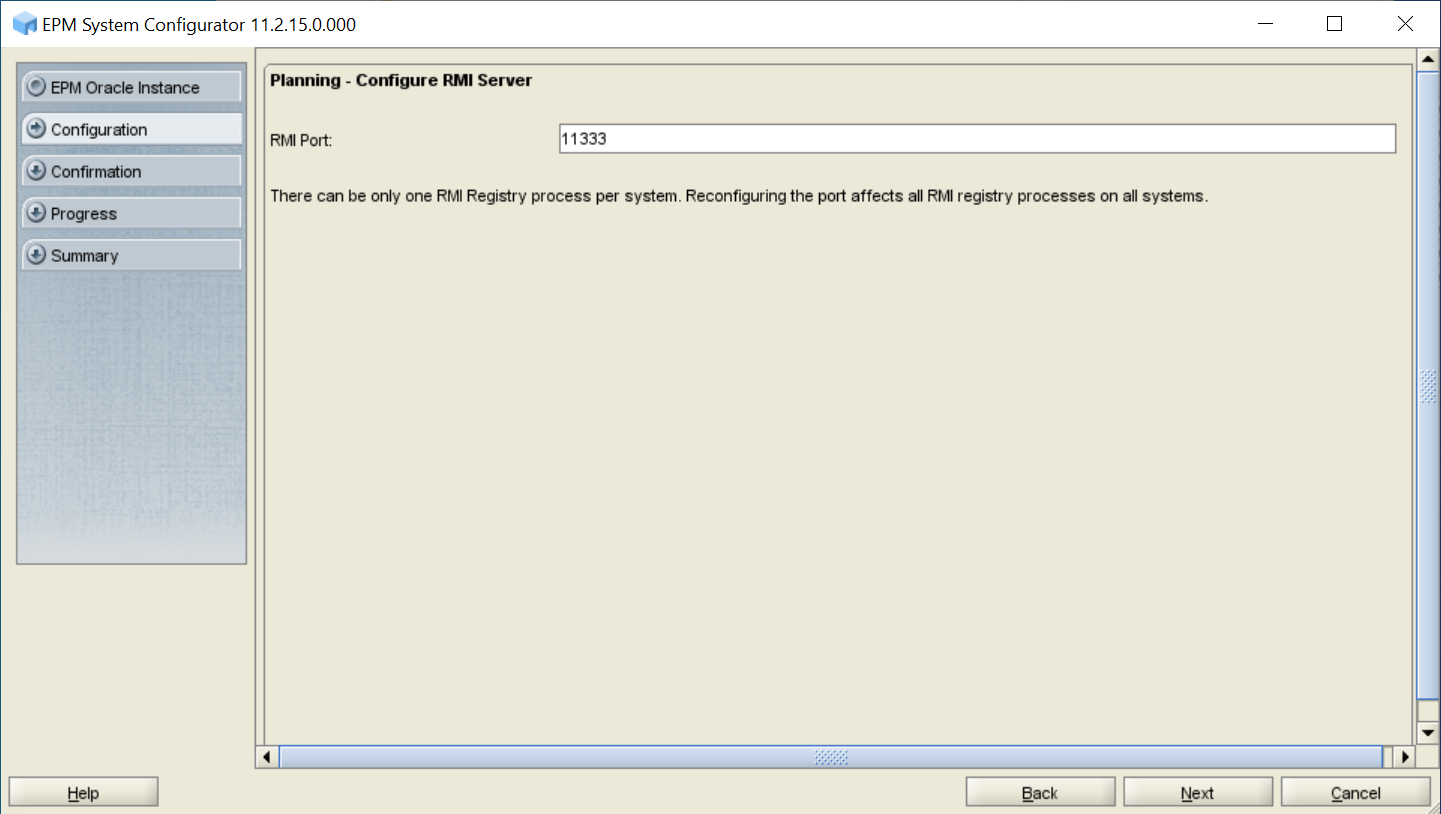
- In Planning - Configure RMI Server, click Next.
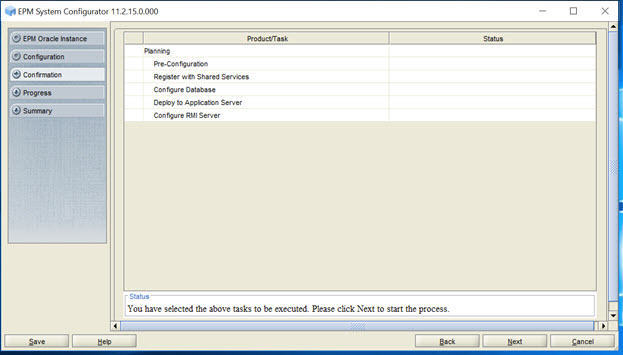
- In Confirmation, review the summary of the configuration tasks that will be executed, and then click Next.
- When the deployment process is complete, the Summary screen is displayed. Verify that all the tasks completed successfully, and then click Finish.
- Start Oracle Enterprise Performance Management System: From the Start menu, select Oracle EPM System, and then Start EPM System.