Running the Oracle Database Installer
On the machine where you have downloaded the Oracle 11g database installer:
Change directory to directory where you downloaded the installer. For example:
cd /u01/downloads/db11gr2/databaseLaunch the installer using this command:
./runInstaller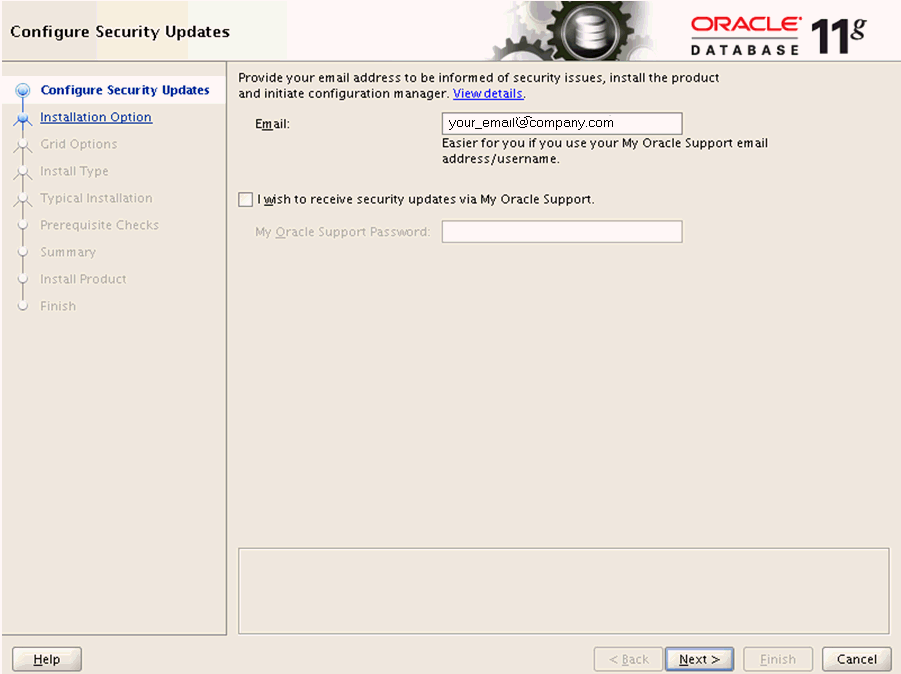
On Configure Security Updates, in order to be informed of security issues you must either provide an email address or choose to receive security updates via My Oracle Support. If you have an Oracle Support account, it will be easier if click the checkbox to choose to receive security updates via My Oracle Support.
Click the Next button.
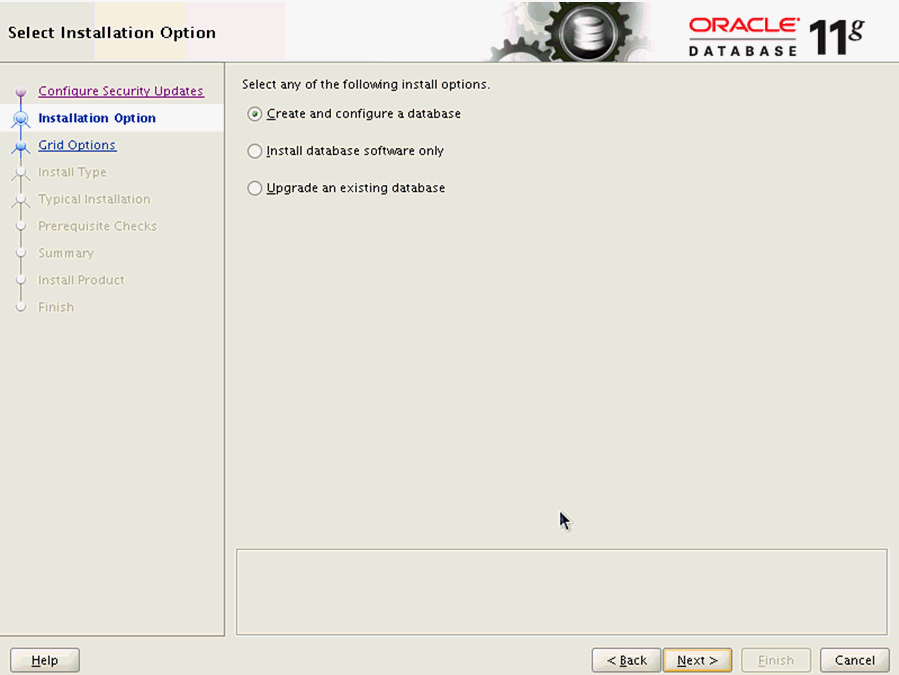
On Select Installation Option, click this radio button:
Create and configure a database
Click the Next button.
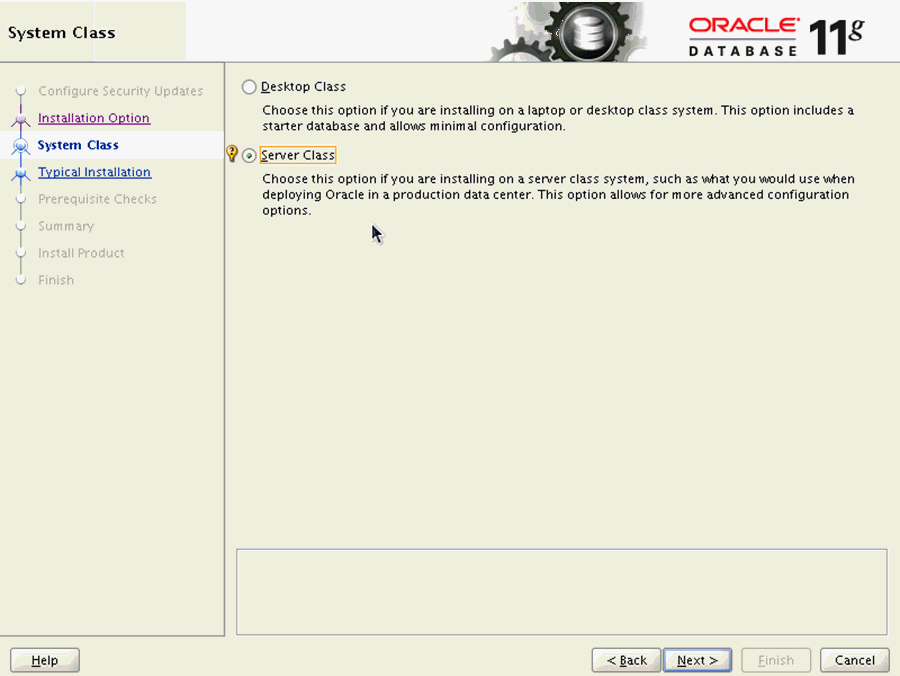
On System Class, click this radio button to install on a server class system.
Server Class
This option allows for more advanced configuration options.
Click the Next button.

On Node Selection, choose this radio button:
Single instance database installation
Click the Next button.
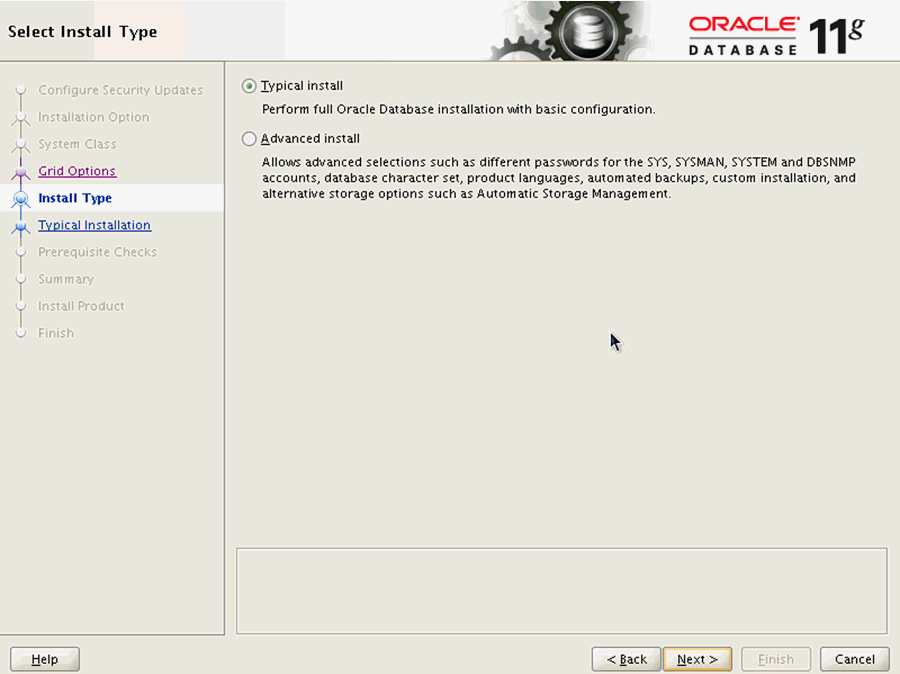
On Select Install Type, click this radio button:
Typical Install
Click the Next button.
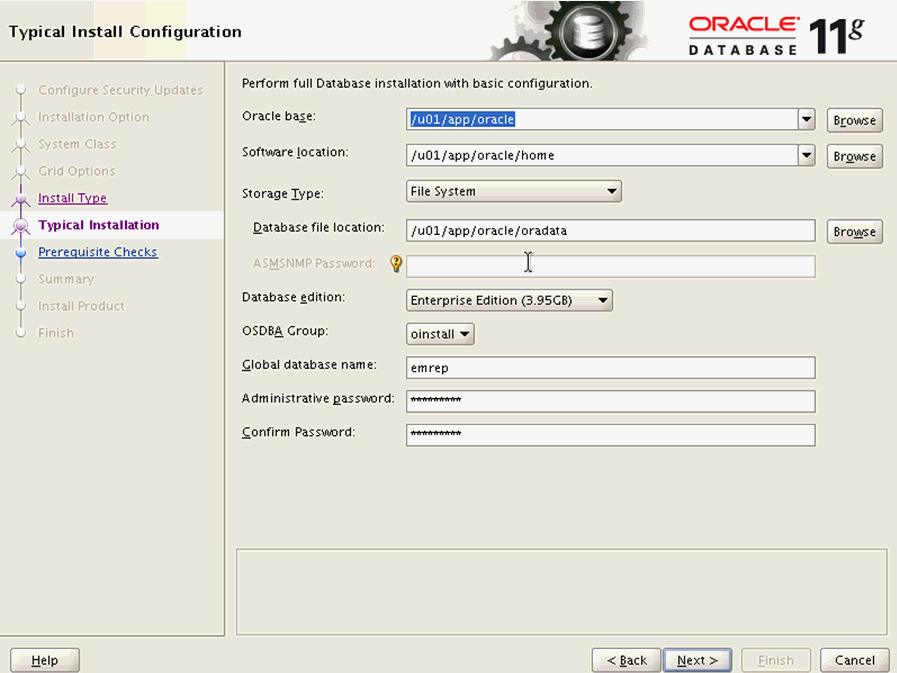
On Typical Install Configuration, complete these fields:
Oracle base
Enter your Oracle base location. For example:
/u01/app/oracleSoftware location
Enter or browse to the location of your Oracle base folder. This location must exist and be empty. For example:
/u01/app/oracle/oradataGlobal database name
Enter the global database name. For example:
emrep
Administrative Password
Enter the administrative password for the global database.
Confirm Password
Reenter the administrative password for the global database.
Click the Next button.
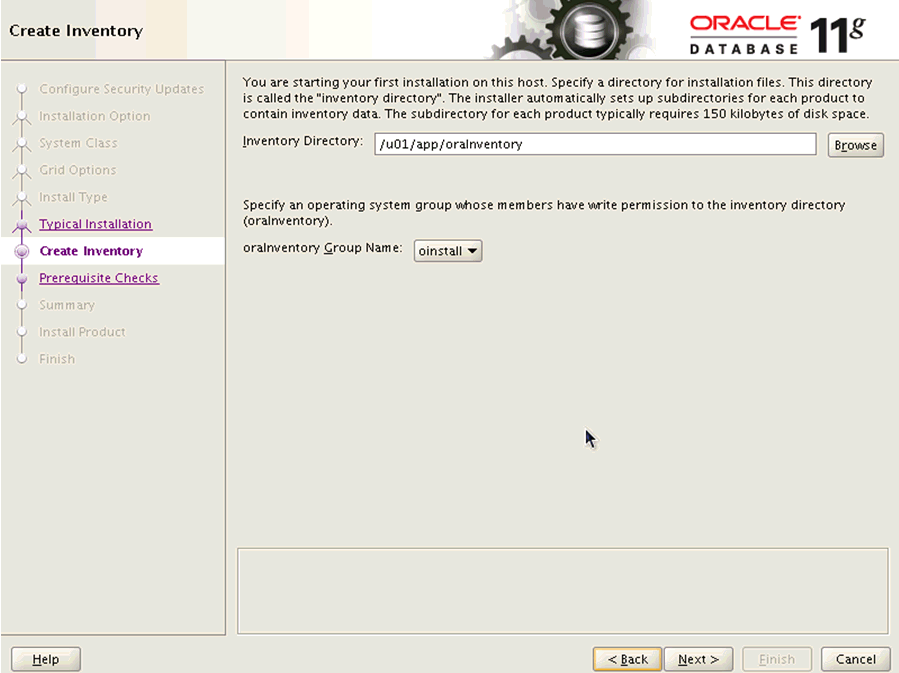
On Create Inventory, if this is your first installation on this host, you are prompted to enter an Inventory Directory. The installer automatically sets up subdirectories for each product to contain inventory data. The subdirectory for each product typically requires 150 KB of disk space. Optionally you can also choose between the available values in the oraInventory Group Name pulldown. For example, your inventory directory might be:
/u01/app/oraInventoryNote: This directory must exist and be empty.Click the Next button.
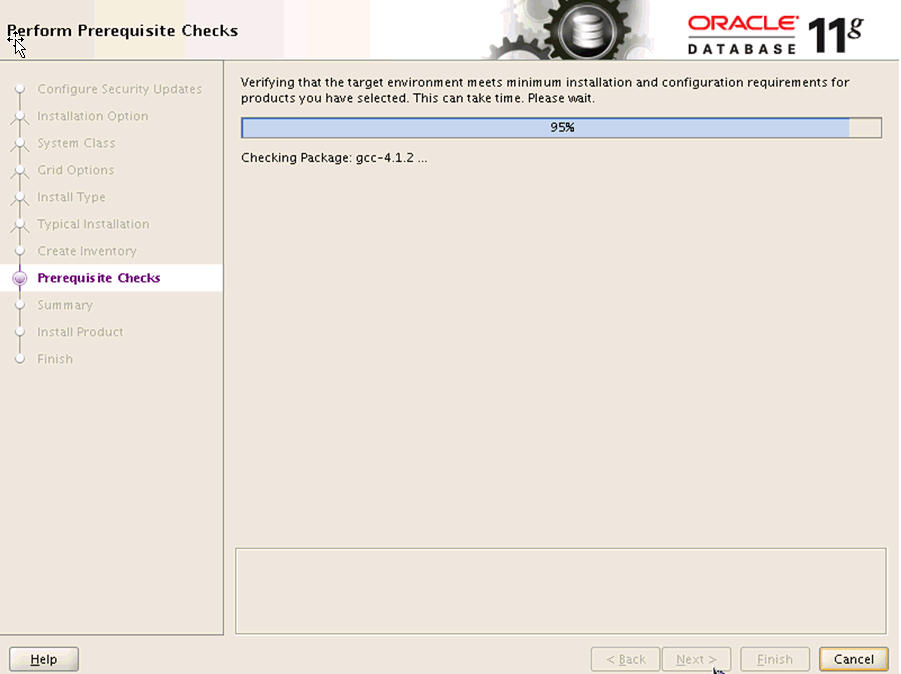
The installer begins the prerequisite check and displays the progress as it verifies that the target environment meets the minimum installation and configuration requirements for products you have selected.
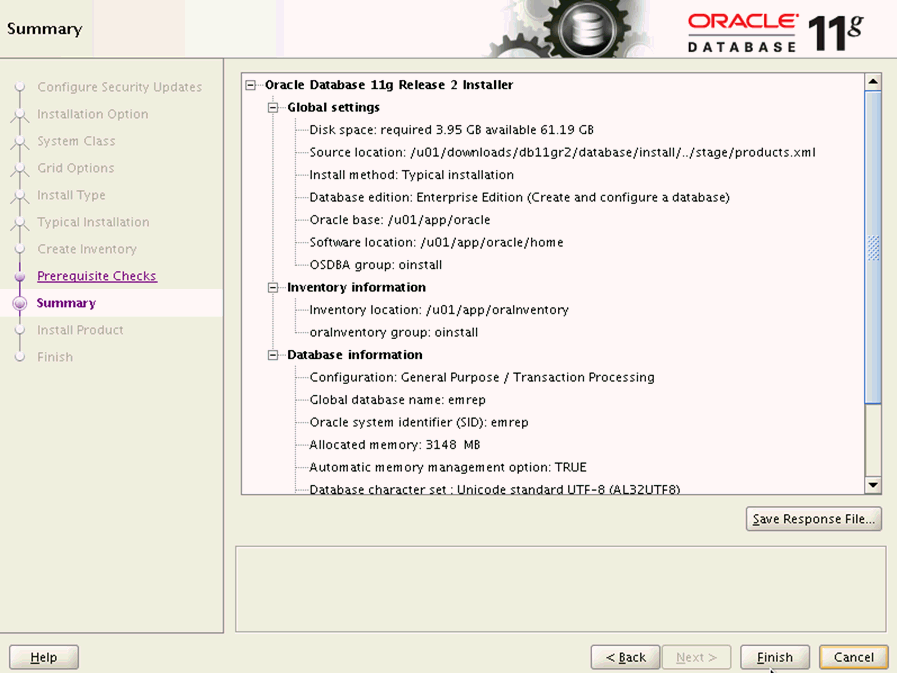
When the requisites check completes, the Summary screen is displayed.
On Summary, review the contents. Optionally you can click the Save Response File... button to save the contents of the Summary screen.
Click the Finish button to begin the actual installation.
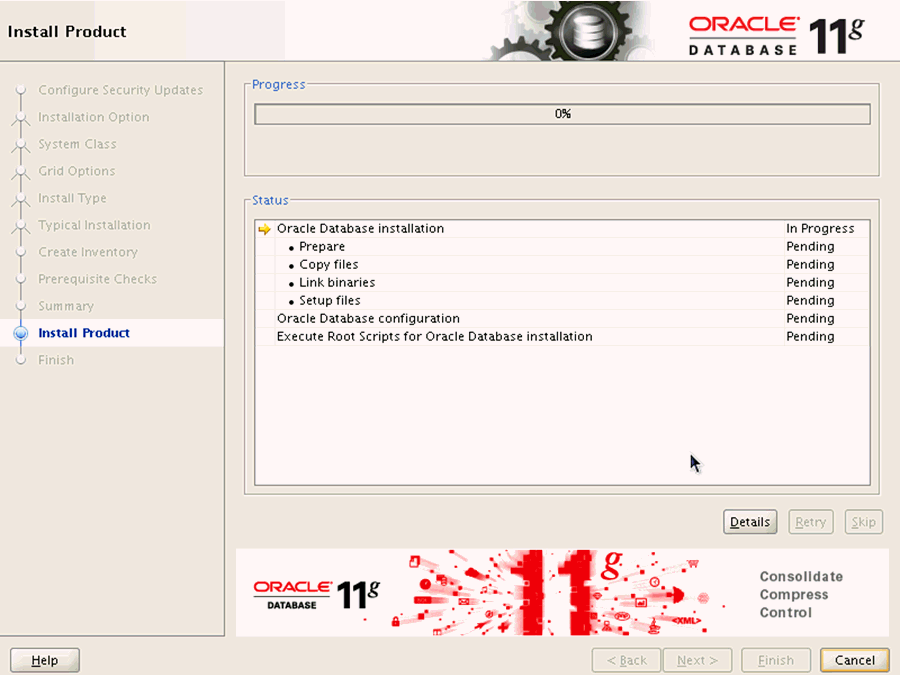
The installer displays a progress bar of In Progress and Pending tasks.
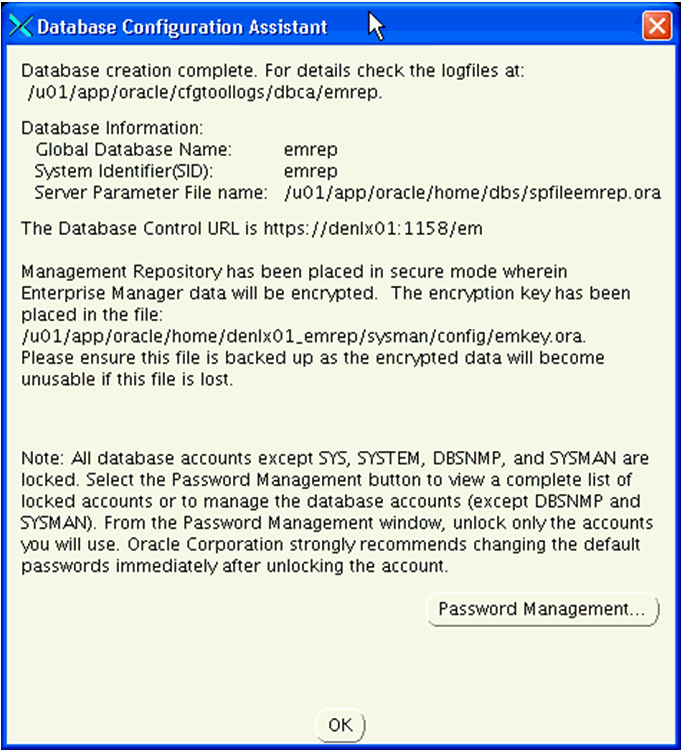
After the point in the installation when the database is successfully created, the installer displays an Xterm window for the Database Configuration Assistant.
Note: All database accounts except SYS, SYSTEM, DBSNMP, and SYSMAN are locked. Optionally, you can click the Password Management... button to view a complete list of locked accounts or manage the database accounts (except DBSNMP and SYSMAN). From the Password Management window, unlock only the accounts you will use. Oracle Corporation strongly recommends changing the default passwords immediately after unlocking the account.- If you clicked the Password Management... button this Xterm window for Password Management is displayed:
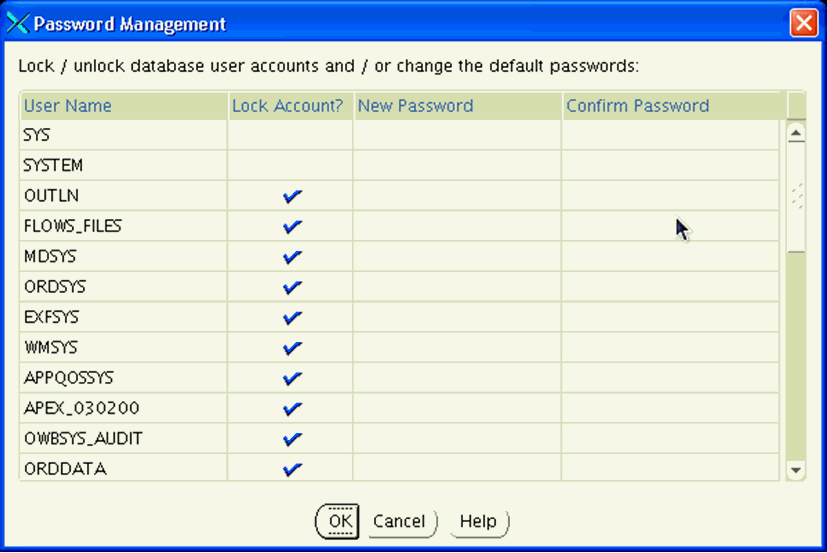
On Password Management, you can Lock or unlock database user accounts and/or change the default passwords.
If you choose to change accounts settings or passwords, click the OK button. Otherwise, click Cancel to return to the Database Configuration Assistant Xterm window.
On Database Configuration Assistant, click the OK button to resume the remaining installer tasks.
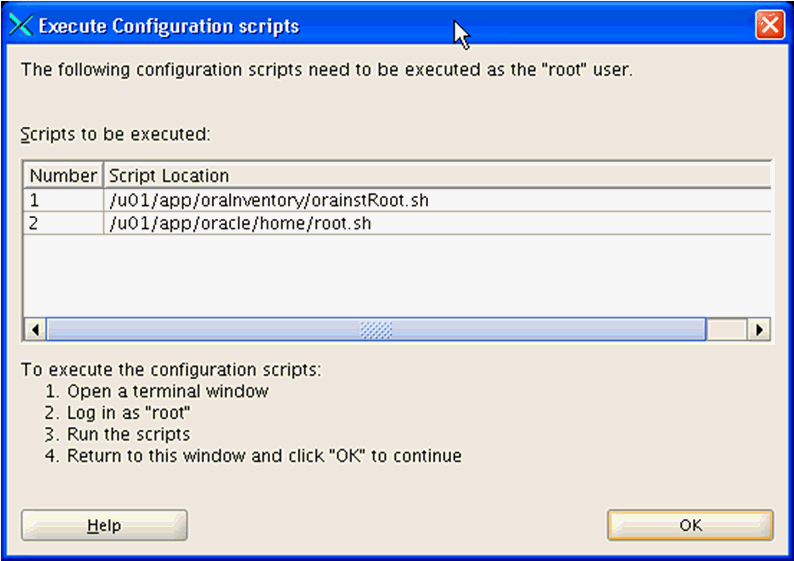
On the Xterm window for Execute Configuration scripts, you must execute the configuration scripts as the "root" user. To execute the configuration scripts:
Open a terminal window.
Log in as "root".
Run the scripts and verify that they ran successfully.
Return to this window.
On Execute Configuration Scripts, after you have executed the scripts as described in the preceding step, click the OK button to continue.
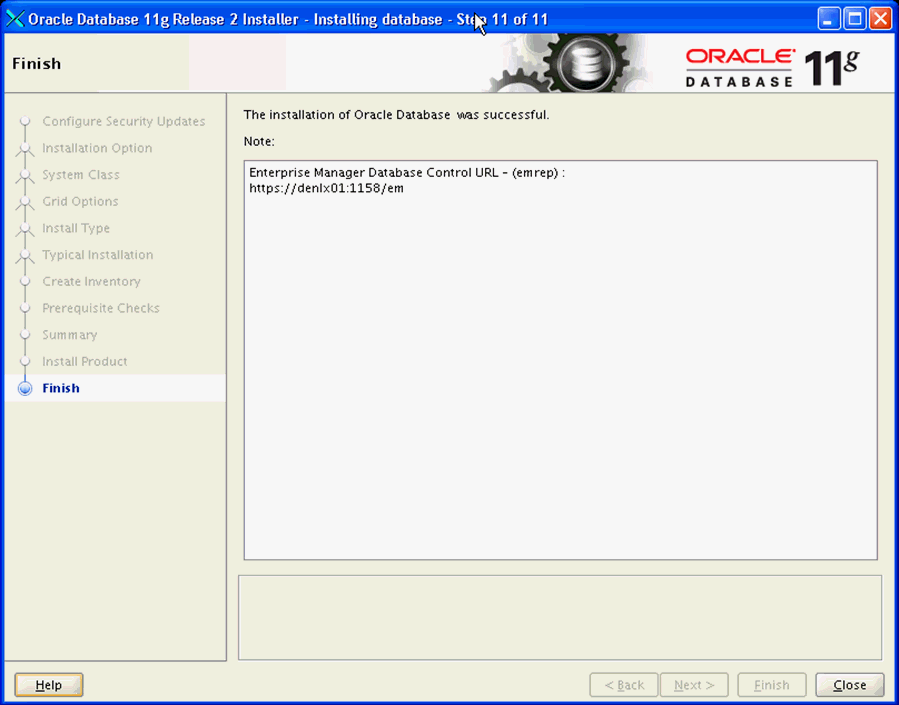
On Finish, verify the installation of the Oracle Database was successful and click the Close button.