Creating a Custom Rule with Groovy (Advanced)
Use Groovy to create a custom rule when conditions in a standard rule will not suffice.
To create a custom rule with Groovy:
Click the Rules icon on the Orchestrator Studio Home page, and on the Rules page, click the New Custom button.
Alternatively, access the Orchestrations design page and add a Rule step to an orchestration. At the end of row with the Rule step, click Edit (pencil icon) and select Custom from the pop-up box.
On the Rules design page, enter a name for the custom rule in the Rule field. Do NOT include special characters in the name.
Click the Product Code drop-down list to select a product code to associate with the rule.
This gives an administrator the option to manage UDO security for orchestration components by product code.
In the space provided, enter a short description with a maximum of 200 characters. This description appears below the rule name in the component list.
Click the Edit Long Description button to add a long description to provide more detail about the purpose of the component.
Select the Groovy radio button.
The Orchestrator Studio displays an edit area that contains a sample groovy script with instructions on how to work with the script. Use the Find and "Go to Line" fields and Undo and Redo buttons to help edit the script. See Using Apache Groovy for Custom Service Requests, Rules, and Manipulating Output (Orchestrator Studio 5.1.0 and Higher) for more information about the sample Groovy script.
Configure the script to perform the desired action.
In the "Input" grid, enter the names of the inputs.
To test the script:
Enter a value in the Test Value column for one or more inputs.
Click the Test button.
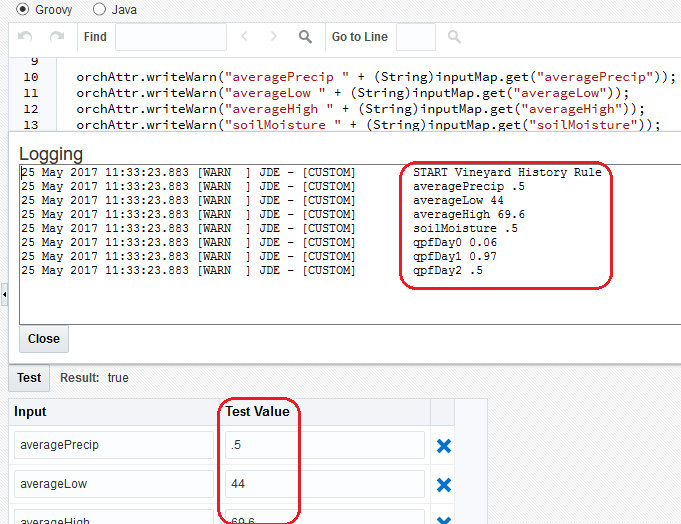
If you included orchAttr.writeWarn or orchAttr.writeDebug statements in the script, a Logging popup displays after execution. At runtime, log statements are included in the AIS Server log, which can be used for debugging script issues.
A Logging dialog box displays the test results which you can use to verify the values passed to the inputs, as shown in the following example:
Click Save.