Importing Orchestration Files in the Orchestrator Studio
You might need to import orchestration component XML files that were exported from the Orchestrator Studio for advanced troubleshooting or customization purposes. The Orchestrator Studio Import tool enables you to import individual orchestration XML files or a zip file containing XML files.
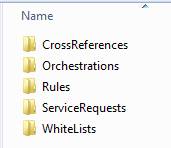
If importing a zip file that contains orchestration XML files and dependent orchestration component XML files, the zip should contain the following folders with each of the XML files stored in the appropriate folder:
If you import an XML file that has the same name as a current orchestration component (UDO) in the Orchestrator Studio, you have the following options:
If the UDO is at a status of "Personal" or "Reserved," you can overwrite the UDO with the XML file.
If the UDO is in a "Shared" status, you cannot overwrite it. But you are given the option to import it as a new UDO with a status of "Personal."
To import files:
On the Orchestrator Studio Home page, click the Tools link in the upper-right corner.
On the Tools page, click the Import Files icon.
On Import Files, click the Choose File button.
Locate the orchestration component XML files or zip file that contains the orchestration component files that you want to import.
After selecting the files to import, the Import tool checks the XML files that you selected against the current UDOs in the Orchestrator Studio and displays the options that are available for importing the files, as shown in the following example:
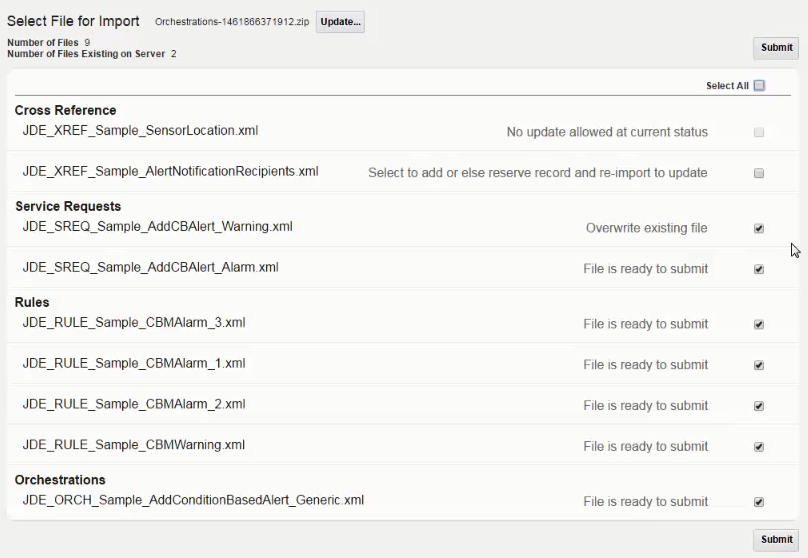
Review the import option for each file to determine how to proceed with the import. The options are:
No update allowed at current status.
The XML file name is the same as an existing component, which has a status of "Pending Approval," so it cannot be overwritten.
Select to add or else reserve record and re-import to update.
A component with the same name exists in the Orchestrator Studio in a "Shared" status. Click the check box if you want to import the file as a new UDO. A new name will be generated for the new component upon import.
If you want to overwrite the current component in the Orchestrator Studio, clear the check box. And then change the status of the current component to "Reserved" and reimport the XML file to overwrite the component.
File already exists.
The XML file matches a component that is in a "Personal" or "Reserved" status. Click the check box to import it and overwrite the current component.
File is ready to submit.
The XML file is unique and does not already exist in the Orchestrator Studio. Click the check box to import it.
You can also click the Select All check box to import all XML files that are available for importing.
Click the Submit button.
The Orchestrator Studio imports the selected components into the components list on the respective design page.