Deploying the ASI Using Change Assistant
This process is used for Tools Releases prior to 9.2.7.
ASIs are special instructions for software updates executed automatically. They are downloaded separately from the software update you are installing, either using Update Center or Change Assistant. The JD Edwards EnterpriseOne Tools Release 9.2 ASI is a .par file and can be found using TL92* as a search criterion for the Update Name within the Update Center or Change Assistant. If you run the ASI then subsequently apply a new tools release, you will need to re-run the ASI.
The ASI process now backs up the critical tables F952400, F952420, F00950W as xml files in the path code\package folder. You can restore these files through an uninstall path in the ASI.
Before you execute the ASI on an AIX system with EnterpriseOne Tools Release 9.1.5 and earlier, you must perform the following steps:
-
Log into JDEPLAN environment.
-
Execute Object Configuration Manager (OCM).
-
Select Planner - 9xx OCM data source.
-
Search on the following criteria to locate the default business function mapping:
-
Environment = JXX9X0
-
Type = BSFN
-
Object = DEFAULT
-
-
Select to deactivate the mapping.
-
Sign off all EnterpriseOne processes.
-
Execute the ASI.
See: Appendix C: ASI Validations
See "Deploying Automated Special Instructions" on JD Edwards EnterpriseOne documentation on My Oracle Support (Doc ID 1486063.1).
To deploy an ASI:
-
Obtain the latest TL92* ASI from the Oracle JD Edwards EnterpriseOne Update Center.
- Enable Security Server on the Deployment Server and the Enterprise Server.
-
Download and access with Change Assistant.
-
On Change Assistant, expand the Work with Packages node.
-
Navigate to the ASI package that you downloaded.
-
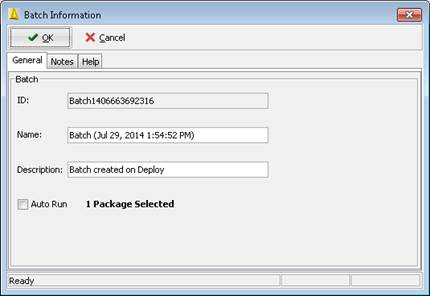
Select the ASI package by checking the box next to the package.
-
Click Deploy on the Work with Packages toolbar to start the ASI.
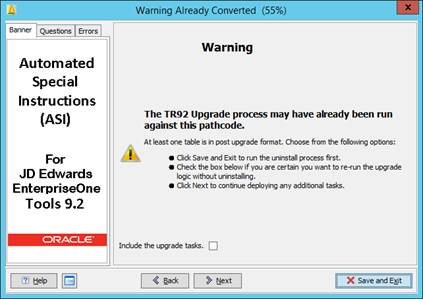
See: Appendix D: Errors and Warnings
-
Click OK to continue.
This warning displays only if the Security Server is disabled.
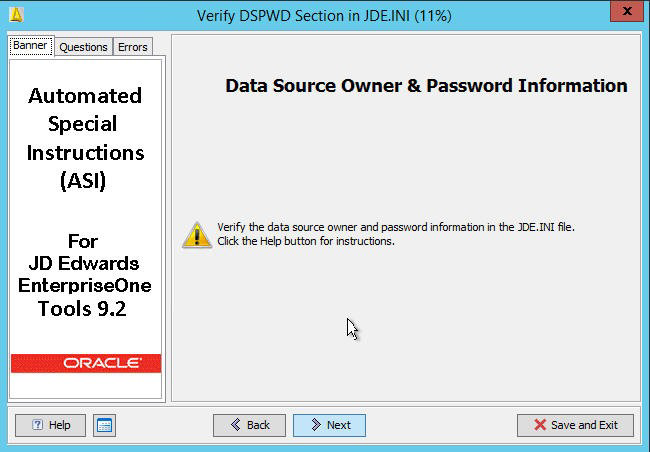
Note:If you have changed the passwords for any table owners created during the Platform Pack installation, they must be defined in the jde.ini file. The ASI assumes that the table owner's password is the same as the table owner, unless it finds overrides in the jde.ini file on the Deployment Server.
-
Verify the data source owner and password information
-
Click Next to continue deploying new tasks.
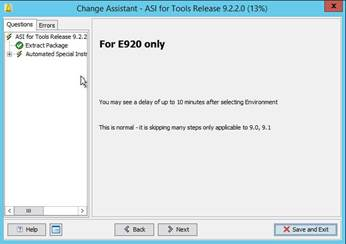
If you are on E920, skip to Step 12. The following screens are displayed if you are on E900 or E910.
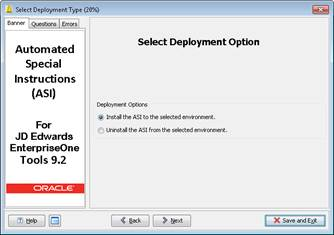
The Select Deployment Type dialog box opens and presents the following options:
-
Install the ASI to the selected environment.
-
Uninstall the ASI from the selected environment.
Note: The uninstall process only reverses the changes to the UDO tables. It does not uninstall any UDCs or the Rollup ESU. -
-
Select Install the ASI to the selected environment (Applications Releases 9.0 and 9.1 only). The Uninstall option only reverses the database changes.
-
Click Next.
Note:To access additional information on each step, click the Help button.
-
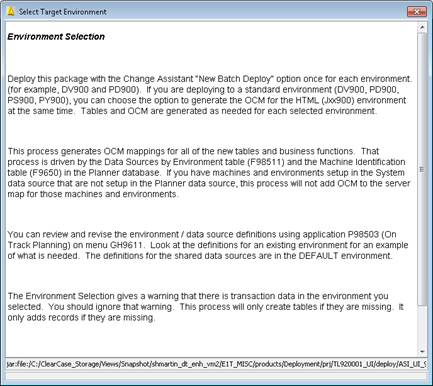
Click the Help button for details regarding this dialog box.
-
Click the X to close out of the Help dialog box.
-
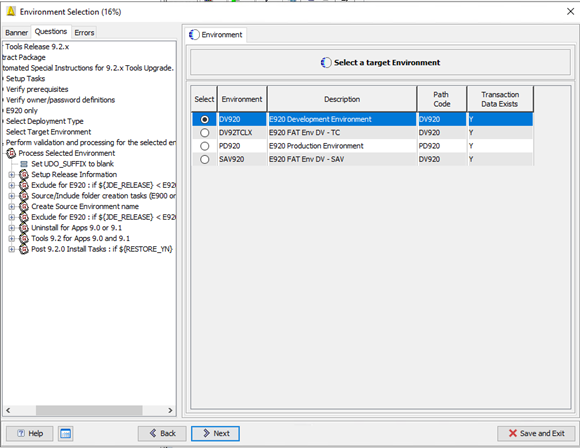
Select the target environment and click Next.
-
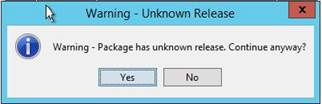
Click, Yes on Warning - Unknown Release.
-
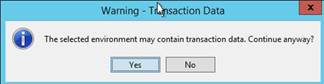
Click, Yes on Warning - Transaction Data
-
For Applications Release 9.0 and 9.1 only, select, Include the upgrade tasks to run the UDO table conversions again. Otherwise click Next to execute new tools upgrades tasks.
New Tasks for Tools Release 9.2.0.5
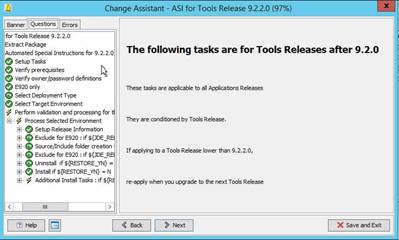
-
Click Next to continue.
-
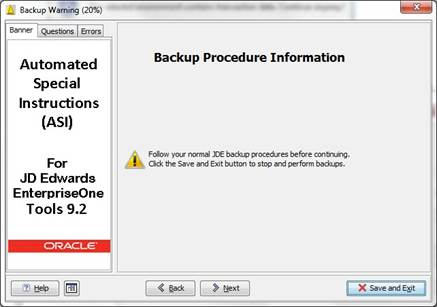
Click Next to continue.
-
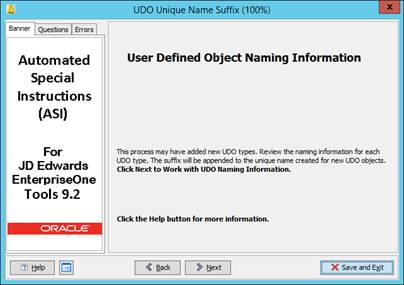
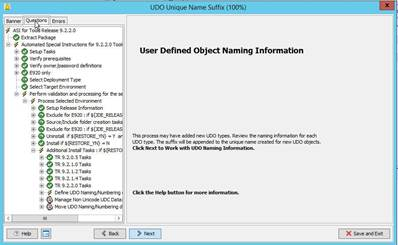
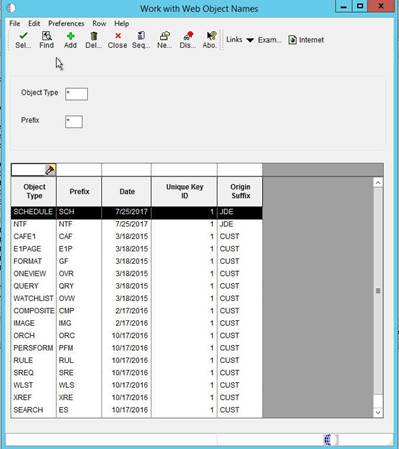
At User Defined Object Naming Information, click Next to define a suffix to new UDOs.
-
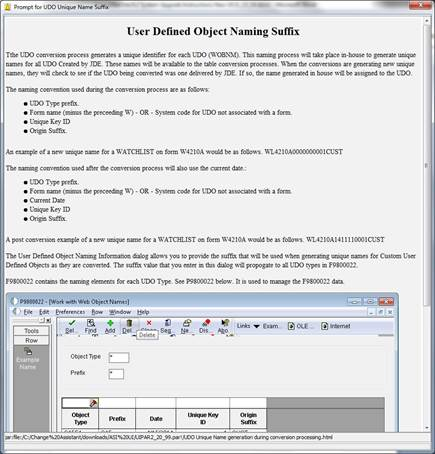
On the Work with Web Object Names select a new UDO type.
-
Update the Suffix and click OK.
Note: The suffix should not be path code specific. UDOs retain the same names as they are promoted from path code to path code.Note: If you are on EnterpriseOne 9.2 (E920), you will skip to step 36.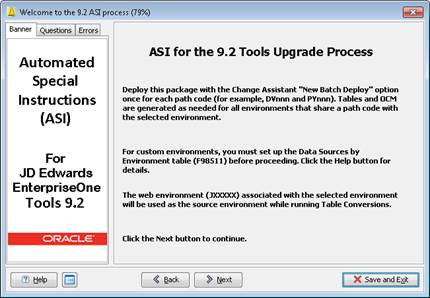
-
Click Next.

-
Click Next.
-
Click Next.
-
Click Next.
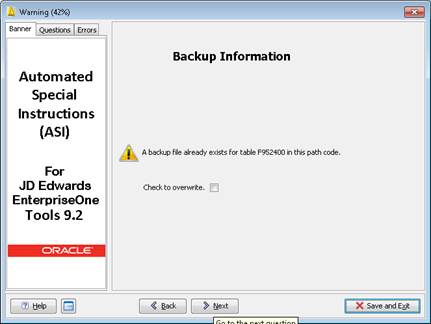
If F95240, F592420, F00950W, and F9000 tables have been backed up from a previous deployment, you can select to overwrite them or click Next to continue.
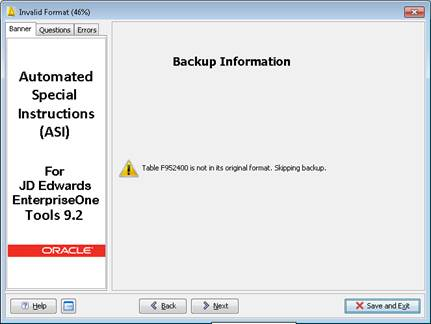
The ASI verifies the critical tables are in original format and skips the backup.
-
Click Next.

-
Select the "Check to load OMW UDO Data" check box and click Next.
Note: Check to load OMW UDO Data adds records in F98223 - Allowed Actions (Delete is being delivered for all UDOs) and F98225 - OMW Transfer Activity Rules for E900 and E910.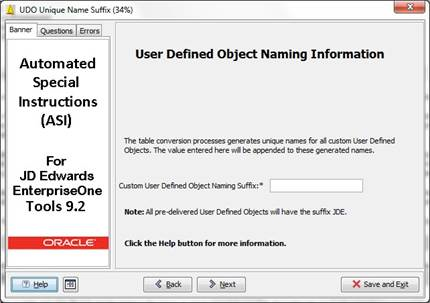
-
Enter a 1-6 character suffix to be used during the table conversion processes.
Warning: Invalid characters: !"#$%&'()*+-./:;<=>?@[\]^_`{|}~, -
Click the Help button to view suffix details.
-
Click the X to close.
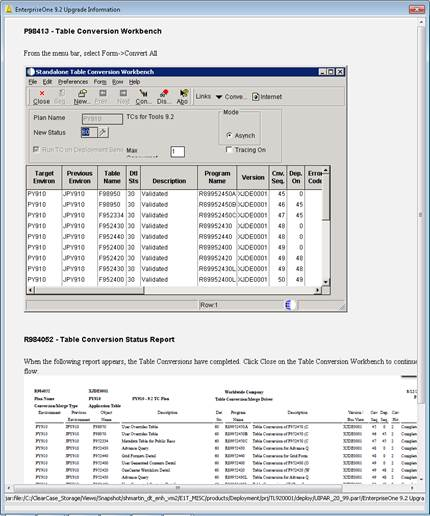
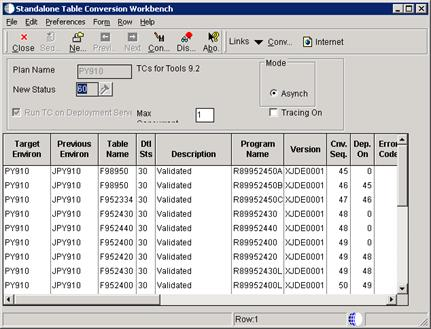
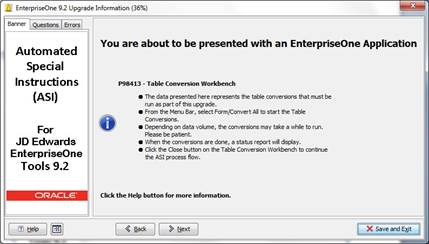 Important: Read the Table Conversion Workbench instructions carefully. The instructions describe how to proceed with the dialog boxes to follow.
 -
Click the Help button to view Table Conversion Workbench details.
-
Click the X to close.
-
Click the Form menu, and then click Convert All.
Note: Clicking Convert All starts the table conversions. When the table conversions are complete, a report will display the results.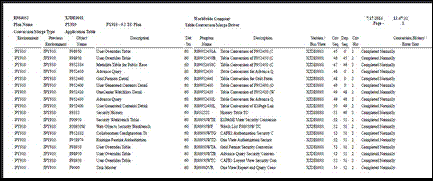
-
Click Close on the Table Conversion Workbench.
Note: Follow the recommended course of action displayed on the dialog box for any failed table conversion.
-
Execute table conversions manually.
The ASI will only prompt you to run the table conversions if it has detected data in F980052 in the System - xxx data source and no data in F980052 in the associated Control Tables data source.
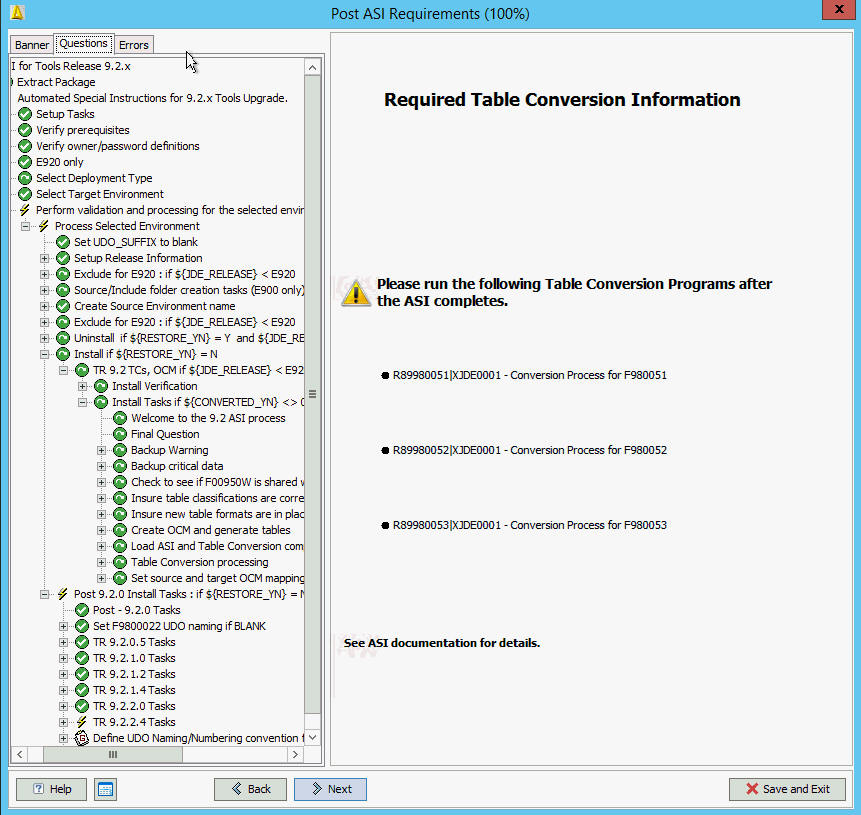
You will see the above dialog appear only if F980051, F980052, and F980053 tables are in the wrong format and have records in the F980052 table.
Note: The following information assumes the ASI has been applied to target environment DV9X,X which has an associated WAN environment of JDV9XX. The associated WAN environment is to be used as the source environment for the table conversions.Verify whether there are any records in your version of these three tables in System - xxx. You won't be able to use Universal Table Browser, you will need to use sqlplus / strsql or another database tool. If there are no records, no action needs to be taken. The ASI will have generated the tables for you into the Control Tables - xxx data source for your target environment.
The ASI will have applied the correct .par file to your Deployment Server.
The ASI will have reset the OCM for these 3 tables to point to Control Tables - xxx for the environment you applied the ASI to, plus any other environments that share the same path code.
Your source and target environments for the table conversion must be different. The ASI has set the OCM for these three tables to System - xxx for the WAN environment (JDV9XX) associated with the environment you ran the ASI against.
- Run the table conversions one at a time signed into JDEPLAN
- Submit from Batch Versions.
- Click on Properties and change the source environment to JDV9XX and the target environment to DV9XX.
Once the TCs have run, reset the OCM in JDEPLAN for the source environment to point to the Control Tables - xxx again.
If you have multiple environments with different Control Tables associated with this path code, copy the output table from the table conversion to each of the environments' Control Tables. For example:
-
You have DV920 JDV920 DV920XX DV920YY and DV920XX and YY have their own unique Control Tables.
-
Run the table conversion against JDV920 DV920, and then copy the F980051, 52, 53 from Control Tables - Test to the Control Tables for DV920XX and DV920YY.
-
Release 9.2.4
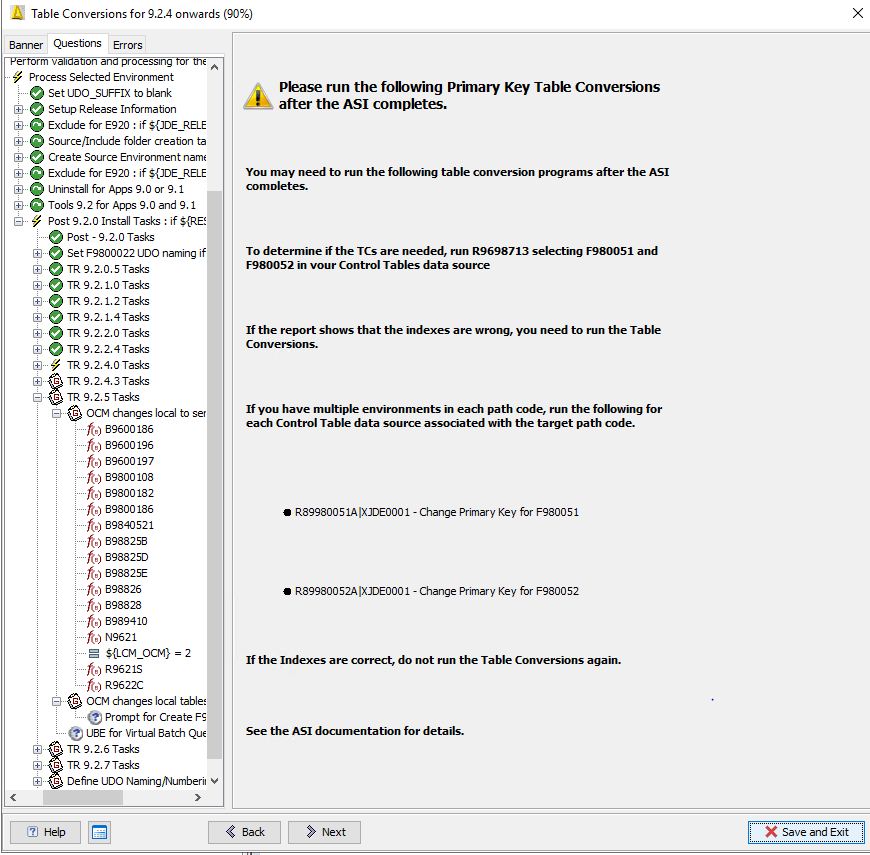
You may need to run the above table conversion programs after the ASI completes.
To determine if the above table conversions are necessary, run R9696713 selecting F980051 and F980052 in the Control Table data source.
If you have multiple environments in each path code, run the following for each Control Table data source associated with the target path code:
- R89980051A|XJDE0001 - Change Primary Key for F980051
- R89980052A|XJDE0001 - Change Primary Key for F980052
-
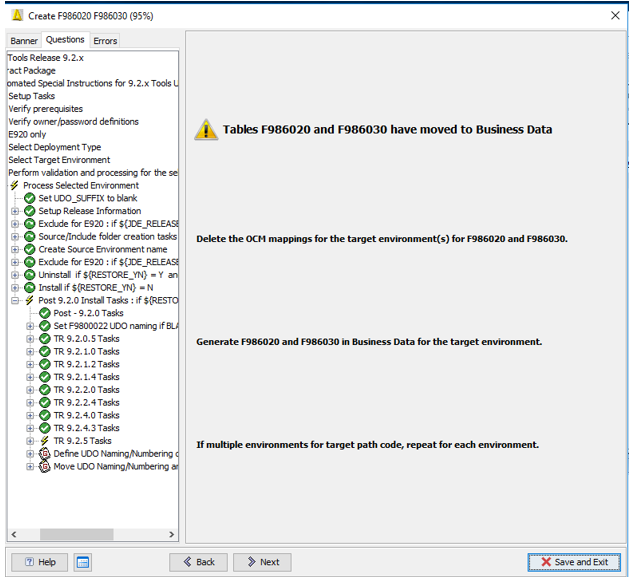
In Release 9.2.5, the E1Local database has been removed. The F986020 and F986030 tables have been moved to Business Data. You must generate the tables in Business Data for the target environment.
-
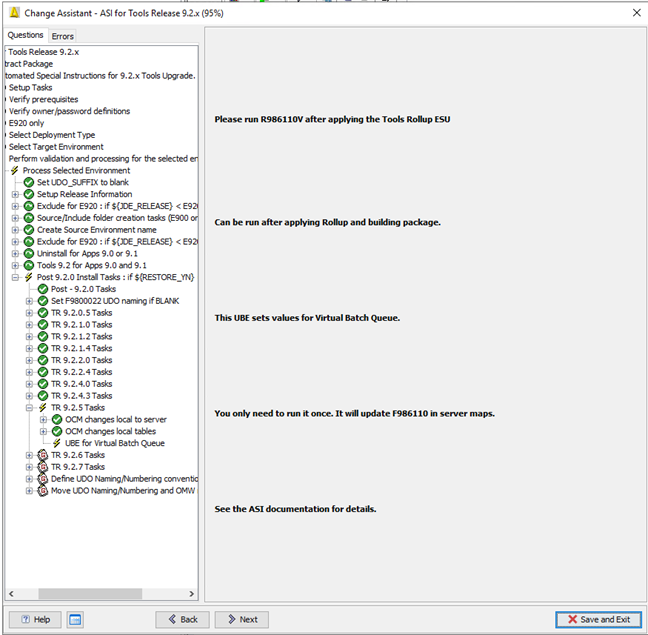
Setting values for Virtual Batch Queues (Release 9.2.5)
-
Release 9.2.6 Run UBE R9860A.

-
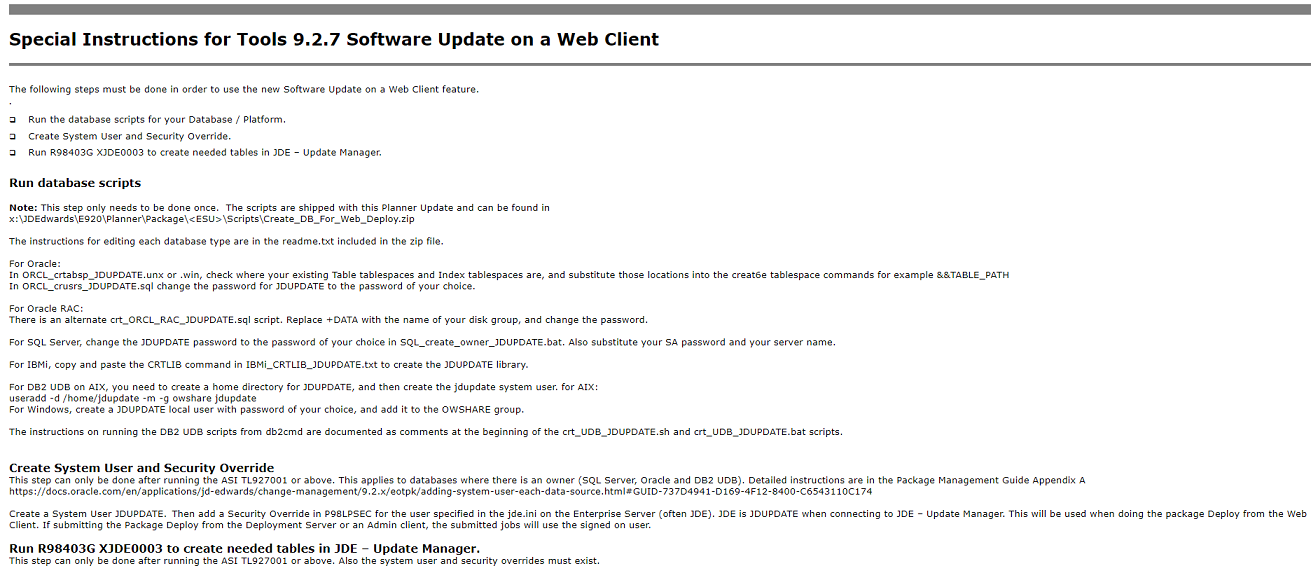
Tools Release 9.2.7.0
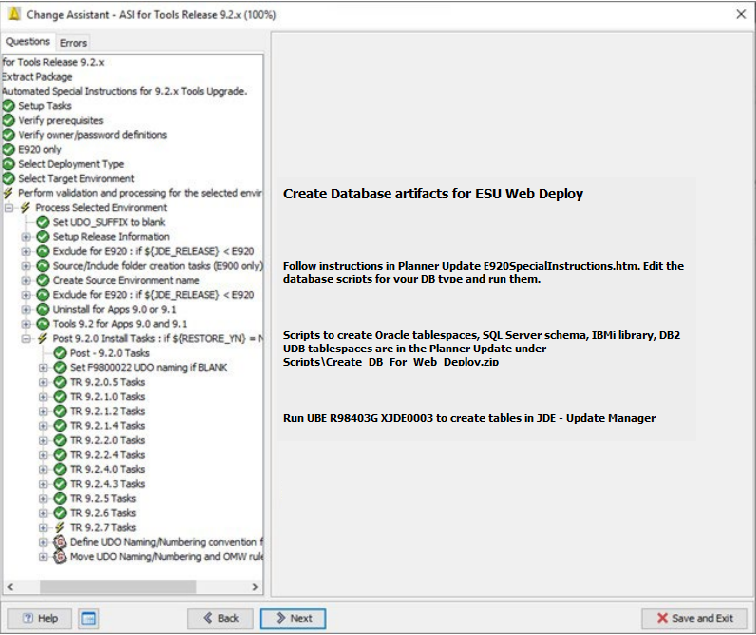
The database scripts are now being delivered in the Planner Update under x:\JDEdwards\E920\planner\package\<ESU-name>\scripts\Create_DB_For_Web_Deploy.zip. See Planner Special Instructions 9.2.7 section for how to run the scripts.
Verifying ASI Table Conversions(E910 and E900 Only)
It is recommended to verify the success of the ASI table conversions by verifying:
Tables
Security
Runtime
Tables
Use the following grid to verify the UDO tables:
UDO |
Table |
Verification |
|---|---|---|
One View Reports and EnterpriseOne Page |
F952400 |
Has the WOBNM column. |
EnterpriseOne Watchlist |
F952420 |
Has the WOBNM column. |
Queries |
F952430 |
Has the same record count as F98950. |
Grid Formats |
F952440 |
Has the same record count as F98950. |
CAFE1 |
F952450 |
Has the same record count as F98950. |
Security
You use (P00950) to verify that the UDOs have the same level of security as before the EnterpriseOne Tools Release upgrade.
Runtime
After the ASI runs, you should verify access to UDO is the same as before the EnterpriseOne Tools Release upgrade.
If the ASI halts or table conversions do not successfully run, it is recommended to fix the error and run the ASI uninstall program. The ASI uninstall program performs several clean-up operations, table clean-up, and restoring. This action will allow you to run the ASI as if it is the first time.
Verify the F00165 table in Business Data has the F00165_5. If this does not exist, run the R9698713 UBE which will generate missing indexes.