Installing the Fix Pack
The installation process for Refresh Packs and Fixpacks is same. Refresh Packs update the base software release level and Fix Packs create minor updates to the Refresh Packs. This task describes the process of installing a Fixpacks, but the same process applies for Refresh Packs as well.
Refer to the Certifications to determine the requirements for your configuration. Apply all the required Refresh Packs and Fixpacks using the following process as an example.
To install the fix pack:
If you are running WebSphere, stop the WebSphere processes and the
QWAS7subsystem.Refer to the JD Edwards EnterpriseOne Certifications to determine the supported Fix Packs, and download these supported Fix Packs for WebSphere Application Server 7.0 from the IBM web site.
Unzip the downloaded file for the WebSphere Application Server onto a Windows computer.
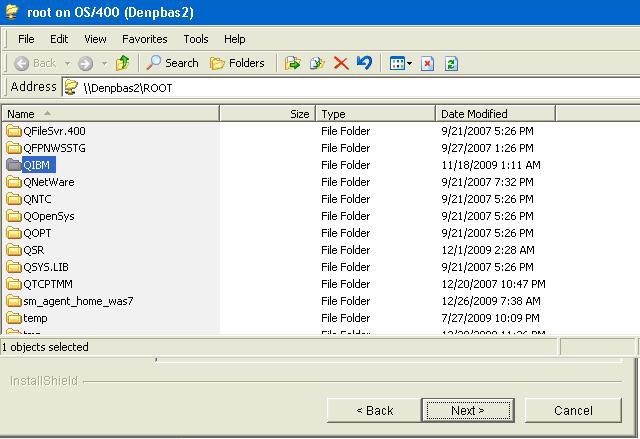
Map the drive to the IBM i machine. For example:
\\IBMi_machine_name\ROOTThe system requests the user name and password.
Copy the Fix Pack to this directory:
/QIBM/ProdData/WebSphere/UpdateInstaller/V7/UPDI/maintenanceA sample screen shot is shown below.
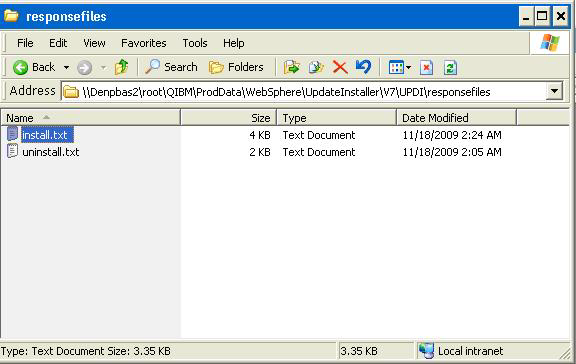
Modify
install.txtfile, which is located in this directory:/QIBM/ProdData/WebSphere/UpdateInstaller/V7/UPDI/responsefilesSpecify the Fix Pack to install (that is, the one that you copied in previous step). For example:
-W maintenance.package="/QIBM/ProdData/WebSphere/UpdateInstaller/V7/UPDI/
maintenance/7.0-7.0.0-WS-WAS-i5osPPC-FP00000xx.pak"
Specify WebSphere 7 product directory. For example:
-W product.location="/QIBM/ProdData/WebSphere/AppServer/V7/ND"
A sample screenshot of the
install.txtshowing the relevant sections is shown below: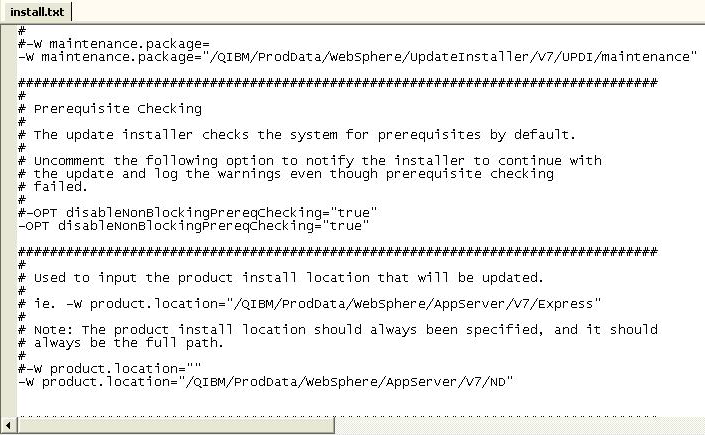
On the IBM i command line, enter this Start Qshell command:
STRQSHNavigate to this directory:
/QIBM/ProdData/WebSphere/UpdateInstaller/V7/UPDIEnter this command:
./update -options
                        responsefiles/install.txt
The update program runs for several minutes and installs the WebSphere Fix Pack.