Using the JDE JSON Mapping Tool to Map Mismatched Fields
The JDE JSON Mapping Tool enables you to update the AISEndPoint.xml file with the proper JSON client-server mappings. After updating the AISEndPoint.xml file, you deploy it to the AIS Server to produce the expected JSON responses. The tool enables you to:
Map mismatched fields to the current fields in the EnterpriseOne form.
Save the mappings to a file so that later, you can incorporate the mappings into the AISEndPoint.xml file.
To map mismatched fields:
Locate the JDE_JSONMappingTool.zip file and unzip it to your local machine.
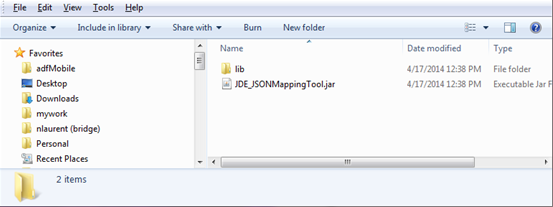
Double-click the jar file to launch the application.
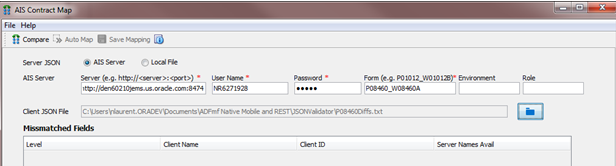
Complete the following fields to identify the location of the server JSON information:
Server. Enter the path to the server where the AIS Server is deployed, for example:
http://<server>:<port>User Name. Enter a user name for the EnterpriseOne HTML Server.
Password. Enter a password for the EnterpriseOne HTML Server.
Form. Use the following syntax to identify the form for which you want to compare form service responses:
<application
                                ID>_<form ID>
. For example:P08460_W08460AEnvironment.
Role.
Note: You can also select the Local File option if you have the file with server JSON information on your local machine.In the Client JSON File field, click the folder button to select the locally stored file with the client contract, which contains the client's expected JSON response for that form.
Click the Compare button in the menu bar. The tool displays any mismatched fields in the grid.
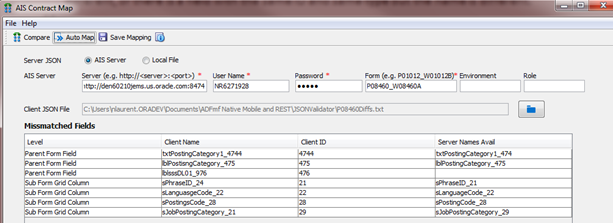
Click the Auto Map button to map the fields automatically.
Auto Map matches fields where only the ID is different, or it matches fields that have the same ID and type but different names.
Review the mappings and map any remaining mismatched fields manually by using the drop-down menu in the Server Names Avail column.
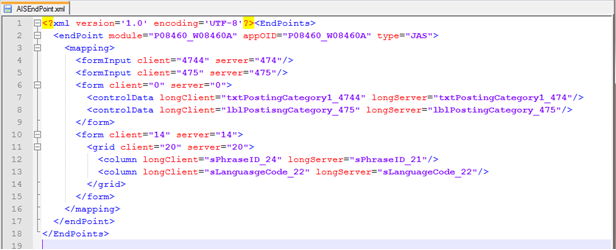
Click the Save Mapping button and enter a unique name to save the xml file as a new file. Later, you must manually copy the endpoint information from this file into AISEndPoint.xml file.
Click OK on the confirmation message.
Open the xml file to review and verify the output.
Follow the instructions in the Modifying and Deploying AIS Field Mappings section to deploy the updated mappings.