Using
Web Object Management Workbench to Manage Projects with Combined Object
Types
Using
Web Object Management Workbench to Manage Projects with Combined Object
Types Before You Begin
This tutorial shows you how to manage the lifecycle of all object types using the Web Object Management Workbench to perform the following tasks:
- Import and Export all object types
- Import, Export and Transfer of Combined Project
Time to Complete
Approximately 10 minutes
Background
Starting with Tools Release 9.2.7.
- All object types can co-exist in one project.
- Reduces overhead for project transfer.
- Any object type can be Imported/Exported using Web OMW.
- User Defined Objects (UDO) – Already supported
- Non-User Defined Objects (non-UDO)
- OMW Spec Based Objects – APPL, BSFN, BSVW, DSTR, UBE, etc.
- OMW Data Objects – DD, UDC, RDP, etc.
Scenario
For this tutorial, consider a scenario in which a system admin needs to manage projects with both UDO and Non-UDO using Web OMW. Your goals for this tutorial include:
- Importing and exporting objects and projects.
- Deleting objects and projects.
- Transferring projects with combined object types.
Prerequisite
Before performing the tasks in the tutorial, you must ensure that:
- JD Edwards EnterpriseOne with Tools Release 9.2.7 or higher is installed.
- For this tutorial, you will perform the steps mentioned in the Creating workflow object with data structures using the Web Object Management Workbench OBE to create an OMW project and add Non-UDO objects to the project.
 Export
Specification Based Object
Export
Specification Based Object
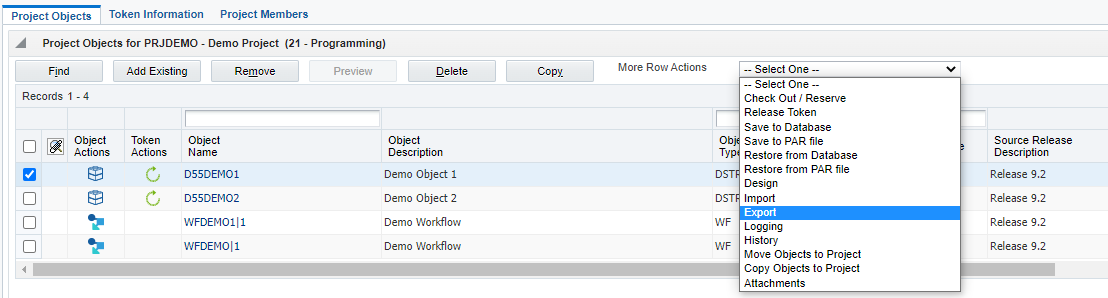
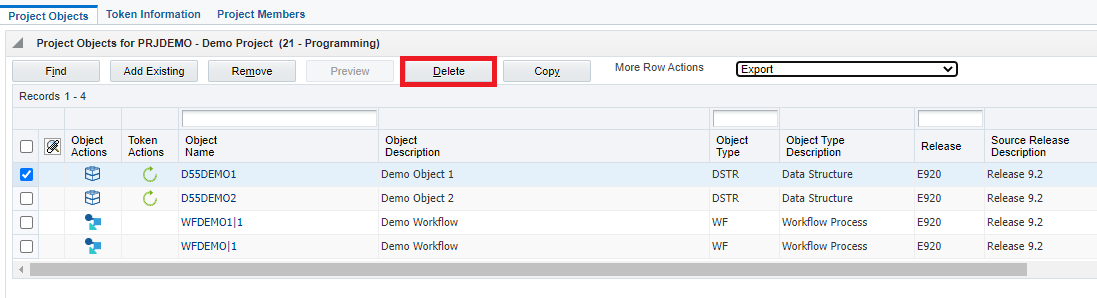
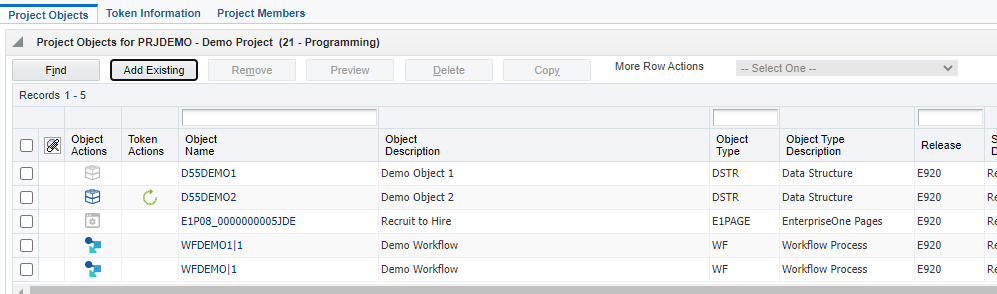
- In the Object Management Workbench – Web form, select the data structure object you created in the previous tasks to export object from the Project Objects tab.
- Click Export from More Row Actions drop-down list.
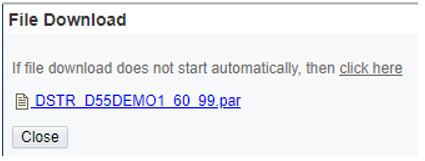
- The object par file will be downloaded from the Central Objects Location. (Not Local User Specs) to the Downloads location.
- Click Close to exit.
- Delete the data structure object that you just exported from the Project Objects tab before you perform the task mentioned in the Import Specification Based Object section.
- Click Delete.
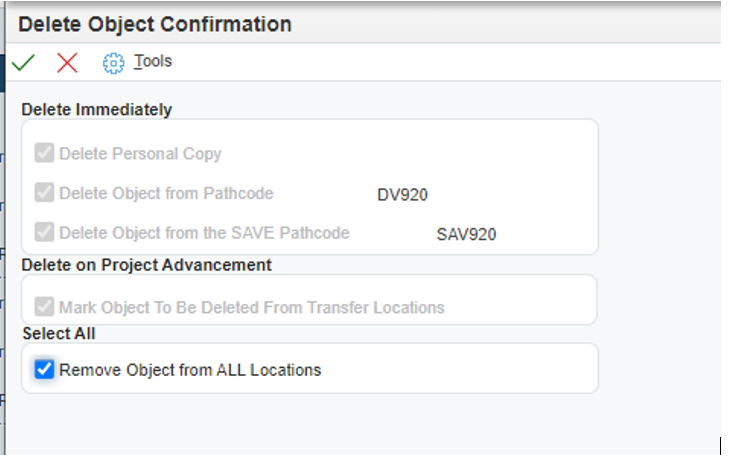
- Select All and click OK. This should also remove the object from the Project.
- Next, Import the
data structure object from the Projects grid.
 Import
Specification Based Object
Import
Specification Based Object
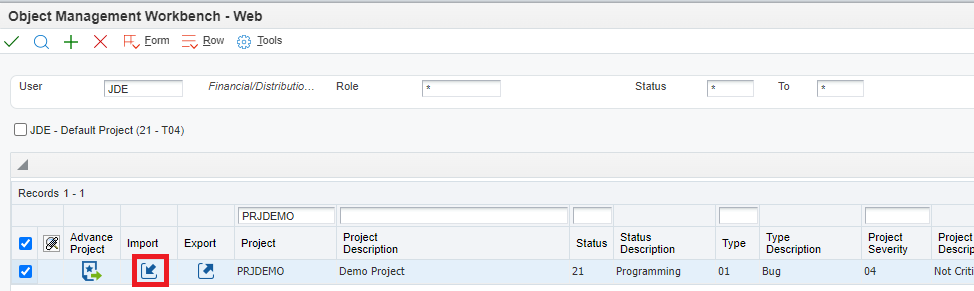
- In the Object Management Workbench – Web form, select the project you want to import the object into. Click the Import button in the selected row.
- Click OK.
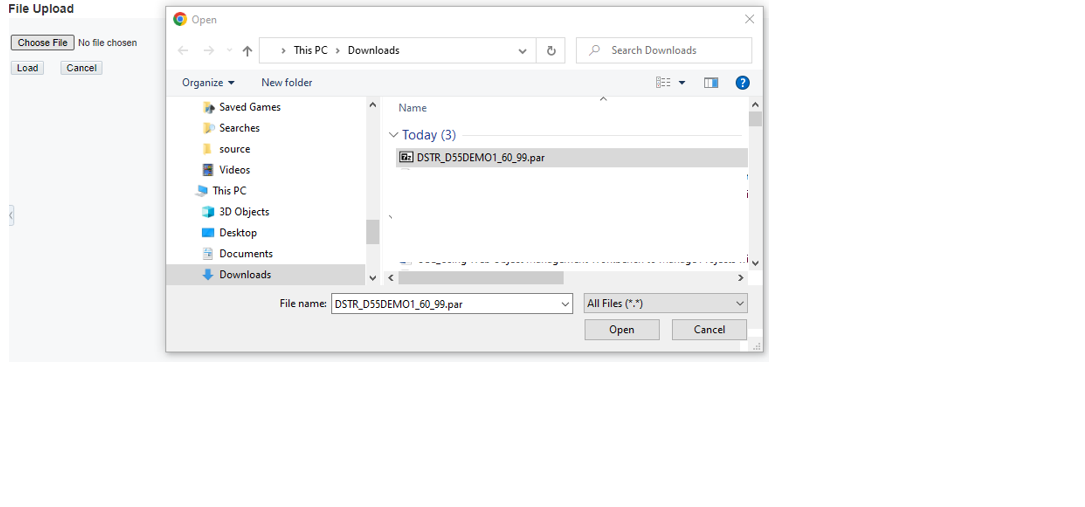
- Click Choose File.
- Choose file to upload.


 Import,
Export and Transfer Projects Containing Mixed Objects
Import,
Export and Transfer Projects Containing Mixed Objects
Starting with Tools Release 9.2.7, you can use the Web Object Management Workbench (Web OMW) to import, export and transfer projects with combined object types.
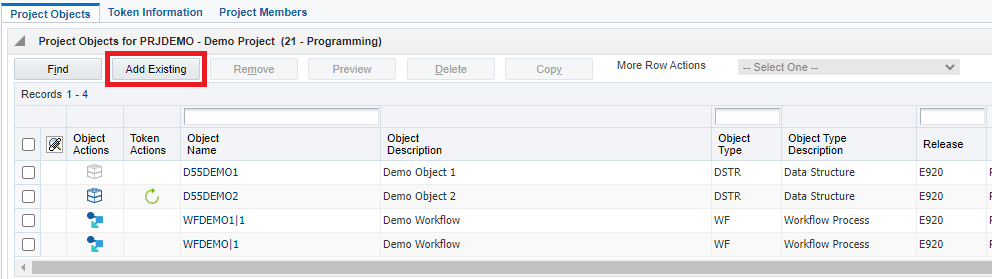
- In the Object Management Workbench – Web form, click Add Existing from Project Objects tab to add User Defined object(s) (UDO) to the project.
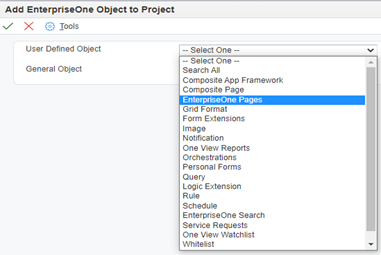
- In the Add EnterpriseOne Object to Project form, from the User Defined Object drop-down list, select the required object type. For example, select EnterpriseOne Pages.
- Click OK.
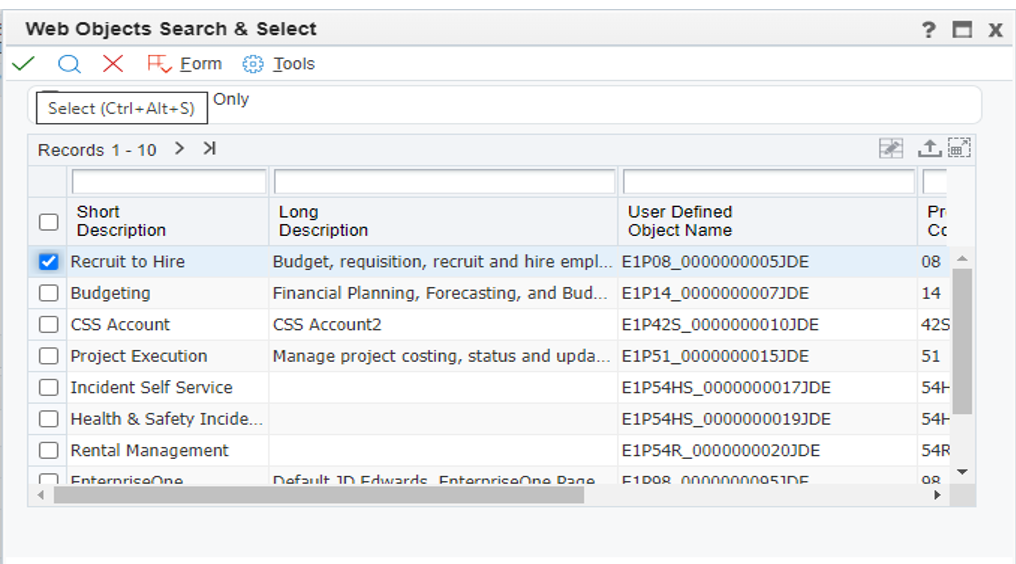
- Select the UDO object that you want to add from the Web Objects Search and select grid and click OK to add.
- Next, in the Object Management Workbench – Web form, select the UDO object, click check out. Then, check in to hold the token before the Web OMW transfer.
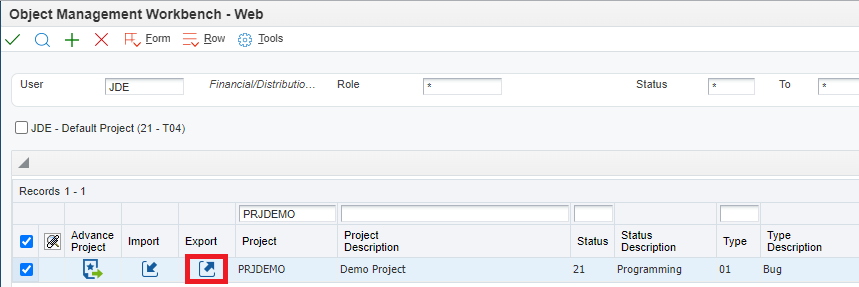
- Select the project which contains the mixed object types i.e., data structure, workflow object and UDO object to export the project with mixed object types. Click Export from the Project Grid.
- The project par file is downloaded in the Downloads location and click Close to exit.
- Note: When you export a project that contains only UDO objects, the project export contains UDO objects from the personal or shared location. When you export a project that contains both UDO and non-UDO objects, all objects are exported from the shared location and not from the personal location.
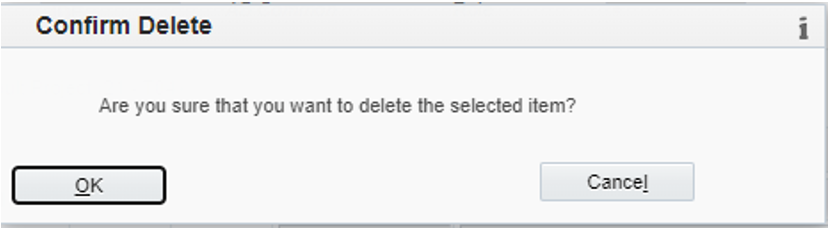
- Delete the project with combined object types that you just exported from the Project Objects tab before you import a project par file.
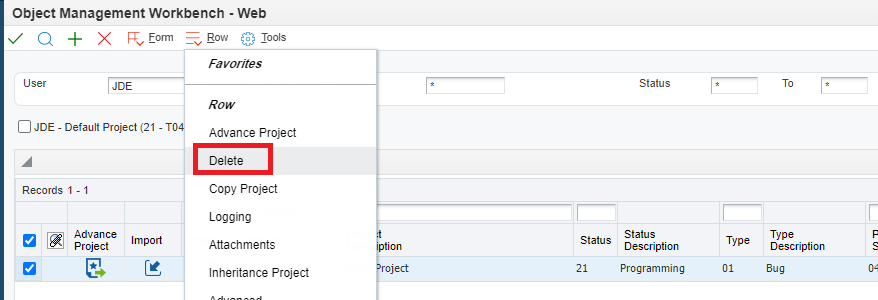
- Click OK to confirm.
- Next, use the Form Import option.
- Click OK to confirm the Import.
- Click Choose File to find the project par file and click Load to import. You can choose the file you downloaded while performing the export action.
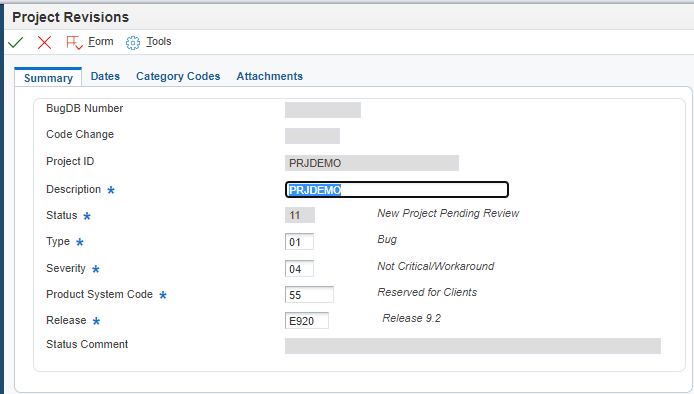
- The project is created behind the scenes, and you will be presented with the Project Revisions Form. Click OK.
- The objects will be added to the newly created project and imported.
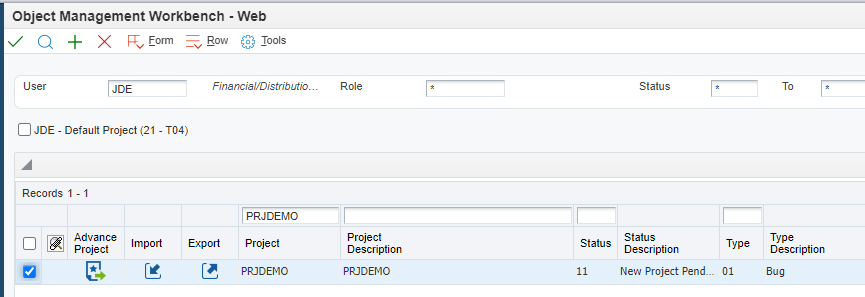
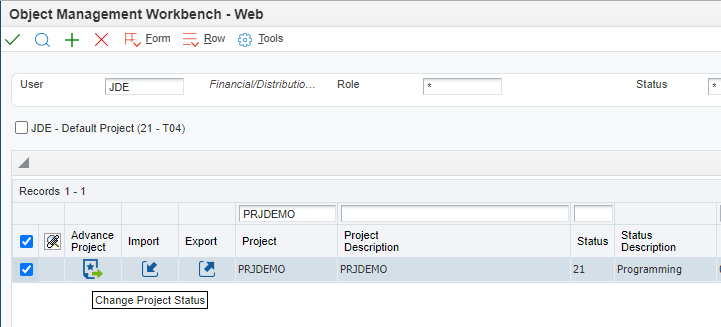
- Search for and select the newly created project.
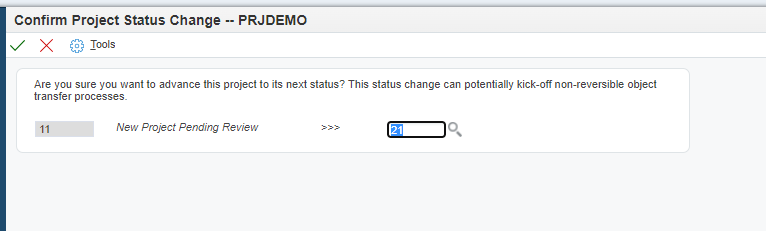
- Advance the project status to 21.
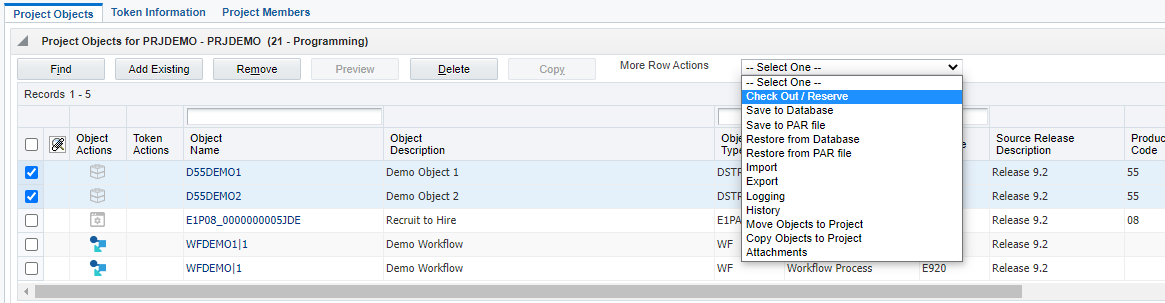
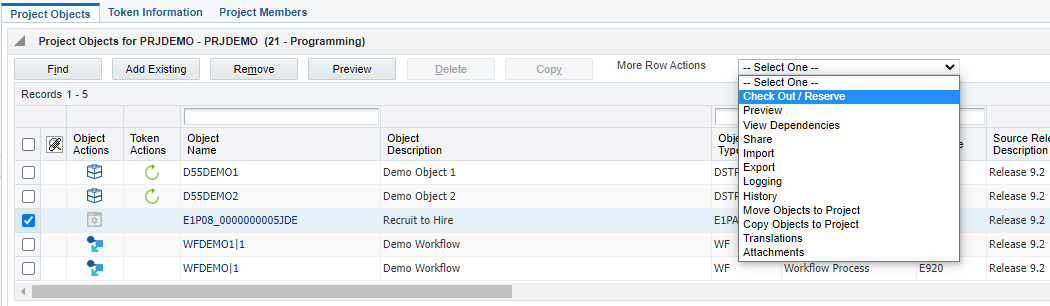
- After advancing the project status to 21, select the Data Structure Objects and the select Check-Out/Reserve.
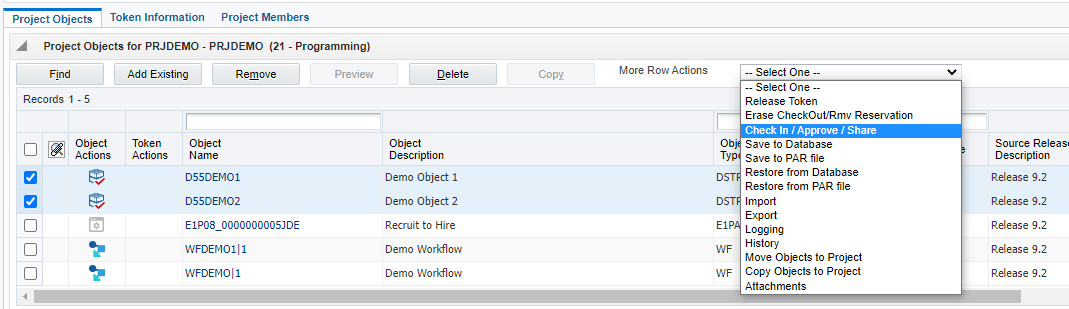
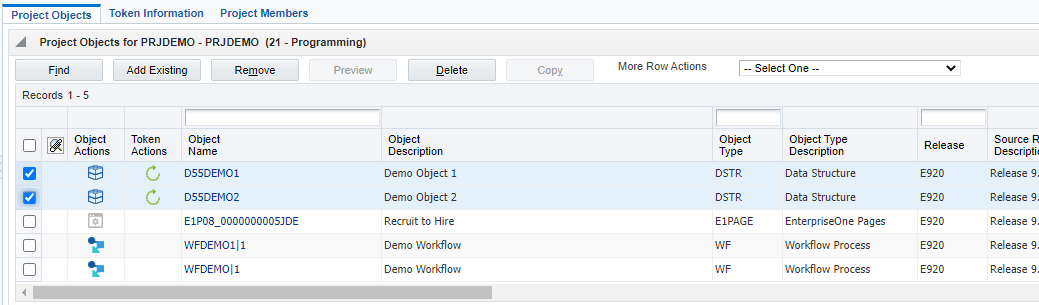
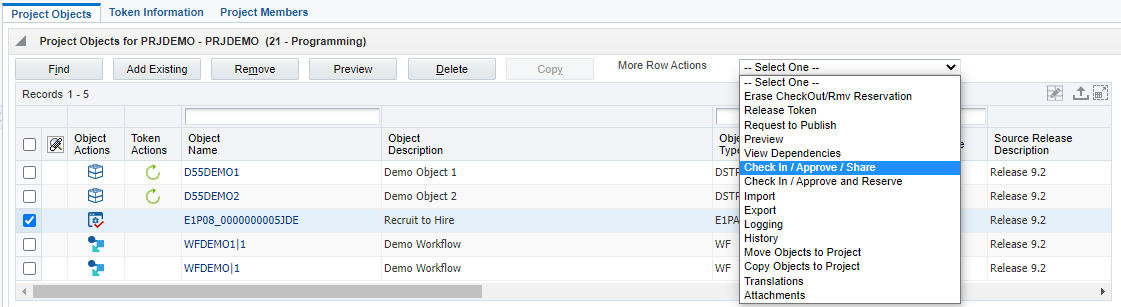
- Next, select the Data Structure Objects and select Check-In/Approve/Share.
- In the Project/Objects tab, select the EnterpriseOne Page Object, click Check Out/Reserve.
- In the Project/Objects tab, select the EnterpriseOne Page Object, click Check-In/Approve/Share.
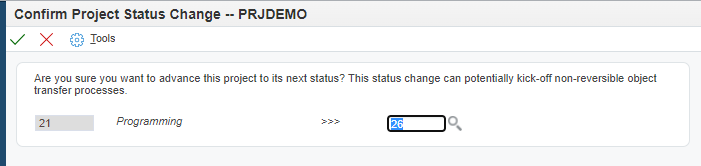
- Next, in the Object Management Workbench – Web form, select the project containing combined objects. Click Advance Project from the Project Grid to transfer the project.
- Enter the next status and click OK to continue.
- Verify the status of the project in the Project Grid.