Deploying an Orchestration
This section shows you how to deploy an Orchestration.
You can create a Quick Start or an Advanced Deployment Plan in the Orchestrate section of the JD Edwards One-Click Provisioning Console. When you start your deployment, the system initiates the scripts for the automated provisioning of the EnterpriseOne system.
Prerequisite
A completed Quick Start or an Advanced Deployment Plan created using the JD Edwards One-Click Provisioning Console.
Deploying an Orchestration
This procedure describes how to deploy an orchestration, whether it is a Quick Start or an Advanced mode Deployment Plan.
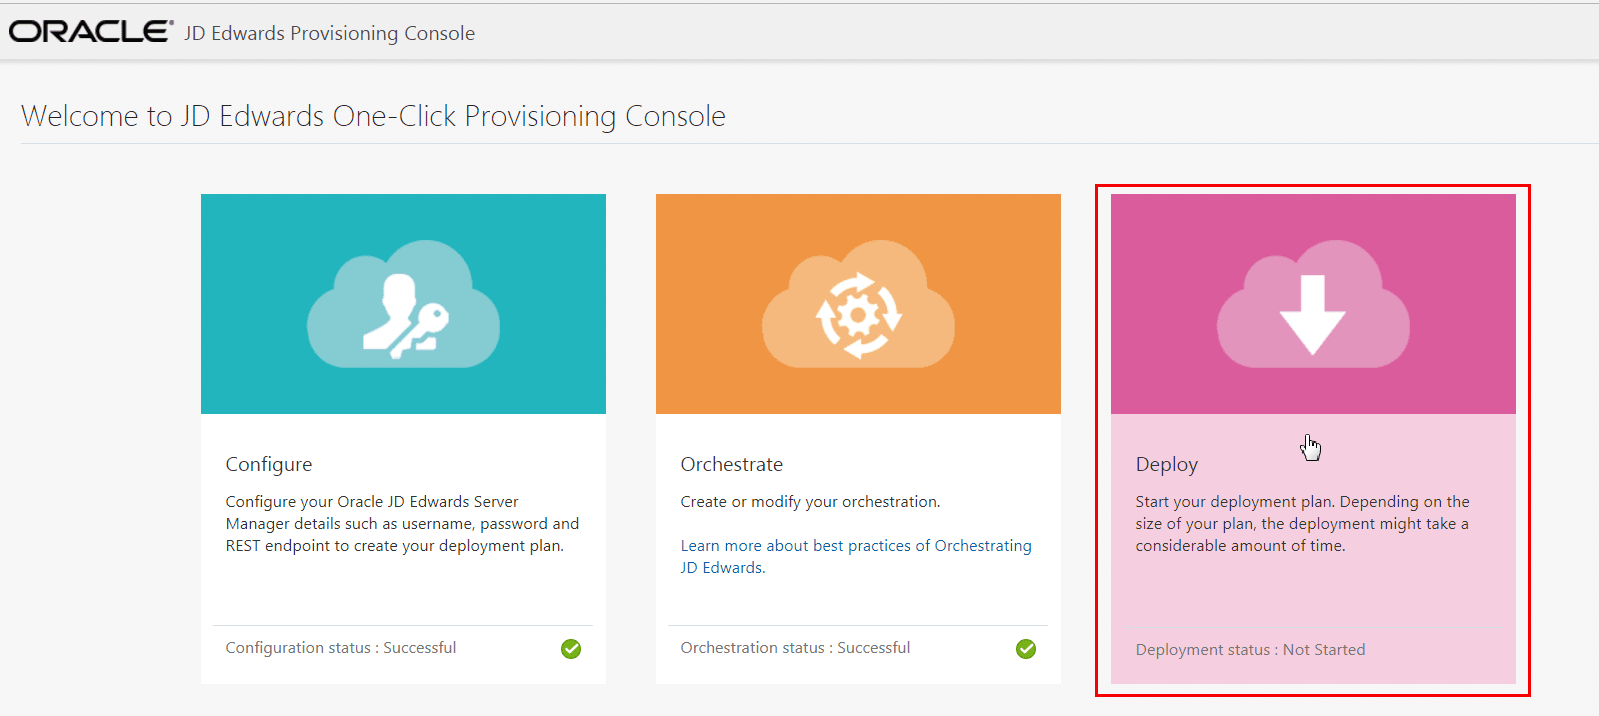
- After you create a Deployment Plan, from the JD Edwards Provisioning Console,
click the Deploy icon.
- To view the Account details and Global Settings Summary, in the Deployment
Details tab click the ">" icon for each server in the Deployment Details
to see the details of the servers you provisioned.
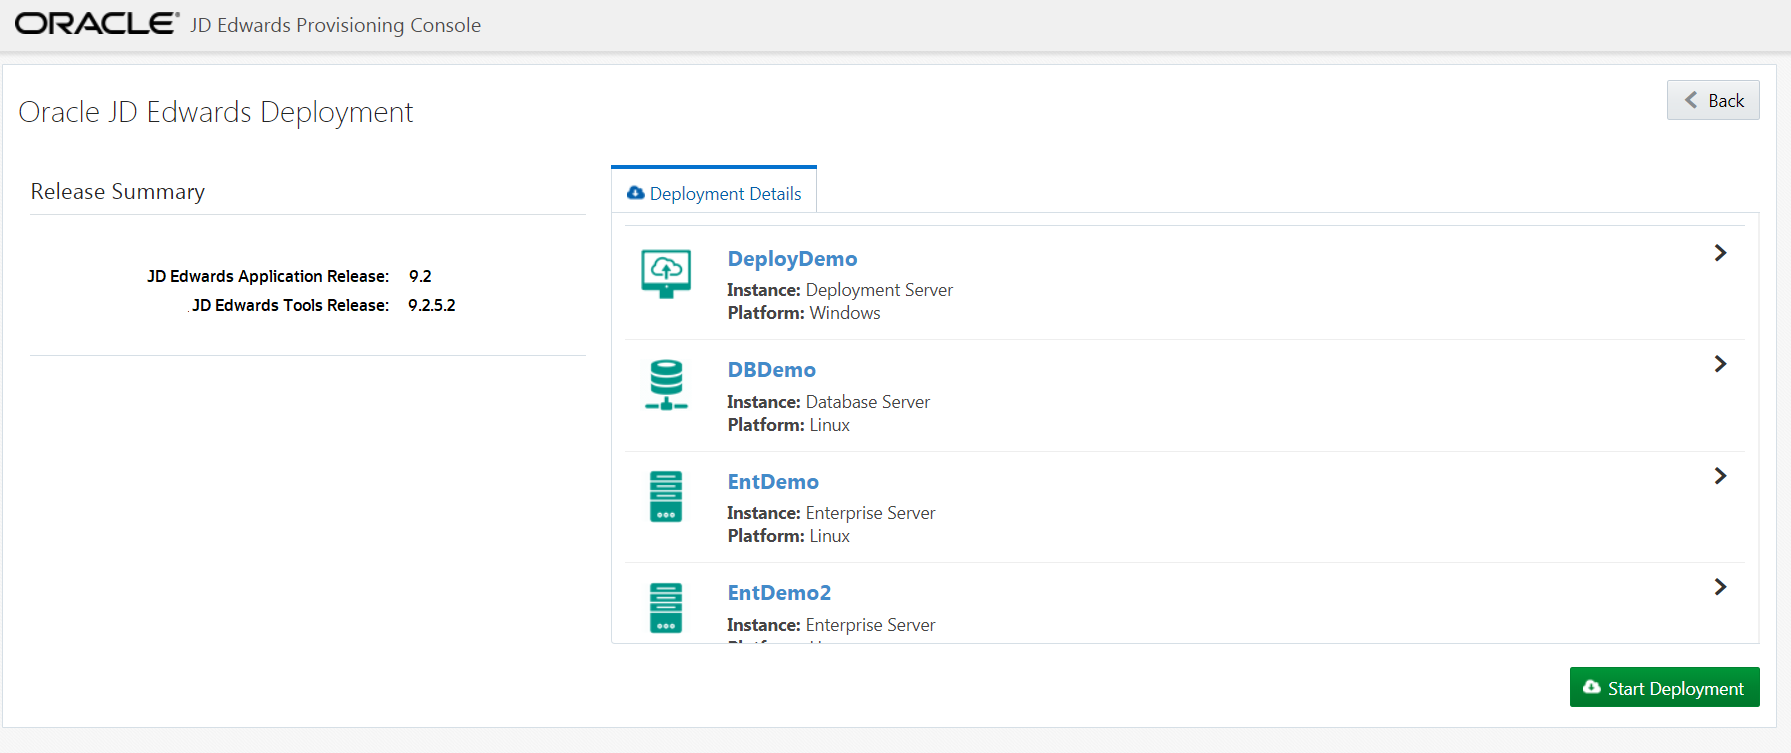
- Click the Back button if required to make additional changes to the server instances.
- To start the deployment, click the Start Deployment button.
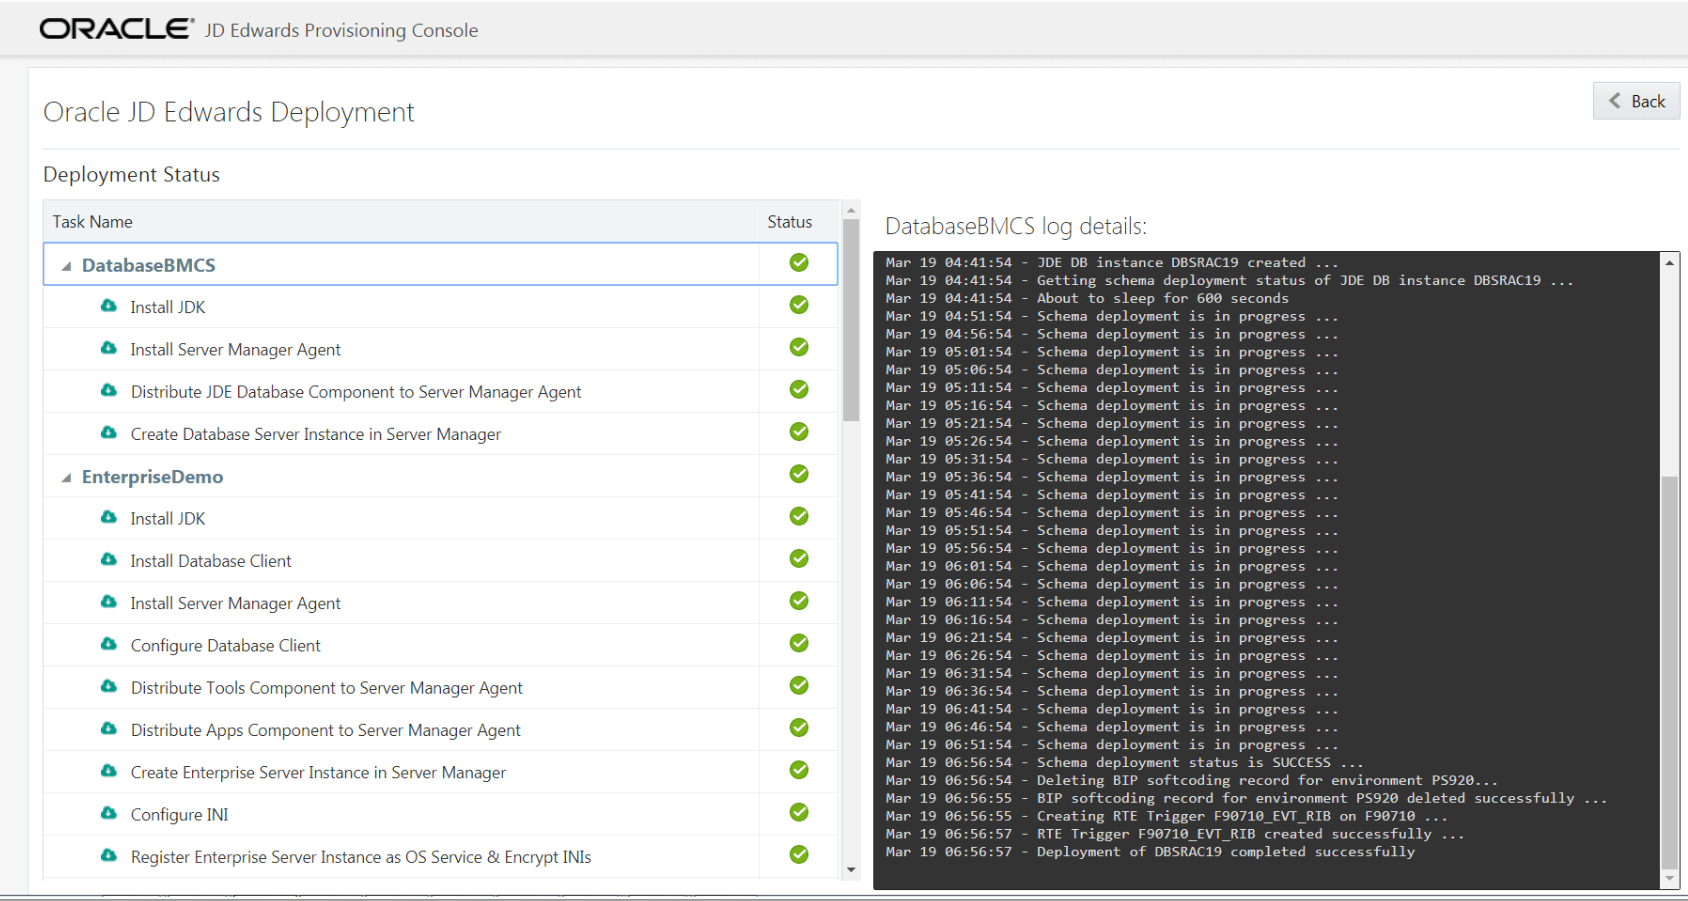
On Deployment Status, you can see all the instances and task details and their progress. You can also view the log or summary of each of the tasks. The time taken to deploy the servers depends on your customization.
-
Click the Back button if you want to go back to the Deployment Summary window.
Adding Additional Pathcodes Post Deployment
You can add additional pathcodes to the Database Server instance after the deployment is successful.
To add additional pathcodes:
- On Welcome to the JD Edwards Provisioning Console, click the Orchestrate icon.
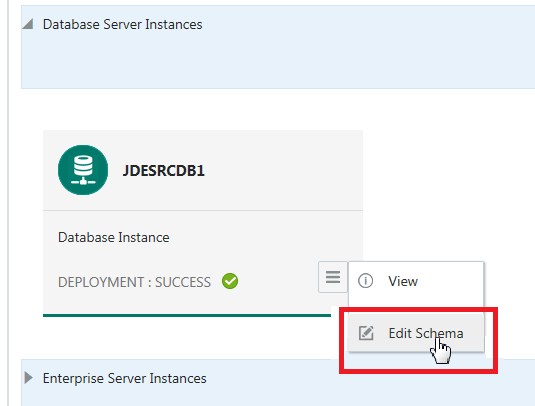
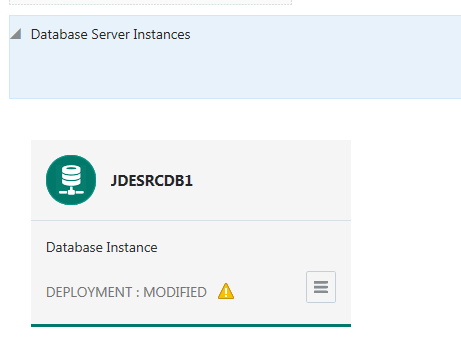
- On JD Edwards Servers, click on Database Server Instances.
- Select the Database Server instance, and then use the action tab to choose Edit
Schema option.
- On Existing Database Instance Details, select the available pathcodes. An error message window appears if you attempt to delete the previously installed schema or the demo data.
- Click the OK button.
- Now you can see the Deployment status as MODIFIED.
- Click the Back button, and then click Deploy icon to start your modified deployment.