Deploying the Automated Special Instructions (ASI)
Before You Begin
ASIs are special instructions for software updates that are executed automatically. They are downloaded separately from the software update you are installing, either using Update Center or Change Assistant. The JD Edwards EnterpriseOne Tools Release 9.2 ASI is a .par file and can be found using TL92* as the search criteria for the Update Name within the Update Center or Change Assistant.
- Log in to JDEPLAN environment.
- Execute Object Configuration Manager (OCM).
- Select Planner-9xx OCM data source.
- Search on the following criteria to locate the default business function
mapping:
- Environment = JXX9X0
- Type = BSFN
- Object = DEFAULT
- Select to deactivate the mapping.
- Log off all EnterpriseOne processes.
Configuration (ATRC) - Tools Release 9.2.7 and later (Doc ID 2991360.1) for details.
Deploying ASI
- Obtain the latest TL92* ASI from the Oracle JD Edwards EnterpriseOne Update Center.
- Download and access with Change Assistant.
- Using Change Assistant, expand the Work with Packages node.
- Navigate to the ASI package that you downloaded.
- Select the ASI package by checking the box next to the package.
- Click Deploy on the Work with Packages toolbar to start the ASI.

-
Click OK to continue.
 Note: If you have changed the password for any table owners created during the Platform Pack installation, they must be defined in the jde.ini file. The ASI assumes that the table owner's password is the same as the table owner, unless it finds overrides in the jde.ini file on the Deployment Server.
 -
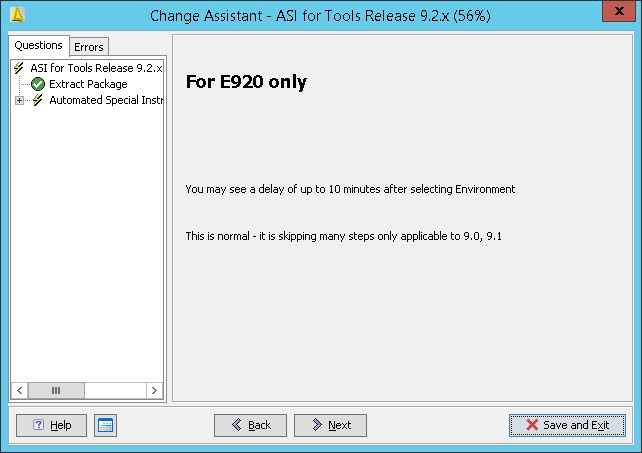
Click Next to continue deploying new tasks.
-
On Select Deployment Option, select Install the ASI to the selected environment and click Next.
-
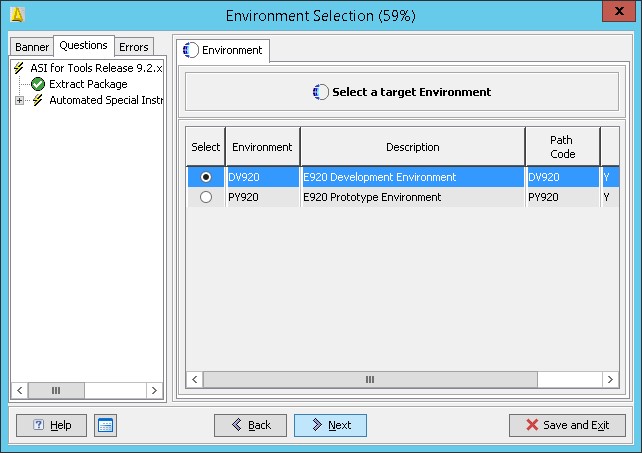
Select the target environment and click Next.
-
Click Yes on Warning - Unknown Release.
-
Click Yes on Warning - Transaction Data.
-
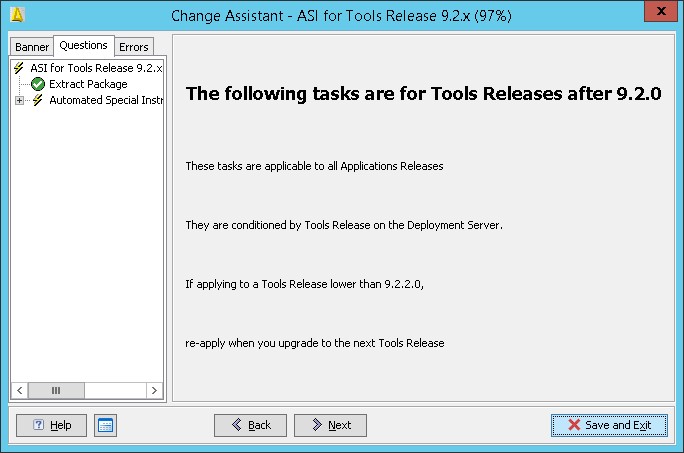
Click Next to continue.
-
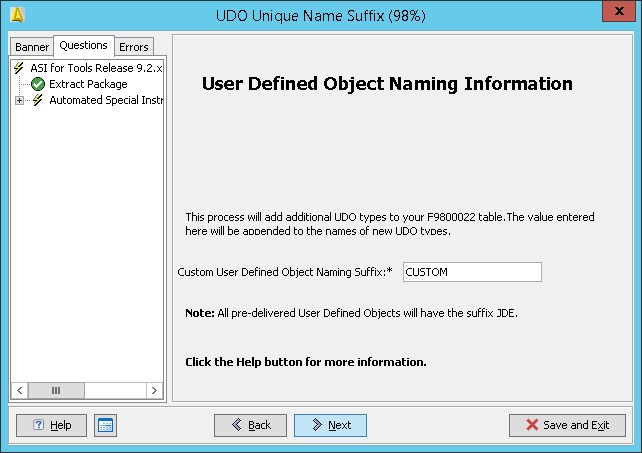
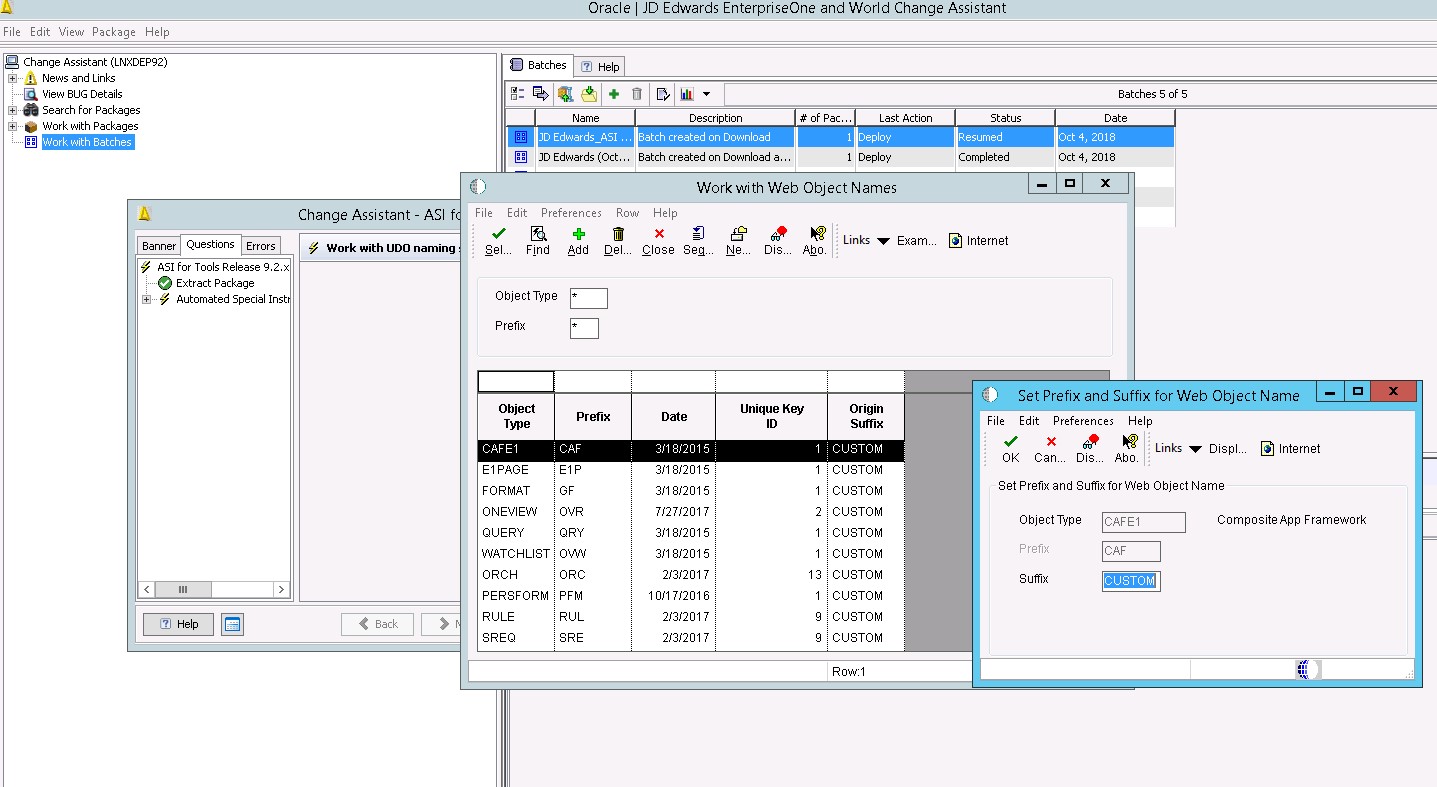
Enter a User Defined Object Suffix and click Next.
-
On the Work with Web Object Names select a new UDO type.
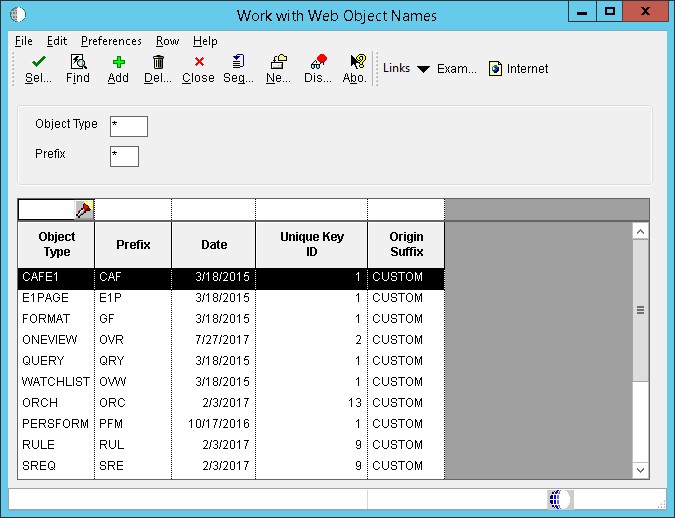
-
Update the Suffix and click OK.
-
Execute table conversions manually.
The ASI will only prompt you to run the table conversions if it has detected data in F980052 in the System - xxx data source and no data in F980052 in the associated Control Tables data source.

The dialog above appears only if F980051, F980052, and F980053 tables are in the incorrect format and have records in the F980052 table.
Note: The following information assumes the ASI has been applied to target environment DV9X,X which has an associated WAN environment of JDV9XX. The associated WAN environment is to be used as the source environment for the table conversions.Verify whether there are any records in your version of these three tables in System - xxx. You won't be able to use Universal Table Browser, you will need to use sqlplus / strsql or other database tool. If there are no records, no action is required. The ASI will have generated the tables for you into the Control Tables – xxx data source for your target environment.
The ASI applied the correct .par file to your Deployment Server.
The ASI reset the OCM for these 3 tables to point to Control Tables – xxx for the environment you applied the ASI to, plus any other environments that share the same path code.
Your source and target environment for the table conversion must be different. The ASI sets the OCM for these three tables to System - xxx for the WAN environment (JDV9XX) associated with the environment you ran the ASI against.
Sign in to JDEPLAN and run the table conversions one at a time and submit from Batch Versions. Click on Properties and change the source environment to JDV9XX and the target environment to DV9XX.
Once the table conversions have run, reset the OCM in JDEPLAN for the source environment to point to the Control Tables - xxx again.
If you have multiple environments with different Control Tables associated with this path code, copy the output table from the table conversion to each of the environments' Control Tables. For example:
- You have DV920 JDV920 DV920XX DV920YY and DV920XX where YY have their own unique Control Tables.
- Run the table conversion against JDV920 DV920, and then copy the
F980051, 52, 53 from Control Tables - Test to the Control Tables for
DV920XX and DV920YY.
-
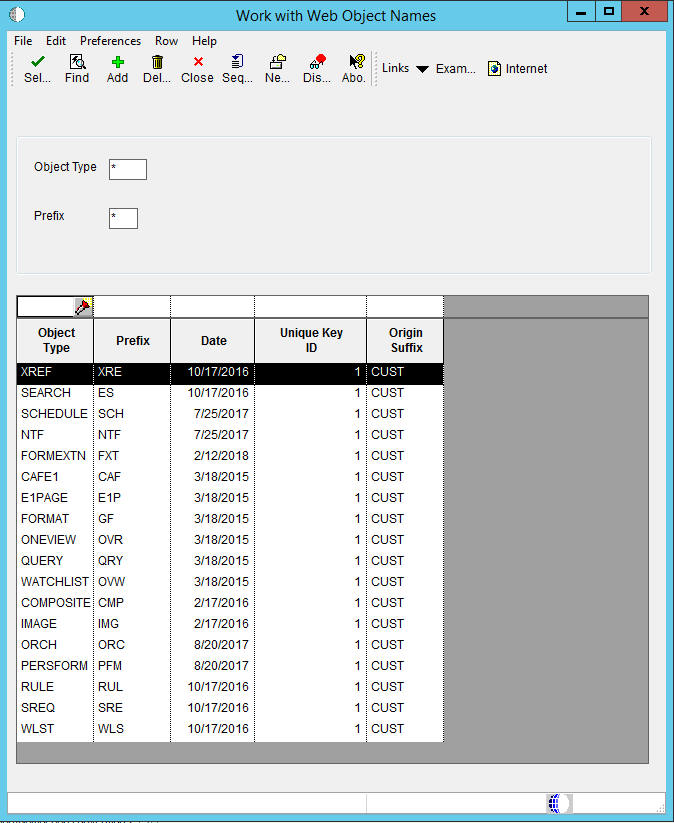
Verify all UDO types have the same Origin Suffix and click Close.
-
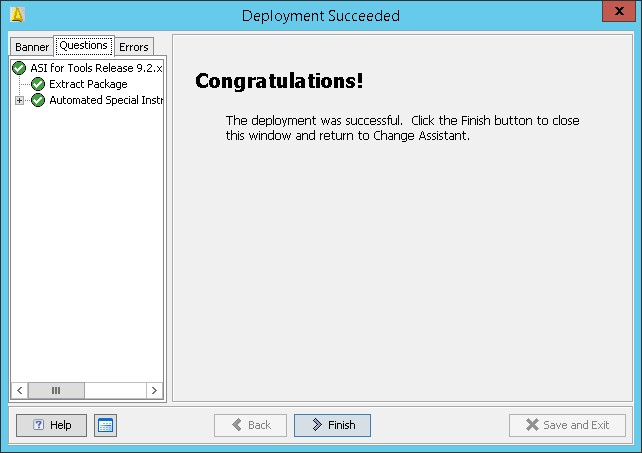
Click Finish.
Verifying ASI Table Conversions
Verify the success of the ASI table conversion by verifying tables, security, and runtime.
| UDO | Table | Verification |
|---|---|---|
|
One View Reports and EnterpriseOne Page |
F952400 | Has the WOBNM column |
| EnterpriseOne Watchlist | F952420 | Has the WOBNM column |
| Queries | F952430 |
Has the same record count as F98950 |
| Grid Formats | F952440 |
Has the same record count as F98950 |
| CAFE1 | F952450 |
Has the same record count as F98950 |
Security
Use (P00950) to verify that the UDOs have the same level of security as before the EnterpriseOne Tools Release upgrade.
Runtime
After the ASI runs, you should verify access to UDO is the same as before the EnterpriseOne Tools Release upgrade.
If the ASI halts or table conversions do not successfully run, it is recommended to fix the error and run the ASI uninstall program. The ASI uninstall program performs several clean-up operations, table clean-up, and restoring. This action resets your system and enables you to run the ASI as if it were the first time.