Creating a Webserver Definition
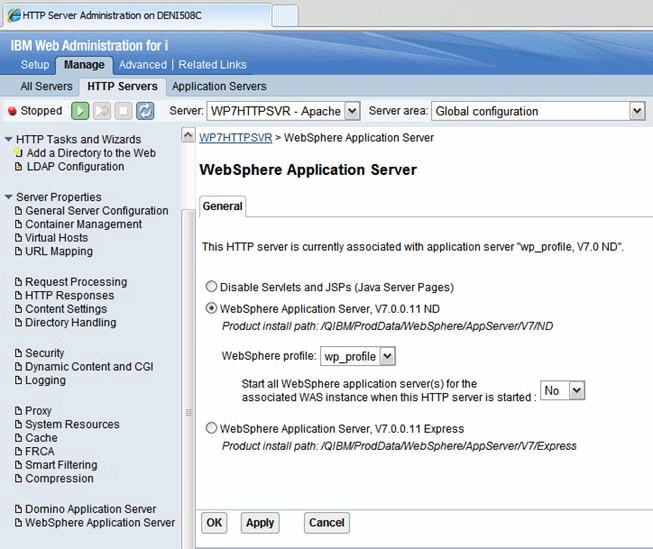
When WebSphere Application Server was initially installed, a webserver definition was created for the WebSphere Application Server profile, known as the default profile. The installation of the WebSphere Portal Server creates a new profile, wp_profile. This profile is a non-default profile. Non-default profiles do not have web server definitions or plugin files created for them at the time of install. To use an external http server with portal, a second webserver definition and its corresponding plugin-cfg.xml file must be created manually for the wp_profile. This can be created from the Admin Console (i.e server1 console) of the wp_profile.
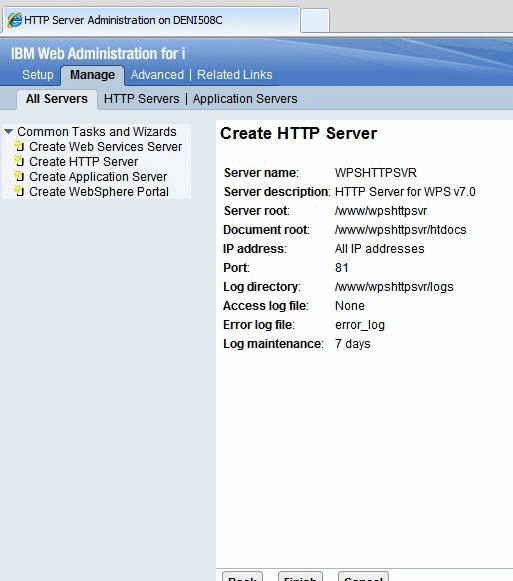
To create the new definition:
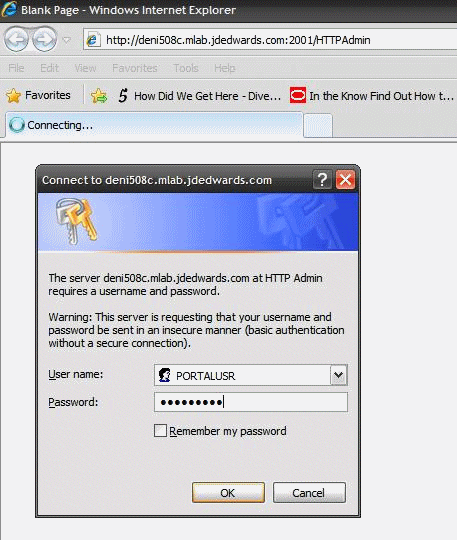
Log in to the IBM i HTTP Series admin console as the PORTALUSR userprofile
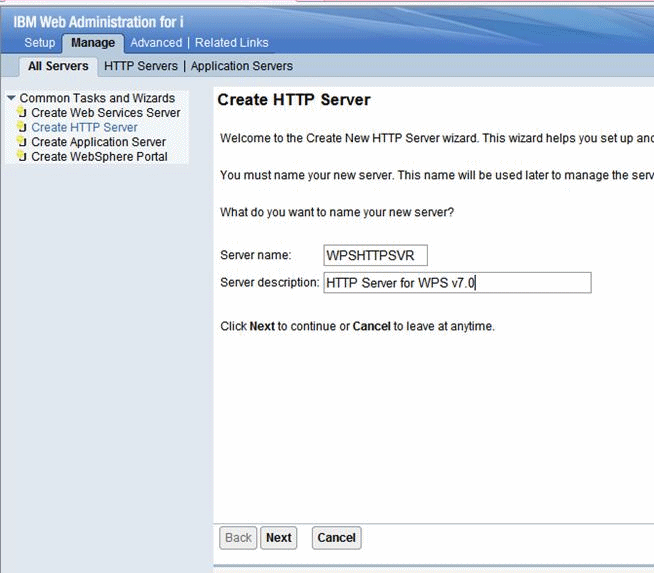
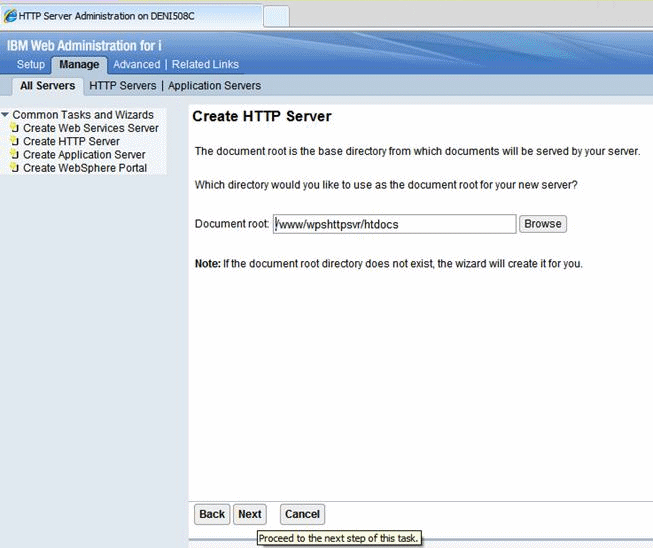
Go to All Servers, click Create HTTP Server. Enter details and click Next.
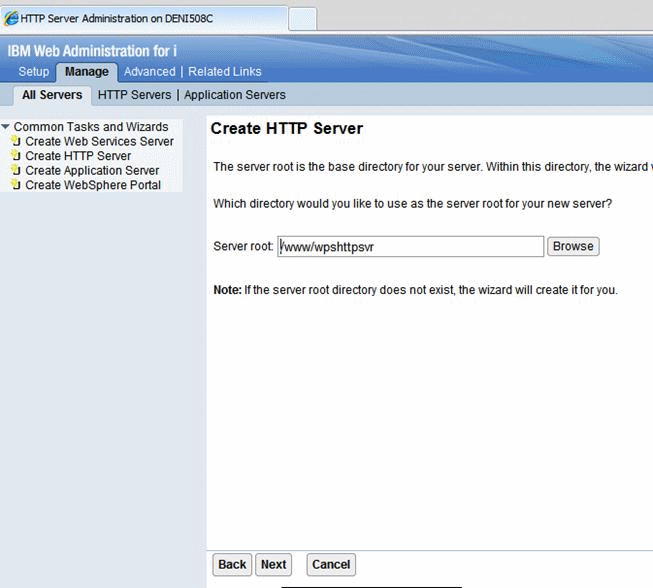
Note the webserver root directory and click Next.
Note the webserver document root and click Next.
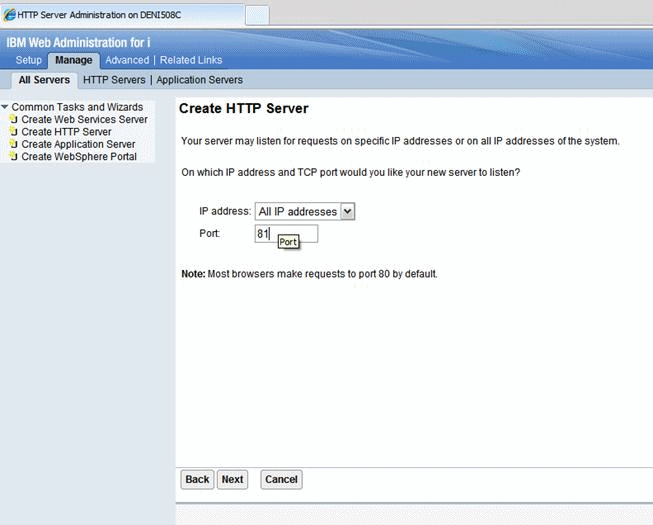
Note the IP Address mapping (* in the case), enter the port number, and click Next.
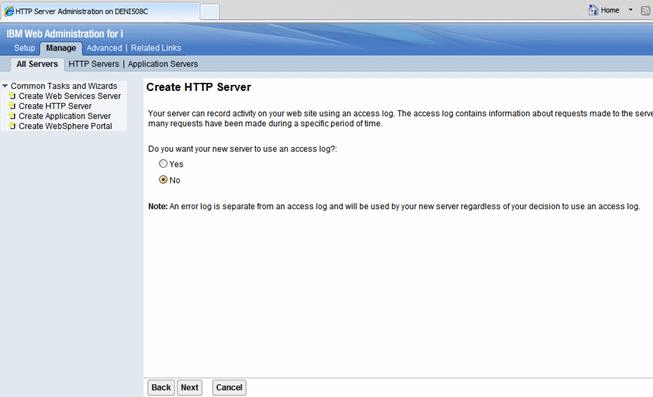
Disable access logging and click Next.
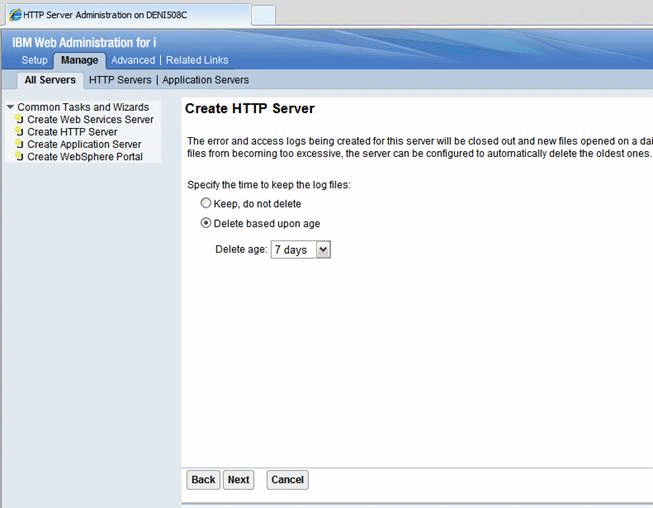
Select the log deletion criteria and click Next.
Review the entered information and click Finish to complete the HTTP Server definition.
In the HTTP Server screen, select the wp_profile to which the webserver is to be mapped click OK to complete association of the HTTP Server definition with the wp_profile (Portal Server profile).