Creating the Oracle Database for IBM WebSphere Portal Server v8.5
To create the Oracle database for IBM WebSphere Portal Server v8.5:
Launch Database Configuration Assistant (dbca), and then click Next on the following screen:
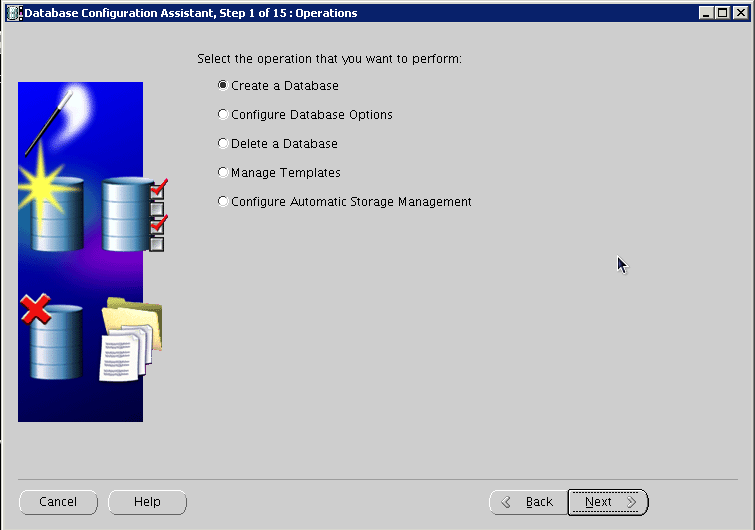
Select Create a Database, and click Next:
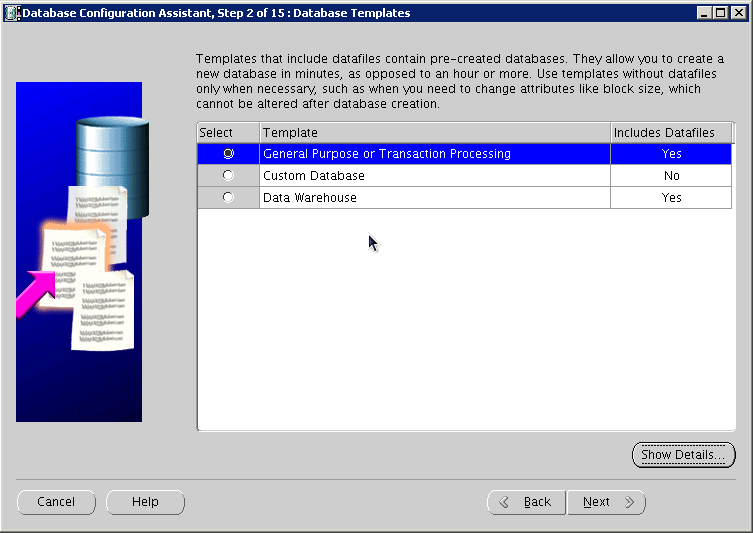
Select the "General Purpose or Transaction Processing" option, and click Next:
Provide the SID, and click Next:

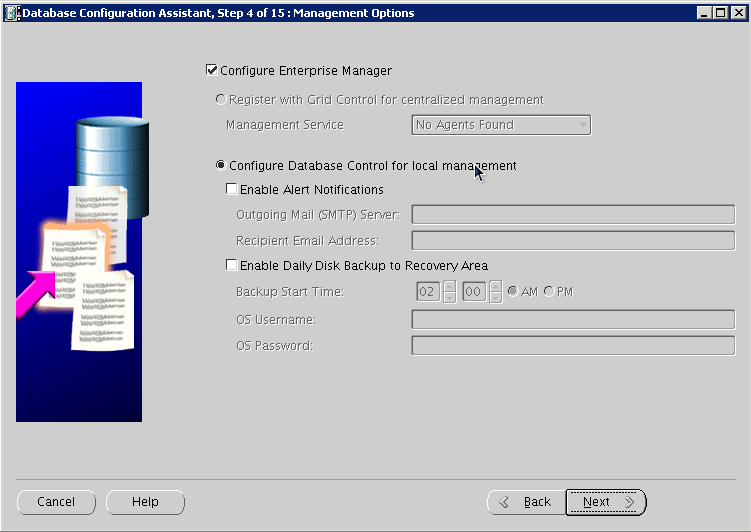
Select Configure with EnterpriseManager, and click Next:
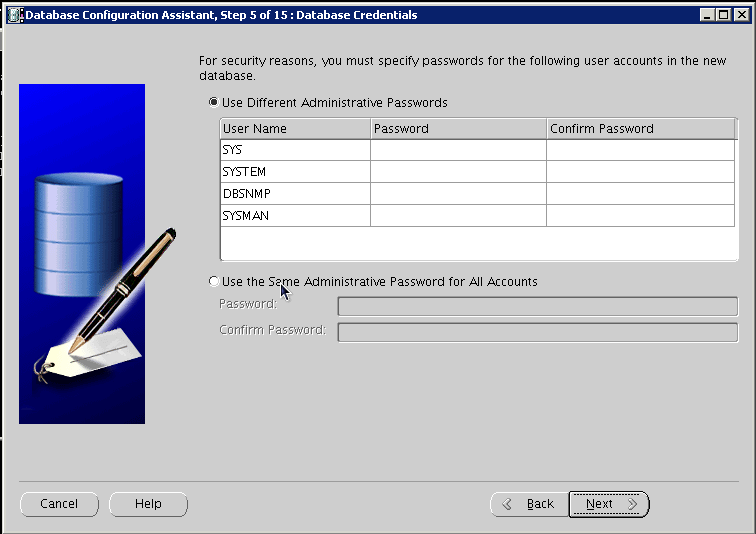
Provide account and password details, and click Next:
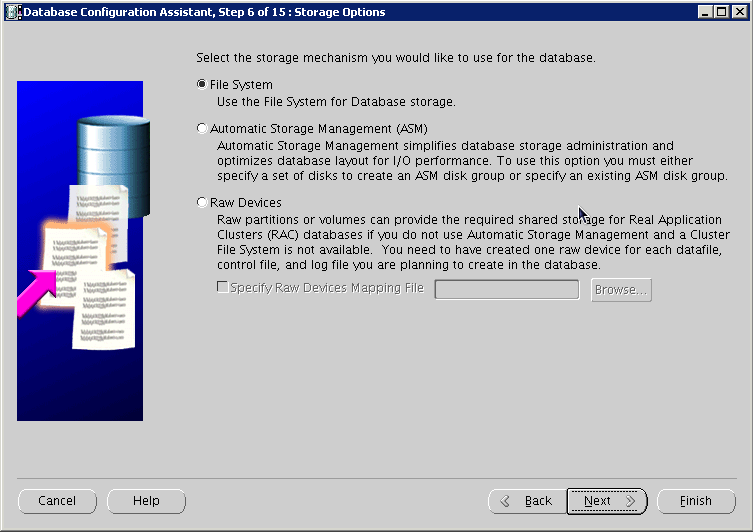
Configure storage options, and click Next:
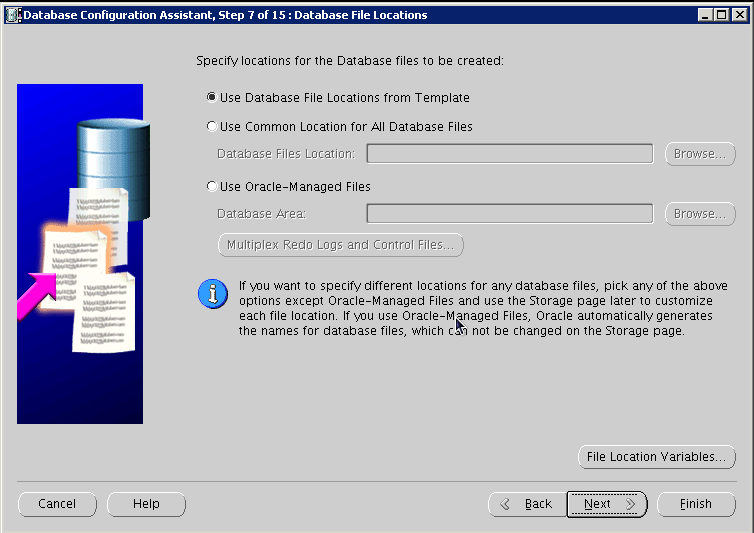
Configure file locations, and then click Next:
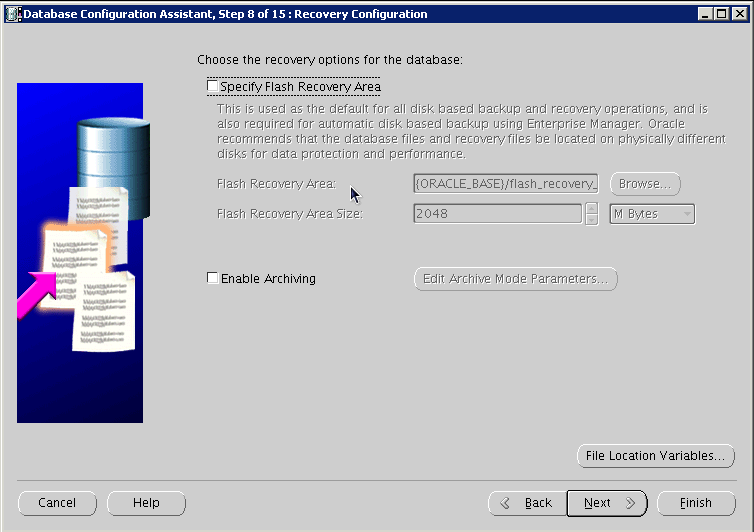
Configure recovery options, and click Next:
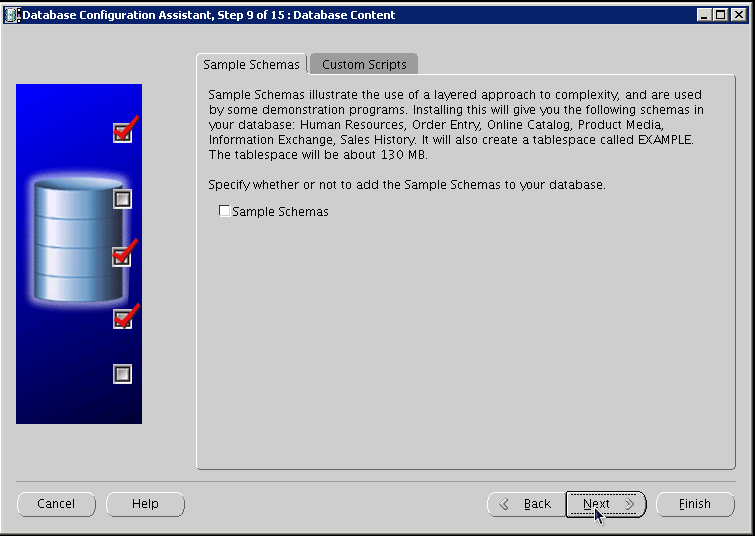
Do Not install sample schemas, and click Next:
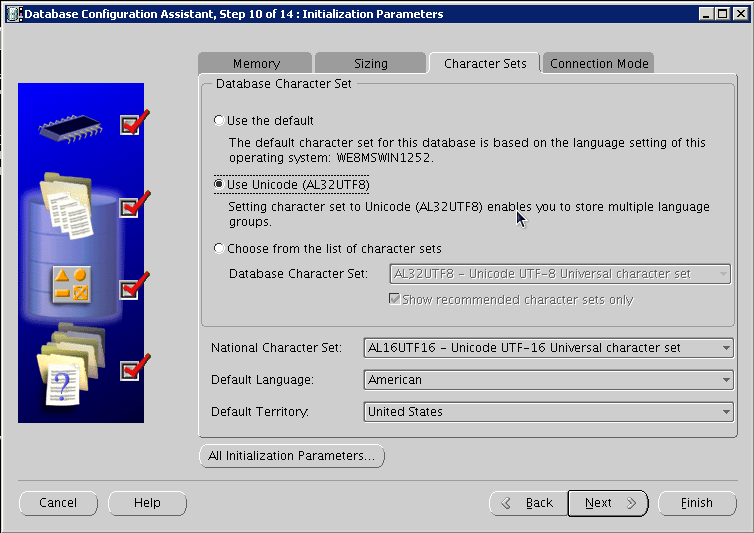
Configure UNICODE Character Set:
Configure Connection Mode, and click Next:

Configure Security settings, and click Next:

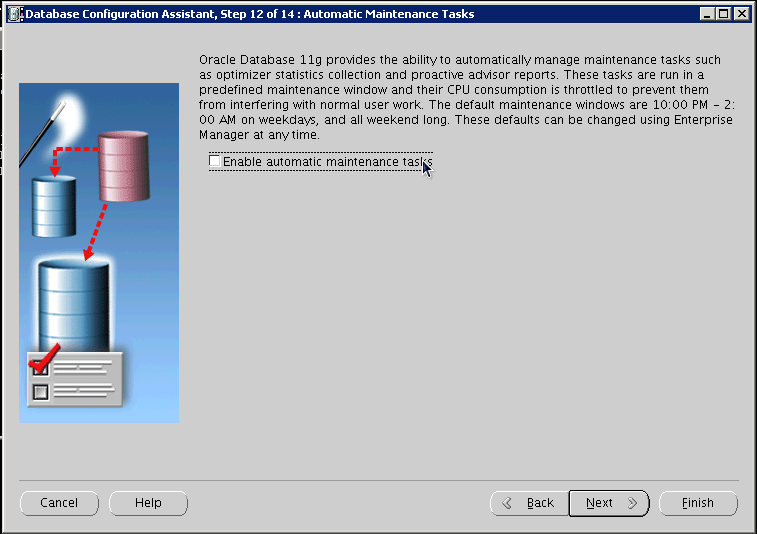
Configure maintenance task, and then click Next:
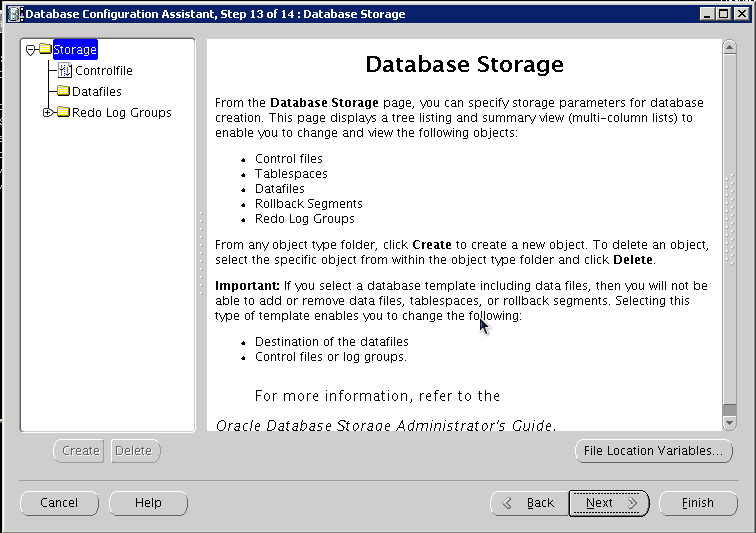
Review storage information, and click Next:
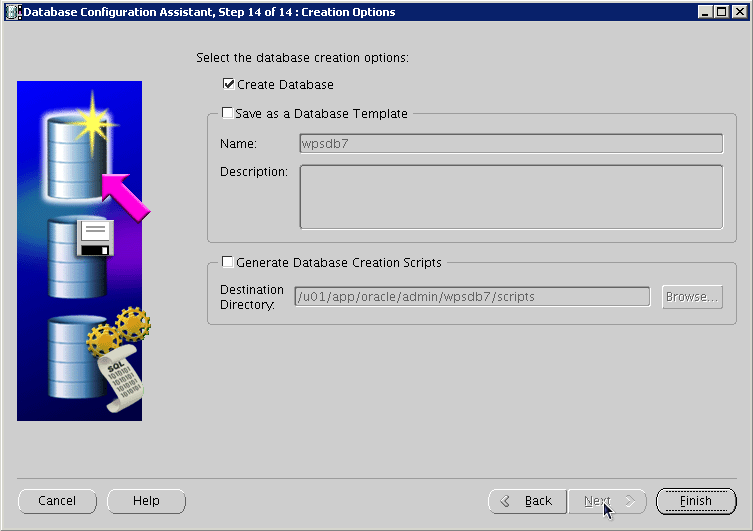
Review information, and click Finish:
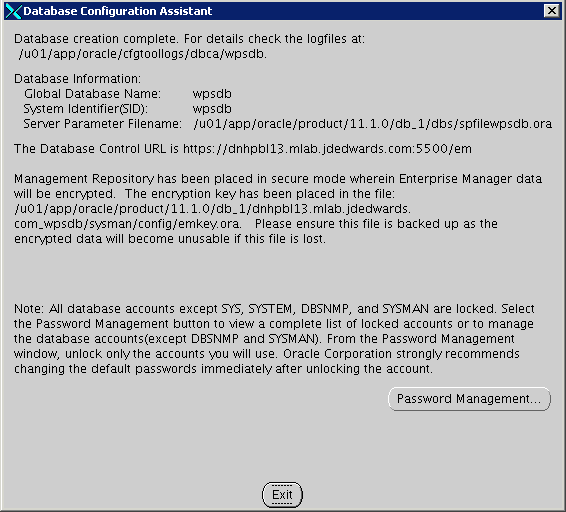
Once the installation completes review the installation summary information:
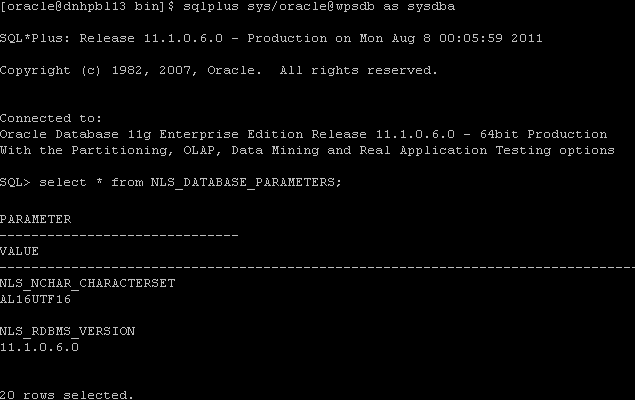
From sqlplus command line, perform the following select query:
SQL> select * from
                    NLS_DATABASE_PARAMETERS;
The following image is provided for reference:
Listed below are some important considerations before setting up Oracle databases to work with WebSphere Portal.
For information about creating databases, refer to the Oracle product documentation. For information on the recommended database architecture and the databases you will need to create, see the Planning for Oracle topic. Be sure that all databases to be used with WebSphere Portal are created as UNICODE character set databases.
If you are using Oracle 10g databases, you must also obtain a copy of the ojdbc6.jar file from the Oracle JDBC driver download site, copy it to the WebSphere Portal machine, and update the wkplc_dbtype.properties file with oracle.DbLibrary=(the path to the local ojdbc6.jar). If you are using Oracle 11g databases, you must also copy the ojdbc6.jar file from the Oracle server to the WebSphere Portal machine and update the wkplc_dbtype.properties file with oracle.DbLibrary=(the path to the local ojdbc6.jar). The typical location is the oracle_home/sqldeveloper/jdbc/lib directory. Record the copy location on your local machine for future reference.
When creating Oracle databases for use with WebSphere Portal, you should consider the following information:
The Oracle databases must be created manually before configuring WebSphere Portal.
All databases must be created using UNICODE Database and National character sets such as UTF8, AL32UTF8, or AL16UTF16.
It is recommended that all databases to be used with WebSphere Portal are configured in Dedicated Server Mode.
Determine if your Oracle server will be remote or local to the WebSphere Portal installation.
After installing the database software for WebSphere Portal, you will need to set the buffer pools allocated to the Oracle database in order for WebSphere Portal to communicate with the Java Content Repository database. Use the following recommended values as a guide. Refer to the Oracle product documentation for information on how to set the buffer pools. Recommended initial buffer pool sizes:
db_block_size = 8192 bytes
db_cache_size = 307,200 bytes
db_files = 1024 files
log_buffer = 65536 bytes
open_cursors = 1500 cursors
pga_aggregate_target = 204,800 bytes
pre_page_sga = true
processes = 300 processes
shared_pool_size = 204,800 bytes
Note:If you are using IBM Java Content Repository, the open_cursors value may need to be increased based on the table count in the Java Content Repository schema.
Raise the number of parallel servers as appropriate. For example, if you have more than 875 parallel servers, you should set the parallel_max_serversto 1200.
The Oracle parameter CURSOR_SHARING allows similar SQL Statements to be shared when possible, which prevents parsing and establishing a new execution plan. The execution plan is used by Oracle to gather the data needed to satisfy a request. There are two options for CURSOR_SHARING, which are as follows:
FORCE
When you select this option, Oracle uses the same execution plan for all SQLs that are similar in value even if the values are different. When you use this option, the execution plan may not provide optimum performance. For example, similar SQLs with different values may behave differently when executed running the same plan.
EXACT
When you select this option, Oracle only shares the same execution plan for SQLs that are identical and use the same values. This option removes the risk of a SQL statement being executed when optimum performance conditions do not exist.
WebSphere Portal supports both options. Regardless of the option selected, portlet applications should not be affected. Contact your database administrator for further assistance on these options.
Refer to the following instructions for creating tablespaces:
In the database directory, create the data directory data and the index directoryindex.
Create tablespaces using the following commands as examples:
Substitute the values of your environment for the following variables:
&jcrdb. is the name of the database you created to store user data.
&dbpath. is the directory where you created the database; the default path is /oracle/oradata.
Ensure that the '.' is included in the variables when you substitute the values of your environment with these variables.
Important:You must use the same table space names listed in the commands. The table space names cannot be customized or modified.
create tablespace ICMLFQ32 datafile '&dbpath./&jcrdb./data/&jcrdb._ICMLFQ32_01.dbf' size 300M reuse autoextend on next 10M maxsizeUNLIMITED extent management local autoallocate;

create tablespace ICMLNF32 datafile '&dbpath./&jcrdb./data/&jcrdb._ICMLNF32_01.dbf' size 25M reuse autoextend on next 10M maxsizeUNLIMITED extent management local autoallocate;

create tablespace ICMVFQ04 datafile '&dbpath./&jcrdb./data/&jcrdb._ICMVFQ04_01.dbf' size 25M reuse autoextend on next 10M maxsizeUNLIMITED extent management local autoallocate;

create tablespace ICMSFQ04 datafile '&dbpath./&jcrdb./data/&jcrdb._ICMSFQ04_01.dbf' size 150M reuse autoextend on next 10M maxsizeUNLIMITED extent management local autoallocate;

create tablespace ICMLSNDX datafile '&dbpath./&jcrdb./index/&jcrdb._ICMLSNDX_01.dbf' size 10M reuse autoextend on next 10M maxsizeUNLIMITED extent management local autoallocate;
Set the size, autoextend, and maxsize values according to your environment. For example, you may want to change the maxsize to a set value rather than UNLIMITED.
Consult your Database Administrator for specific guidance about creating tablespaces for your environment.
Refer to the Oracle command reference for more information about using the create tablespaces command.