Installing the IBM Security Directory Server
To install the IBM Security Directory Server:
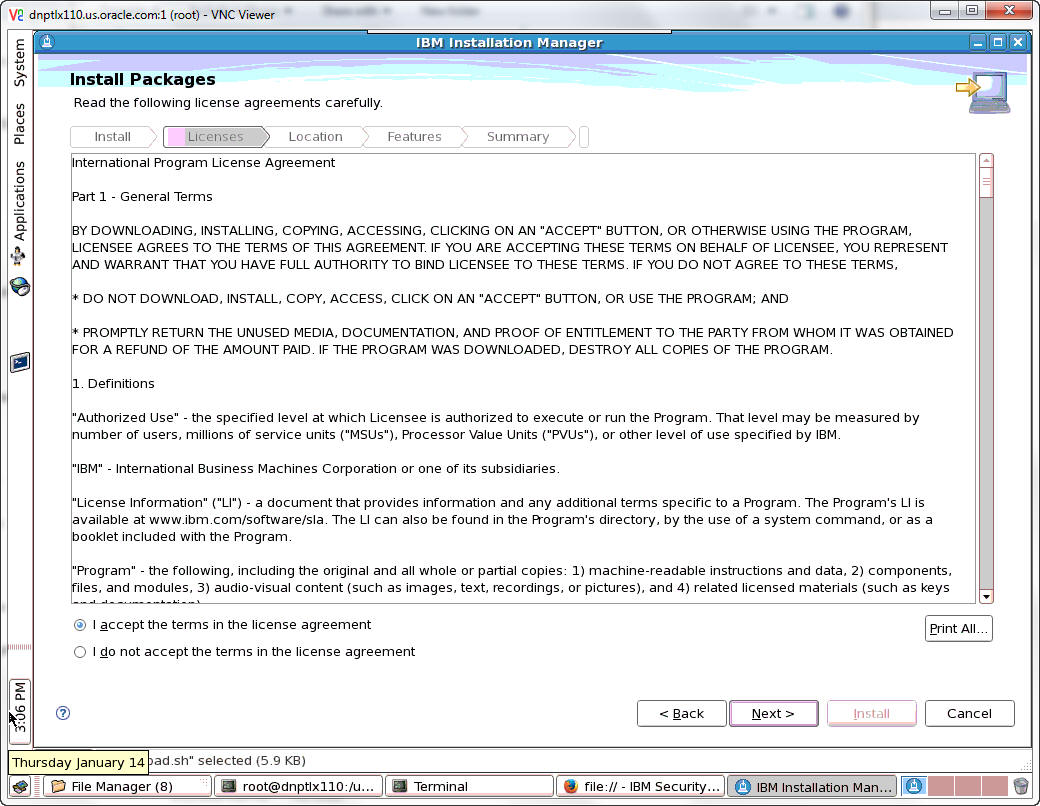
Accept the terms of the license agreement and click Next.
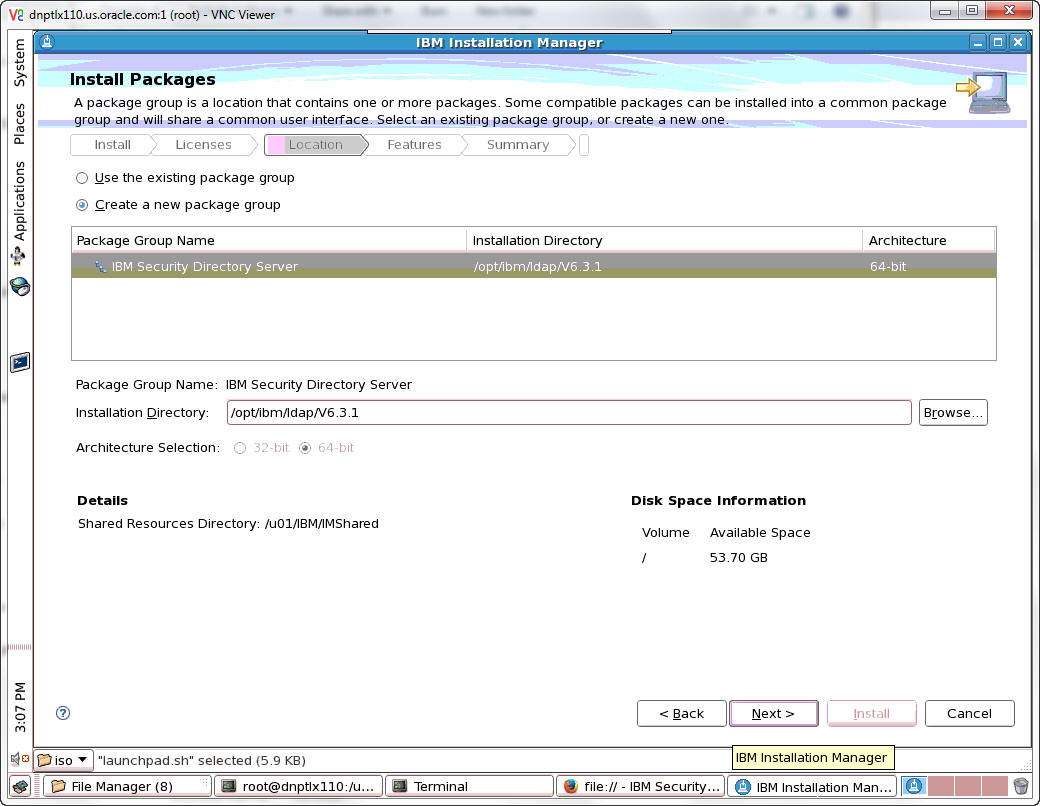
Enter the ldap location.
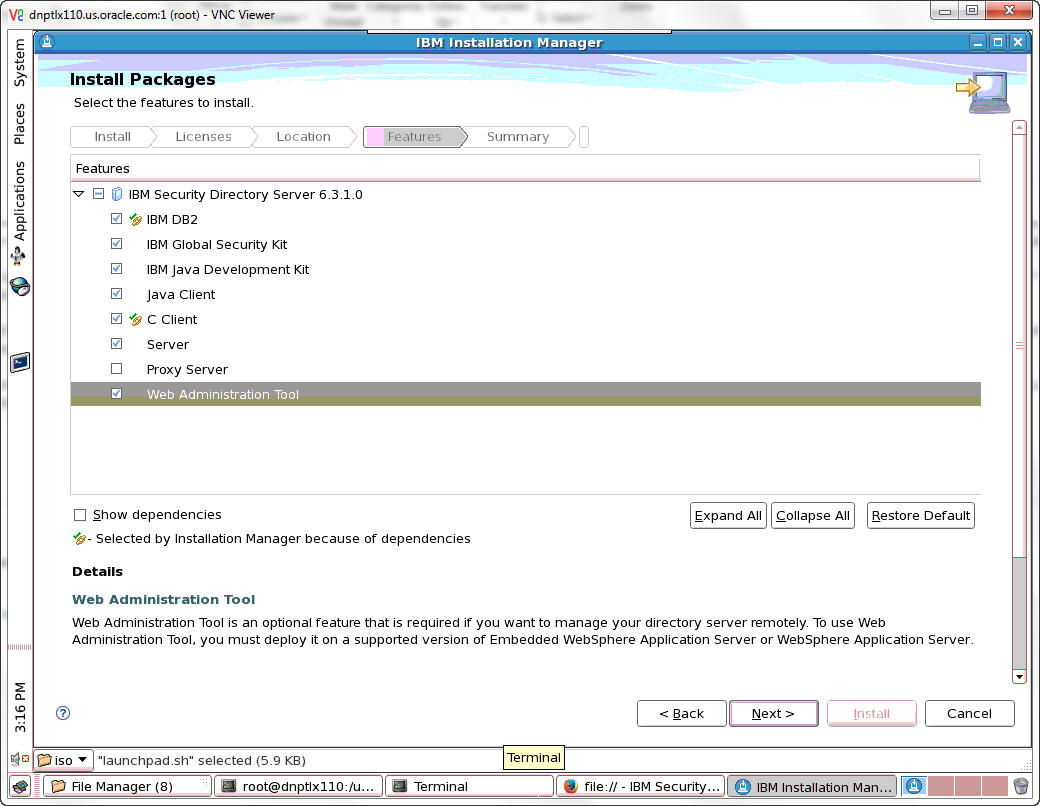
Select the features to install and click Next.
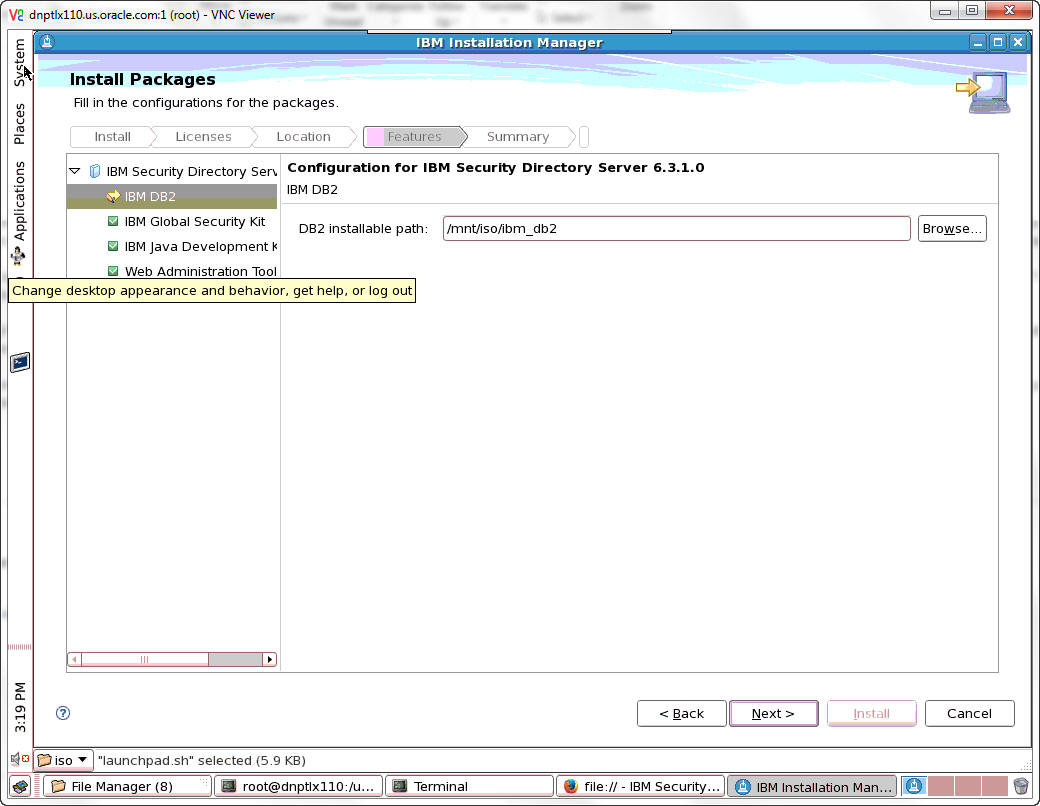
Enter the install path for DB2. Click Next.
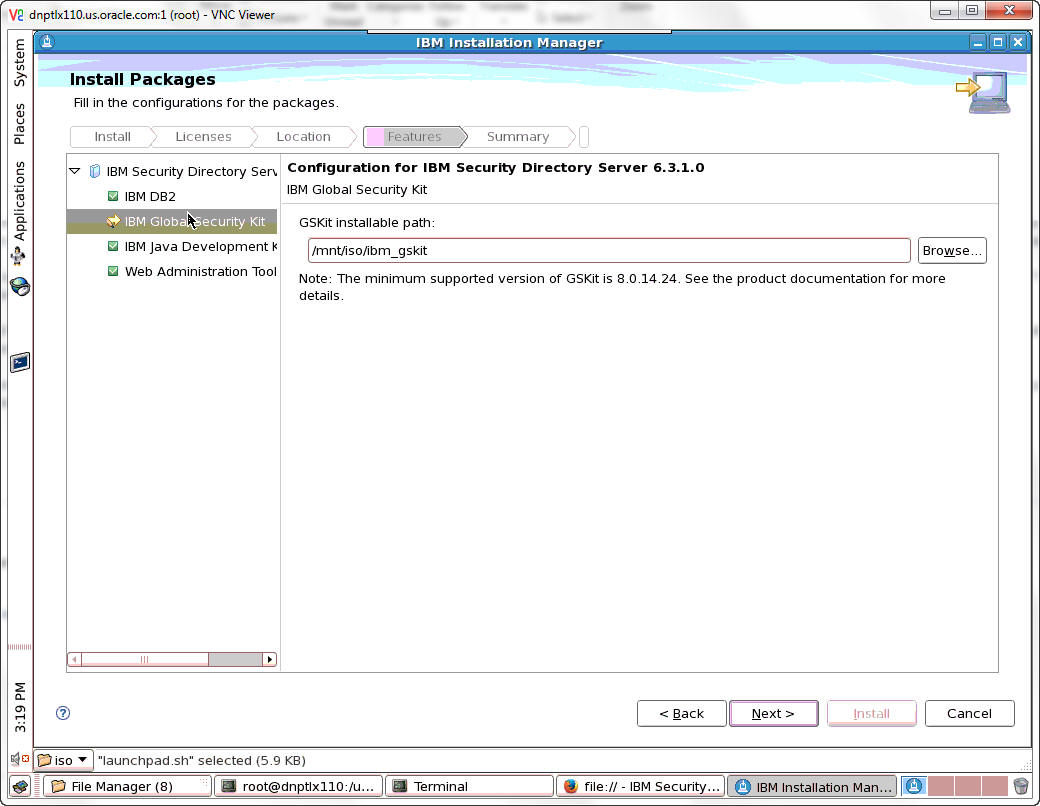
Enter the GSKit install path. Click Next.
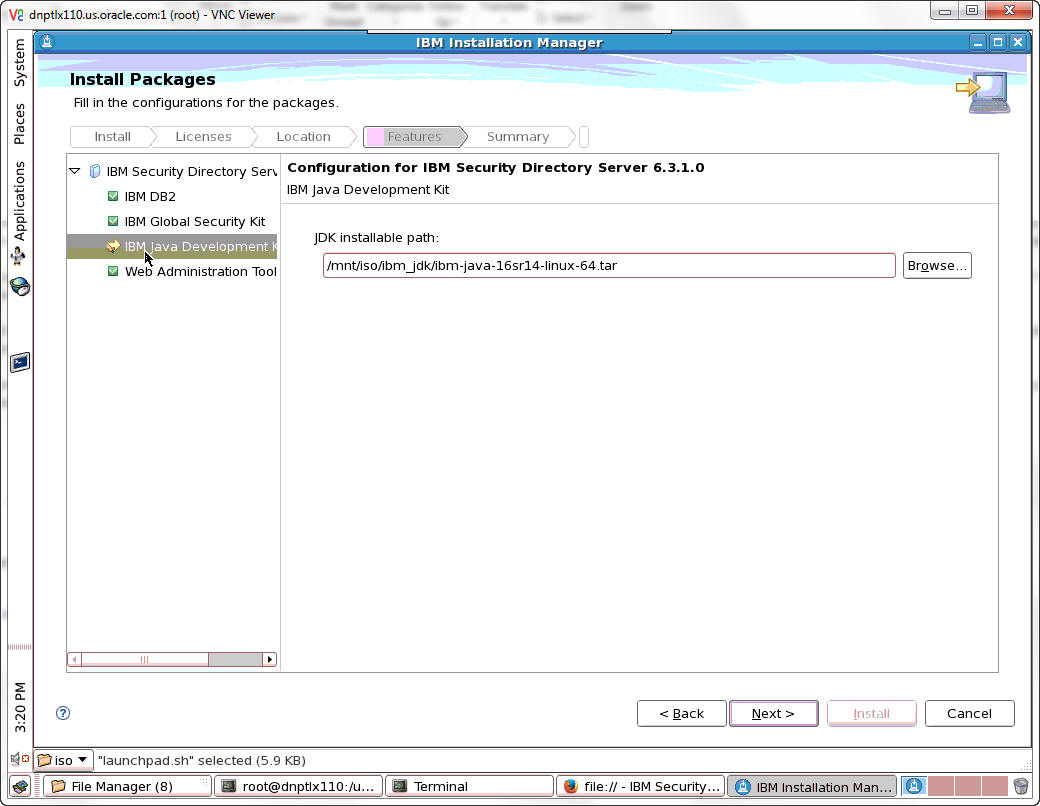
Enter the JDK install path. Click Next.
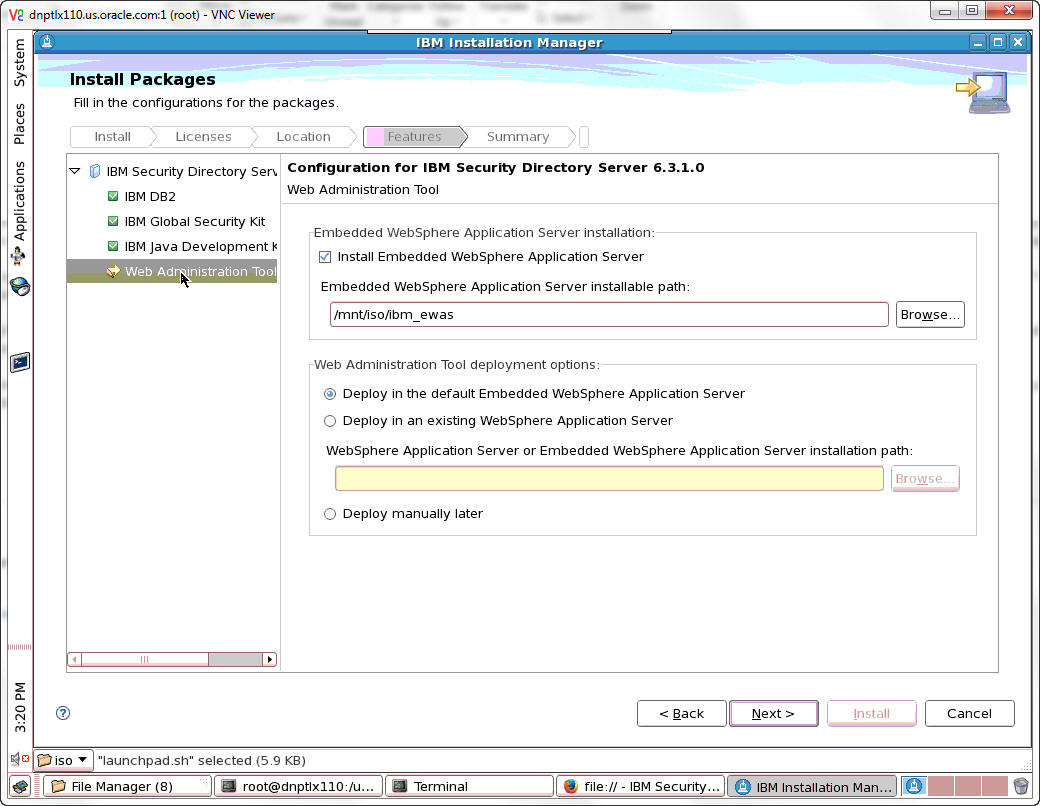
Click on Web Administration Tool. Enter the Embedded WebSphere Application Server install path and click Next.
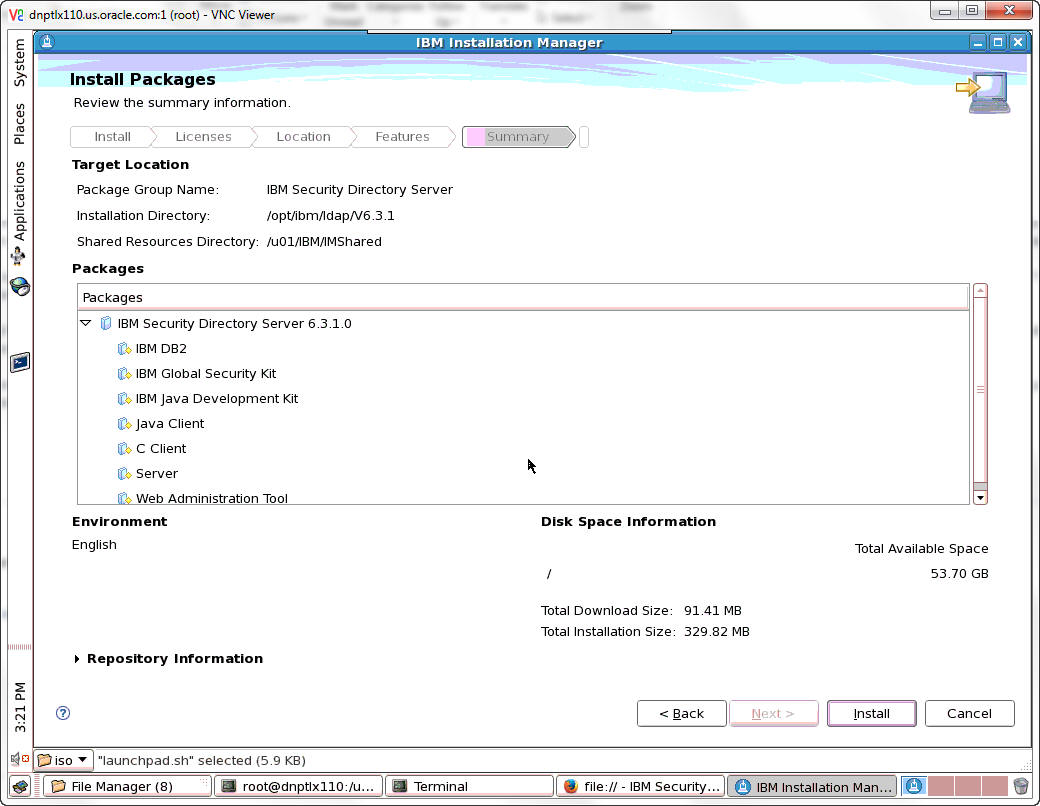
Review the packages to be installed and click Install.
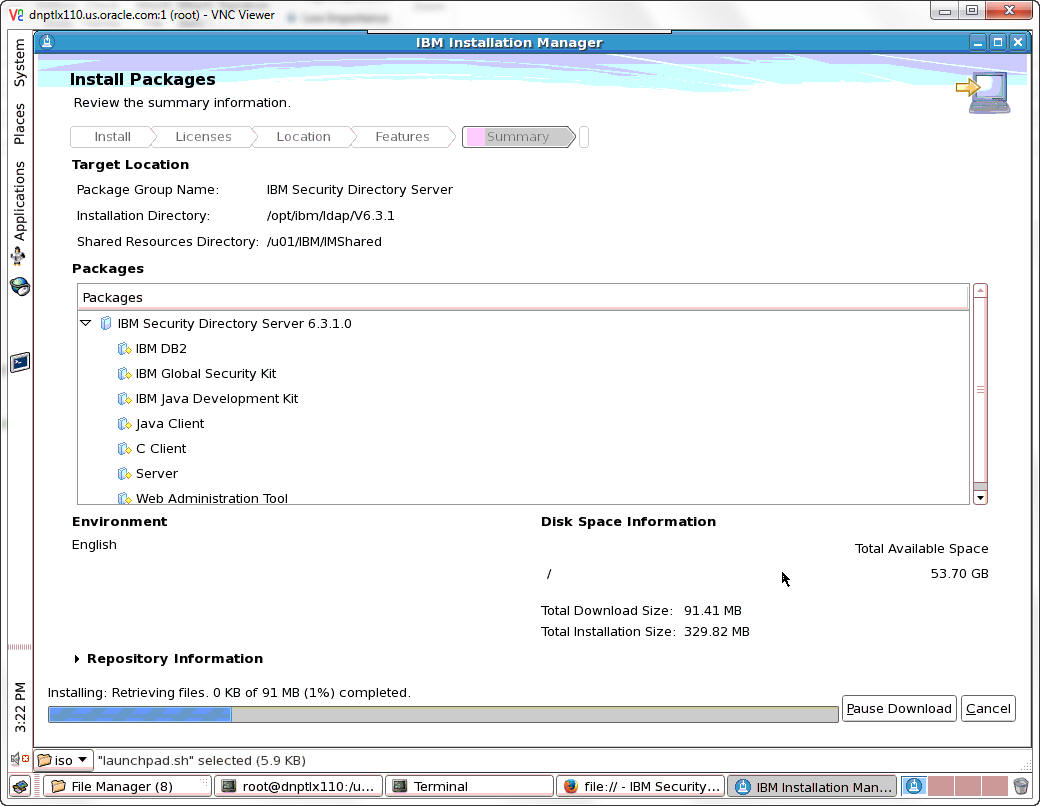
A progress bar will appear at the bottom of the screen.
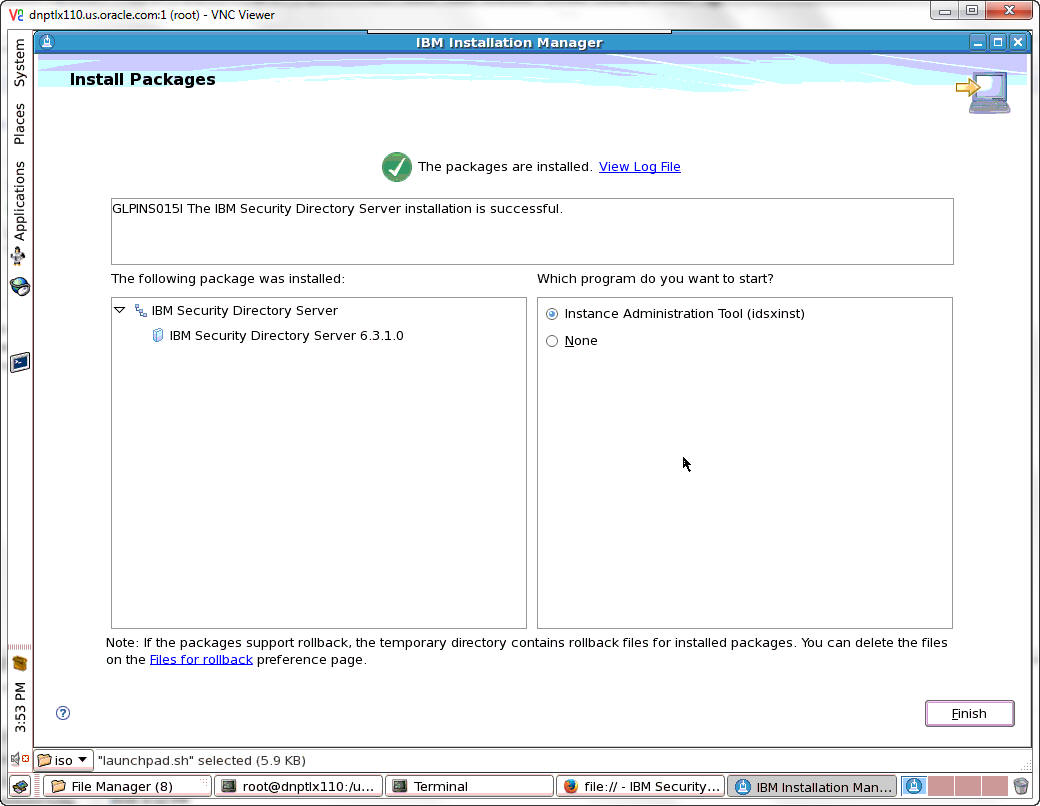
An install confirmation screen will appear. Click Finish.
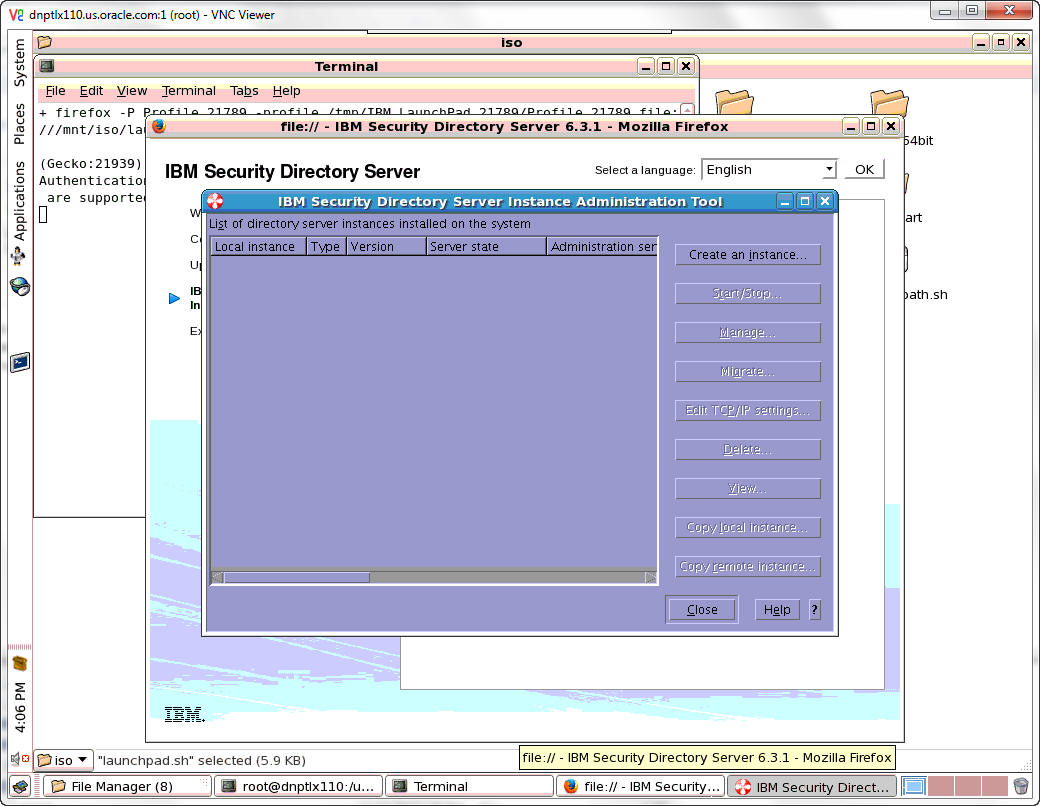
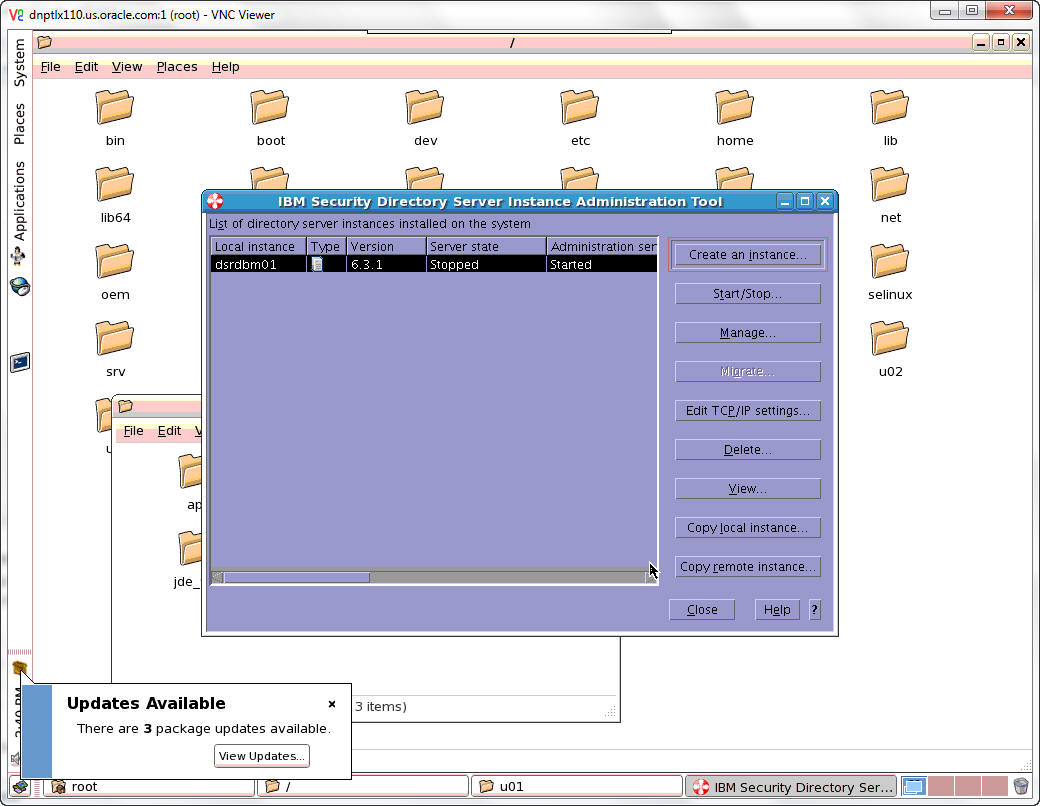
The IBM Security Directory Server Instance Administration Tool will appear. Click the Create an Instance button.
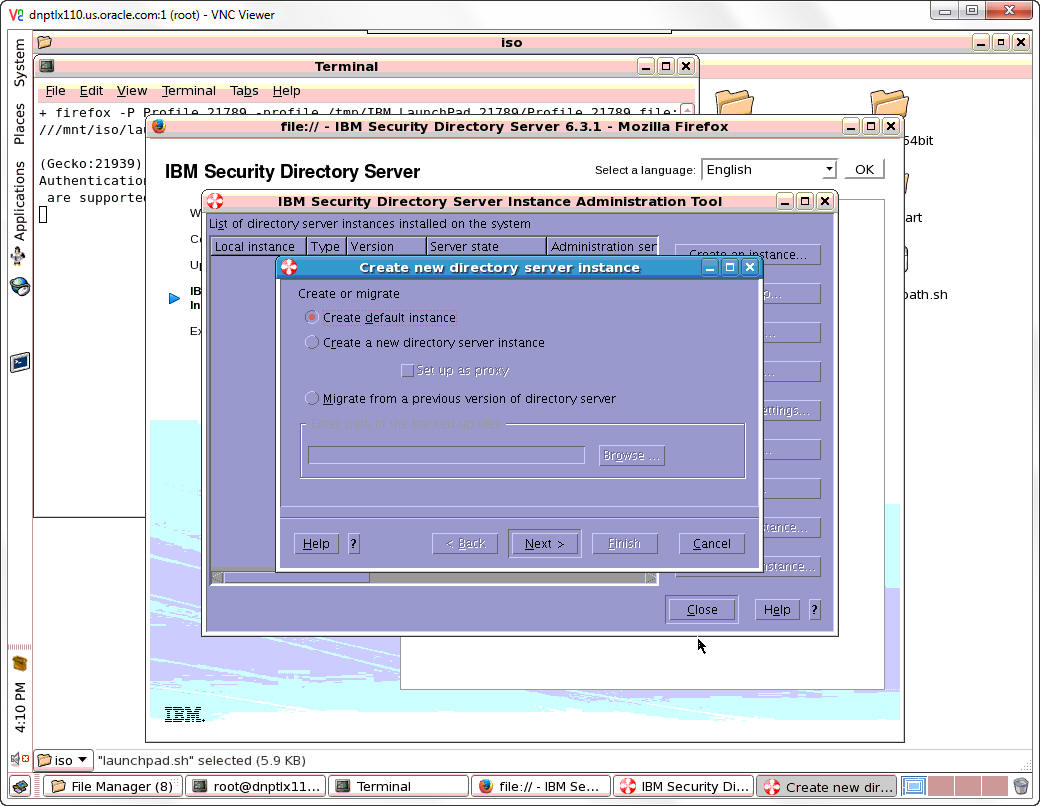
Select Create default instance and click Next.
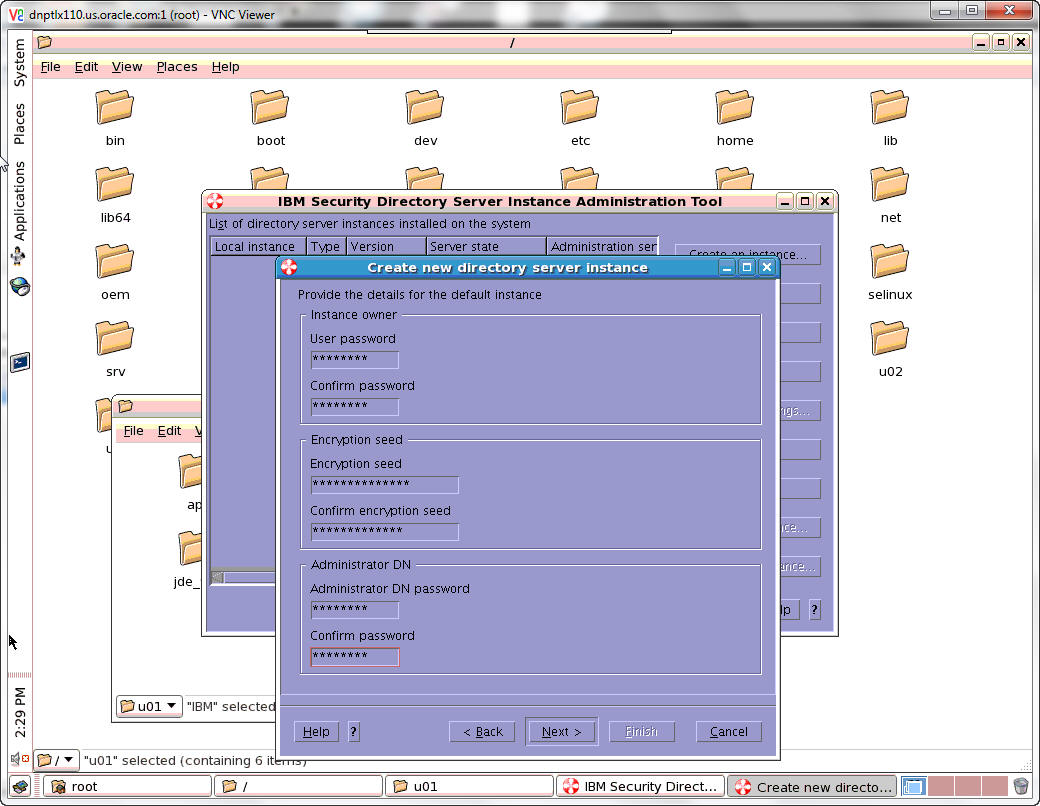
Enter the passwords and encryption seed and click Next.
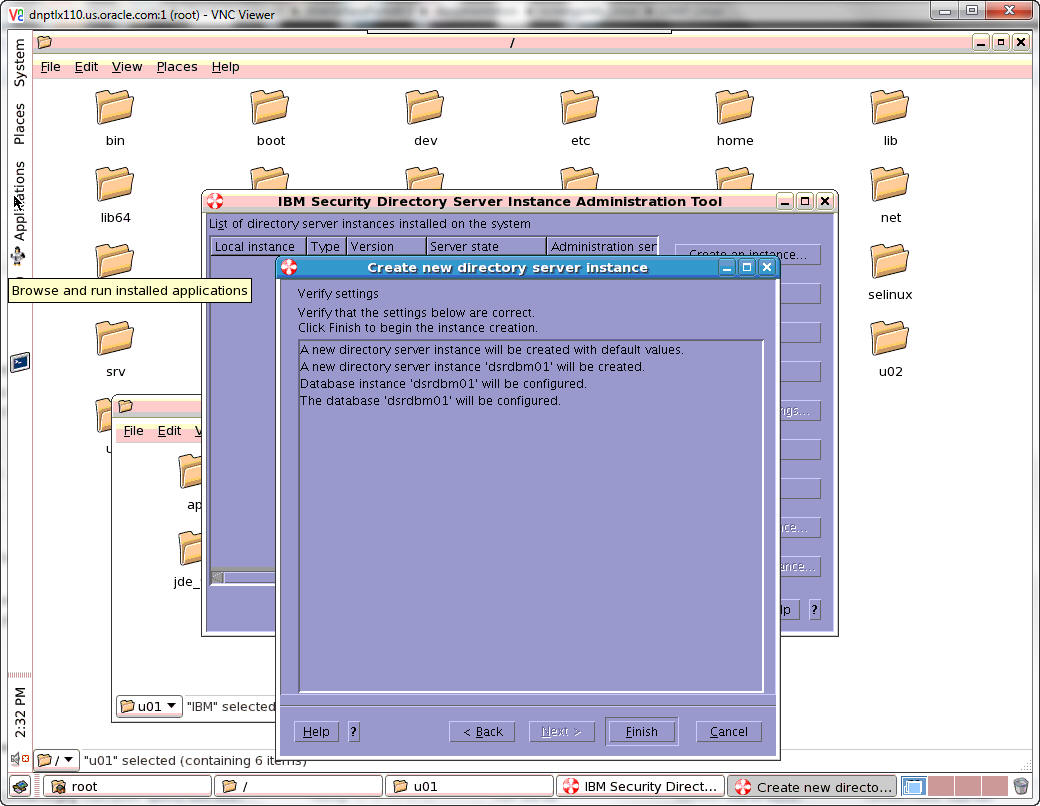
Verify the settings and click Finish to begin the instance creation.
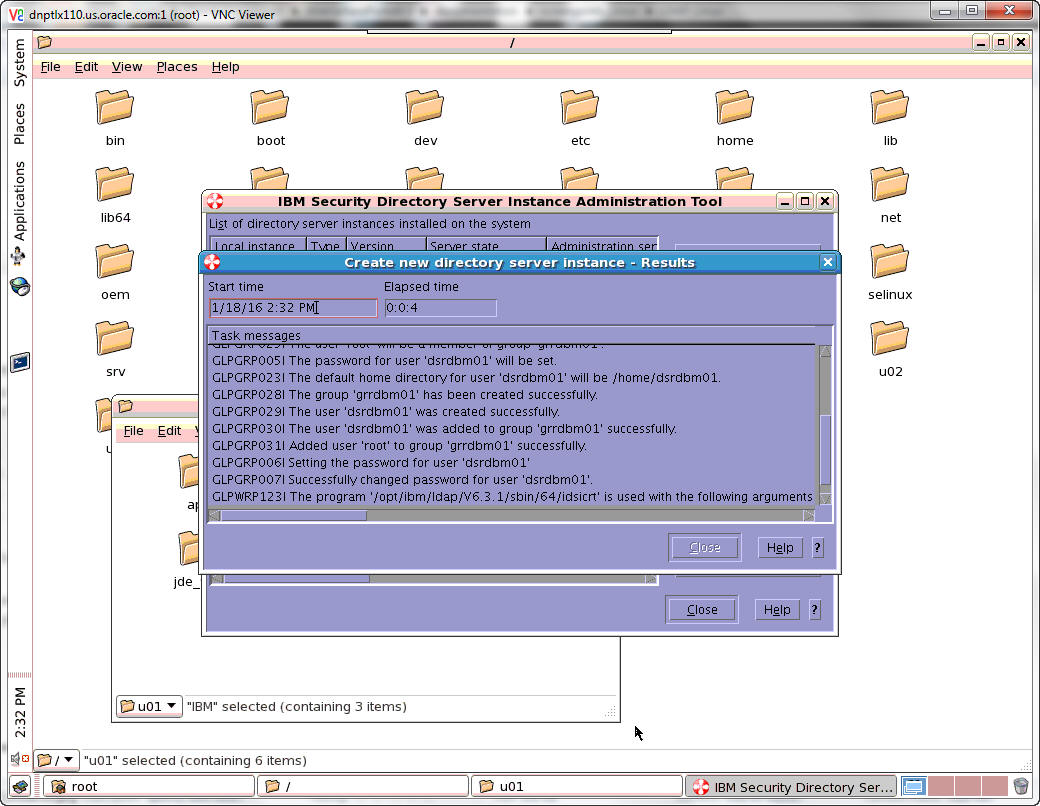
a progress window will appear.
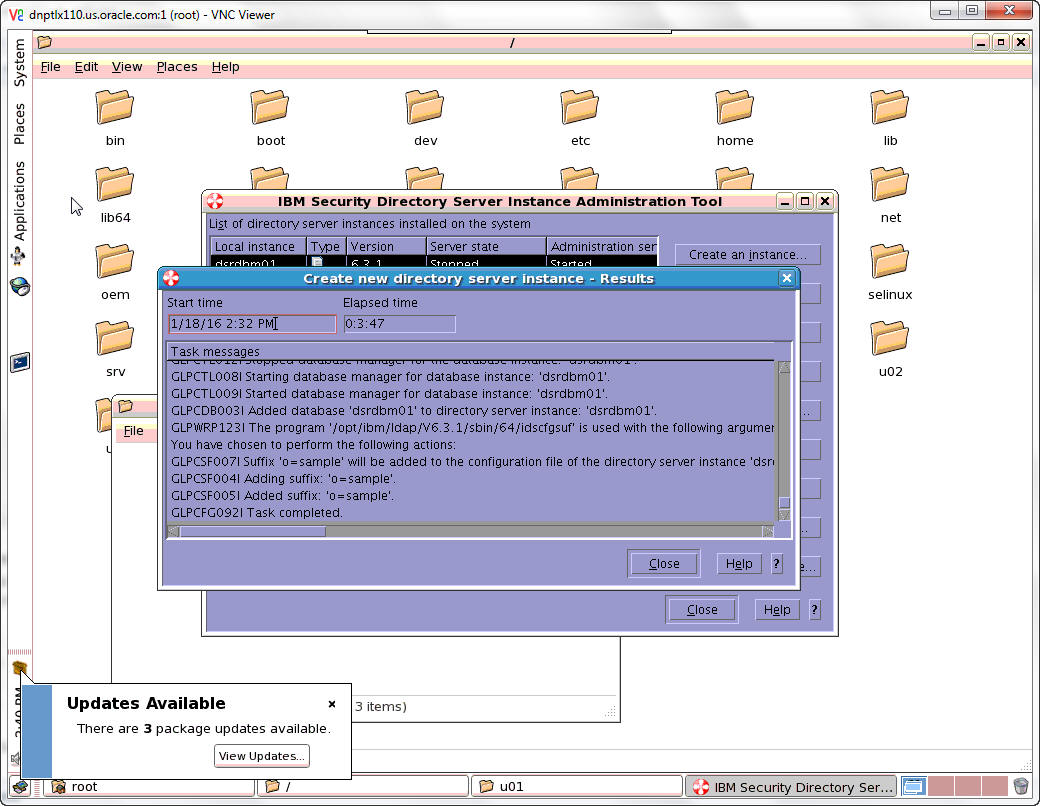
Click Close when the task has completed.
Click Start/Stop to manage the server state of the new instance.
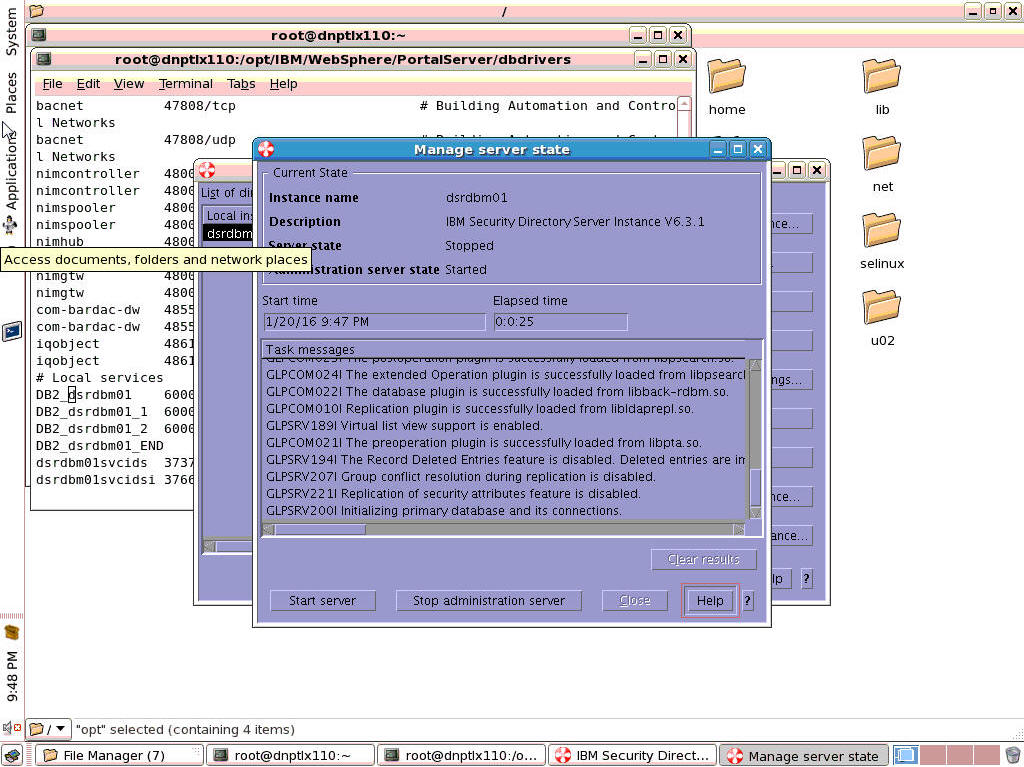
Click the Start server button.
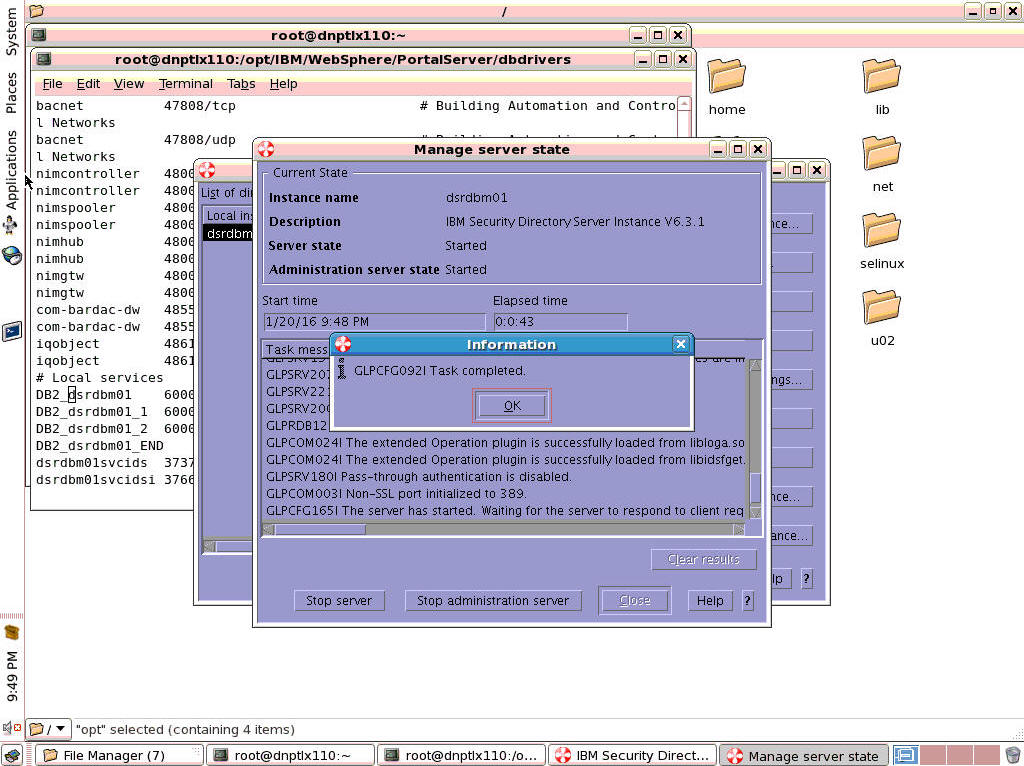
A popup message will appear saying that the task has been completed when the server has been started.