Creating the Oracle Database for IBM WebSphere Portal Server v8.5

  1. Launch Database Configuration Assistant (dbca), click Next:

    This image is described in the surrounding text.
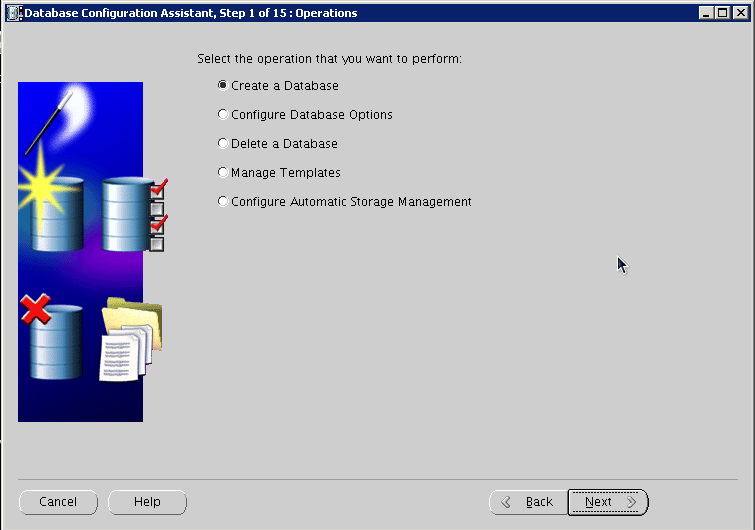
  2. Select create database, click next:

    This image is described in the surrounding text.
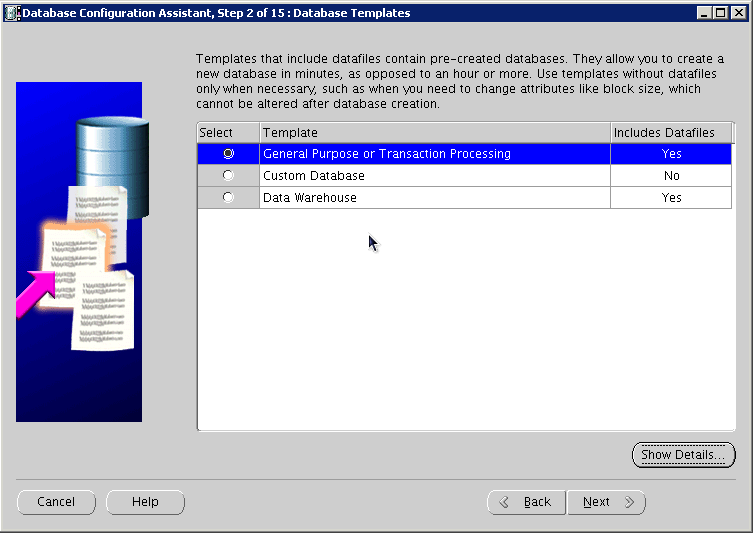
  3. Select General Purpose or Transaction Processing, click next:

    This image is described in the surrounding text.
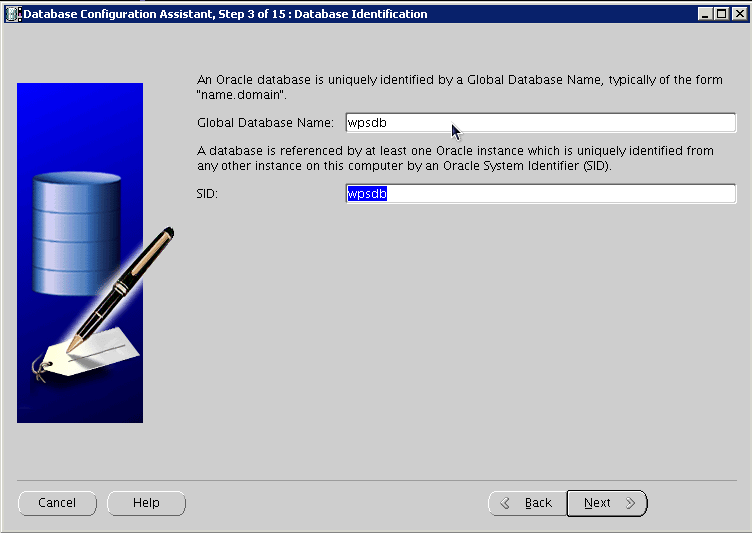
  4. Provide the SID, click next:

    This image is described in the surrounding text.
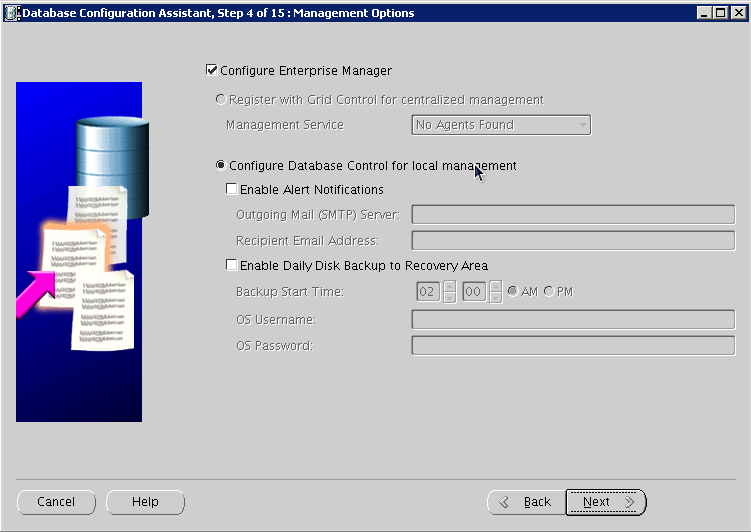
  5. Select Configure with EnterpriseManager, click next:

    This image is described in the surrounding text.
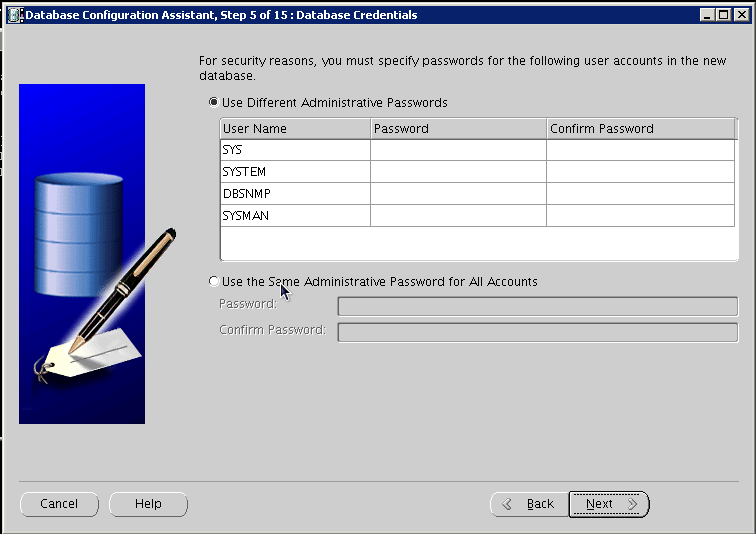
  6. Provide account and password details, click next:

    This image is described in the surrounding text.
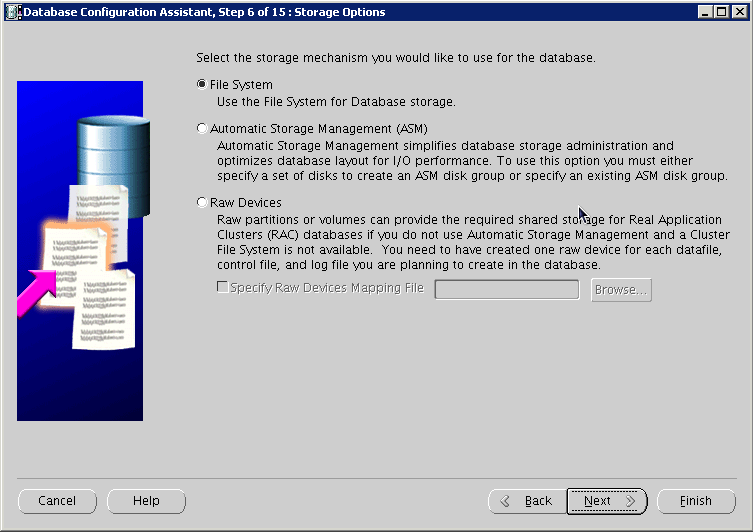
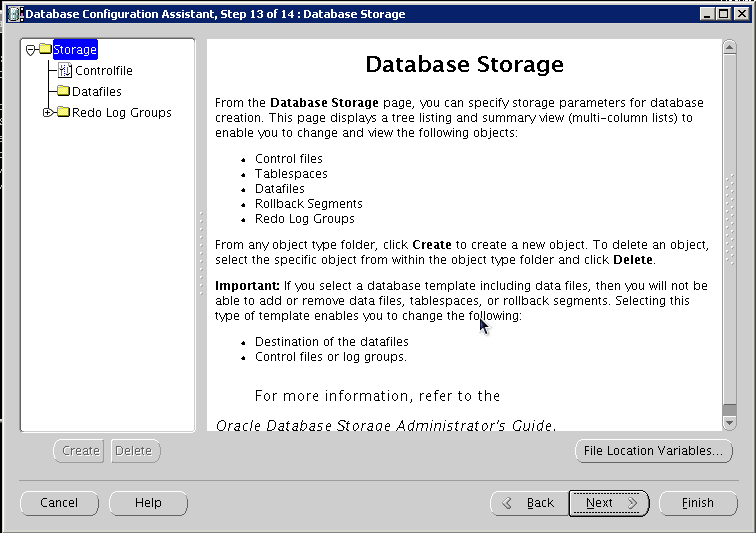
  7. Configure the storage options, and then click next:

    This image is described in the surrounding text.
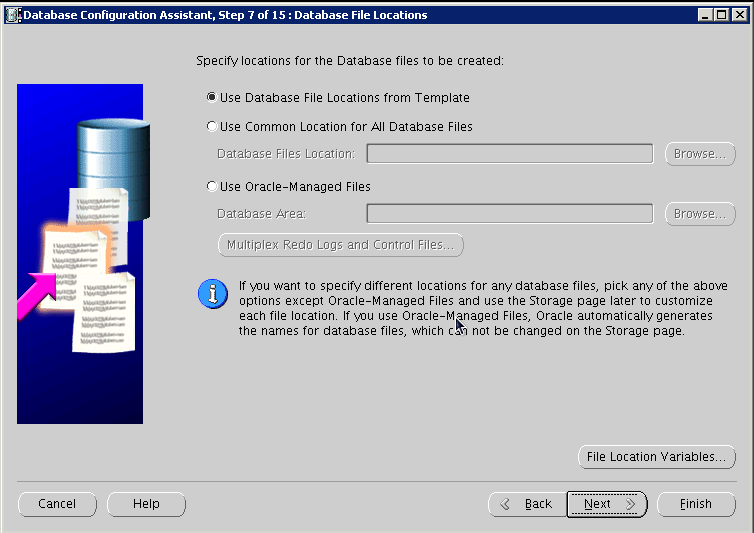
  8. Configure file locations, click Next:

    This image is described in the surrounding text.
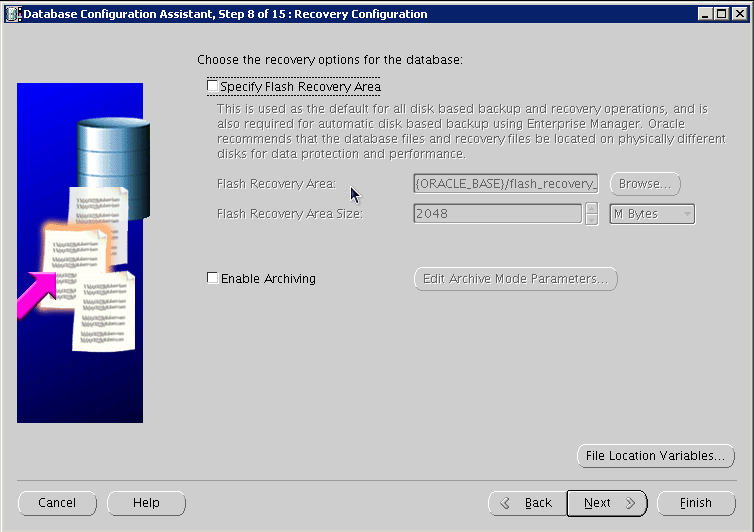
  9. Configure recovery options, click next:

    This image is described in the surrounding text.
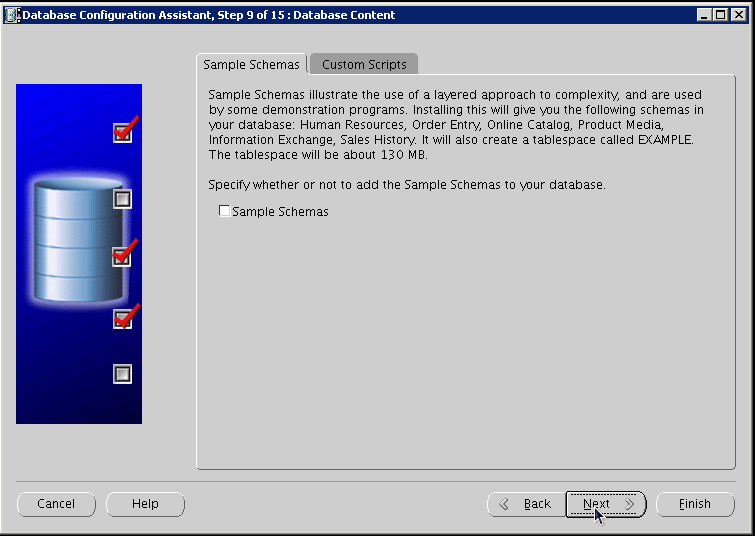
  10. Do Not install sample schemas, click next:

    This image is described in the surrounding text.
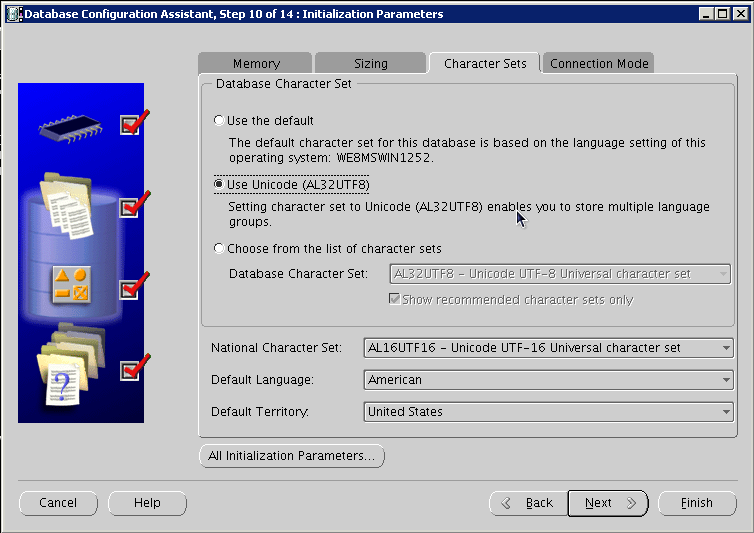
  11. Configure UNICODE Character Set:

    This image is described in the surrounding text.
  12. Configure Connection Mode, click next:

    This image is described in the surrounding text.
  13. Configure Security settings, click next:

    This image is described in the surrounding text.
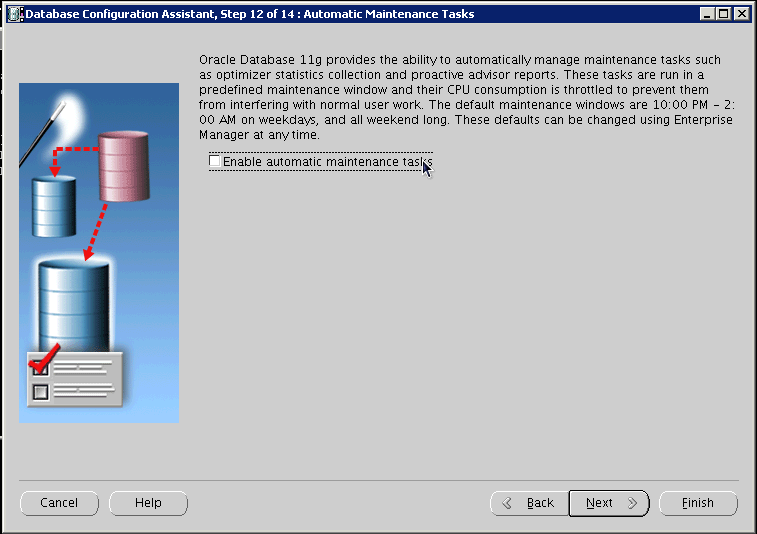
  14. Configure maintenance task, click next:

    This image is described in the surrounding text.
  15. Review storage information, click next:

    This image is described in the surrounding text.
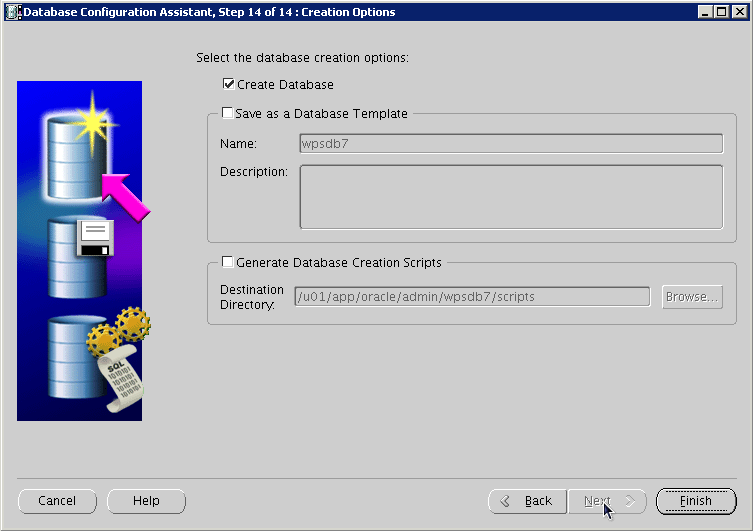
  16. Review information, click finish:

    This image is described in the surrounding text.
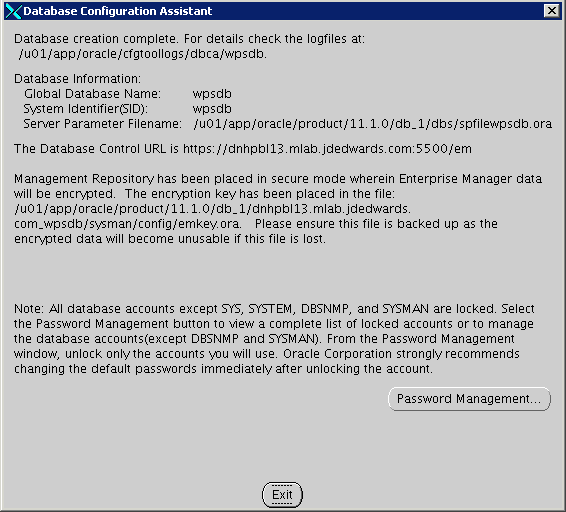
  17. Once the installation completes review the installation summary information:

    This image is described in the surrounding text.
  18. From sqlplus command line perform the following select query:

    SQL> select * from NLS_DATABASE_PARAMETERS;
    
    This image is described in the surrounding text.