Installing the Portal Server
To begin the installation
Download the WebSphere Portal 8.5 software from the IBM support site.
From either the Setup CD or directory, you can use various methods to launch the installer, as shown in this table (it is recommended to use Graphical user interface for installation):
Installation Method
Command and Description
Graphical user interface
install
Console mode
install -console
Silent install
install -options “path_to_file\response_filename"
where path_to_file is the full path to the response file, and
where response_filename is the name of the file.
A sample install response file (installresponse.txt) and a sample uninstall response file (uninstallresponse.txt) are located in the root directory of the Setup CD.
Important: Do not place the response file in a path that contains a space and do not put a space in the file name.
Note:If the installation program does not detect a WebSphere Application Server instance that you know exists, exit the installation program and re-run it using command line options to specify the WebSphere Application Server instance location.
For example:
install -W was.undetectedWas="\my\WAS\location"
Upon execution, by default the installer creates a separate profile called wp_profile. This profile is used to host the Portal contents. Therefore, you should not install Portal into an existing profile with other applications installed.
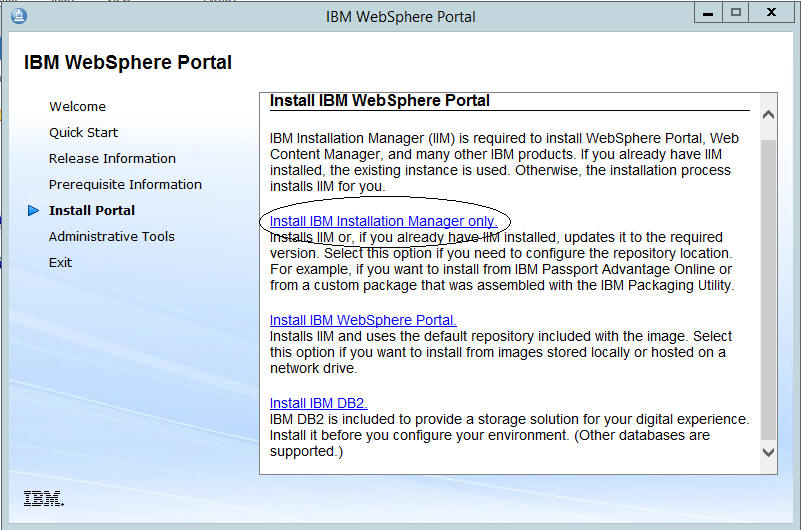
After launching the IBM WebSphere Portal wizard, select Install Portal in the left window pane, and then click on the hyperlink for Install IBM Installation Manager only.

On the Install Packages window, make sure that the IBM Installation Manager and the version have been selected. Click the Next button.

Accept the license agreement terms and click the Next button.
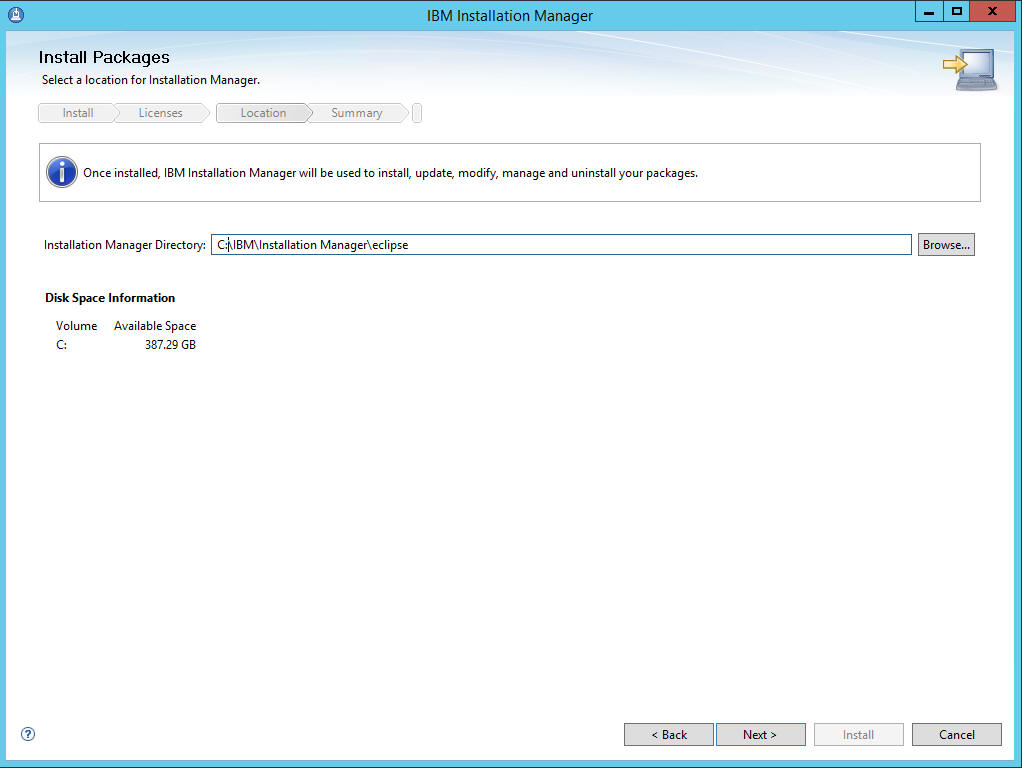
Select a location for Installation manager and click Next.
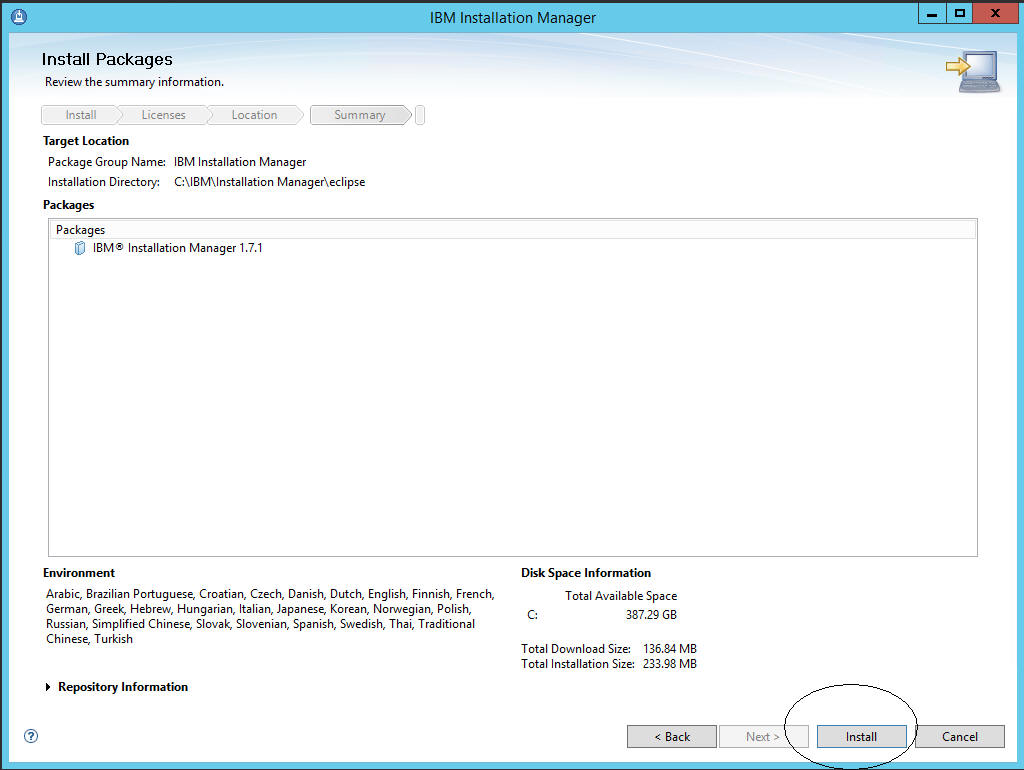
Review the summary information and click Install.
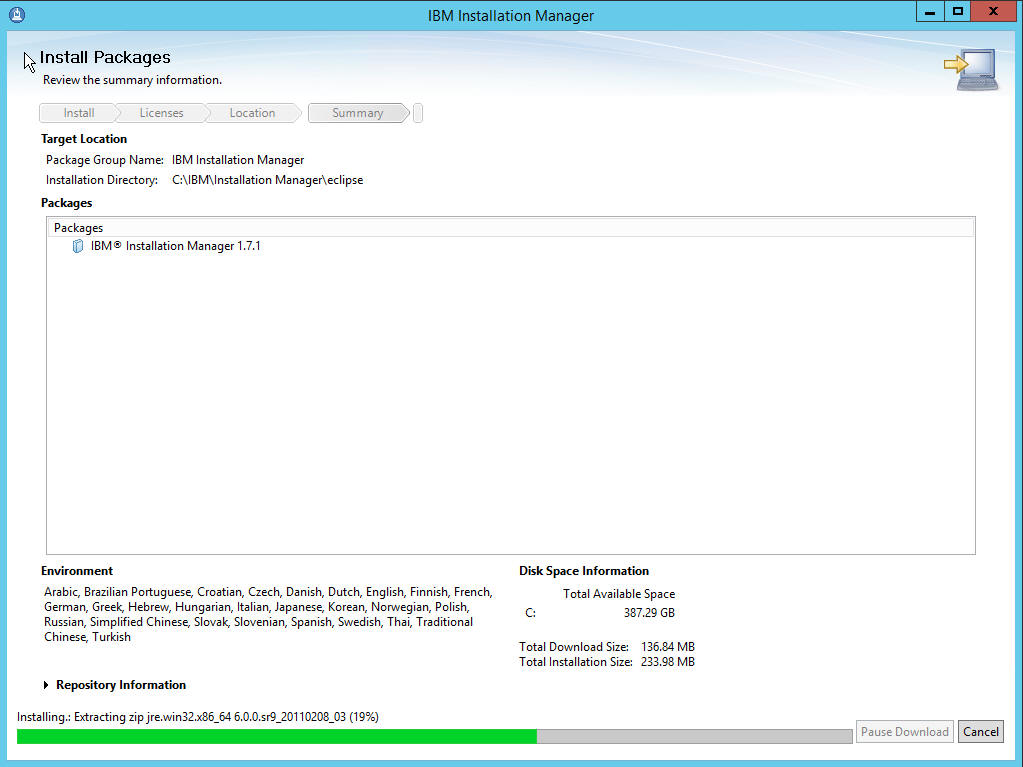
The progress of the install will be displayed in the bar along the bottom of the screen.
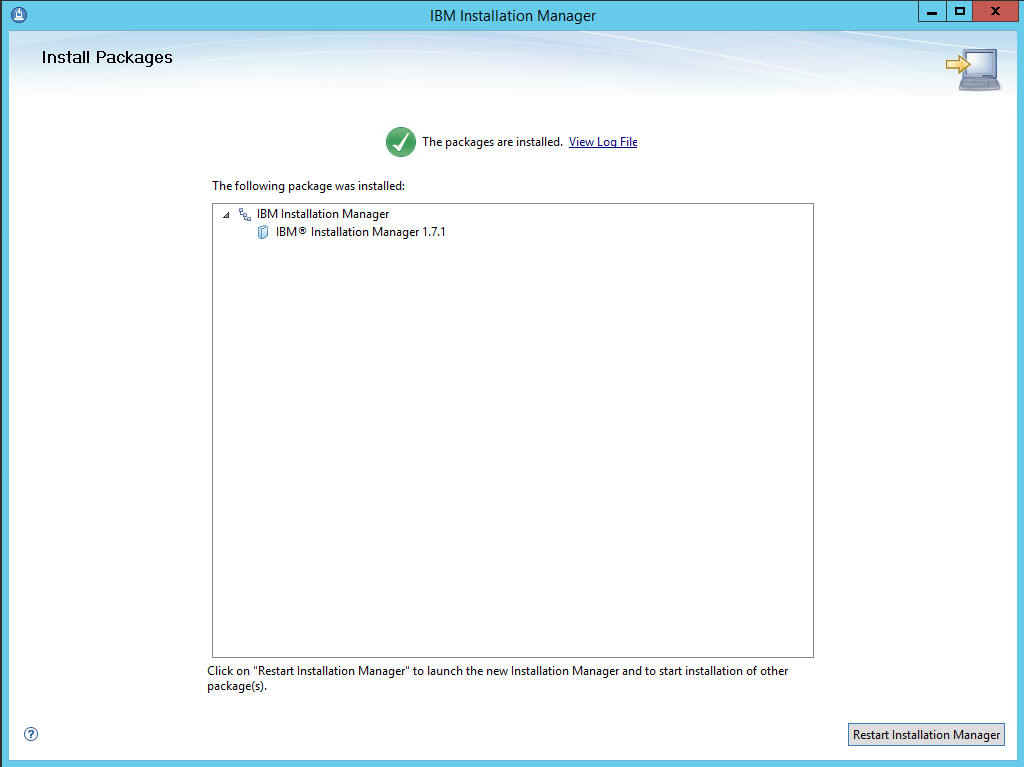
When the install of Installation Manager completes successfully, this screen will appear. Click on Restart Installation Manager to launch the new Installation Manager and to start installation of other packages.
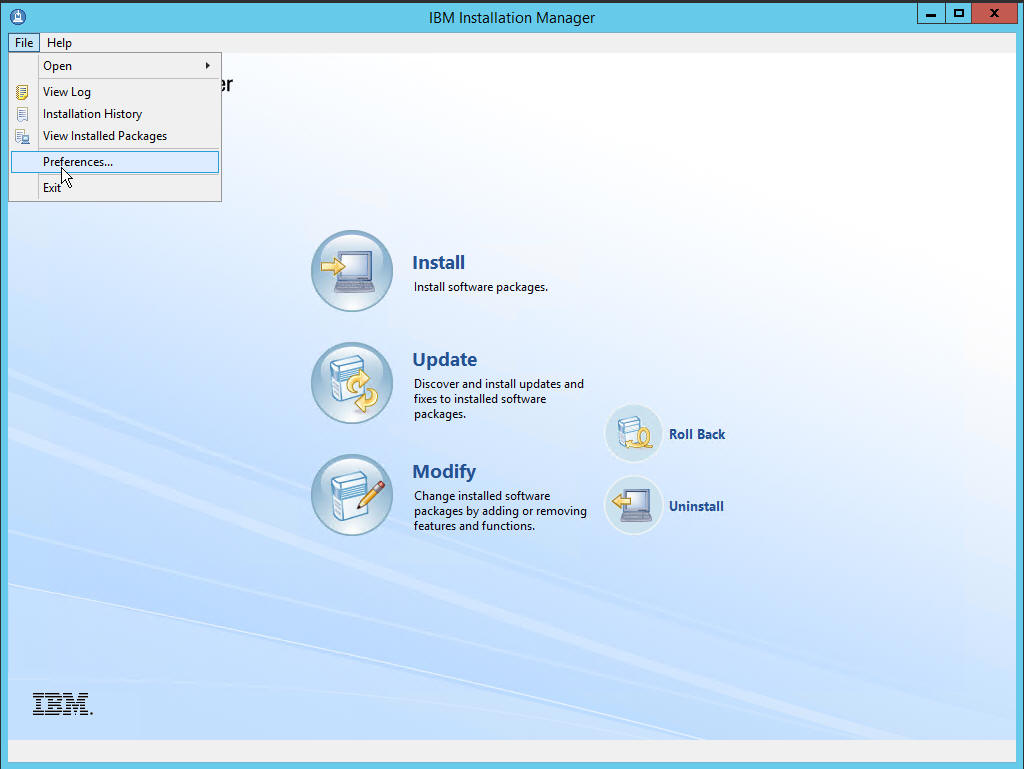
After Installation Manager is launched, select File|Preferences.
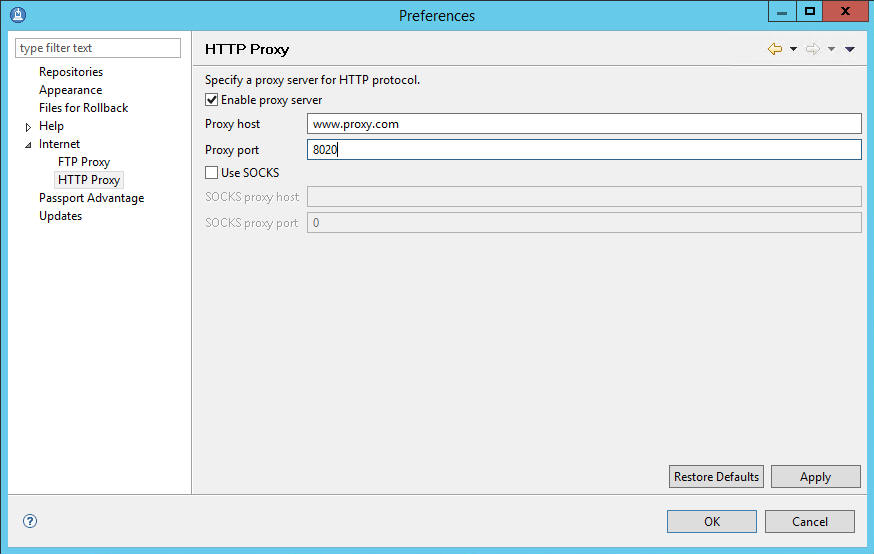
Make sure that the correct information is provided for the Proxy host and Proxy port. Click OK.
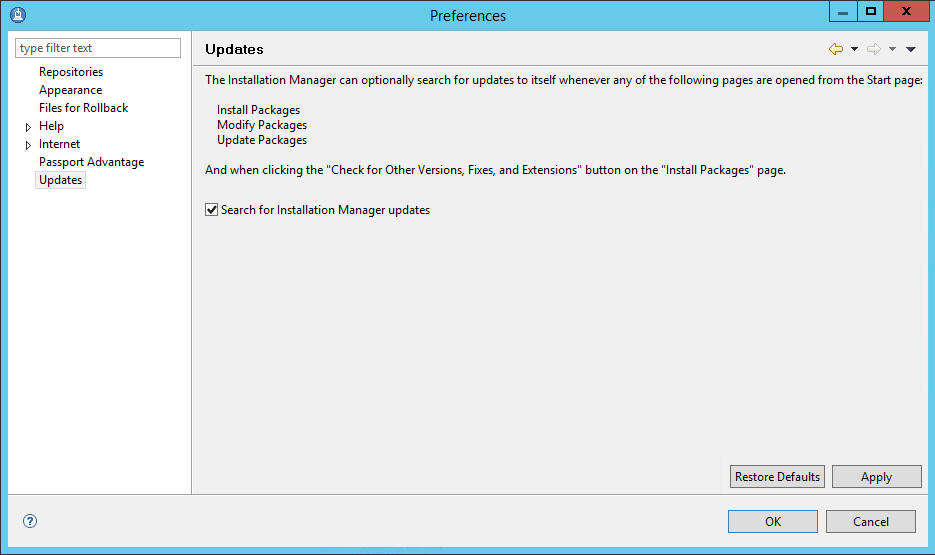
If you want to search for Installation Manager updates, then select the checkbox. Click OK.
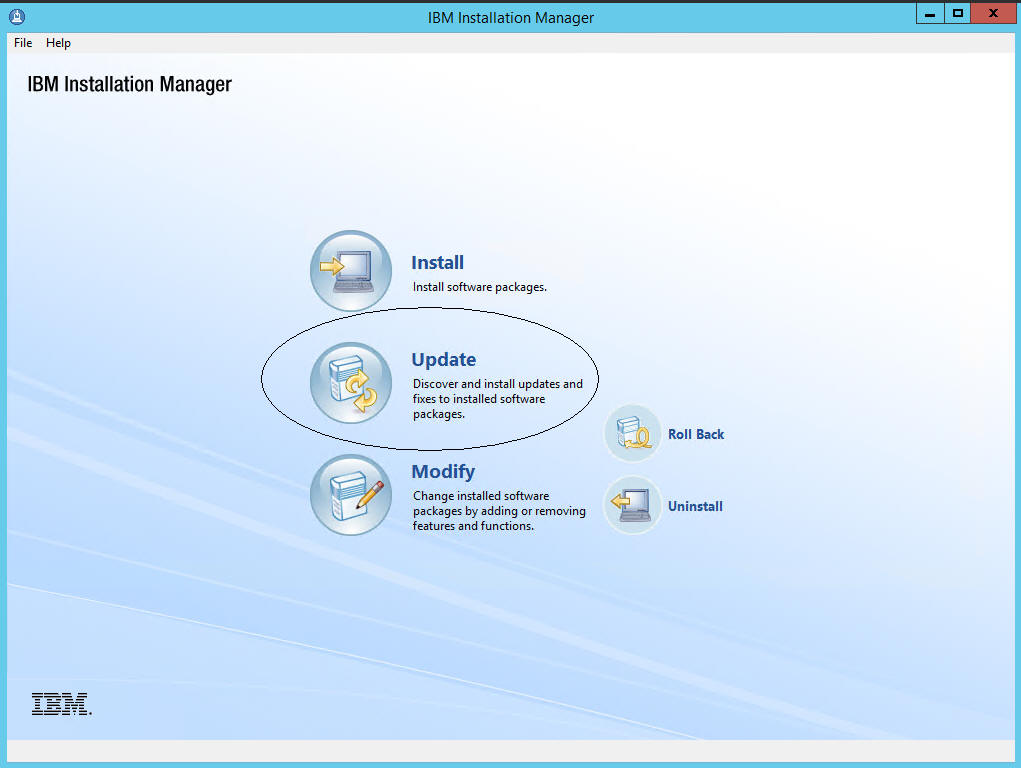
To discover and install updates and fixes to installed software packages, click Update.
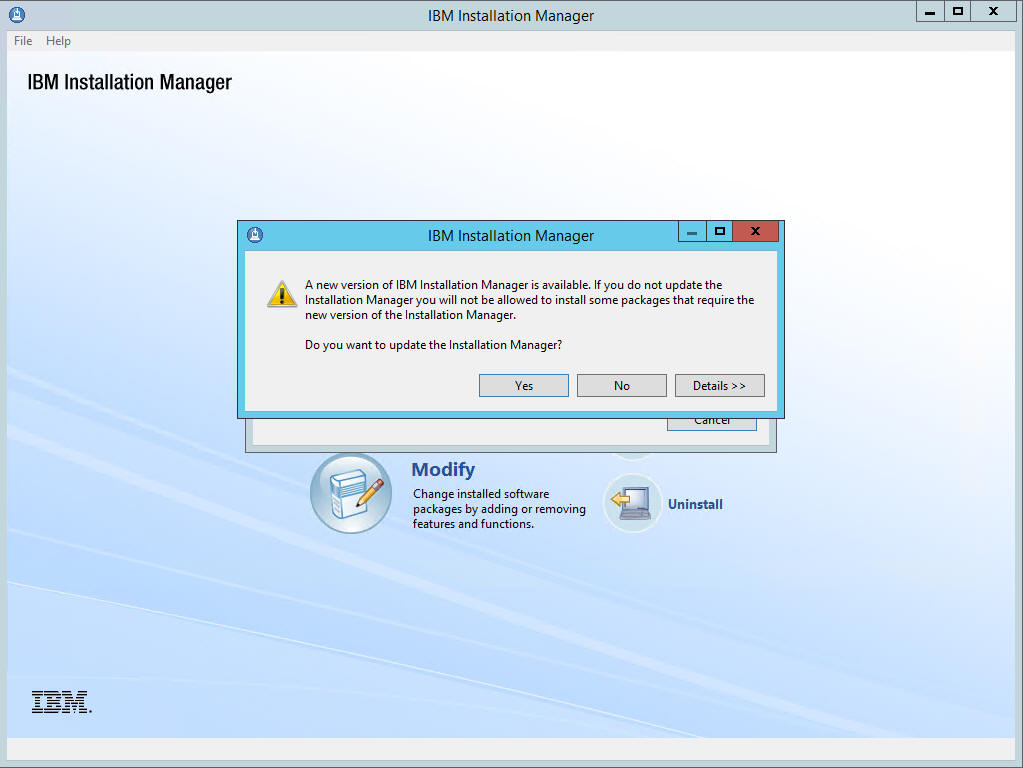
A popup window will notify you if there are updates available.

If Yes has been selected, a Progress Information popup window will appear displaying the progress of the update being installed.
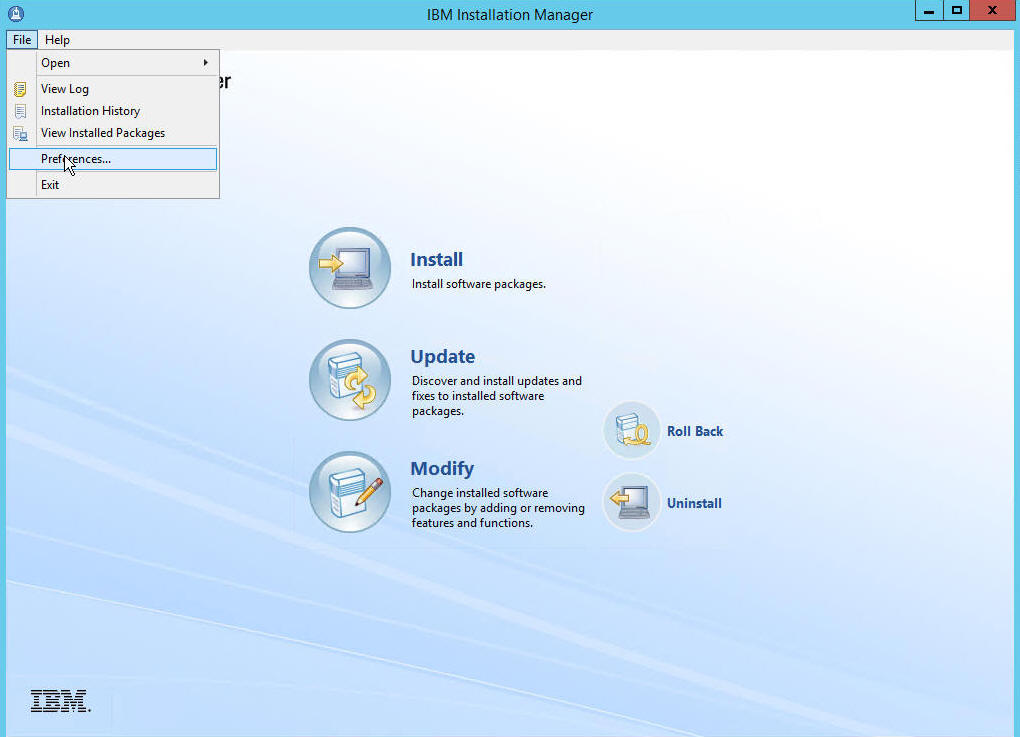
Once the update is installed, the IBM Installation Manager home screen will appear. Select File|Preferences.
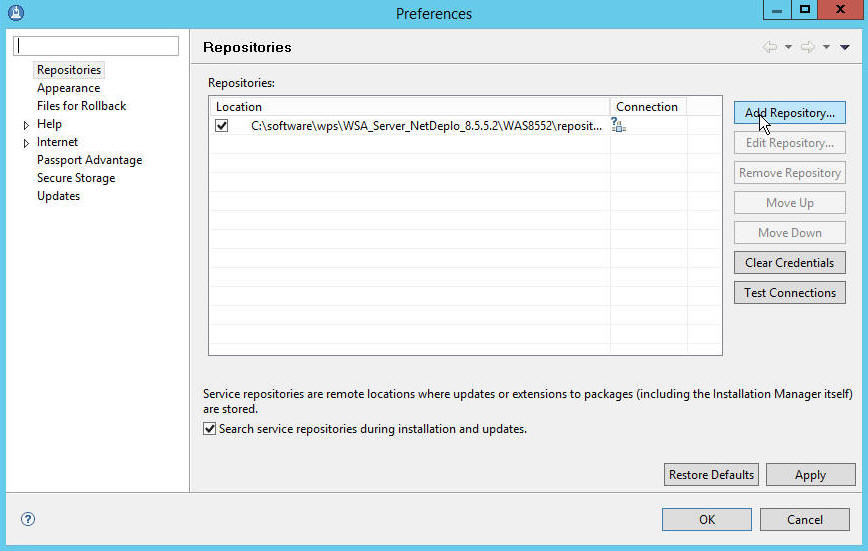
Within Preferences, select Repositories in the left window pane. Click on the Add Repository button.
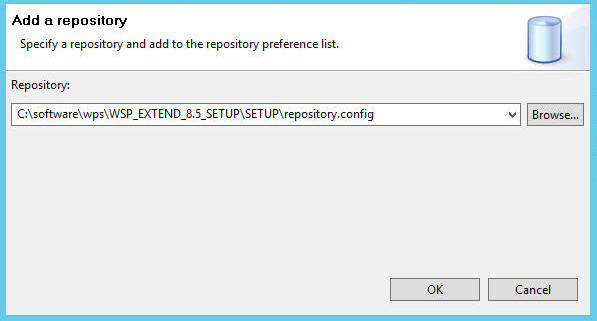
In the Add a repository popup window, add WSA_Server_NetDeplo_8.5.5.2 and then click OK.
Not all users may use WSP Extend but WSA_Server_NetDeploy, WSA Srvr 8.5.
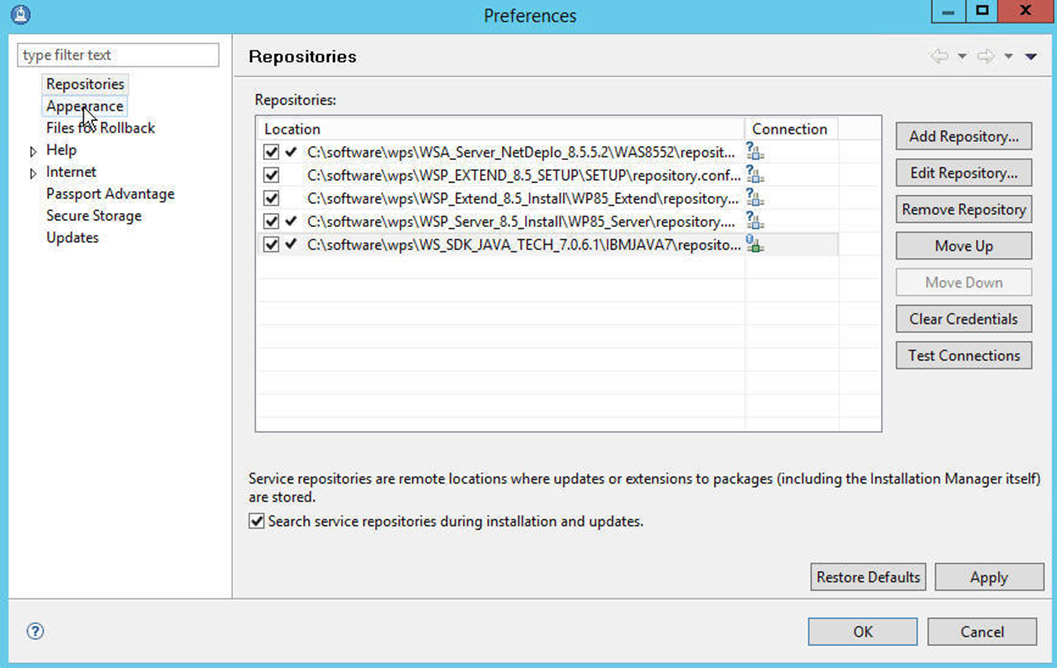
Add these repositories, and then click OK:
WSA_Server_NetDeplo_8.5.5.2
WSP_Server_8.5_Install
WS_SDK_JAVA_TECH_7.0.6.1
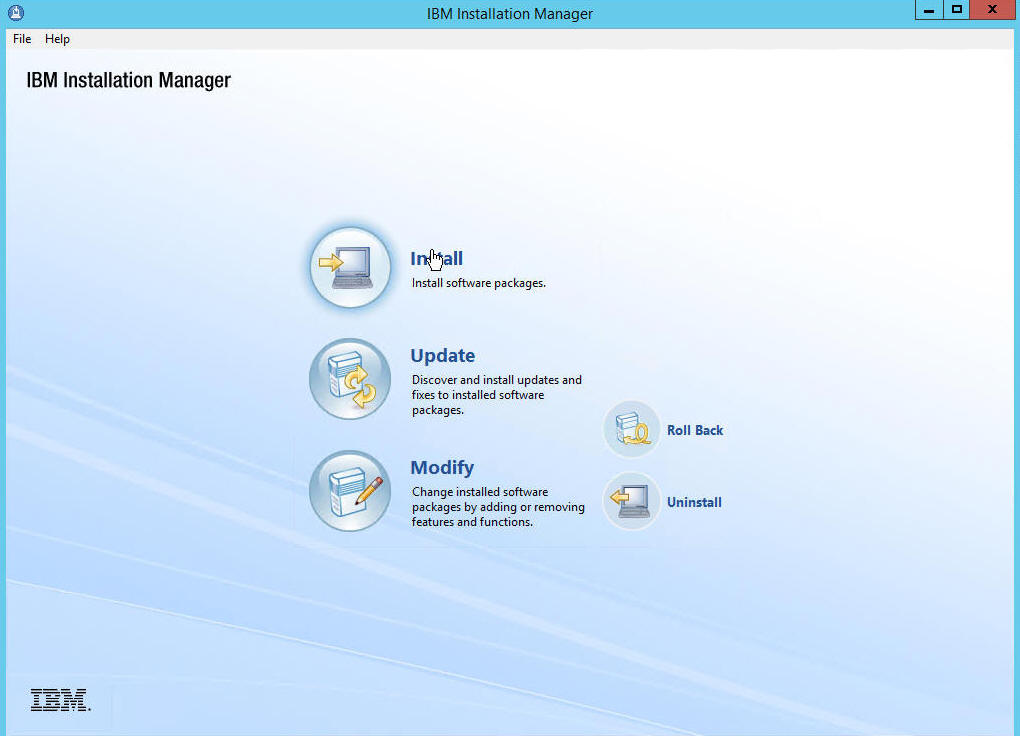
Click Install.
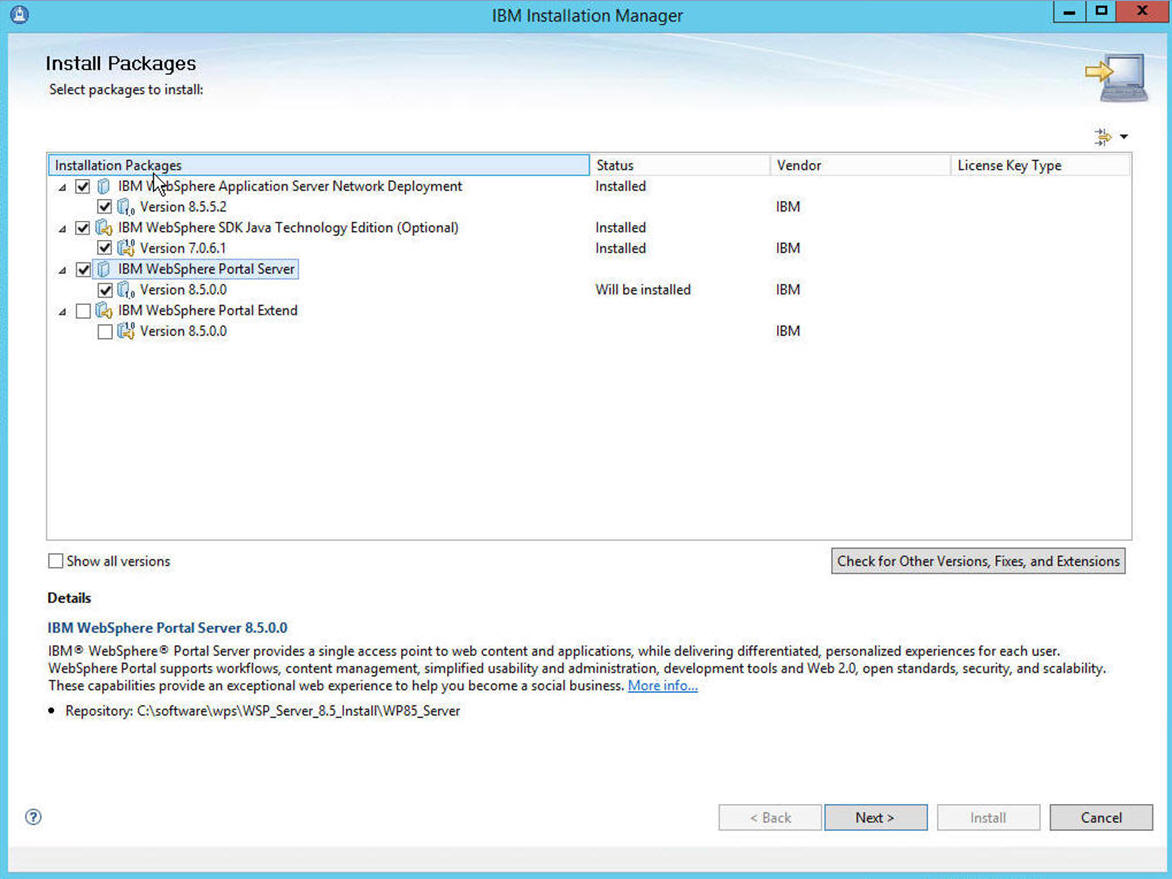
Select IBM WebSphere Portal Server and click Next.
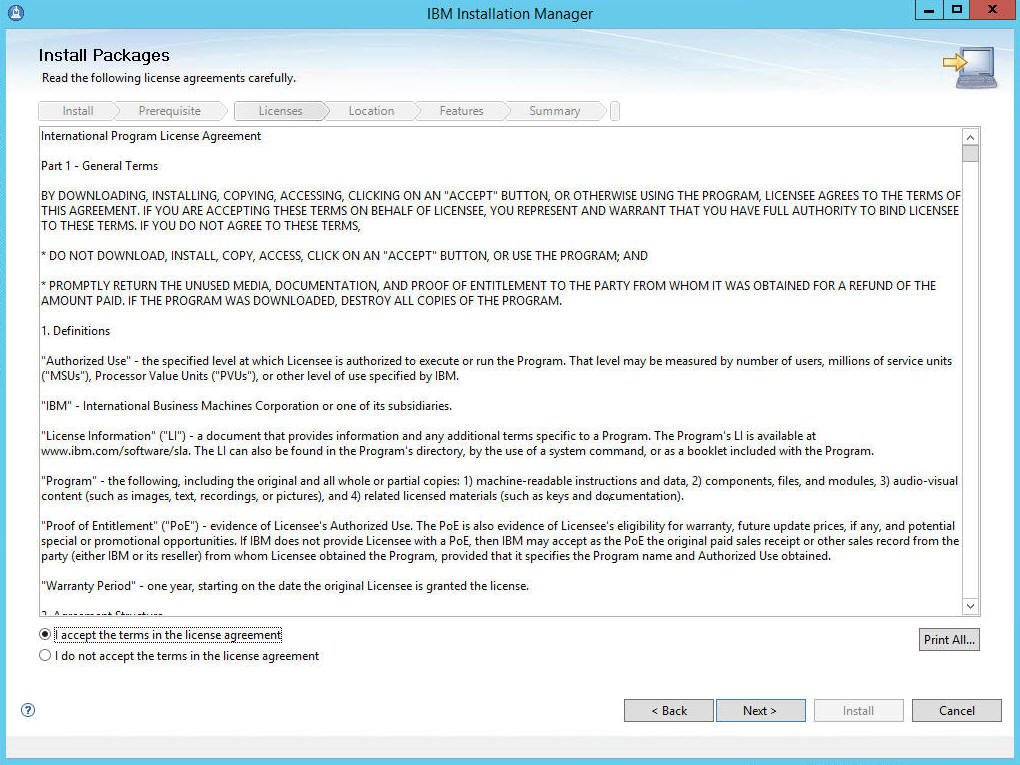
Accept the license agreement terms and click Next.
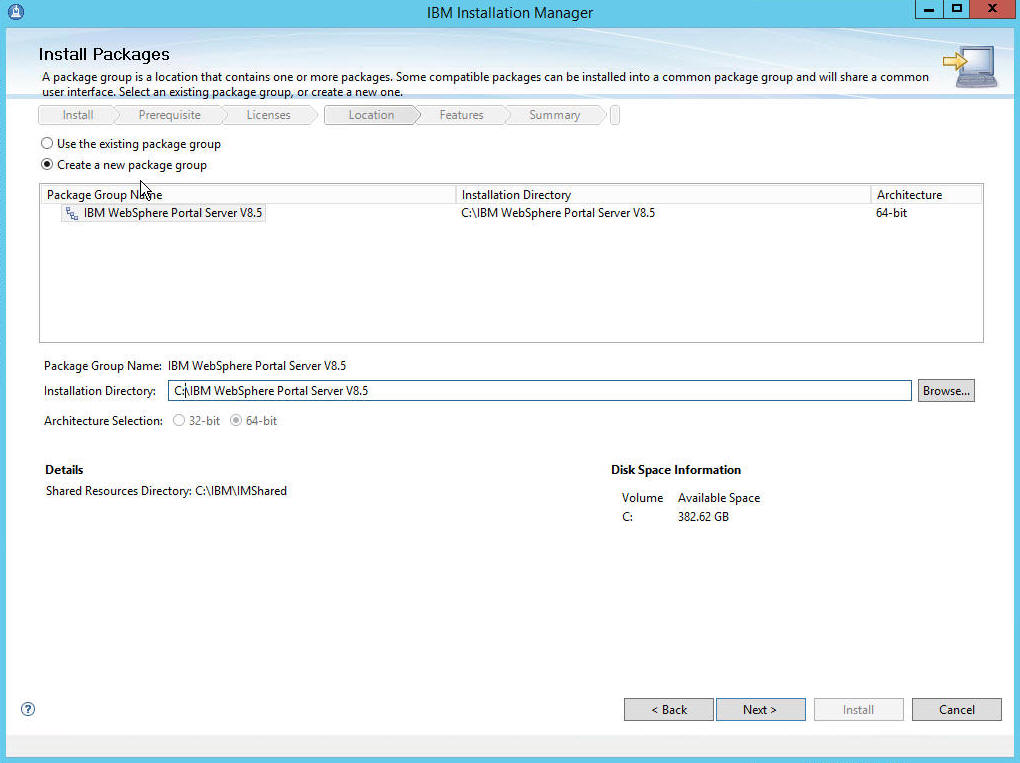
Select Create a new package group and click Next.

Select the features to install and click Next.
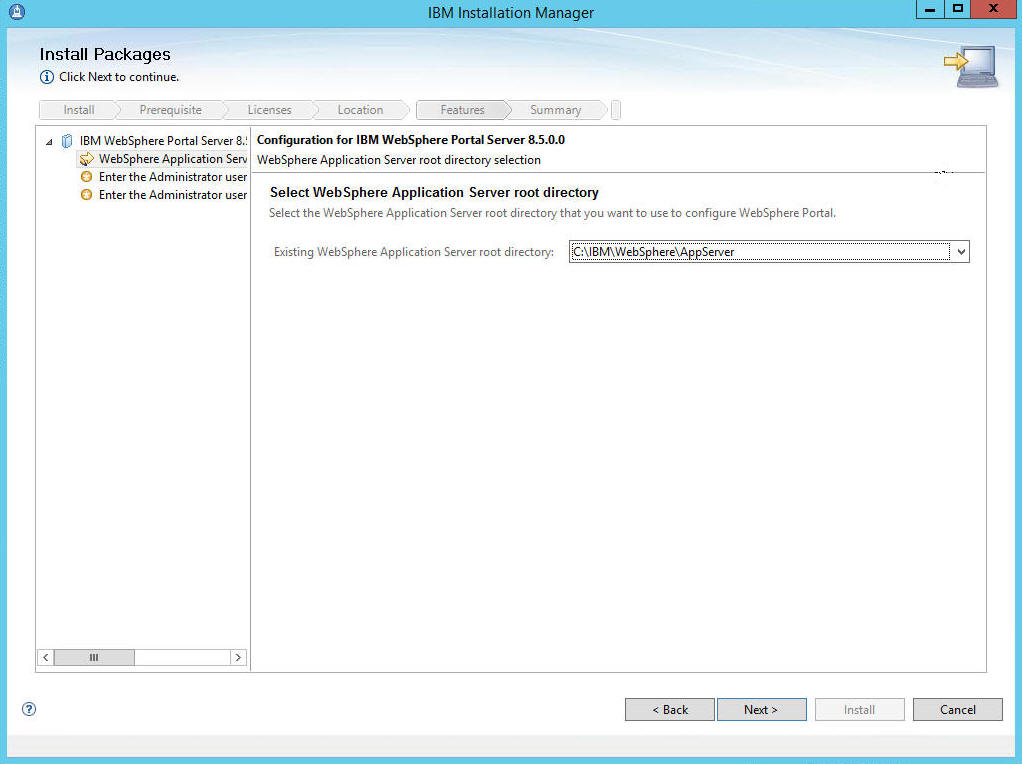
Verify the existing WebSphere Application Server root directory and click Next.
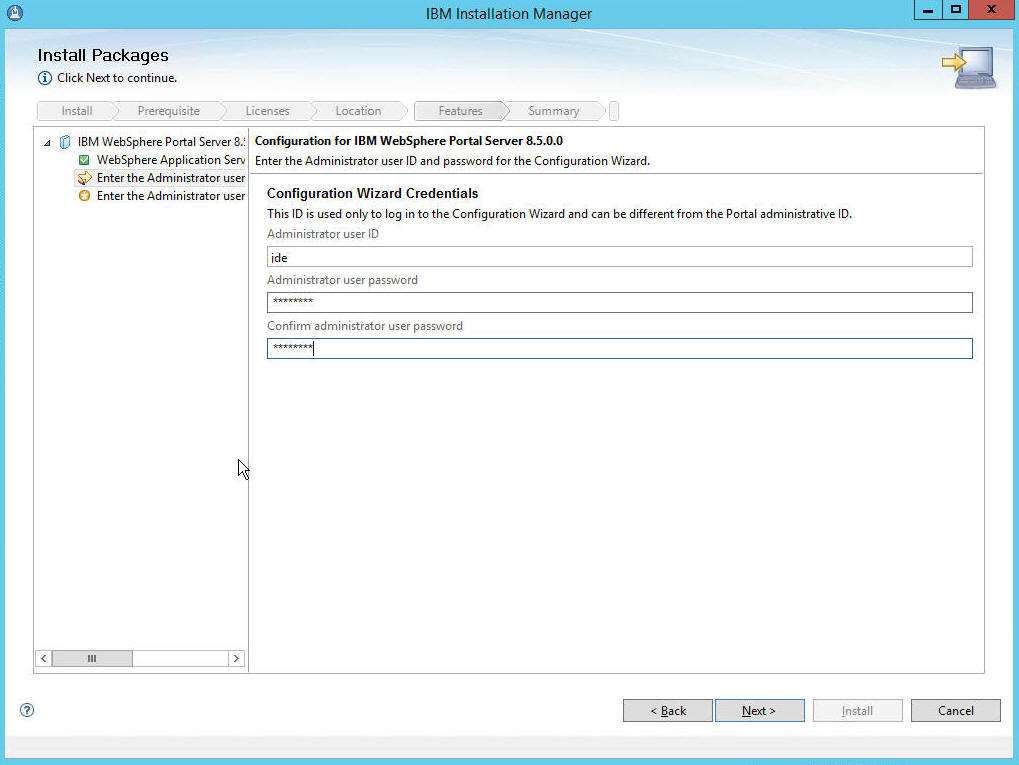
On the security screen for the administration user ID and password, WebSphere Portal enables security by default. It is not possible and/or recommended to disable security. Complete these fields:
Field
Description
Administrative User ID
Enter the user ID that you assign for the Portal administrator. For example:
wpsadmin
This user is used for Stopping Services after the Portal installation is completed. It is not related to any user IDs used to access the operating system.
Administrative Password
Enter the password for the Administrative User defined in the previous field.
Confirm Password
Confirm the password you entered in the previous field.
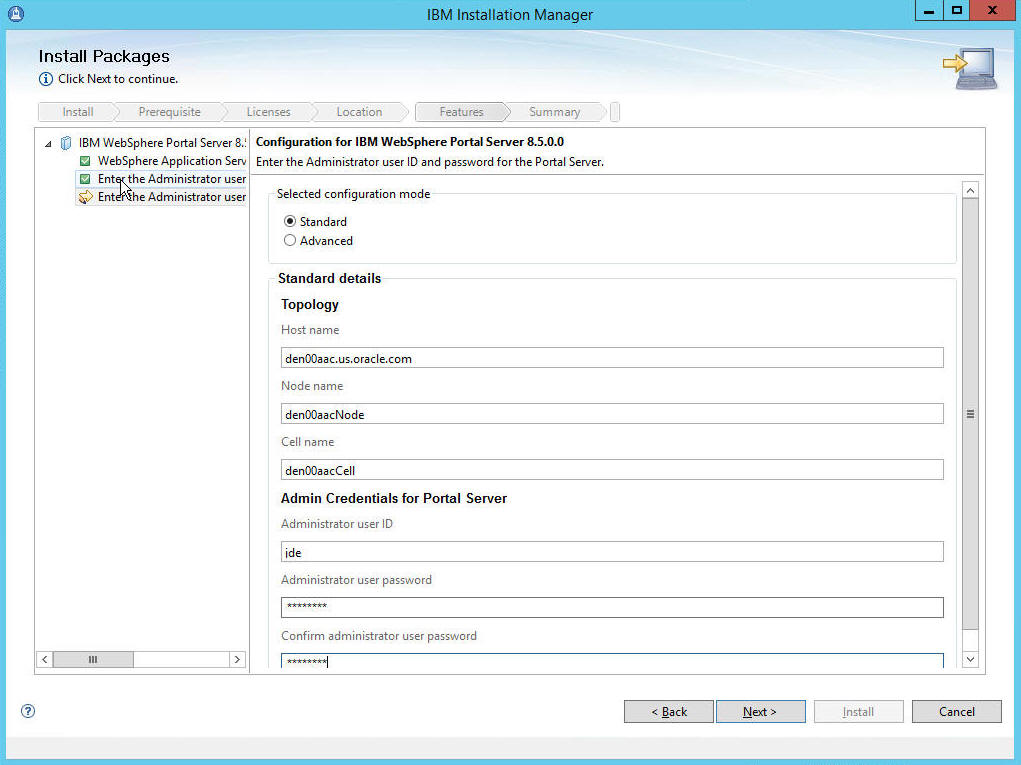
On the instance properties screen, complete these fields:
Field
Description
Node name
Enter a unique Node name for this installation of WebSphere Portal and Lotus Web Content Management.
The Node name is used to identify the server. Having a unique node name is important when configuring a federated, production environment.
Do not use names that contain special characters (i.e _ underscore..etc.).
Host name
Enter the fully-qualified Host name for this installation of WebSphere Portal and Lotus Web Content Management. The Host name must include the fully-qualified domain name (for example, hostname.example.com). Do not use a local host or a loopback address
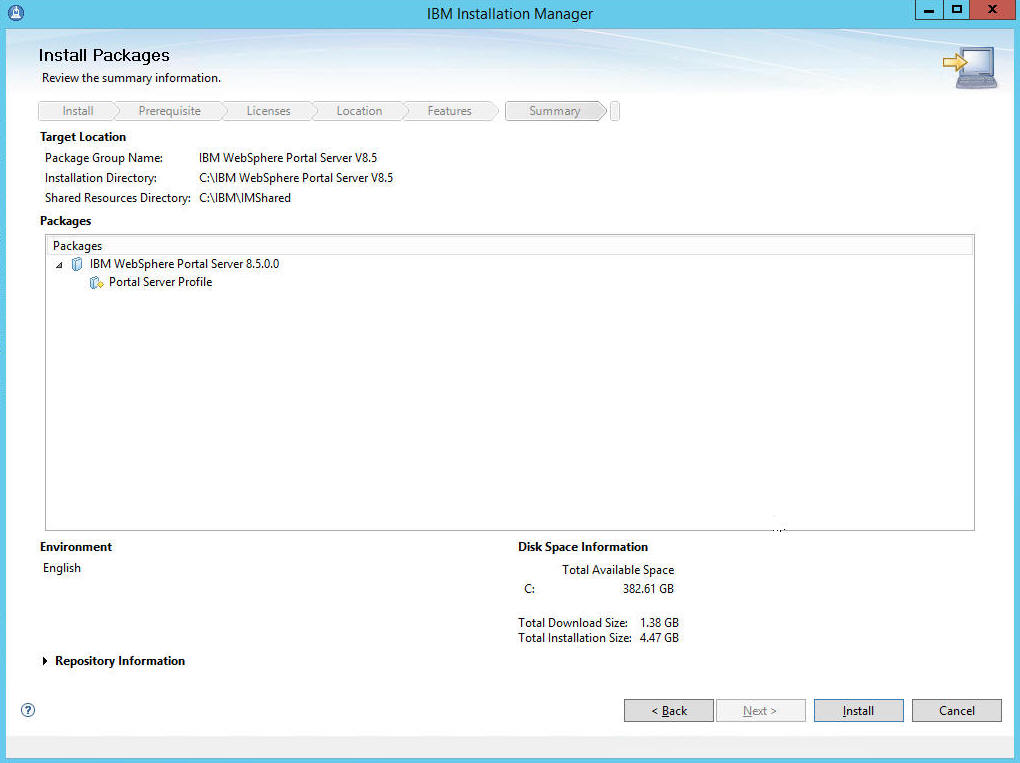
Review the summary information. Click Install.
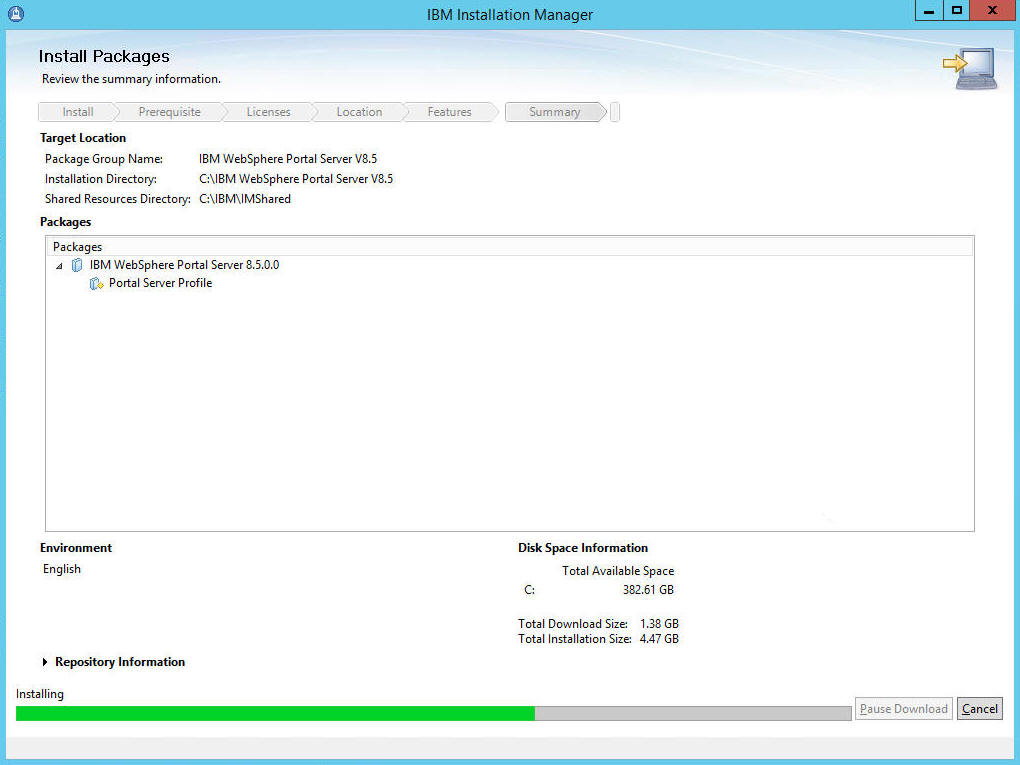
A progress bar will appear at the bottom of the screen.
Select Use the existing package group and click Next.
The progress of the install will be displayed in the bar along the bottom of the screen.
When the install completes successfully, this screen will appear.
This completes the installation of WebSphere Portal 8.5.