Balance Sheet Case Study Task: Add OVFS Components and Elements to the Layout
To move OVFS components and elements into the table grid of the layout, complete the following steps:
Navigate to the Rowset section in the Balance Sheet by Business section and drag-and-drop the following list items into the table grid:
Account ID Description
Current Actual
Last Month End
Last Year End
In the System section, locate the Time list item and drag-and-drop it in the header area.
In the Report Variables section, locate the Period Ending Date and drag-and-drop it in the header.
Click the Save icon to save your layout.
On the Save Layout form, enter Balance Sheet by Business Unit in the Layout name field, and then click Save.
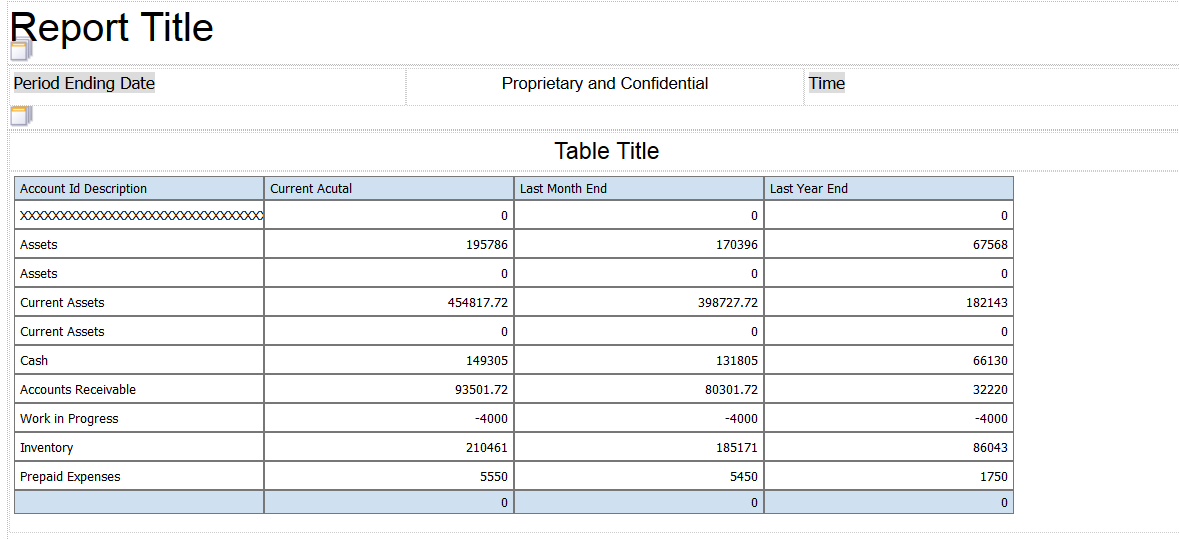
After you complete the steps in this task, your statement layout should look like the following image: