Configuring and Deploying PO Approval Progressive Web Application
-
Download the
PO Approval Progressive Web Application – orchestration User
                            Defined Objects (or UDOs)
from the Update Center. -
Import the downloaded orchestration UDOs.
-
Download the
po_approval_pwa.zipfile from the Update Center. -
Extract the
po_approval_pwa.zipfile downloaded from the Update Center onto your local directory. -
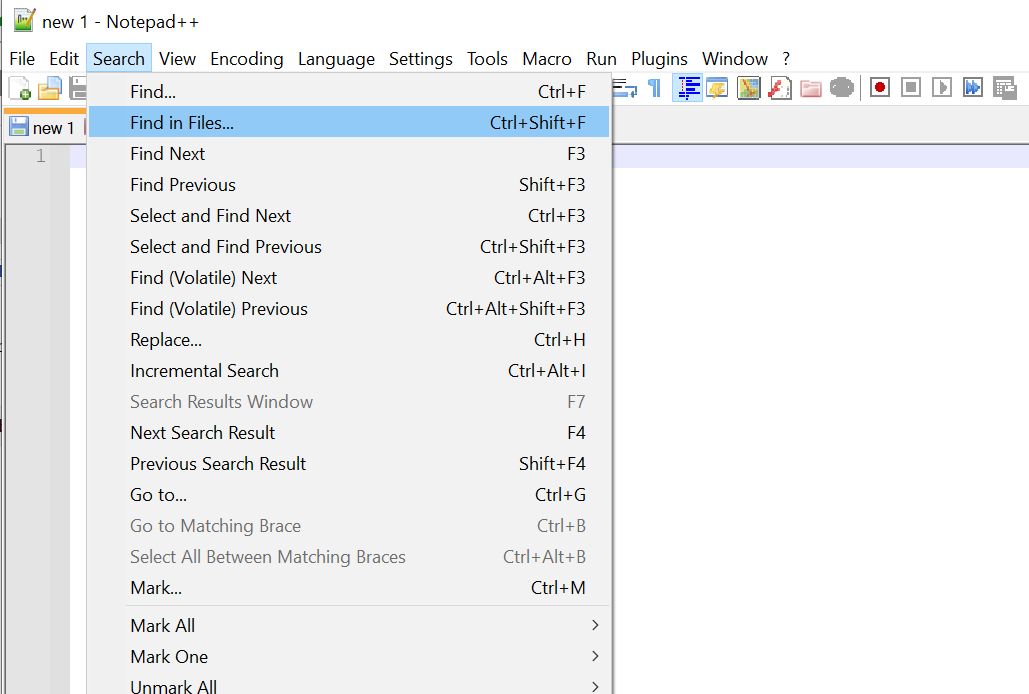
Open Notepad++.
-
Click Search, and then select the Find in Files option from the menu.
-
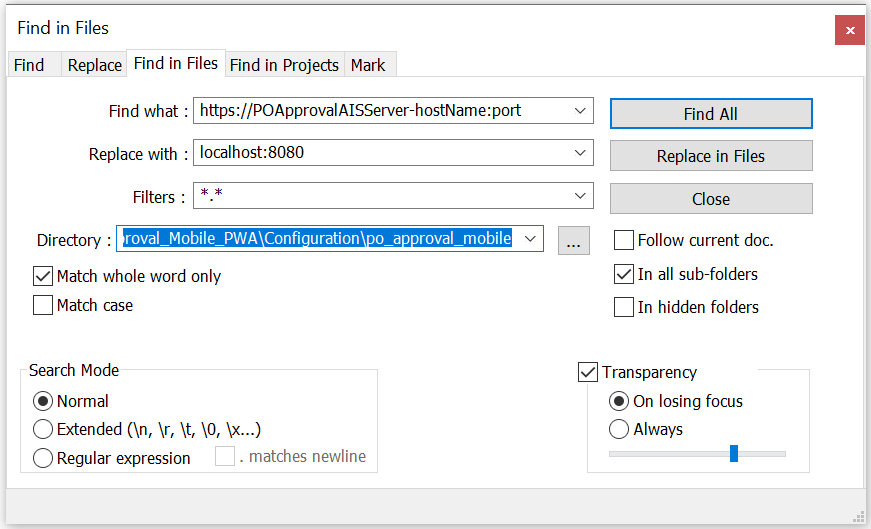
In the Find in Files tab, enter these values:
-
Copy the text
https://POApprovalAISServer-hostName:portand paste it in the Find What text box. -
Enter the hostname or IP Address and Port number of your JD Edwards AIS server in the Replace With text box.
-
Click the
 icon next to the Directory field and select the
local directory path where you have extracted
icon next to the Directory field and select the
local directory path where you have extracted
po_approval_pwa.zip. -
Select the Match whole word only check box.
-
-
Click the Replace in Files button.
-
Verify that
https://POApprovalAISServer-hostName:portis replaced with your JDE AIS Server host name and port number. -
Copy the configured folder
po_approval_pwaand paste it into the deployment directory of your web server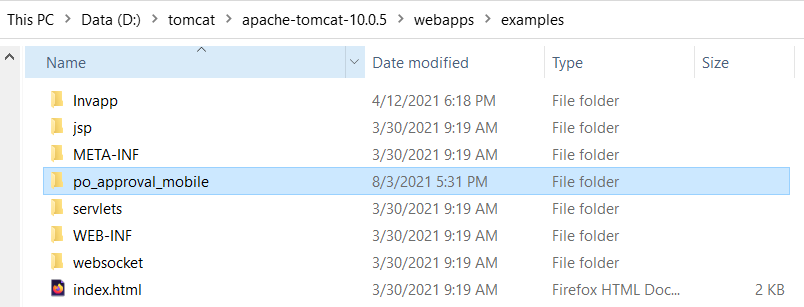
-
Open Command Prompt.
-
Enter
cd <apache-tomcat directory>\bin. Press Enter. -
Enter
startupand press Enter to start the Apache Tomcat web server.
-
Open any web browser on your mobile device.
-
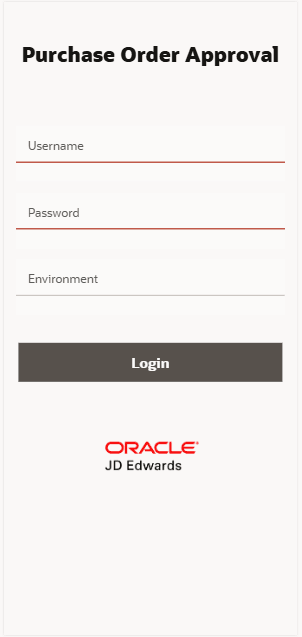
Enter your web server IP address and Port Number in your web browser address bar followed by
/examples/po_approval_pwa(For example,https://<IP Address>:<Port>/examples/po_approval_pwa) The Login screen appears.