 Creating
a Group
Creating
a Group Before You Begin
This 15-minute tutorial shows you how to create a Group in Oracle Cloud Infrastructure.
Background
For additional information on using Groups in Oracle Cloud Infrastructure, refer to the section entitled: Add a New Group in the Oracle Cloud Infrastructure Console in Adding Groups and Users for Tenancies Federated with Oracle Identity Cloud Service.
What Do You Need?
- The user interface for the Oracle Cloud Infrastructure Console is constantly evolving. For the most up-to-date descriptions and navigation, refer to Using the Console.
- You should have a fundamental understanding of Oracle Cloud Infrastructure. It is highly recommended that you review the extensive collateral information, including training, at this site:
- You must have a subscription to Oracle Cloud Infrastructure and an Administrator account in the platform. For more information, refer to this site:
- To access the Oracle Cloud Infrastructure Console, you must use a supported browser.
 Creating
a Group
Creating
a Group
To create a group using the Oracle Cloud Infrastructure Console:
- On the Oracle Cloud Infrastructure Console Home page, click
the navigation menu in the upper-left corner.
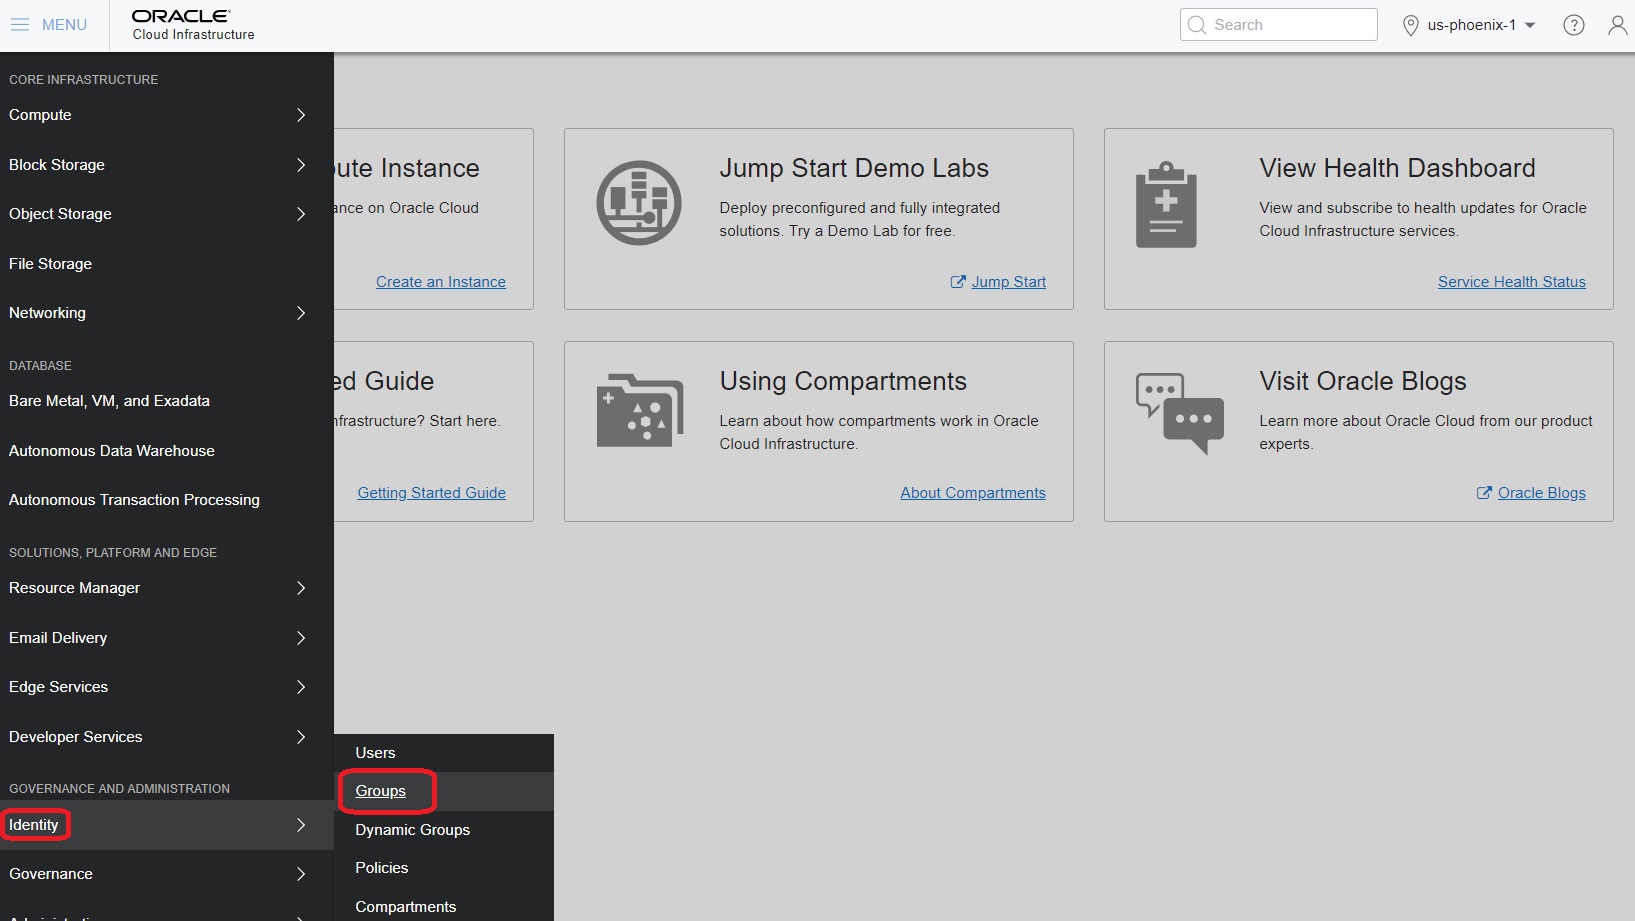
Navigation Menu - Groups - From the navigation menu, in the Identity section, select the Groups service.
- In the Groups section, click the Create
Group button.
A list of the groups in your tenancy is displayed.
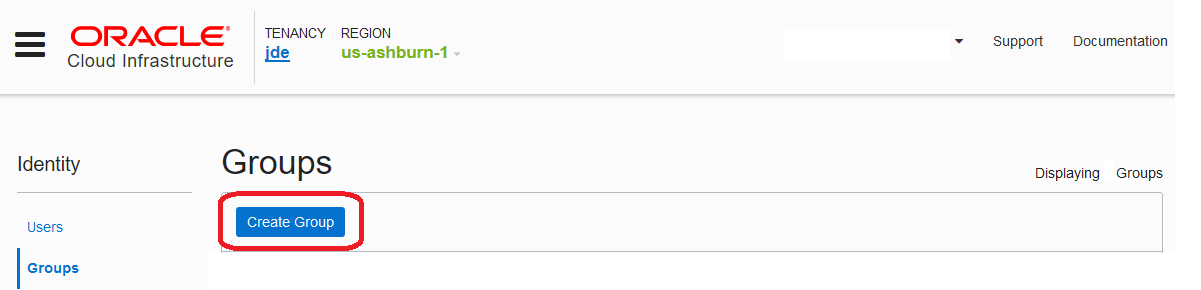
Groups - Create Group - Click the Create Group button.
- On the Create Group dialog box, complete these fields:
- Name: Enter a unique name for the group. The name must be unique across all groups in your tenancy. You cannot change this name later.
- Description: Enter a description. You can change this description later.
- Tags: Optionally, you can apply tags. For
more information about tagging, see Resource Tags.
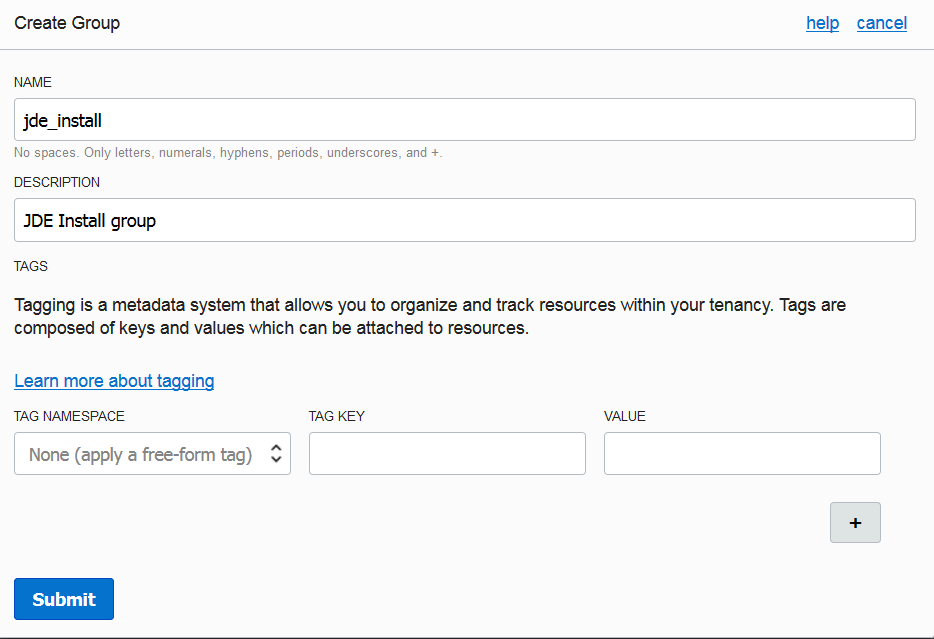
Create Group Details - Click the Submit button.