Adding a New Web Server for a New Profile (optional)
Each profile should be associated with a Web Server. The EnterpriseOne HTML Web Server install fails if it does not find a webserver associated with the profile specified during the install. If the newly created profile is an ND profile, you can create the Web Server by using the button Create a New Web Server from the Web Servers page on the WebSphere Administrator Console. However, if the newly created profile is not an ND profile, the option to Create a New Web Server is not available. Instead, you must create a new web server must be created from the command line.
To add a new web server for a new profile from the command line:
Locate a copy of this Web Server configuration file which is typically located in this directory with this name:
x:\IBM\HTTPServer\Plugins\bin\configurewebserver<webserver_port>.batwhere
x:is the drive on which you installed the IBM HTTP Server, andwhere
<webserver_port>is the port on which the IBM HTTP Server is installed./u01/IBM/HTTPServer/Plugins/binMake a copy of the
configurewebserver<webserver_port>.batfile assigning a new port value to the copy. For example, assuming you have changed directory tox:\IBM\HTTPServer\Plugins\bin/u01/IBM/HTTPServer/Plugins/bin:copy configurewebserver80.bat configurewebserver81.batcp configurewebserver1.sh configurewebserver2.shDo not manually copy the
configurewebserver1.batconfigurewebserver1.shfile to the specific profile directory.Edit the new configuration file (
configurewebserver81.batconfigurewebserver2.sh) file that resides in thex:\IBM\HTTPServer\Plugins\bin/u01/IBM/HTTPServer/Plugins/bindirectory to change the settings to be unique to and specific to your newly created profile.Change the settings to be unique to and specific to your newly created profile.
A sample file is provided below where:
the newly created profile is called AppSrv02, and
the new webserver will be called webserver81, and
the name of the node that we specified for our new profile is SERVERNode02, and
the name of the server itself is SERVER.yourdomain.com.
The above is illustrated by the bolded settings in this sample file:
"Z:/IBM/WebSphere/AppServer/profiles/AppSrv02/bin/wsadmin.bat"
%PROFILE_NAME_PARAMETER% %WSADMIN_USERID_PARAMETER%
%WSADMIN_PASSWORD_PARAMETER% -conntype NONE -f
"Z:\IBM\WebSphere\AppServer\bin\configureWebserverDefinition.jacl"
webserver81 IHS "Z:\\IBM\\HTTPServer"
"Z:\\IBM\\HTTPServer\\conf\\httpd.conf" 81 MAP_ALL
"Z:\\IBM\\HTTPServer\\Plugins" managed denicint2Node02
denexample.mlab.examplecompany.com windows
/u01/IBM/WebSphere/AppServer/profiles/AppSrv02/bin/wsadmin.sh
$PRO-FILE_NAME_PARAMETER
$WSADMIN_USERID_PARAMETER
$WSADMIN_PASSWORD_PARAMETER
-conntype NONE -f
'/u01/IBM/WebSphere/AppServer/bin/configureWebserverDefinition.jacl'
web-server2 IHS '/u01/IBM/HTTPServer'
'/u01/IBM/HTTPServer/conf/httpd.conf' 81
MAP_ALL '/u01/IBM/HTTPServer/Plugins' managed
denexample den-example.mlab.examplecompany.com solaris
Note: Where the original settings for these bolded entries were probably something similar to these:AppSrv01
webserver80
web-server1
80
SERVERNode01
Save the file.
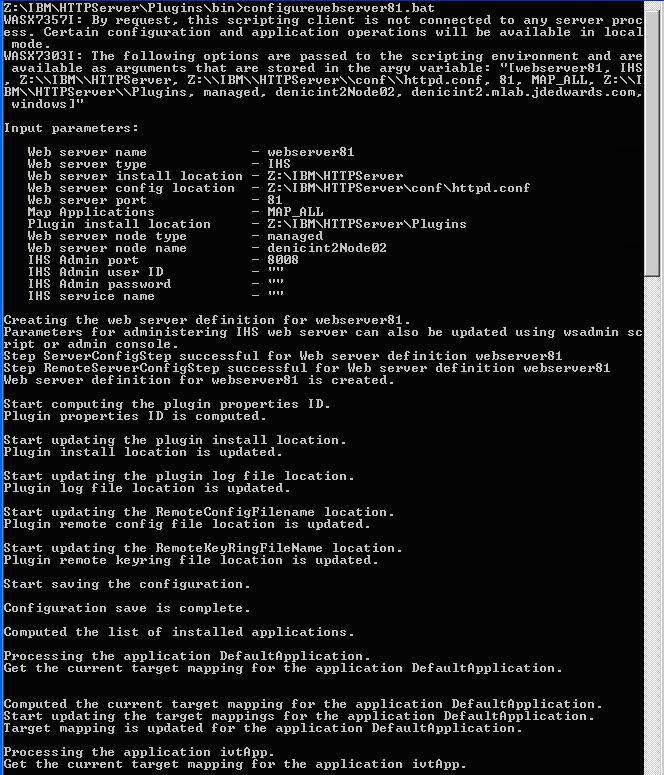
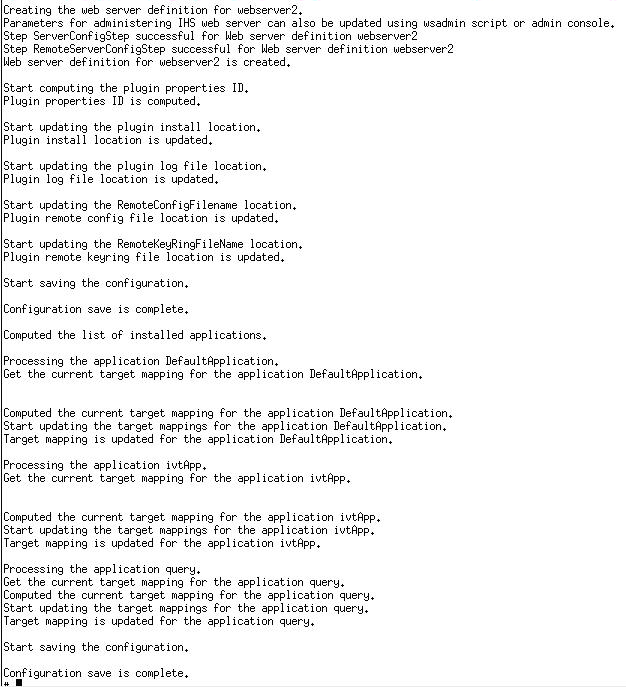
From the directory where the batch fileshell script exists, execute it using this command:
configurewebserver81.batwhere
x:is the drive on which your plugins are installed../configurewebserver2.shThe console displays these messages when the batch fileshell script is running and finishes:


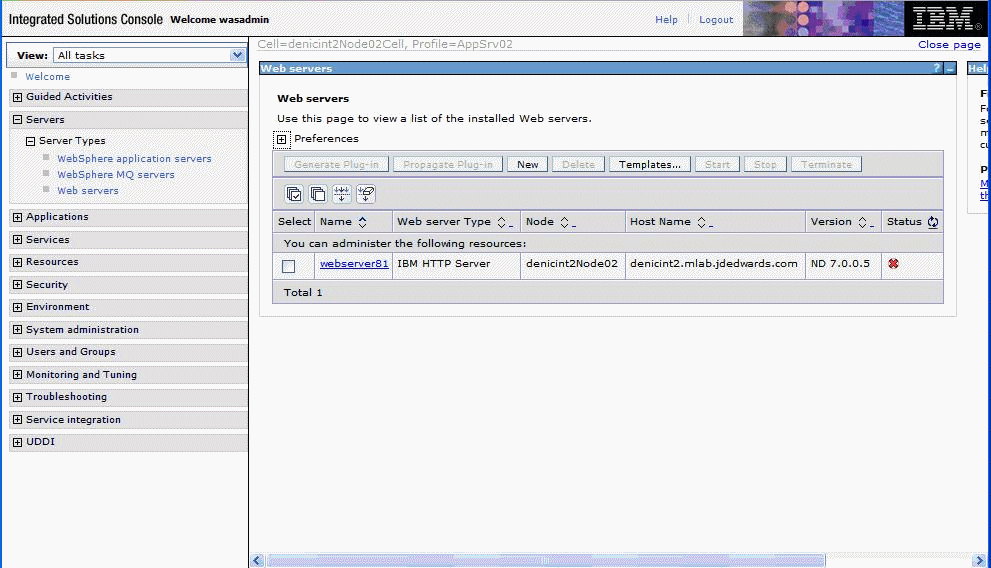
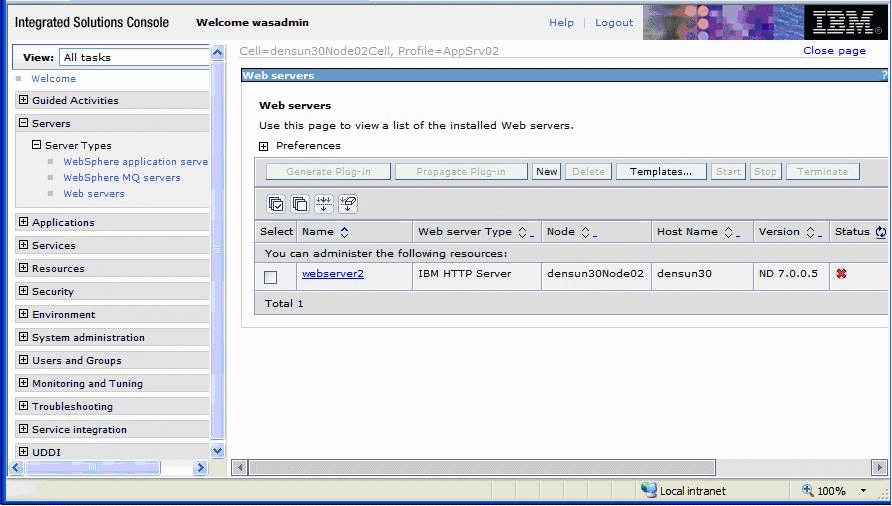
Verify your newly created Web Server is created by logging into the WebSphere Admin Console and clicking on Web Servers. For example:

