Installing the WebSphere Update Installer
The Update Installer for WebSphere Software includes a new installation program for IBM WebSphere Version 7.0, Installation Wizard starting with Fix Pack 7. The Update Installer is backwards compatible. You should download the Update Installer that match with your WebSphere product. You can use a single installation of the Update Installer to install maintenance packs on all the WebSphere software products such as WebSphere Application Server, Java SDK, IBM HTTP Server, and Web server plug-ins.
Before you can install Refresh or Fix pack for WebSphere software, you need to install the Update Installer engine as described in this procedure.
This document uses Fix Pack 29 (7.0.0.29) to describe the process of installing WebSphere Fix Pack. Check the Certification for the latest supported WebSphere Fix Pack for the JD Edwards EnterpriseOne HTML Web Server (refer to Accessing Certifications).
To install the WebSphere update installer:
Download the Update Installer software from IBM web site.
Enter these commands:
mount
                        /cdrom
cd /cdromExtract the downloaded image.
From the downloaded image run the install executable using these commandsthis command:
cd
                    x:\dump\was7_windows\sup1\UpdateInstaller
x:\dump\was7_windows\sup1\UpdateInstaller > install.exewhere
x:is the drive where you downloaded the Update Installer../UpdateInstaller/install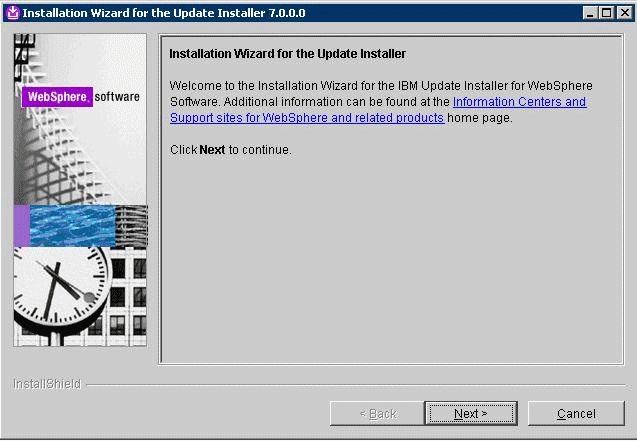
On the Welcome screen, click the Next button to begin the wizard.
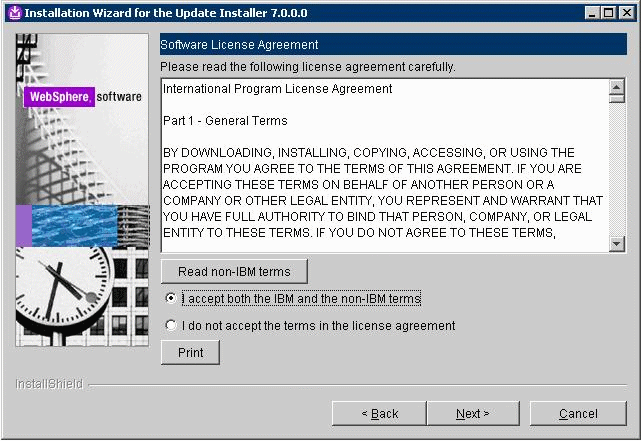
On Software License Agreement, review the License Agreement and choose an option to accept or decline.
Click the Next button to continue.

On System Prerequisites Check, the Installer performs a verification of system requirements.
After the Installer indicates the check was successful, click the Next button to continue.


On Directory Name, enter a valid value for the Update Installer installation directory. For example:
z:\IBM\WebSphere\UpdateInstaller/u01/IBM/WebSphere/UpdateInstallerNote: To facilitate maintenance, it is recommended that you install the Update Installer under the WebSphere root directory. For example:z:\IBM\WebSphere\UpdateInstaller/u01/IBM/WebSphere/UpdateInstallerClick the Next button to continue.
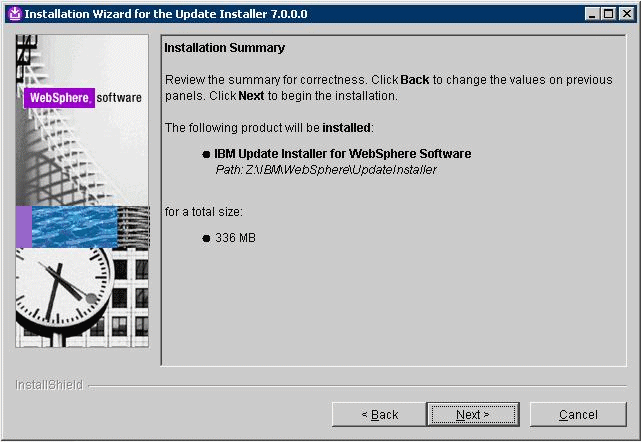
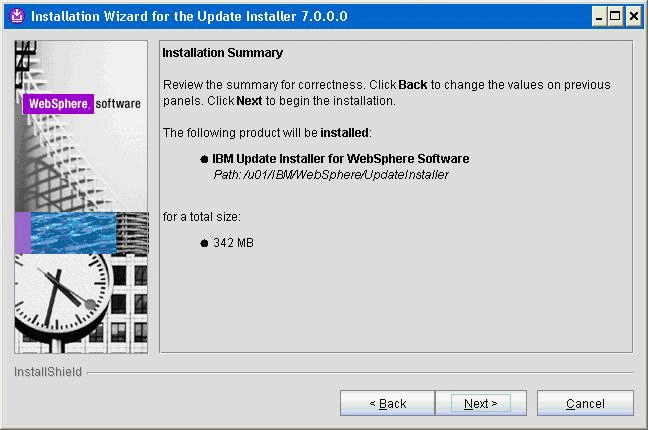
On Installation Summary, click the Next button to begin the installation.
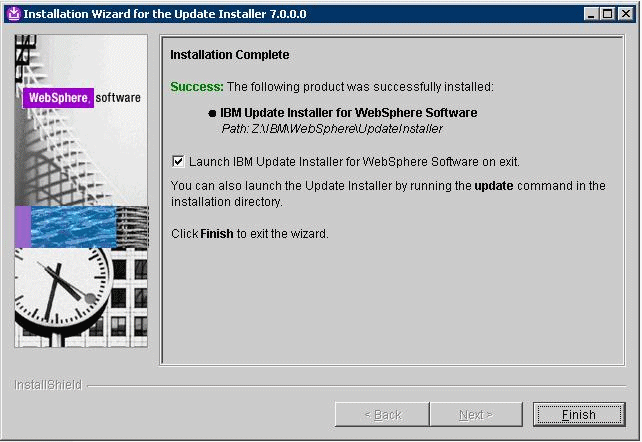

On Installation Complete, deselect the check box for Launch IBM Update Installer for WebSphere software on exit.
Click the Finish button.