Using JDBC Store
To use JDBC Store:
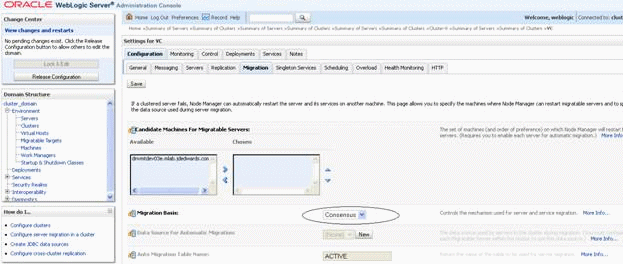
Login to WAS admin console.
Select Resources ->JDBC ->Data Sources from left panel of the console and choose the cluster scope.

Click New and navigate to Create Data Source screen

Enter the Data Source name and JNDI name as shown in below screen shot and click Next

Select "Create new JDBC provider and click Next as shown in below screen

Fill in all the details as shown in the below screen shot and proceed to next screen clicking Next
Note: Other Database types may be selected and similar configuration parameters may be selected.
Give the directory location for ojdbc6.jar as seen in the below screen shot and Click Next.
Note: This is a typical example for using Oracle database. For other database similar type 4 JDBC driver location is provided.
Fill in the appropriate URL for the database from which the data source obtains the connection and data store helper class name as shown in below screen shot and click the Next button.
The URL should be similar to this:
jdbc:oracle:thin:@localhost:1521:sample" for thin driver
Note: The URL for other databases will differ.
Click the Next button on setup security aliases screen as you would lose your current wizard selections by setting them up now. This can be set later.

Click Finish and navigate to the Create data sources screen.

Select the newly created Datasource and navigate to Test connection screen

On this screen select JAAS -J2C authentication data under "Related Items" as shown in below screen shot.

Select the New button.
Fill in appropriate values for all the fields of this screen as shown in below screen where User ID specifies the J2C authentication data for database connection.

Click the OK button to save changes to master configuration.

Again select the data source from top of this screen as shown below.

Go back to Data Source screen by clicking on the data source name from top of the screen.
On this screen chose the security settings newly created as shown in below screen shot and click the OK button.

Save changes to master configuration.

Check the newly created data source and click the Test Connection button.

If prompted, save changes to master configuration, then synchronize the changes and repeat the above step.
The test connection should be successful.

Repeat the steps in this section to create any number of data sources in the cluster scope.