Installing Languages on the Deployment Server
To install languages on the Deployment Server:
Download and install the latest Change Assistant from the Update Center.
Using Change Assistant search on the following criteria:
Type: JD Edwards EnterpriseOne
Release: 9.2
Name: 9.2_Language_Language_Name
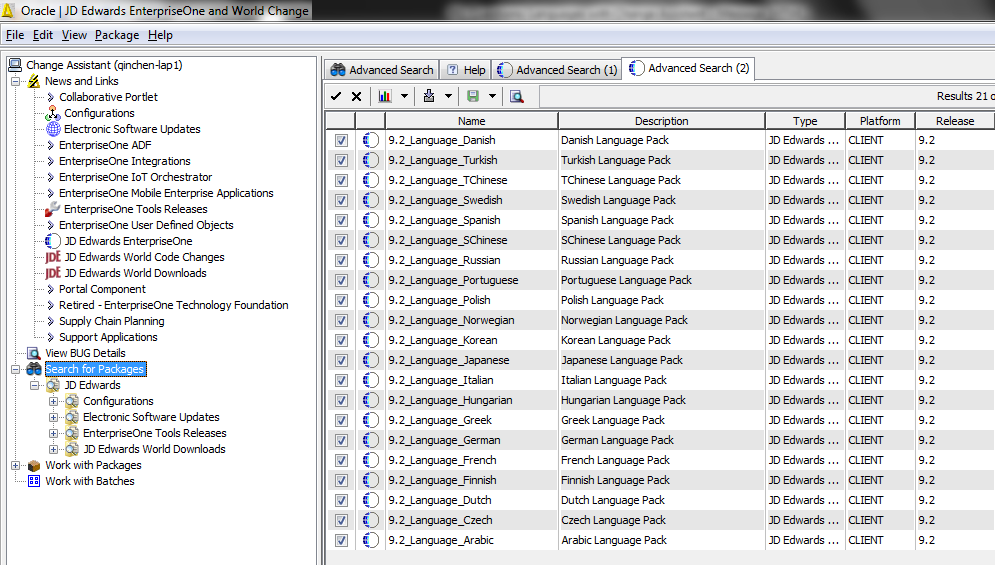
Select the desired language(s) by enabling the checkbox next to each language you want to install.
Note:The size of each package is displayed by Change Assistant in the last column.
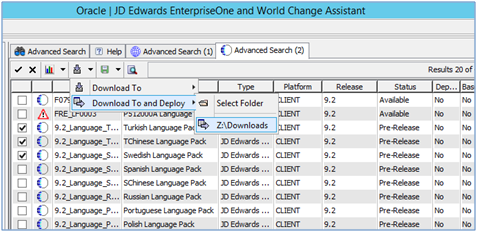
Click the down arrow next to the Download icon and from the fly out menu select Download To and Deploy, and then select a folder in which to download the language pack(s).
When the sign on screen displays, sign into the JDEPLAN environment.
On Language Install Environment Selection, select the Unattended checkbox.
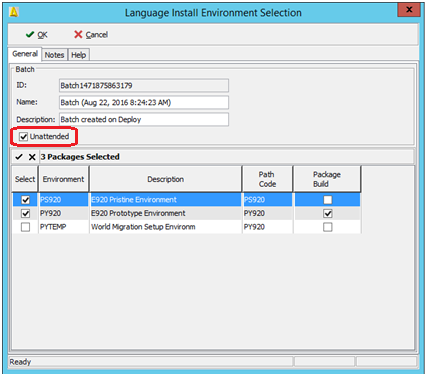
On Language Install Environment Selection, select the destination environments. If you select the Package Build column, Change Assistant will launch the package build after language(s) are applied. Each selected path code will have its own package build.
Typical uses of languages are in these combinations:
A single language to a single pathcode
A single language to multiple pathcodes
Multiple languages to a single pathcode
Multiple languages to multiple pathcodes
Click the OK button.
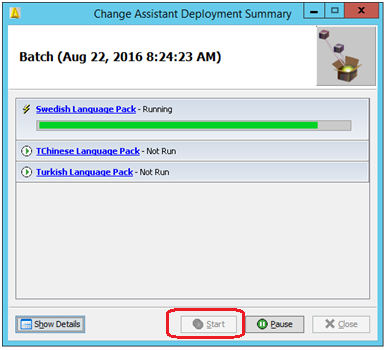
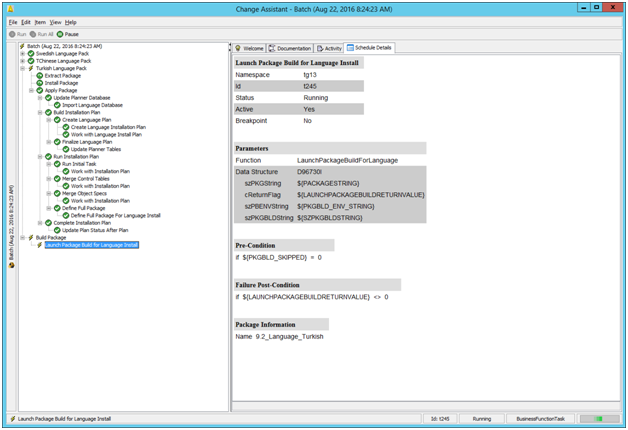
On Change Assistant Deployment Summary, you can click the Show Details button to display task status.
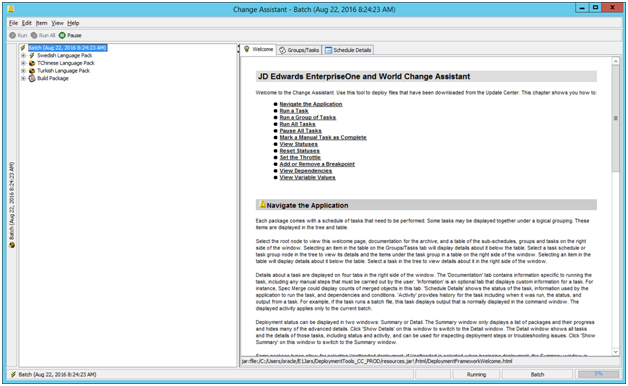
In the left pane, you can expand any of the tasks to display their current status in the right pane.