 Build an Oracle Analytics Cloud - Essbase Cube from an Application Workbook
 Before You Begin
This 10-minute tutorial shows you how to build a sample Oracle Analytics Cloud - Essbase cube, load and calculate data from an application workbook, and how to view the cube in the Essbase web interface.
Background
Microsoft Excel-based application workbooks comprise a series of worksheets, which can appear in any order, and define a cube, including cube settings and dimensional hierarchies. You can define data worksheets to load data automatically when you create the cube, and calculation worksheets to execute after you load the data. There are strict layout and syntax requirements for application workbooks, and there are many validations to ensure that workbook contents are complete and formatted correctly.
You can create a fully functional cube using an application workbook. Examine the design of the cube within the application workbook, and use cube designer to quickly upload the workbook to Essbase to create a cube. At the same time, you can load data into the cube and calculate the cube. Then you can view the newly created cube in the Essbase web interface.
What Do You Need?
- Login credentials providing access to Essbase as a power user
- Microsoft Excel
- Smart View
- Smart View cube designer extension for Essbase
- The sample_dynamic_basic.xlsx file, downloaded to your computer.
You need the following to connect to Essbase to support Cube Designer:
- Service URL for the Essbase service
- Connection from Smart View to Essbase
- User Name of a power user
- Password
 Open the Application Workbook
When you download and open the application workbook, examine the structure of the workbook. The Essbase.Cube worksheet defines the cube and its dimensions, while the Cube.Settings worksheet defines the cube properties. There are also individual worksheetss for each dimension and for calculations, data and queries.
- Open the
sample_dynamic_basic.xlsxfile that you downloaded at the beginning of this tutorial in Excel. - Examine the different worksheets to understand the structure of the workbook.

Description of the illustration app_workbook.txt
 Build the Cube
- In
sample_dynamic_basic.xlsx, click Cube Designer. - In the Cube Designer ribbon, click Build Cube.
- If prompted, enter the power user login credentials.
- In the Build Cube dialog box, select the Create Cube build option, and select the check boxes for Load data sheets contained within the workbook.
- Click Run and wait several seconds for the job to finish running.
- Click Yes to confirm the job's success in the Job Viewer.
- Confirm that the Build Cube job was successful by checking the Status column in the Job Viewer dialog box.
- Click Close.
 View the Cube Outline in the Essbase Web Interface
You can see the structure of the cube you created by viewing the outline. For example, you can see the different dimensions and the dimension properties.
- In the Essbase web interface, enter your power user login credentials.
- Expand the Sample_Dynamic application, and then select Basic.
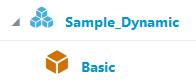
Description of the illustration expand_sample_dynamic.png - Click Actions
 and select Outline.
 - View the outline.
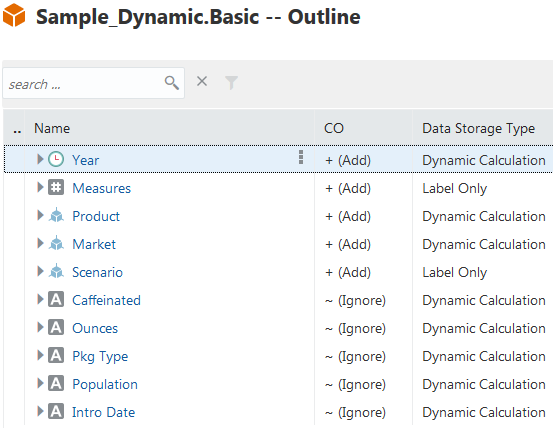
Description of the illustration sample_dynamic_outline.png