Install and Configure Oracle Integration for Disaster Recovery
You can select to enable disaster recovery when provisioning an Oracle Integration instance. This action installs a primary instance in one region and a secondary instance in another region.
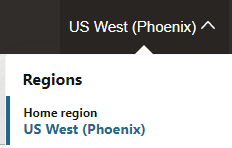
- Sign in to the Oracle Cloud Infrastructure Console and note your selected region. See Sign In to the Oracle Cloud Infrastructure Console in Provisioning and Administering Oracle Integration 3.
- Open the navigation menu and click Developer Services. Under Application Integration, click Integration.
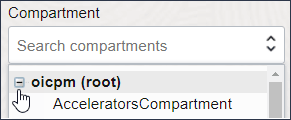
- From the Compartment list, click through
the hierarchy of compartments and select the one in which to
create the instance. You may need to expand the
+ icon to find the
compartment to use. Compartments can contain other
compartments.
 The page is refreshed to show any existing instances in that compartment.
 - Click Create instance.
- Enter the following details.
Field Description Display Name
Enter the display name for the instance.
Edition Select from the following supported editions for disaster recovery.
- Enterprise
- Healthcare
Note: If you select the Standard edition, an error is displayed when you click Create.
See Oracle Integration Editions in Provisioning and Administering Oracle Integration 3 to see what's licensed in each supported edition.
Shape
Only the Production shape is available for disaster recovery instances.
Note: The Development shape is not supported.
License Type
Select the license type. See Choose a License Type in Provisioning and Administering Oracle Integration 3.
Message Packs
Enter the message pack number. See Choose a Message Pack Number in Provisioning and Administering Oracle Integration 3.
The Advanced options link appears at the bottom of the Create instance page.
- Expand Advanced options.
- In the Disaster recovery section, select
the Enable disaster recovery
toggle.
The following message is displayed that includes the name of the region in which to create the failover instance.

- Click Create.
The Work requests tab shows installation progress. As installation progresses, the % Complete value changes. The status of Creating appears next to the instance name at the top of the page.

Note:
Creation of the primary and secondary instances can take time to complete due to DNS configuration. - Click Create integration instance to
view details about installation progress. When creation of
the primary and secondary instances in different regions
completes successfully, the Finished
field is updated. You do not receive a popup message when
installation completes.
The Details tab of the installed primary instance name shows a status of Active. The Disaster recovery role field shows a value of Primary.
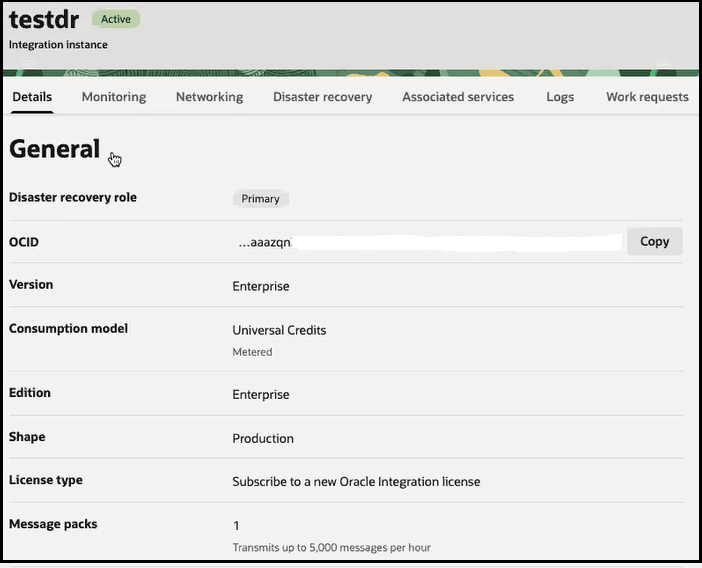
The Settings section in the lower right section of the Details tab shows the Start failover button. You can also select to start a failover from the Actions menu in the upper right section of the page.

- Click Disaster recovery in the menu bar.
- Click the secondary instance.
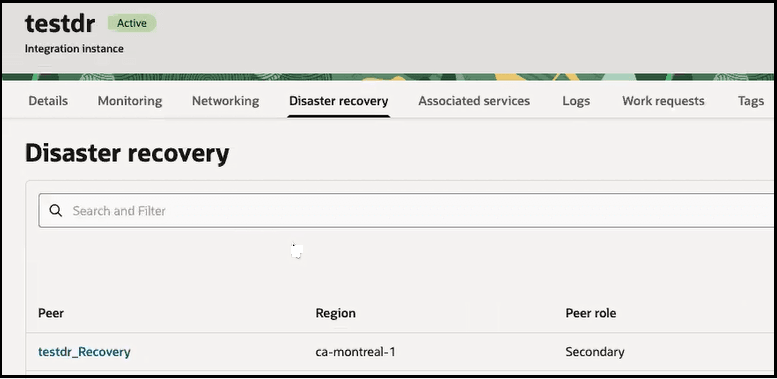
The details page for the secondary instance in the other region is displayed.
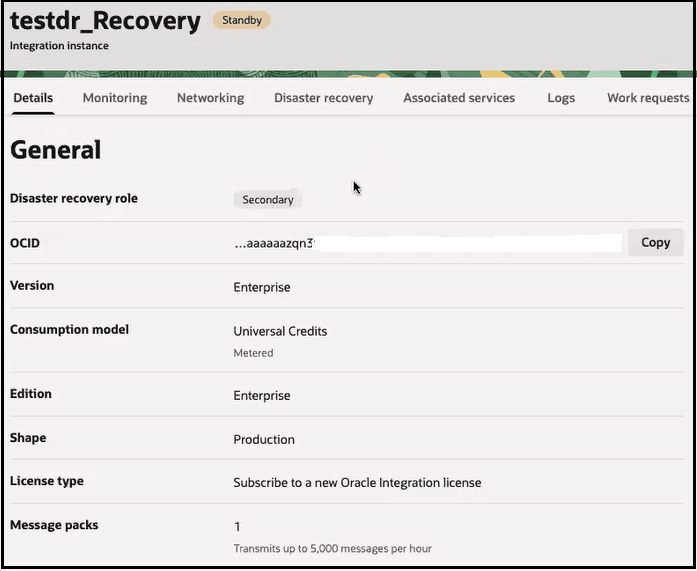
- The word _Recovery is appended to the end of the secondary instance name. The _Recovery word always appears as part of this instance name, even when the secondary instance becomes the primary instance after a failover.
- The Disaster recovery role field shows a value of Secondary. When you fail over from the initial instance to the secondary instance, Secondary is replaced with Primary.
- The Start
failover button is enabled for use in
the lower right section of the page. This is the
only life cycle action that can be performed from
the secondary instance.

- Start designing integrations in your primary instance. As soon as you start, the synchronization of design-time metadata begins between the primary and secondary instances in near real time. This reduces the chance for data loss when a failover is required.
