Reorder Columns in a Table
When you use the Add Data quick start to map data to your table, you can specify the order in which you want columns to display in the table. If you want to change this order after the table is set up, you can do it from the table's Data tab in the Properties pane.
- Select the table on the page to view its properties.
- Click the Data tab.
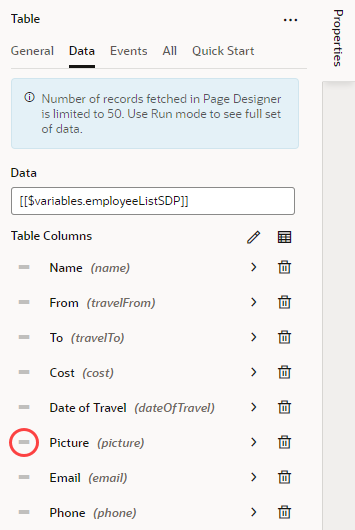
- Under Table Columns, drag a column's handle (
 ) and drop it where you want the column to be:
Enable drag-and-drop reordering
You have the option to enable drag-and-drop functionality to reorder table columns. To do this:- Select the table on the page to view its properties.
- Set Selection Mode, Column in the General tab to either Single or Multiple, allowing either single or multiple columns to be selected.
- Switch to the All tab.
- Hover over the DnD property, then select Show sub-properties (
 ).
).
- Hover over the Reorder property and select Show sub-properties (
 ).
).
- Select Enabled from the Columns list.
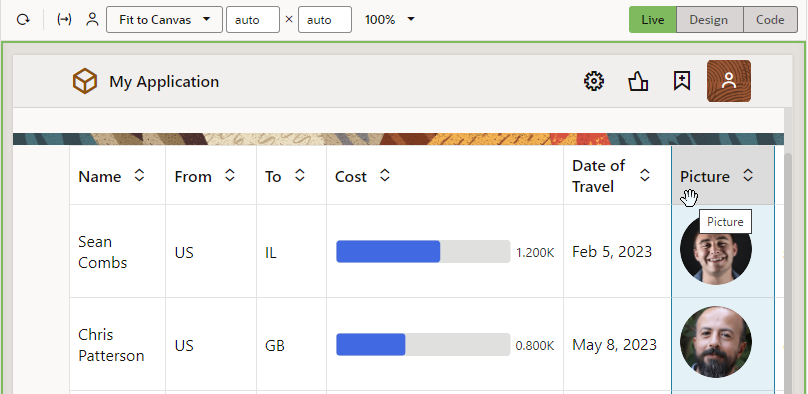
With this setting enabled, you should be able to select a column in Live view, then drag the move icon that appears in the column header and drop it where you want it:
Description of the illustration table-reordercolumns-dnd.png
