Create a Personal Dashboard in
Oracle Big Data Manager
Create a Personal Dashboard in
Oracle Big Data Manager Before You
Begin
Before You
Begin
In this 5-minute tutorial, you learn how to customize your personal dashboard in Oracle Big Data Manager by adding widgets from the jobs, pipelines, monitoring, storage providers, miscellaneous, and notebook categories.
Background
This is the third tutorial in the Work with Oracle Big Data Manager series. Read them sequentially.
- Copy Data from an HTTP(S) Server with Oracle Big Data Manager
- Analyze Data with Oracle Big Data Manager Notebook
- Create a Personal Dashboard in Oracle Big Data Manager
What Do You Need?
- Access to either an instance of Oracle Big Data Cloud Service or to an Oracle Big Data Appliance, and the required login credentials.
- Access to Oracle Big Data Manager, on either an instance of Oracle Big Data Cloud Service or on an Oracle Big Data Appliance, and the required sign in credentials. A port must be opened to permit access to Oracle Big Data Manager, as described in Enabling Oracle Big Data Manager.
- Read/Write privileges to the
/user/demoHDFS directory. - Basic familiarity with HDFS, Spark, and optionally, Apache Zeppelin.
 Create a Personal Dashboard in Oracle Big Data Manager
In this section, you add new widgets to your personal dashboard from the Paragraph and Recent jobs widgets.
- Sign in to Oracle Big Data Manager. See Access Oracle Big Data Manager.
- On the Oracle Big Data Manager Home page, select Dashboard from the View as field. The default Dashboard page is displayed. The Dashboard initially contains some default widgets that you can resize, move, and delete.
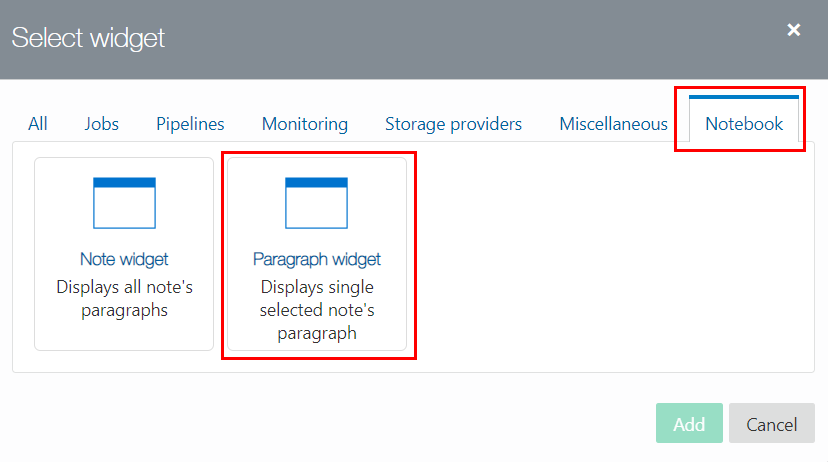
- Click New widget
 to display the Select widget dialog box. By default, the All tab is selected which displays all of the available widgets that you can add to your personal dashboard. Click the Notebook tab, and then click the Paragraph widget icon to display the Select widget dialog box.
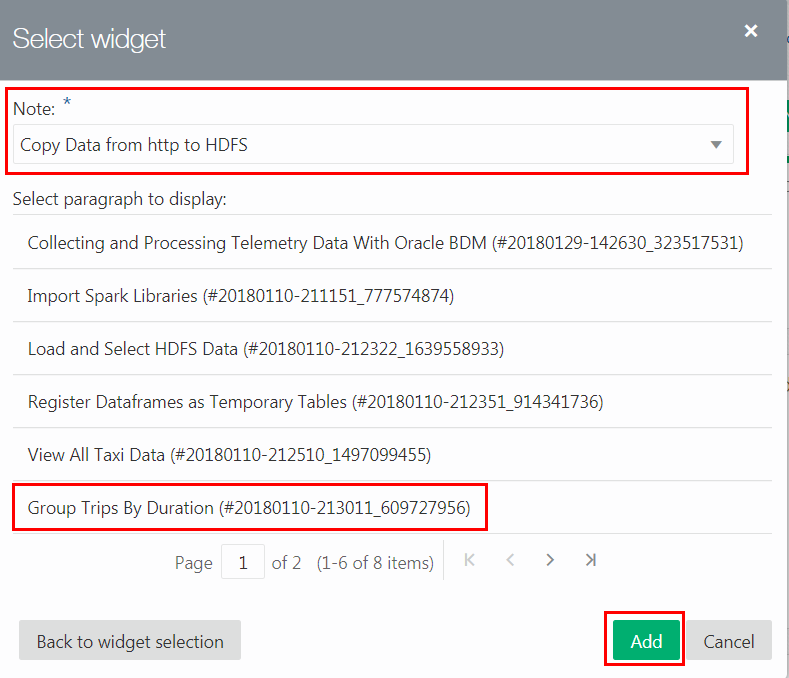
 - Select the Copy Data from http to HDFS note from the Note
drop-down list. This is the note that you imported into the Notebook in the second tutorial of this series. In the Select paragraph to display section, select the Group Trips by Duration
paragraph, and then click Add.
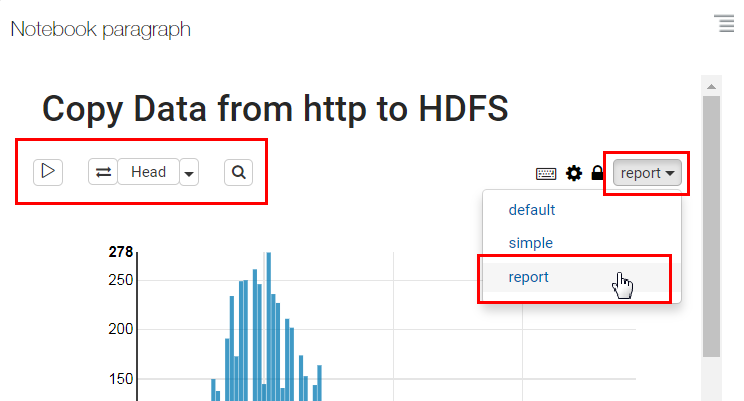
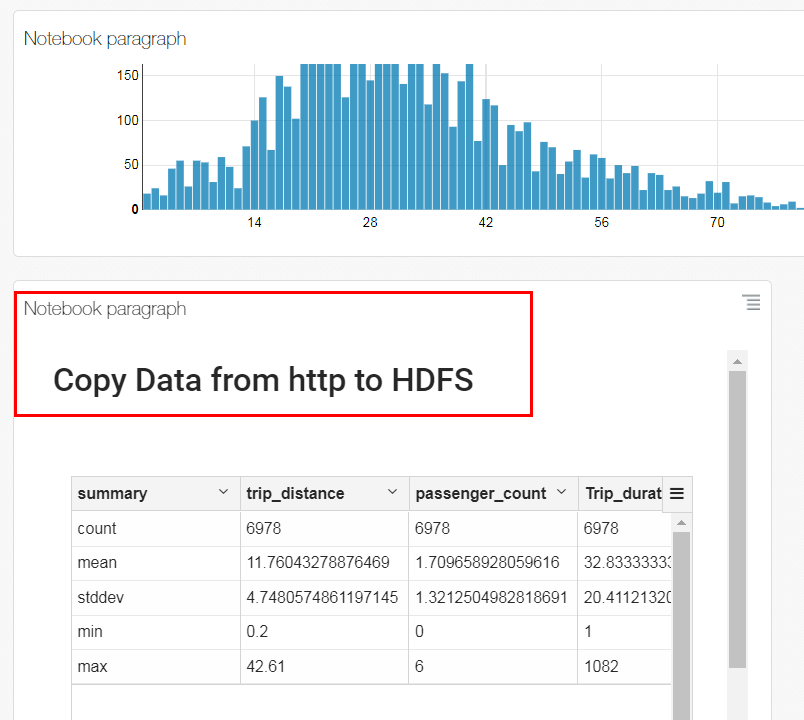
Description of the illustration note-paragraph.png The new Notebook paragraph widget is added to your personal dashboard.
- In the configuration section of the note's toolbar, select report from the note's display mode drop-down list, if not already selected. This mode shows only the following command icons on the toolbar: Run all paragraphs, Compare revisions, Head, and Search code.
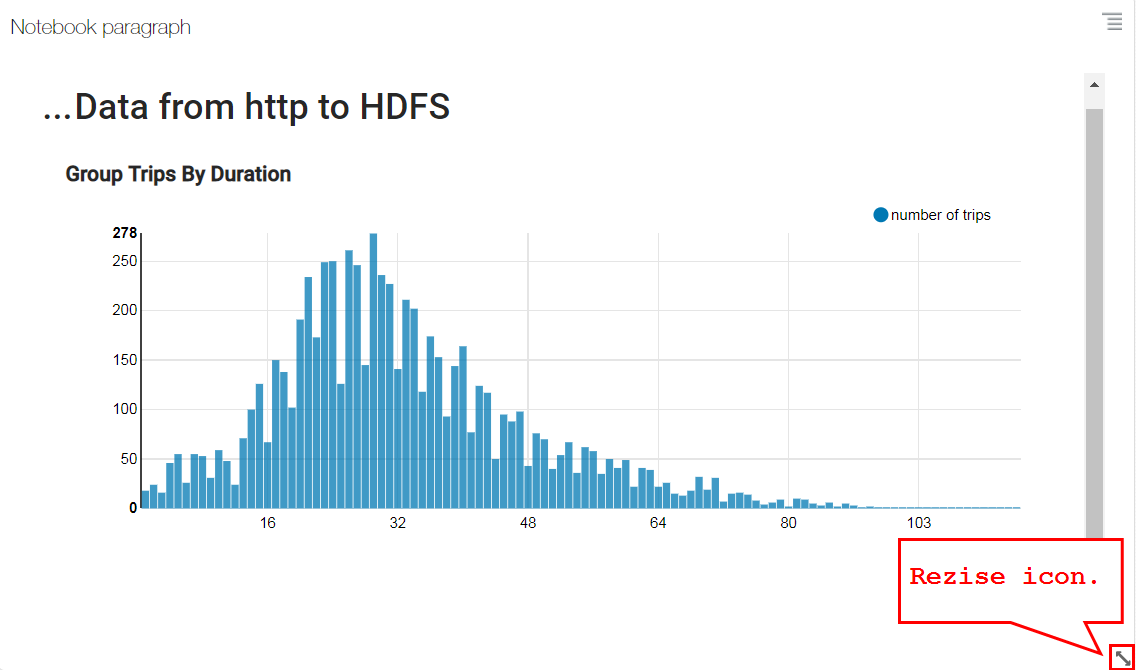
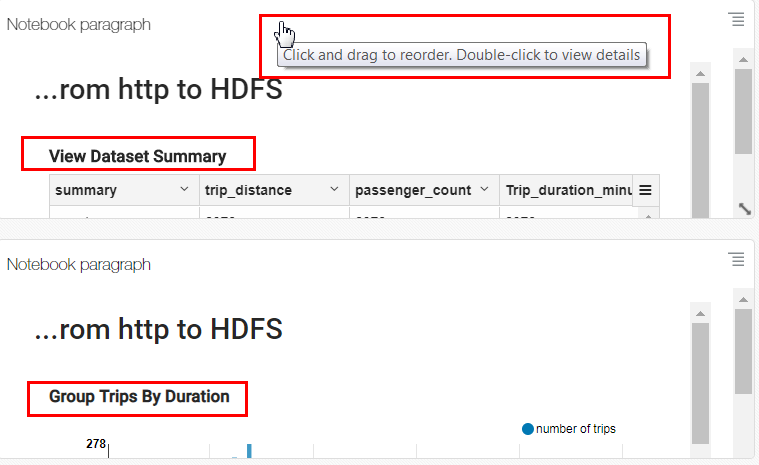
- Hover your mouse over the paragraph. Click and drag the Resize icon
 at the bottom-right corner of the widget so that the x-axis and y-axis values in the chart are fully visible.
 - Click New widget to display the
Select widget dialog box. Click the Notebook tab, and then click the Paragraph widget
icon to display the Select widget dialog box. Select the Copy Data from
http to HDFS note from the Note drop-down list, click
Next
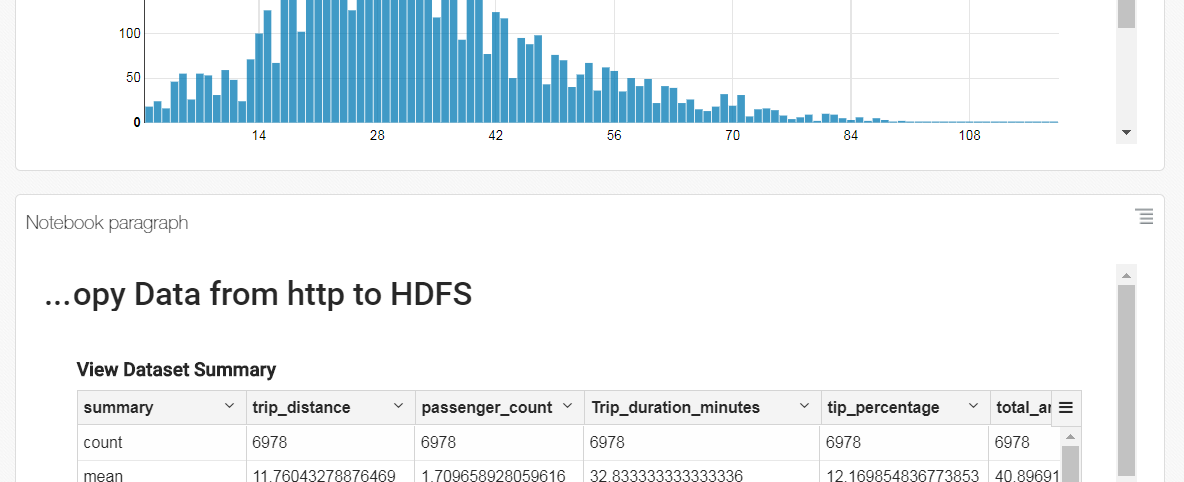
 , select the View Dataset Summary paragraph, and then click Add. The new Notebook paragraph widget is added to your personal Dashboard.
Description of the illustration dashboard-paragraph-2.png - Resize the newly added Notebook paragraph widget so that it has the same width as the Notebook paragraph widget above it. Hover your mouse over the paragraph. Click and drag the Resize icon at the bottom-right corner of the widget until its width is the same width as the widget above it.
- To delete a widget from your personal Dashboard, click Manage this widget
 , and then select Delete from the context menu.
 - To move a widget, hover your mouse over the widget's top area, above the note's title, to display the Click and drag to reorder. Double-click to view details tooltip. In this example, we will demonstrate how to move the View Dataset Summary Notebook paragraph below the Group Trips By Duration Notebook paragraph.
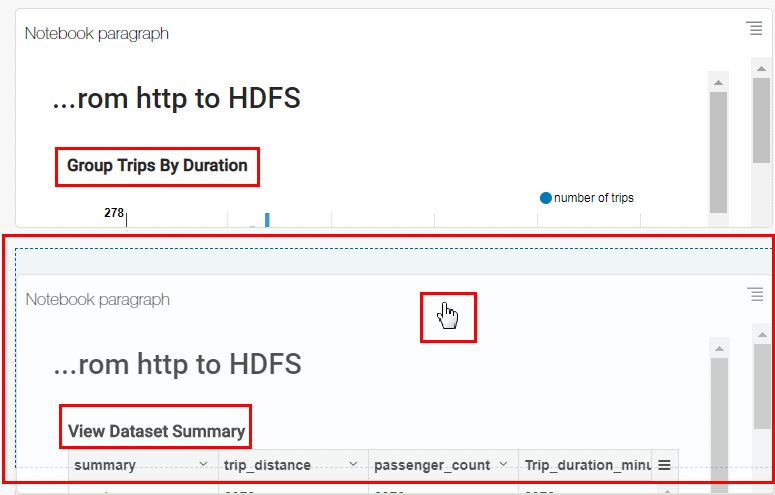
Description of the illustration move-widget-3.png - Click and drag the View Dataset Summary Notebook paragraph widget underneath the Group Trips By Duration Notebook paragraph. When a dotted outline is displayed in the desired location, drop the widget onto that outline to move it.
Description of the illustration move-drop.png