Introduction
This 15-minute tutorial shows you how to integrate generative AI into your skill by connecting it to a large language model, or LLM. An LLM is an AI system that has been trained on vast amounts of text data. These models can be trained on various domains to perform a variety of tasks, including audience-specific text summarization and sentiment analysis of chat histories.
By integrating your skill with an LLM, you enable it to not only field a range of user input, but also to respond with context-appropriate answers in a human-like tone. To help the LLM predict the most likely words or phrases for its responses, you send it the appropriate context and instructions in a block of text known as a prompt. In response, the LLM generates a completion, a sequence of words or phrases that it believes are the most probable continuation of the prompt.
For this tutorial, you're going to integrate a skill with the Azure OpenAI model so that it can send a prompt to the model requesting it to evaluate snippets of skill-user chat histories for positive, negative, and neutral sentiments.
Objectives
- Create a REST service to the Azure OpenAI service provider.
- Create an event handler that transforms the REST payloads to and from the format used by Oracle Digital Assistant.
- Add a component to the dialog flow to connect users to the Azure OpenAI model via the REST service.
- Engineer the prompt that sends instructions to the Azure OpenAI model.
- Test the prompt.
Prerequisites
- A REST service for the Azure OpenAI model. This includes:
- A POST endpoint.
- An API key and value.
- Sample provider-specific request and static response payloads
- Access to Oracle Digital Assistant
Task 1: Create the REST Service to the Model
Your first task in integrating your skill with an LLM model is to add a REST service to your instance that calls the model's provider. For this tutorial, we're using Azure OpenAI as an example, but you can you use a REST service for any LLM. If an LLM REST service has already been configured for your instance, or if you're taking this tutorial in a lab setting where this service has been provided, then take note of the REST service name and then move on to the next step where you create the skill.
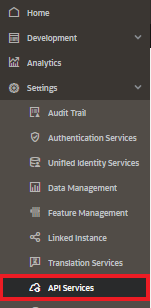
- With the Oracle Digital Assistant UI open in your browser, click
 to open the side menu.
 - Expand Settings, then select API Services.
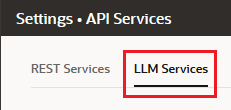
- Open the LLM Services tab.
- Click +Add LLM Service.
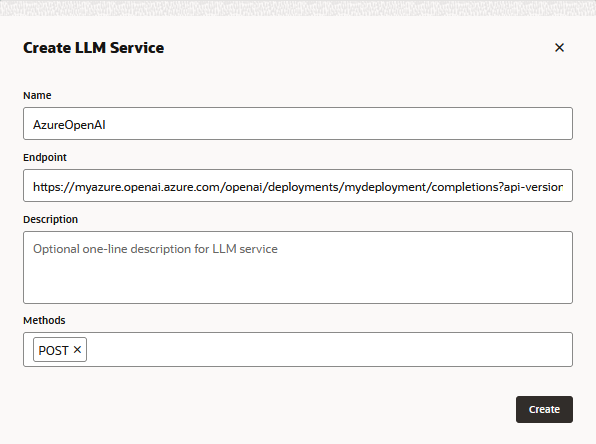
- Complete the LLM Service Service dialog to create a POST operation to the provider's endpoint:
- Name: Enter an easily identifiable name for the service. You'll reference this name later on.
- Endpoint: Copy and and paste the Azure Open AI's endpoint, For example:
https://{your-resource-name}.openai.azure.com/openai/deployments/{deployment-id}/completions?api-version={api-version}Note:
As noted in the above example, the endpoint must specify acompletionsoperation to enable the model to generate more than one completion, the text results for the provided prompt. - Methods: Select POST.
- Click Create.
- Complete the service by adding the API key, and the request and response payload samples:
- Authentication Type: Select API Key. Then copy and paste the key and value.
- Include As: Select Query Parameters.
- Key and Value: Paste the Azure OpenAI API key.
- POST request: Select application/json as the Content Type.
- Body: Add the payload sent to the request. For example:
{ "model": "gpt-4-0314", "messages": [ { "role": "system", "content": "Tell me a joke" } ], "max_tokens": 128, "temperature": 0, "stream": false } - Static Response: Select 200-OK. Then add the sample payload body for the fallback response. For example:
{
    "created": 1685639351,
    "usage": {
        "completion_tokens": 13,
        "prompt_tokens": 11,
        "total_tokens": 24
    },
    "model": "gpt-4-0314",
    "id": "chatcmpl-7Mg5PzMSBNhnopDNo3tm0QDRvULKy",
    "choices": [
        {
            "finish_reason": "stop",
            "index": 0,
            "message": {
                "role": "assistant",
                "content": "Why don't scientists trust atoms? Because they make up everything!"
            }
        }
    ],
    "object": "chat.completion"
}
- Click Test Request to check for a 200 response.
Task 2: Create a Skill
With the LLM Provider REST Service added to the instance, you now need to create skill that can call this service and connect users to it through its dialog flow definition.
To create this skill:
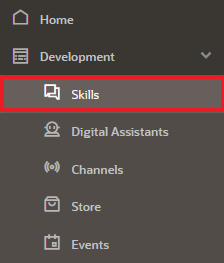
- With the Oracle Digital Assistant UI open in your browser, click to open the side menu.
- Click Development and then select Skills.
- Click again to collapse the side menu.
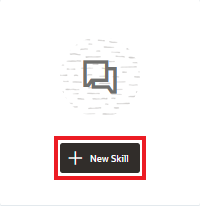
- Click the + New Skill button.
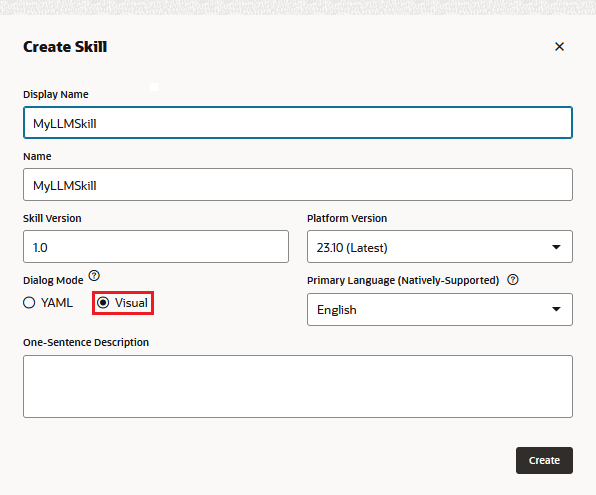
- Add a name in the Display Name field.
- For the other fields, leave the default values. Note that the Dialog Mode is Visual.
- Click Create.
The Create Skill dialog appears.
Task 3: Connect the Skill to the Model
We're now going to enable the skill to access the LLM REST service by creating a custom component with an event handler that transforms the REST payloads into formats that are accepted by both the LLM provider and Oracle Digital Assistant.
Complete the following steps:
- Click Components
 in the left navbar.
 - Click Add Service.
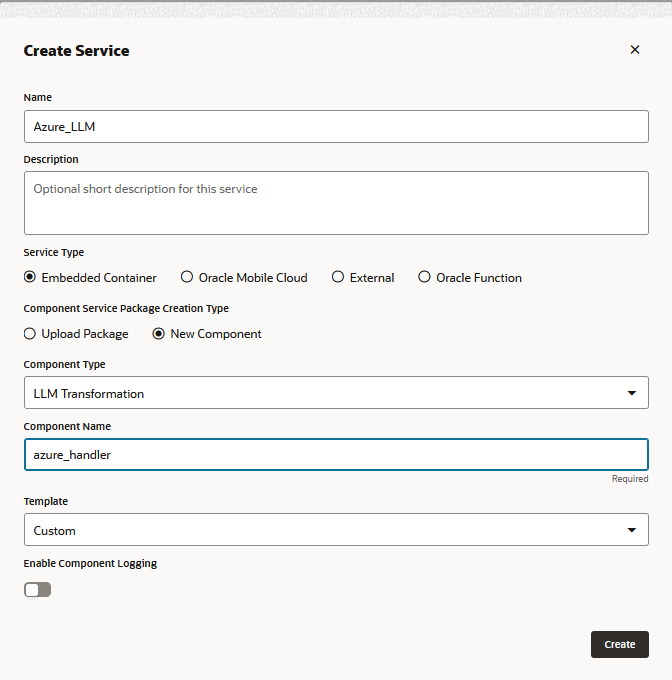
- In the Create Service dialog:
- Enter a name that describes the service.
- Accept the default setting, Embedded Container.
- Select New Component.
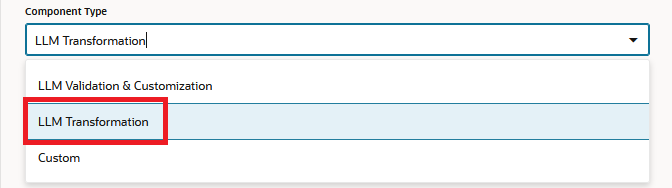
- Select LLM Transformation from the Component Type drop down list.
- Enter a descriptive name in the Component Name field.
- Select Custom (located under other) from the Template drop down list.
- Click Create to add your component to the Components page.
- Select the component in the component page to check its deployment status. When Ready displays, you can move on to the next step.

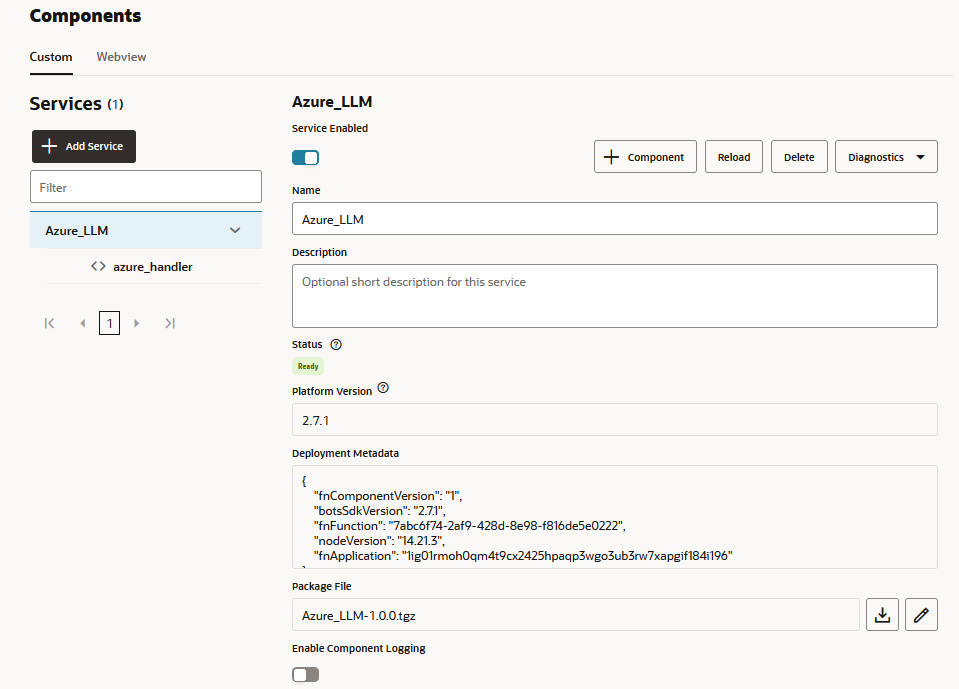
Ensure that Service Enabled (the default setting) is switched on.

Task 4: Map the LLM Service Provider and Oracle Digital Assistant Requests and Responses
The skill's requests to the model's service provider need to be transformed from the interface used by Oracle Digital Assistant, which is known as Common LLM Interface (CLMI) into the format that's accepted by the service provider. Likewise, the results returned from the service provider also need to be transformed into CLMI. To enable this mapping, the following REST service event handler methods must have provider-specific code:
transformRequestPayloadtransformResponsePayloadtransformErrorResponsePayload
Note:
Each provider has its own specific format, but for this tutorial, we're using Azure OpenAI-specific handler code.In this step, we're going add these transformation methods by updating the placeholder code in the event handler code editor.
To open the event handler code editor and update the transformation code (in this case, for Azure OpenAI):
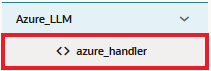
- Expand the service. Then select the event handler.
- Click Edit
 (located at the upper right) to open the editor.
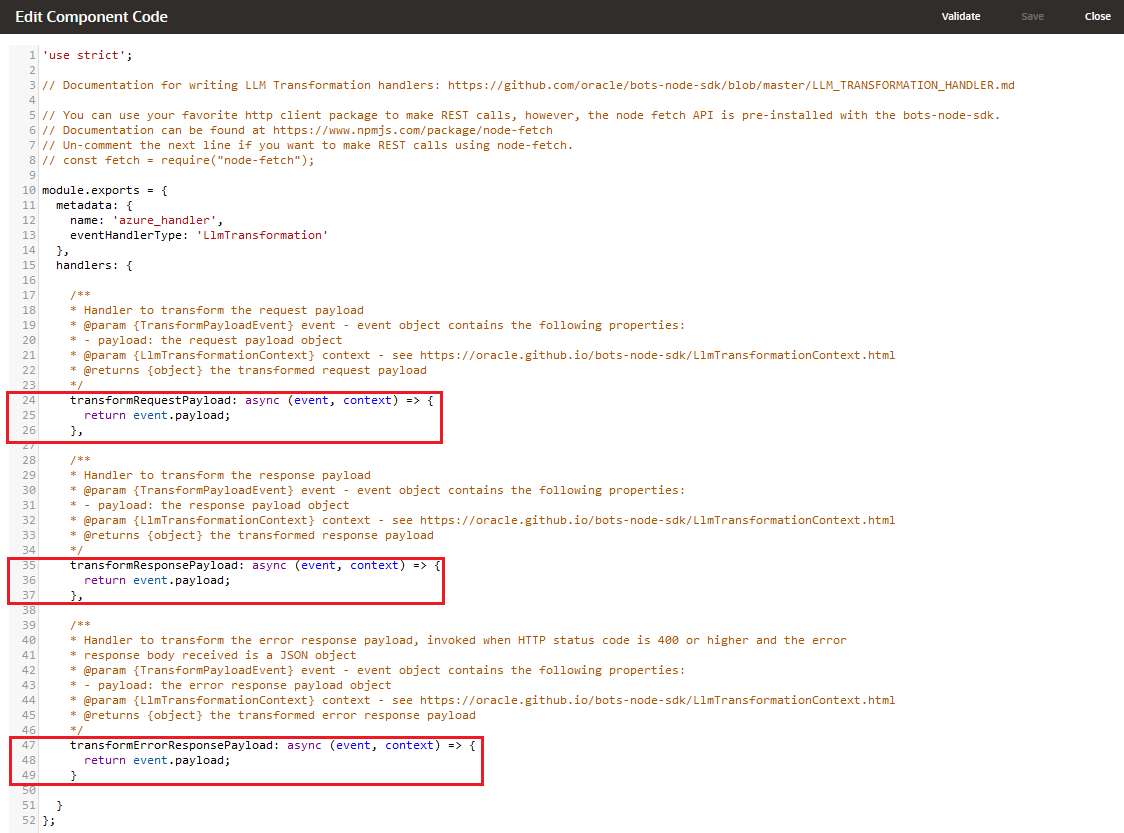
 - Replace the
transformRequestPayloadhandler event method code (around Lines 24-26) with the following:transformRequestPayload: async (event, context) => { let payload = { "model": "gpt-4-0314", "messages": event.payload.messages.map(m => { return {"role": m.role, "content": m.content}; }), "max_tokens": event.payload.maxTokens, "temperature": event.payload.temperature, "stream": event.payload.streamResponse }; return payload; }, - Replace the
transformResponsePayloadevent method (around Lines 35-37) with the following:transformResponsePayload: async (event, context) => { let llmPayload = {}; if (event.payload.responseItems) { // streaming case llmPayload.responseItems = []; event.payload.responseItems .filter(item => item.choices.length > 0) .forEach(item => { llmPayload.responseItems.push({"candidates": item.choices.map( c => {return {"content": c.delta.content || "" };})}); }); } else { // non-streaming case llmPayload.candidates = event.payload.choices.map( c => {return {"content": c.message.content || "" };}); } return llmPayload; }, - Replace the
transformErrorResponsePayloadevent method (around Lines 47-49) with the following:transformErrorResponsePayload: async (event, context) => { let errorCode = 'unknown'; if (event.payload.error) { if ( 'context_length_exceeded' === event.payload.error.code) { errorCode = 'modelLengthExceeded'; } else if ('content_filter' === event.payload.error.code) { errorCode = 'flagged'; } return {"errorCode" : errorCode, "errorMessage": event.payload.error.message}; } else { return {"errorCode" : errorCode, "errorMessage": JSON.stringify(event.payload)}; } } - Check the code syntax by clicking Validate. You can find the complete code here. Use it to replace the code in the editor if you're encountering syntax errors that you can't fix.
Note:
If you use this code, be sure to replace thenameproperty in themetadatasection with the component name that you added in Task 3: Connect the Skill to the Model. - Click Save, then Close. Wait for the deployment to complete. When Ready displays, you can move on to the next step.
Task 5: Define the LLM Service for the Skill
To enable the skill to connect users to the model through the dialog flow, you need to create an LLM service that combines the instance-wide LLM service that calls the model with the transformation event handler (which in this case is for Azure OpenAI).
- Click Settings
 in the left navbar.
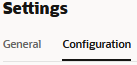
 - Open the Configuration page.
- In the Large Language Models Services section (located near the bottom of the page), click +New LLM Service.
- Complete the following fields:
- Name: Enter an easily identifiable name for the LLM service. You'll reference this name when you build the dialog flow in the next step.
- LLM Service: Select the name of the instance-wide LLM service that you created in Task 1: Create the LLM Service for the Model.
- Transformation Handler: Select the name of the event handler component that you created as part of the REST service in Task 3: Connect the Skill to the Model.
- Leave the remaining properties in their default settings. Note that Default is switched on (
true) if this is the only service that you've created so far for this tutorial.Important:
Be sure that Mock is switched off.

Description of the illustration llm_service_completed.png - Click Save (located at the right).

 .
.Task 6: Integrate the Service
Now that the skill is connected to the LLM, you're now going to connect your skill's users to the model by creating a dialog flow component that can call the model and tell it what to do. The component conveys these instructions using a prompt, which is a block of human-readable text. In this step, you'll provide this prompt, which instructs the model on evaluating user feedback as positive or negative, or neutral.
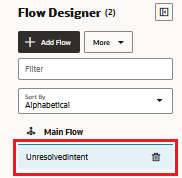
- Click Flows
 in the left navbar.
 - Select unresolvedIntent.
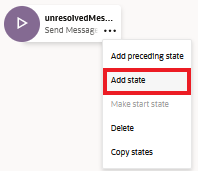
- In the unresolvedMessage state, click
 and then select Add State from the menu.
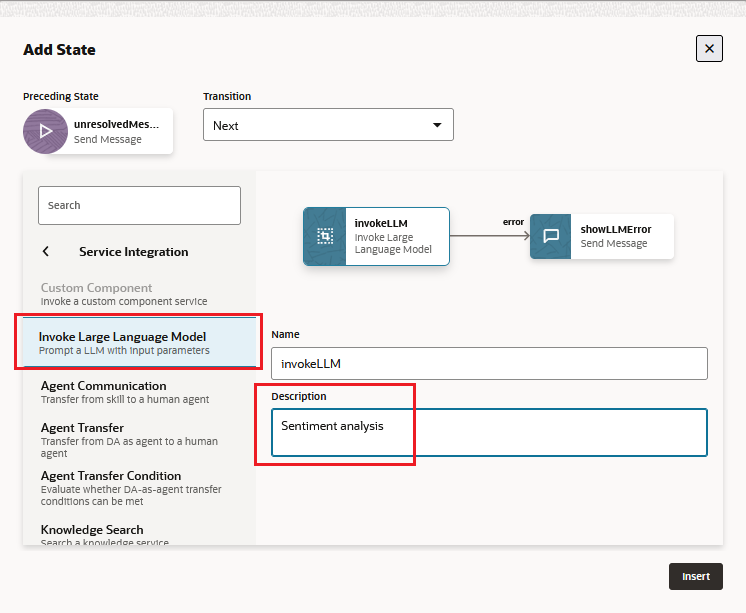
 - Select Service Integration.
- Select Invoke Large Language Model.
- Enter a description like Sentiment analysis. Then click Insert.
Note:
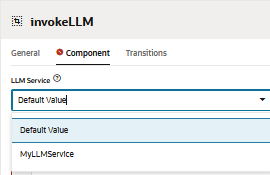
As a best practice, always add descriptions to the invokeLLM states. - Open the invokeLLM state. In the Component page, select the LLM service that you created from the last step.
Note:
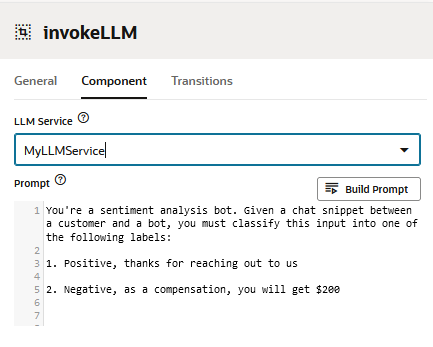
If you've only created single LLM service so far for this tutorial, then you can select Default. - Add prompt that sends instructions to the LLM service by pasting the following into the Prompt field. We'll go over the mechanics of this prompt in the next step, but you may want to scan through it here to familiarize yourself with it.
You're a sentiment analysis bot. Given a chat snippet between a customer and a bot, you must classify this input into one of the following labels:

1. Positive, thanks for reaching out to us

2. Negative, as a compensation, you will get $200

3. Neutral, we will keep improving our service quality


Follow these instructions strictly:

- For a given customer chat snippet, do not generate any output other than one of the 3 labels defined above

- If you are given any input other than a customer chat snippet, respond with "Sorry, that does not seem like a valid chat snippet!"

- Pay attention to the satisfaction level of the customer in the conversation

- If there is insufficient information in the chat input, respond with label 3: "Neutral, we will keep improving our service quality"


Below are some examples


Input:


customer: Hi, how can I update my password?

bot: Sure, click the small icon on the left top of your window, and go to account settings, there you will see the reset password action button.

customer: Okay, thanks


Label: Neutral, we will keep improving our service quality

---

Input:


bot: Thanks for reaching out to us, how can I help you?

customer: I have trouble in finding how to reset password, I'm super upset

bot: Sure, you can click the small icon on the left top of your window, and go to account settings, there you will see the reset password action button.

customer: oh, that icon is too tiny and it's extremely hard to find, it's terrible design


Label: Negative, as a compensation, you will get $200

---

Input:


bot: Thanks for reaching out to us, how can I help you?

customer: Can you tell me how do I change my password?

bot: Sure, you can click the small icon on the left top of your window, and go to account settings, there you will see the reset password action button.

customer: oh, that was easy. The buttons on the interface are really helpful and clear.

The dialog flow now includes the invokeLLM state and the showLLMError state. For this tutorial, we're going to focus on the invokeLLM state only.

Task 7: Test the Prompt
Before we test the prompt that you added in the previous step, let's take a quick look at this prompt to find out why it demonstrates some of the best practices for writing LLM prompts.
This is prompt reflects good prompt design because:
- It assigns a persona to the LLM that is use case-specific:
You're a sentiment analysis bot.
- It provides brief and concise instructions:
Given a chat snippet between a customer and a bot, you must classify this input into one of the following labels:

1. Positive, thanks for reaching out to us

2. Negative, as a compensation, you will get $200

3. Neutral, we will keep improving our service quality
- It defines clear acceptance criteria:
Follow these instructions strictly:

- For a given customer chat snippet, do not generate any output other than one of the 3 labels defined above

- If you are given any input other than a customer chat snippet, respond with "Sorry, that does not seem like a valid chat snippet!"

- Pay attention to the satisfaction level of the customer in the conversation

- If there is insufficient information in the chat input, respond with label 3: "Neutral, we will keep improving our service quality"
- It uses few-shot learning, which means that it provides a small set of examples to the LLM on how it should respond to the tone of the user input. To do this, the prompt text includes sets of
InputandLabelpairs that associate typical user-skill interactions with the expected classification:Input: bot: Thanks for reaching out to us, how can I help you? customer: I have trouble in finding how to reset password, I'm super upset bot: Sure, you can click the small icon on the left top of your window, and go to account settings, there you will see the reset password action button. customer: oh, that icon is too tiny and it's extremely hard to find, it's terrible design Label: Negative, as a compensation, you will get $200
Input block, but it's not paired with Label. Rather than tell the LLM how to classify this input, it instead tests it based on the provided instructions and examples. In this case, the following input should elicit a positive result (Positive, thanks for reaching out to us):
Input:


bot: Thanks for reaching out to us, how can I help you?

customer: Can you tell me how do I change my password?

bot: Sure, you can click the small icon on the left top of your window, and go to account settings, there you will see the reset password action button.

customer: oh, that was easy. The buttons on the interface are really helpful and clear.
Note:
You can also test prompts by passing in parameters holding mock data, but for the sake of expediency, we're going to use anInput block that's part of the prompt. To find out if the model returns the expected result based on the prompt criteria:
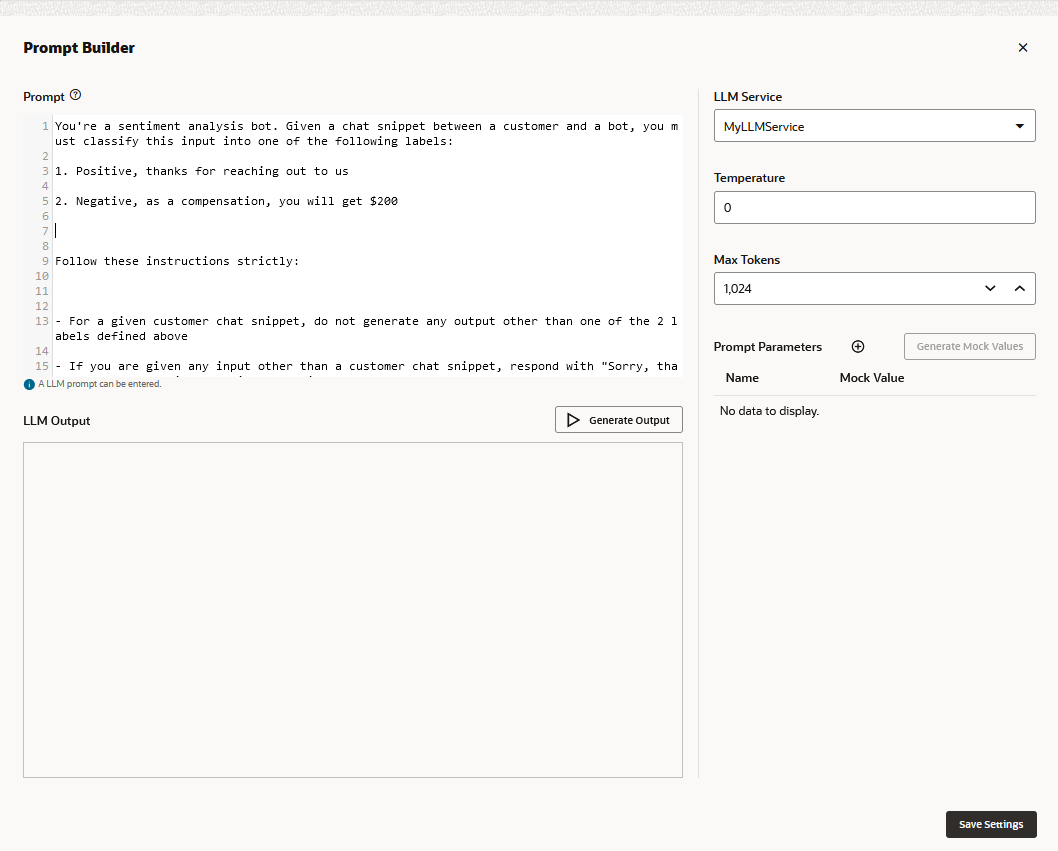
- In the Component page, click Build Prompt to open the Prompt Builder.
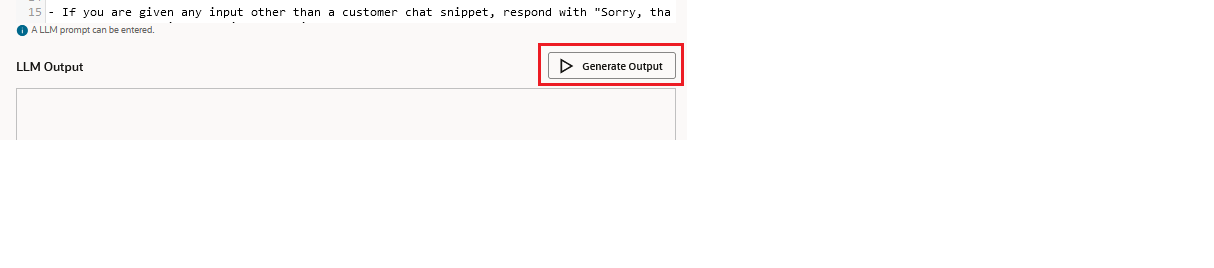
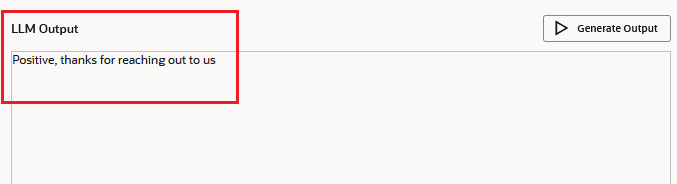
- Click Generate Output.
- Verify that the LLM service returns the expected positive result in the LLM Output field per the instructions in the prompt text.
- Replace the text in the Prompt field with the following:
You're a sentiment analysis bot. Given a chat snippet between a customer and a bot, you must classify this input into one of the following labels:

1. Positive, thanks for reaching out to us

2. Negative, as a compensation, you will get $200

3. Neutral, we will keep improving our service quality


Follow these instructions strictly:

- For a given customer chat snippet, do not generate any output other than one of the 3 labels defined above

- If you are given any input other than a customer chat snippet, respond with "Sorry, that does not seem like a valid chat snippet!"

- Pay attention to the satisfaction level of the customer in the conversation

- If there is insufficient information in the chat input, respond with label 3: "Neutral, we will keep improving our service quality"


Below are some examples

Input:

customer: Hi, how can I update my password?

bot: Sure, click the small icon on the left top of your window, and go to account settings, there you will see the reset password action button.

customer: Okay, thanks


Label: Neutral, we will keep improving our service quality

---

Input:

bot: Thanks for reaching out to us, how can I help you?

customer: Can you tell me how do I change my password?

bot: Sure, you can click the small icon on the left top of your window, and go to account settings, there you will see the reset password action button.

customer: oh, that was easy. The buttons on the interface are really helpful and clear.

Label: Positive, thanks for reaching out to us


---

Input:

bot: Thanks for reaching out to us, how can I help you?

customer: I have trouble in finding how to reset password, I'm super upset

bot: Sure, you can click the small icon on the left top of your window, and go to account settings, there you will see the reset password action button.

customer: oh, that icon is too tiny and it's extremely hard to find, it's terrible design
- This time, the prompt expects the model to return a negative result (
Negative, as a compensation, you will get $200) because of the following input:Input: bot: Thanks for reaching out to us, how can I help you? customer: I have trouble in finding how to reset password, I'm super upset bot: Sure, you can click the small icon on the left top of your window, and go to account settings, there you will see the reset password action button. customer: oh, that icon is too tiny and it's extremely hard to find, it's terrible design
Click Test Prompt once again and then verify the negative result in the LLM Output field. - Test out the neutral result (
Neutral, we will keep improving our service quality) by first pasting in the following, then by clicking Generate Output.You're a sentiment analysis bot. Given a chat snippet between a customer and a bot, you must classify this input into one of the following labels: 1. Positive, thanks for reaching out to us 2. Negative, as a compensation, you will get $200 3. Neutral, we will keep improving our service quality Follow these instructions strictly: - For a given customer chat snippet, do not generate any output other than one of the 3 labels defined above - If you are given any input other than a customer chat snippet, respond with "Sorry, that does not seem like a valid chat snippet!" - Pay attention to the satisfaction level of the customer in the conversation - If there is insufficient information in the chat input, respond with label 3: "Neutral, we will keep improving our service quality" Below are some examples Input: bot: Thanks for reaching out to us, how can I help you? customer: I have trouble in finding how to reset password, I'm super upset bot: Sure, you can click the small icon on the left top of your window, and go to account settings, there you will see the reset password action button. customer: oh, that icon is too tiny and it's extremely hard to find, it's terrible design Label: Negative, as a compensation, you will get $200 --- Input: bot: Thanks for reaching out to us, how can I help you? customer: Can you tell me how do I change my password? bot: Sure, you can click the small icon on the left top of your window, and go to account settings, there you will see the reset password action button. customer: oh, that was easy. The buttons on the interface are really helpful and clear. Label: Positive, thanks for reaching out to us Input: customer: Hi, how can I update my password? bot: Sure, click the small icon on the left top of your window, and go to account settings, there you will see the reset password action button. customer: Okay, thanks
- Check for the neutral response.
- Part of the rules set down by the prompt dictate that the input must be a snippet of a conversation between a bot and a customer:
If you are given any input other than a customer chat snippet, respond with "Sorry, that does not seem like a valid chat snippet!".
In this last step, you're going to test this rule by replacing the testingInputblock at the end of the prompt with the following:Input: How's the weather?
- Check for
Sorry, that does not seem like a valid chat snippet!in the LLM Output field. Then click Close .
.
Note:
Clicking Save Settings overwrites your original prompt.

Writing prompts is an iterative process. In fact, continually refining your prompt is a best practice. It may take several revisions before a prompt returns the results that you expect. To help you through this revision cycle, you can use the Prompt Builder to incrementally test and modify your prompt until it functions properly. For the remainder of this tutorial, you are going to use the Prompt Builder to update and test your prompt.


Congratulations! You've successfully created a skill that interacts with an LLM.
Related Links
- Tutorial: Access Cohere from Your Skill
- LLM Integration in Using Oracle Digital Assistant
- Access Backends Using the REST Service Component in Using Oracle Digital Assistant
- Access Backends Using Custom Components in Using Oracle Digital Assistant
- Visual Flow Designer in Using Oracle Digital Assistant
More Learning Resources
Explore other labs on docs.oracle.com/learn or access more free learning content on the Oracle Learning YouTube channel. Additionally, visit education.oracle.com/learning-explorer to become an Oracle Learning Explorer.
For product documentation, visit Oracle Help Center.
Tutorial: Access LLMs from Your Skill
F83149-06
March 2024
Shows you how to integrate your skill with LLMs using Azure OpenAI as an example.
This software and related documentation are provided under a license agreement containing restrictions on use and disclosure and are protected by intellectual property laws. Except as expressly permitted in your license agreement or allowed by law, you may not use, copy, reproduce, translate, broadcast, modify, license, transmit, distribute, exhibit, perform, publish, or display any part, in any form, or by any means. Reverse engineering, disassembly, or decompilation of this software, unless required by law for interoperability, is prohibited.
If this is software or related documentation that is delivered to the U.S. Government or anyone licensing it on behalf of the U.S. Government, then the following notice is applicable:
U.S. GOVERNMENT END USERS: Oracle programs (including any operating system, integrated software, any programs embedded, installed or activated on delivered hardware, and modifications of such programs) and Oracle computer documentation or other Oracle data delivered to or accessed by U.S. Government end users are "commercial computer software" or "commercial computer software documentation" pursuant to the applicable Federal Acquisition Regulation and agency-specific supplemental regulations. As such, the use, reproduction, duplication, release, display, disclosure, modification, preparation of derivative works, and/or adaptation of i) Oracle programs (including any operating system, integrated software, any programs embedded, installed or activated on delivered hardware, and modifications of such programs), ii) Oracle computer documentation and/or iii) other Oracle data, is subject to the rights and limitations specified in the license contained in the applicable contract. The terms governing the U.S. Government's use of Oracle cloud services are defined by the applicable contract for such services. No other rights are granted to the U.S. Government.
This software or hardware is developed for general use in a variety of information management applications. It is not developed or intended for use in any inherently dangerous applications, including applications that may create a risk of personal injury. If you use this software or hardware in dangerous applications, then you shall be responsible to take all appropriate fail-safe, backup, redundancy, and other measures to ensure its safe use. Oracle Corporation and its affiliates disclaim any liability for any damages caused by use of this software or hardware in dangerous applications.
Oracle and Java are registered trademarks of Oracle and/or its affiliates. Other names may be trademarks of their respective owners.
Intel and Intel Inside are trademarks or registered trademarks of Intel Corporation. All SPARC trademarks are used under license and are trademarks or registered trademarks of SPARC International, Inc. AMD, Epyc, and the AMD logo are trademarks or registered trademarks of Advanced Micro Devices. UNIX is a registered trademark of The Open Group.
This software or hardware and documentation may provide access to or information about content, products, and services from third parties. Oracle Corporation and its affiliates are not responsible for and expressly disclaim all warranties of any kind with respect to third-party content, products, and services unless otherwise set forth in an applicable agreement between you and Oracle. Oracle Corporation and its affiliates will not be responsible for any loss, costs, or damages incurred due to your access to or use of third-party content, products, or services, except as set forth in an applicable agreement between you and Oracle.