 Expose Your Digital Assistant through
a Web Channel
Expose Your Digital Assistant through
a Web Channel Before You Begin
This 15-minute tutorial shows you how to make a digital assistant available to users through a web page.
Background
You’re part of a project team that just completed a digital assistant (DA). You now want to expose it though multiple channels, including your corporate web site.
In this tutorial, you'll configure and publish your DA through a web channel, download and install the sample client application, and run and test it against your DA. Since this allows users to access your DA through a web page, it’s within easy reach of a multitude of users.
What Do You Need?
- Access to Oracle Digital Assistant.
- A digital assistant or skill.
- Node.js (https://nodejs.org/en/download/) installed on your system.
You'll use
npm, which is distributed with Node.js, to configure, install and host your web channel from your local machine.To check if you already have Node.js installed, run this command in your terminal:
node -vTo check if npm is installed, run this command:
npm -v - The ODA Client samples for JavaScript.
To get them, navigate to http://bit.ly/amcedownloads, accept the Oracle Technology Network license agreement, scroll down to the ODA Client SDKs section, and then download
bots-client-sdk-js-samples-<Version_Number>.zip.
 Configure a New Web Channel for Your DA
- With the Oracle Digital Assistant UI open in your browser, click
 to open the side menu.
 - Click Development and select Channels.
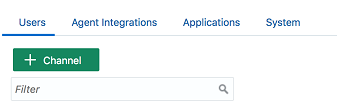
- On the Users tab, click + Channel.
- In the Create Channel dialog, fill in the Name, Description, and App Display Name fields.
- From the Channel Type dropdown, select Web.
The completed dialog might look something like this:
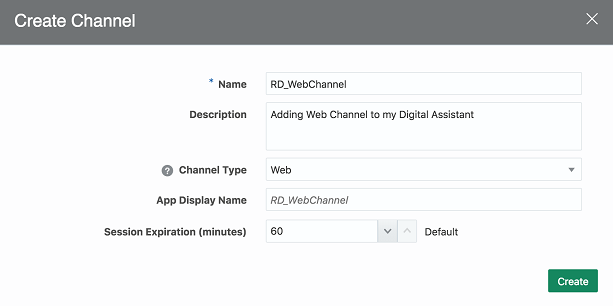
- Click Create.
Once created, you are returned to the page for the channel. At this point you need to route this channel to the digital assistant you created.
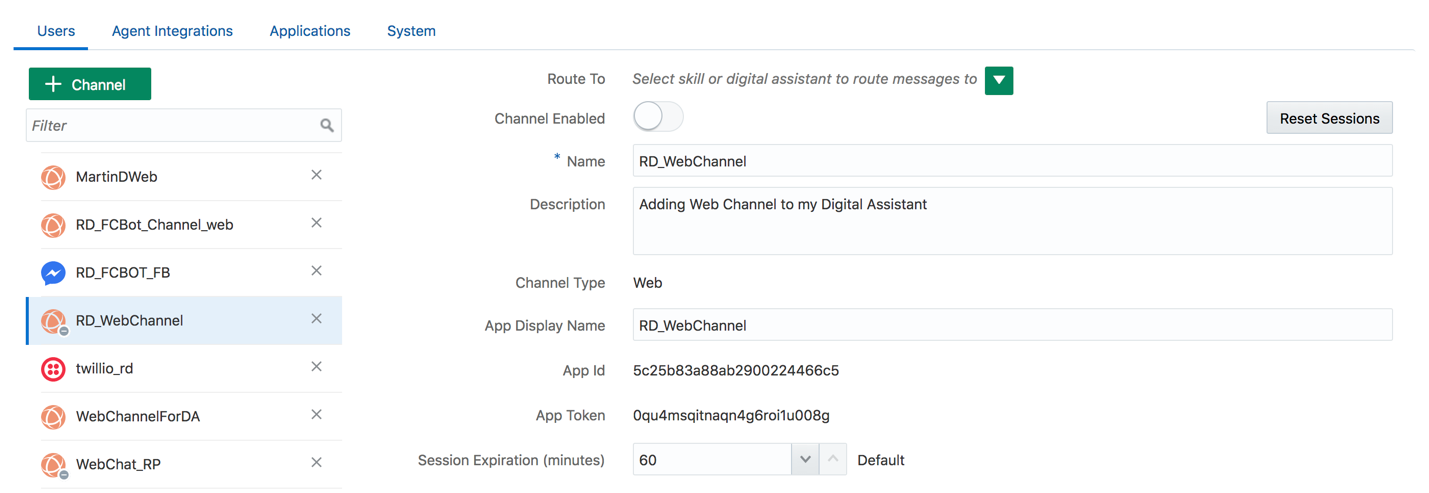
- Open the Route To dropdown menu, enter your DA name in the Filter box, and select your DA.
- Switch Channel Enabled to ON.
- Copy the the value of the App Id field to a text file.
You will use it later on in this tutorial while running the sample client application.
 Set Up the Web Channel on Your Local Machine
For purposes of this tutorial, you'll set up using your machine's localhost instead of using a public-facing web server.
- Find the
bots-client-sdk-js-samples-<Version_Number>.zipfile that you downloaded at the beginning of this tutorial and extract its contents. - Open a terminal window or command prompt and navigate to the
chat-sample-webdirectory of the contents of the extracted zip. - Run the following command:
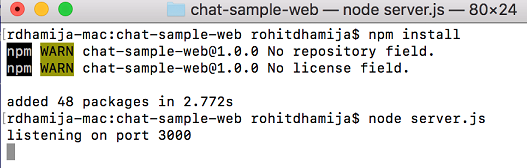
npm install
- Start the sample ChatSample app by running the following command:
node server.js
After running this command, you should see a message indicating that the server is listening on port 3000.
 Test the DA on the Web Channel
The web channel setup is ready, so let’s move on to testing your DA in the web channel.
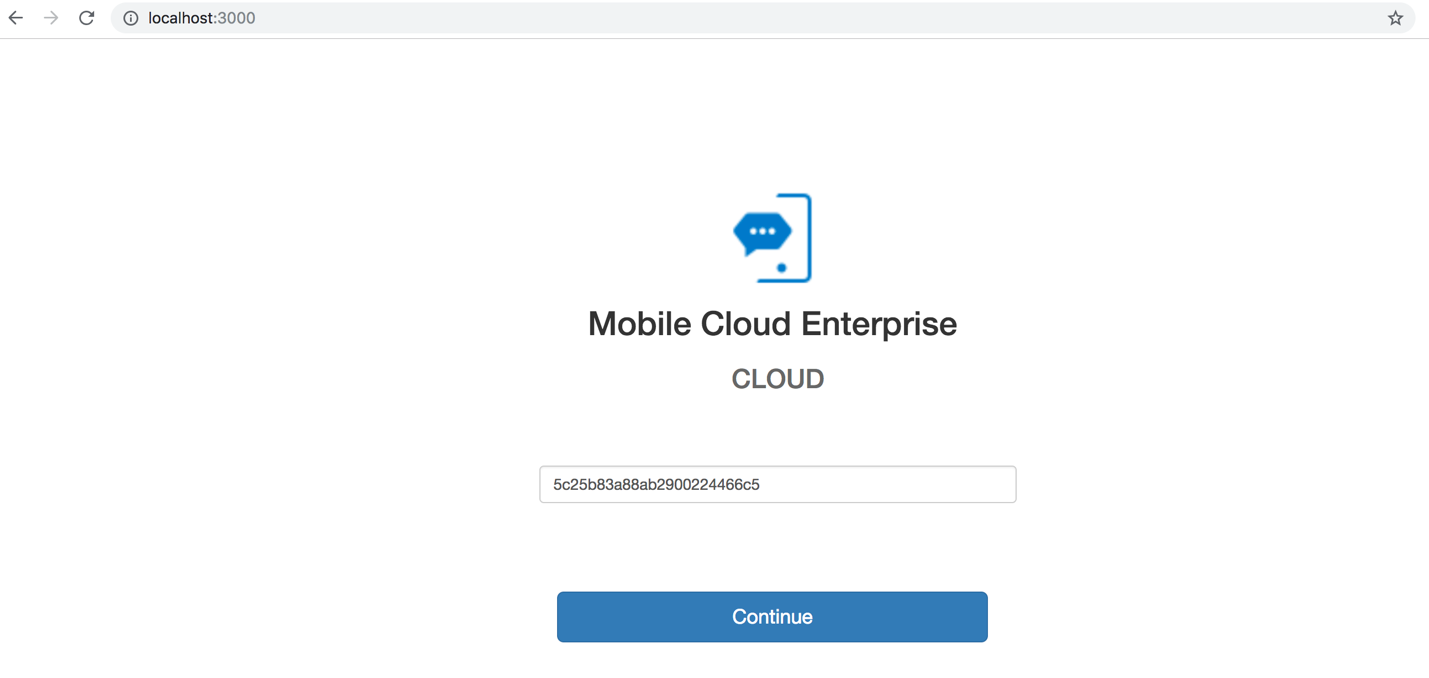
- Open a new browser window and navigate to http://localhost:3000.
- Enter the app id that was generated when you created the channel (and which you copied to a text file) and click Continue.
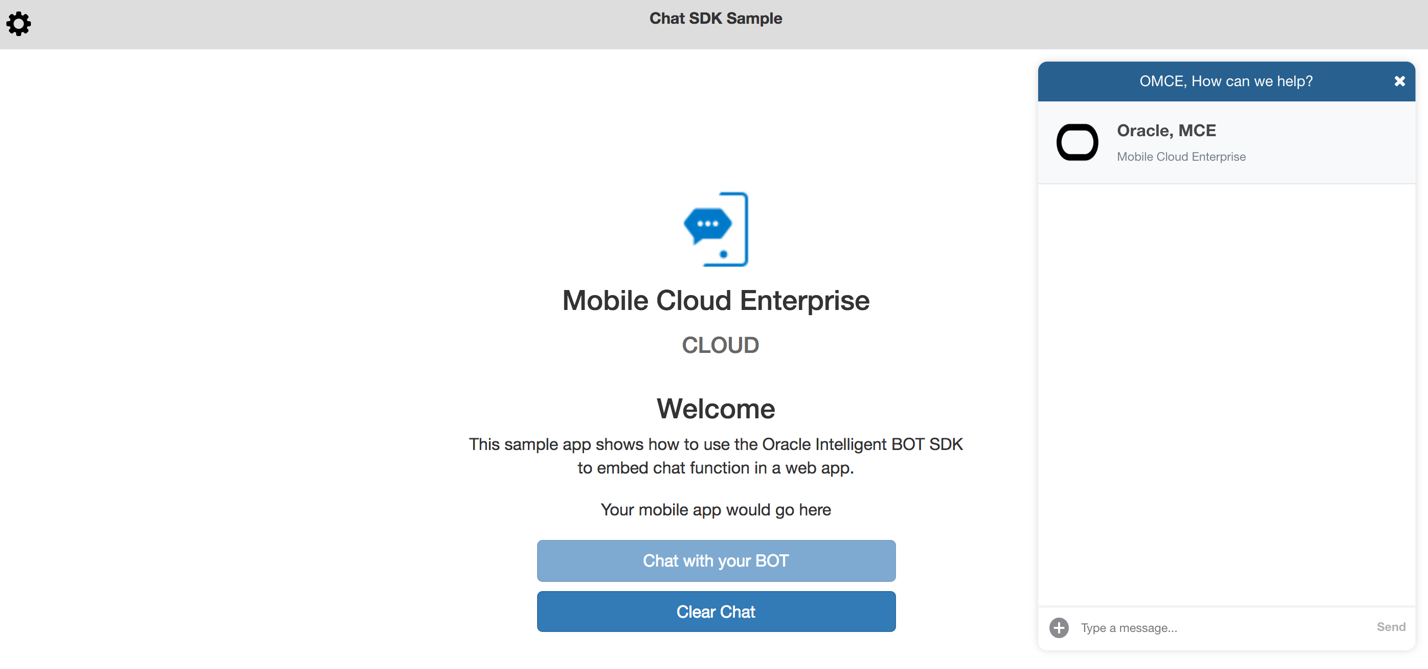
- In the next screen, click the Chat with your BOT button.
The Web Messenger widget should appear in the right side of your browser window.
- Start communicating with the DA by asking for help and/or making specific requests.
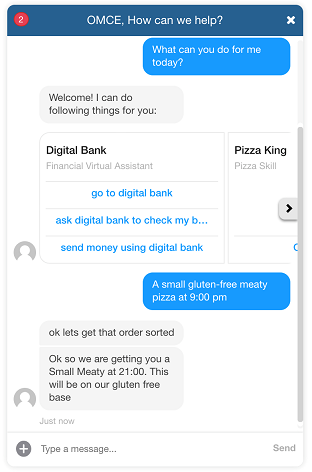
You have now introduced your DA to its public by hooking it up to a web interface.
 Want to Learn More?
- Channels in Using Oracle Digital Assistant